Timeline View
Release date: 13th June 2018
In this release we've introduced a new planning feature: the timeline view. In the timeline, planners can choose a time period within which to view events and editions. You can choose a time period from a week to a year and zoom in and zoom out within that time period to focus on the events and editions you're most interested in. The timeline also provides access to the same functionality as the calendar and list views, including creating and editing events and editions and viewing previews.
The timeline provides a more flexible time frame than the calendar view, allowing planners to more easily view the upcoming events for a particular season, not just one calendar month, or to focus on a particular week and expand the detail of individual editions within that time period.
This release note provides an overview of the new timeline functionality.
The TimelineLink copied!
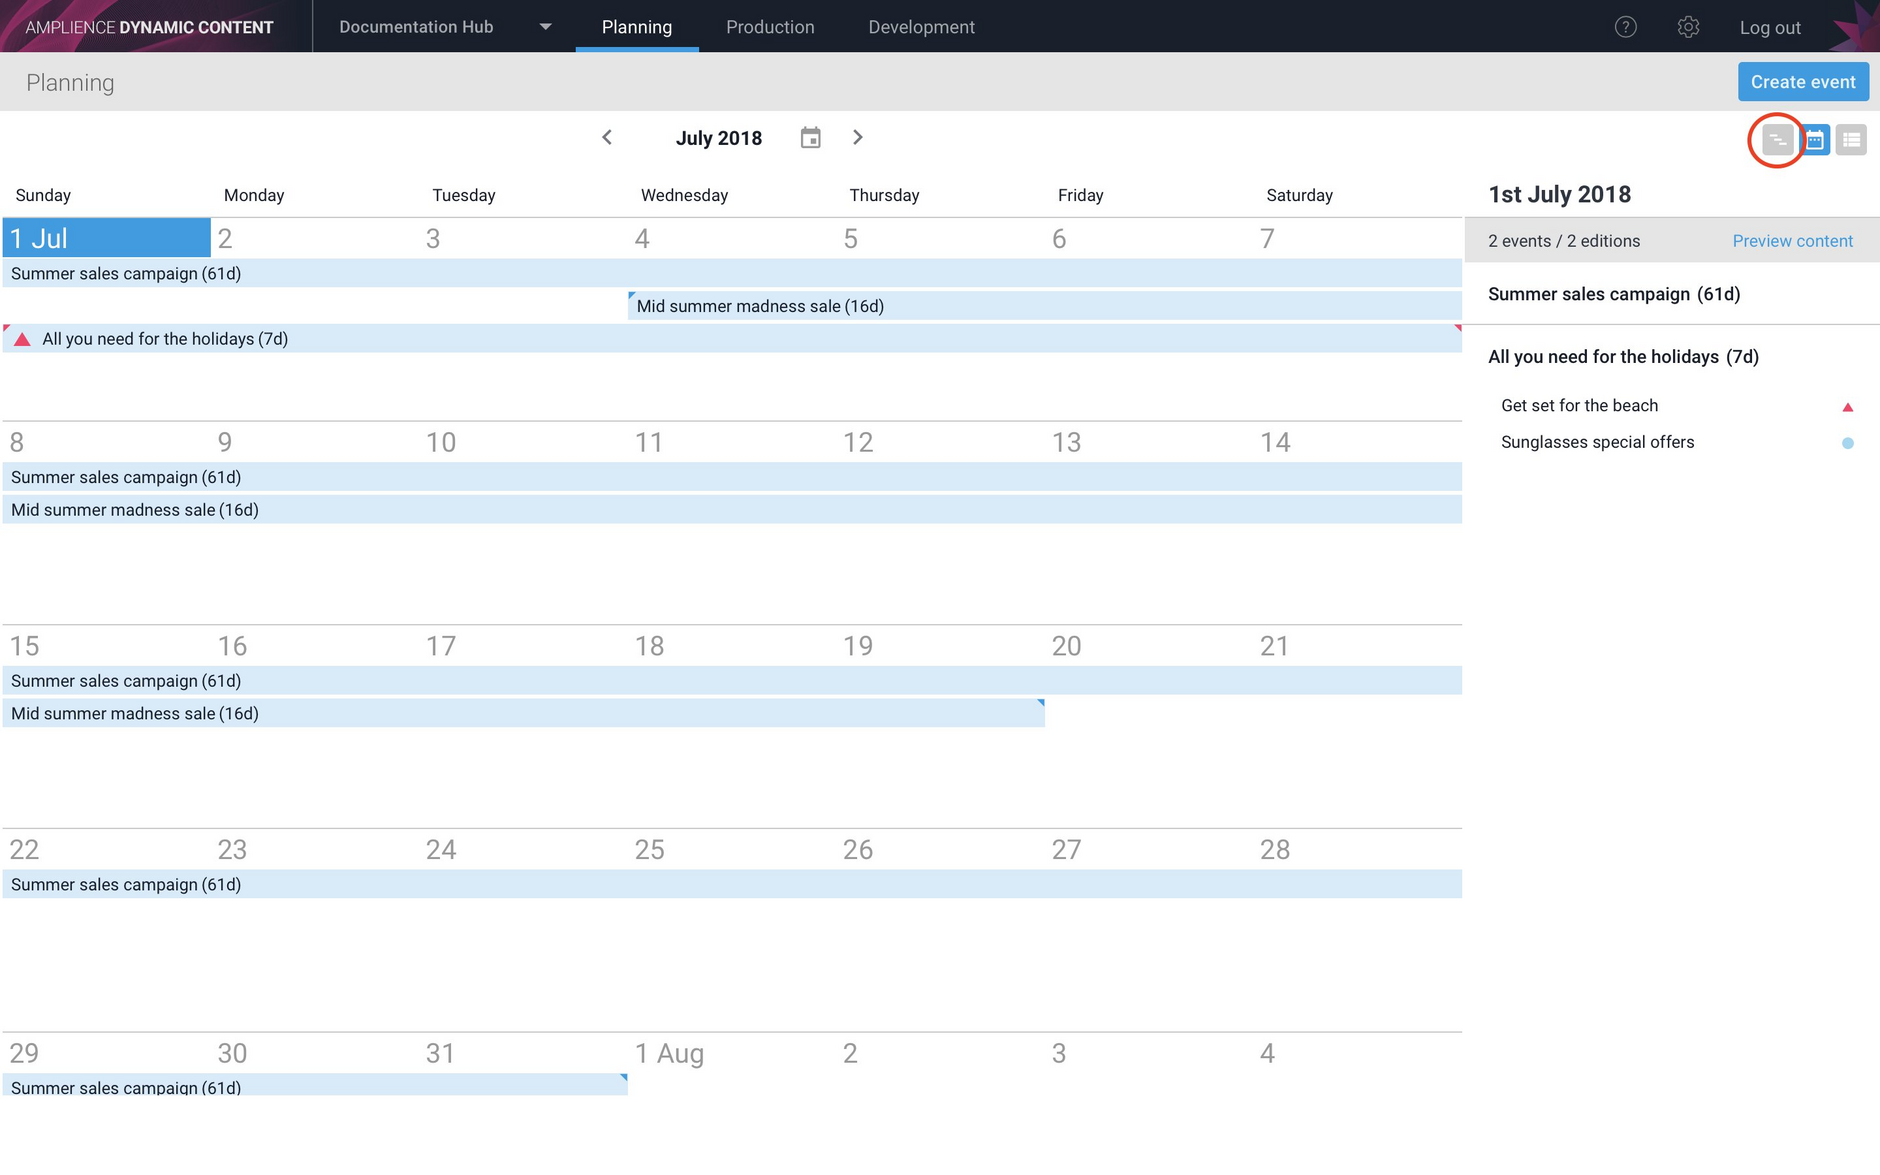
To choose the timeline view, go to the planning section and click the timeline icon as highlighted in the image below.
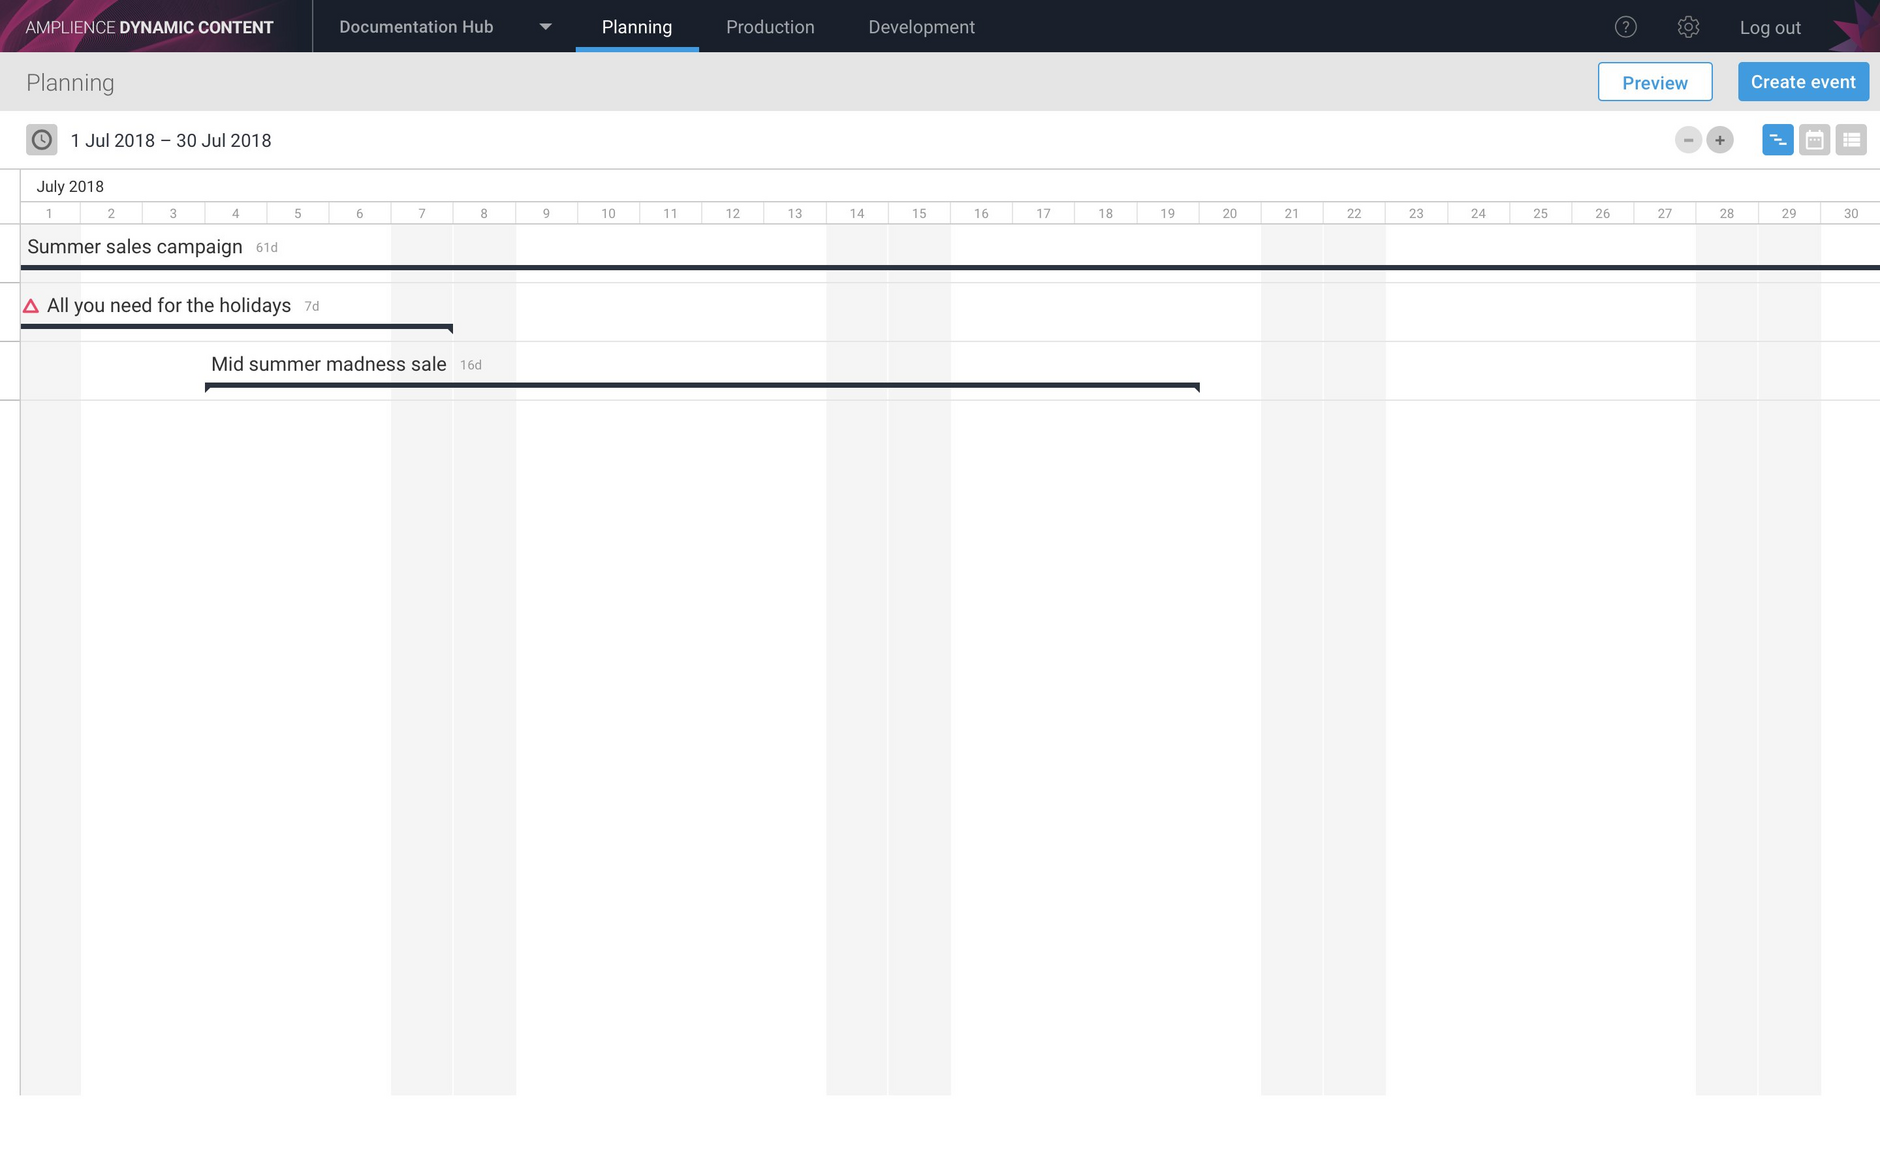
The timeline view will open, showing the events within the chosen time period. When first opened, the timeline will default to displaying events within a time period of one month from the current date, but will remember the last time period you chose.
Choosing the time frameLink copied!
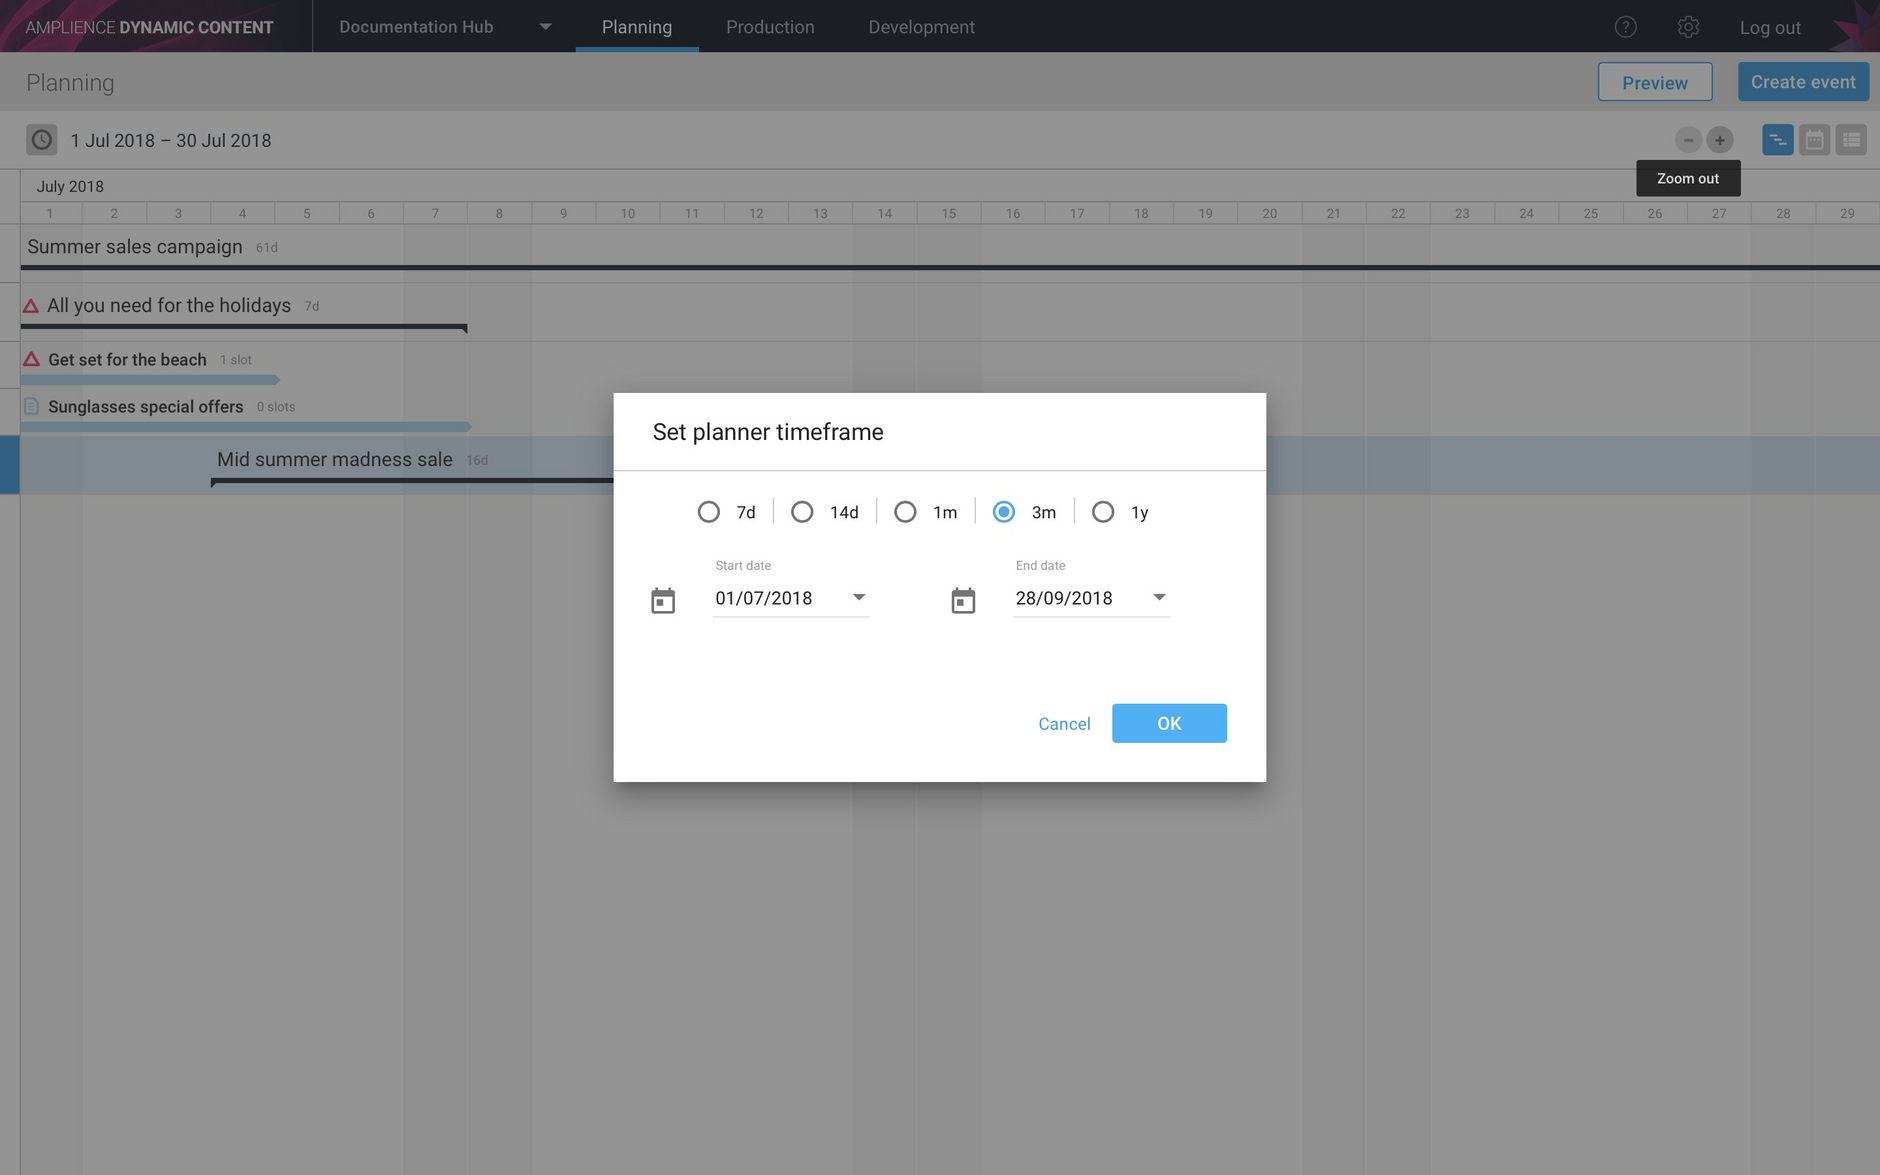
You can choose any time frame from one week to one year, by clicking the planner time frame icon on the top left of the window. A dialog is then displayed allowing you to choose the time period. You can also specify a time period between one week and one year by entering a start and end date.
In the example shown below, a time period of 3 months is chosen.
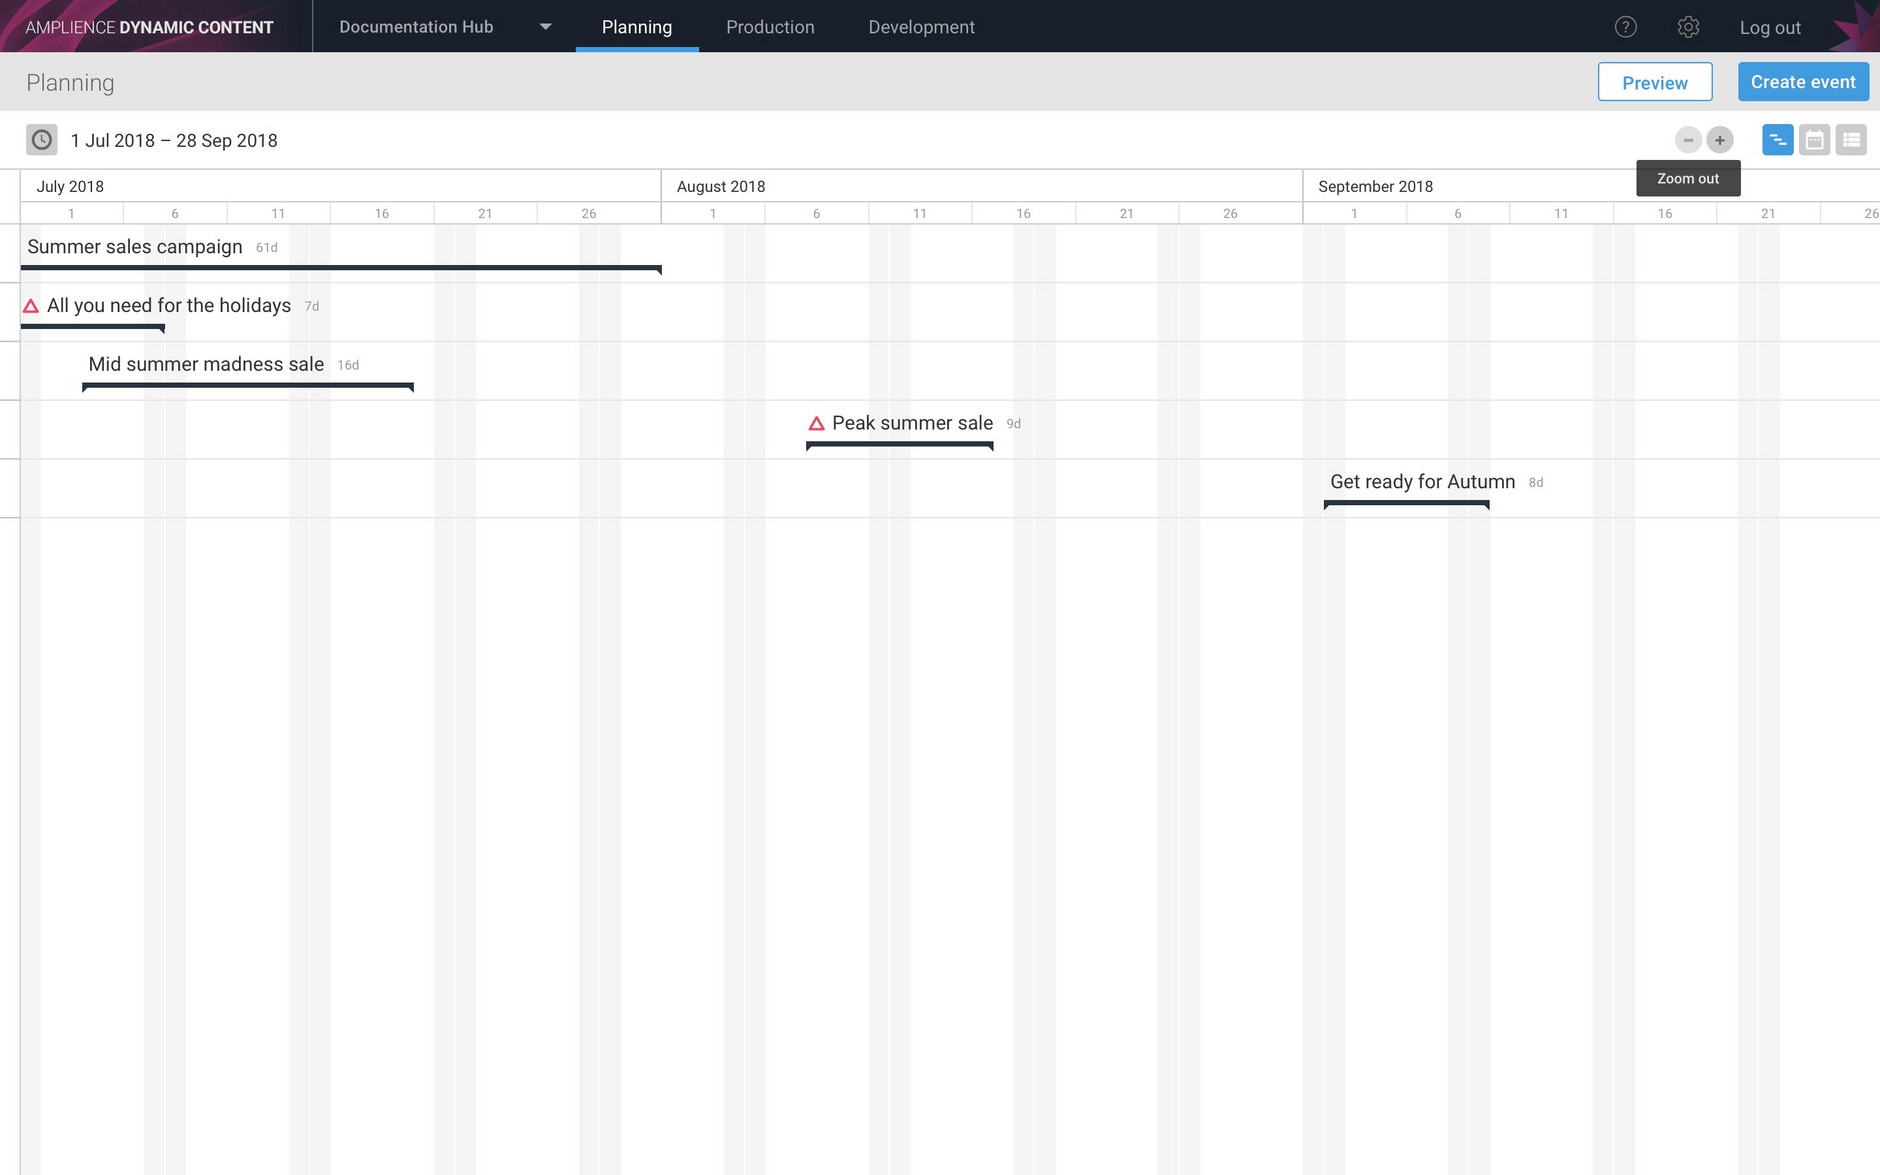
The events within the chosen 3 month time period are then displayed. This is a useful way of providing an overview of events in a particular season, all the events for your summer content campaigns, for example.
Notice that any events containing editions which contain errors, such as version conflicts, are marked with a red triangle.
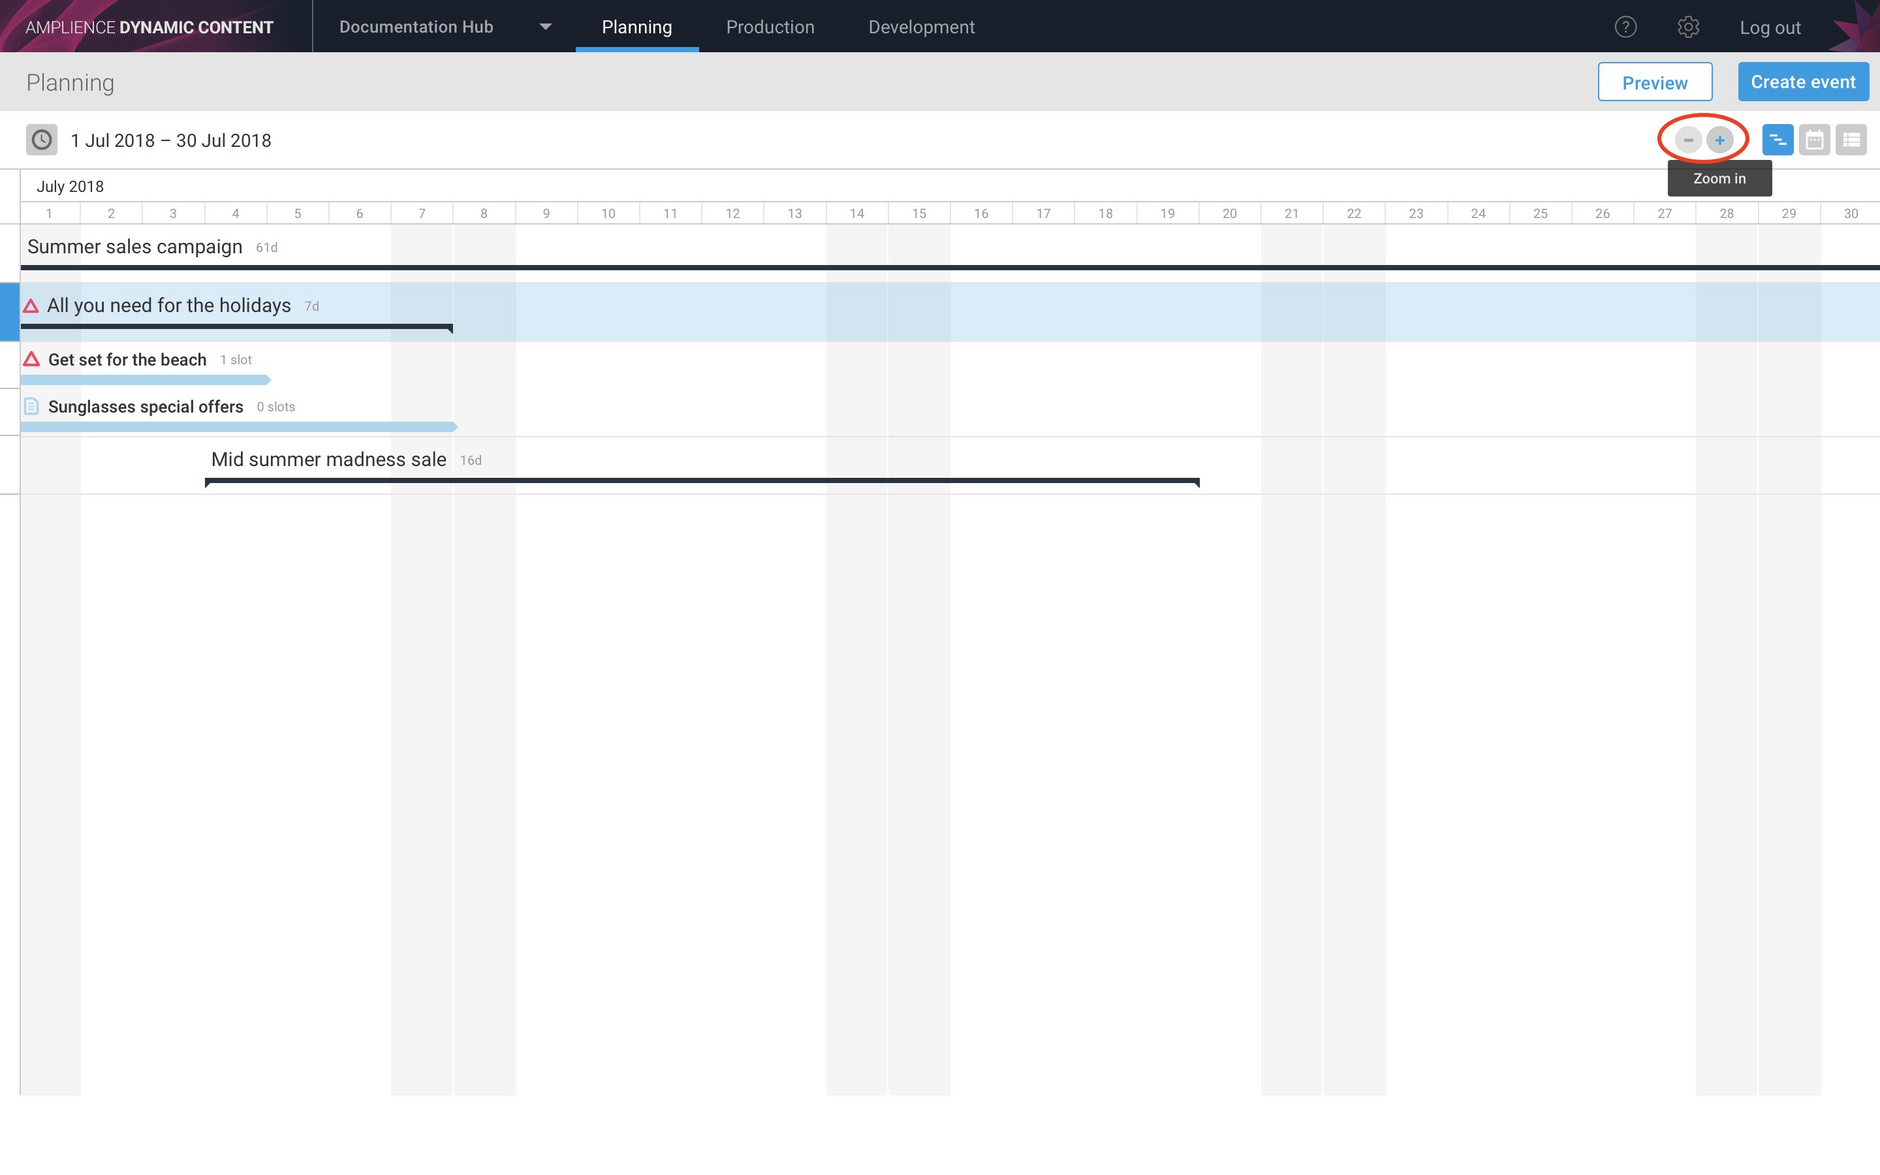
If you want to temporarily focus on a shorter period of time, without changing the time frame, you can use the zoom in/ zoom out buttons.
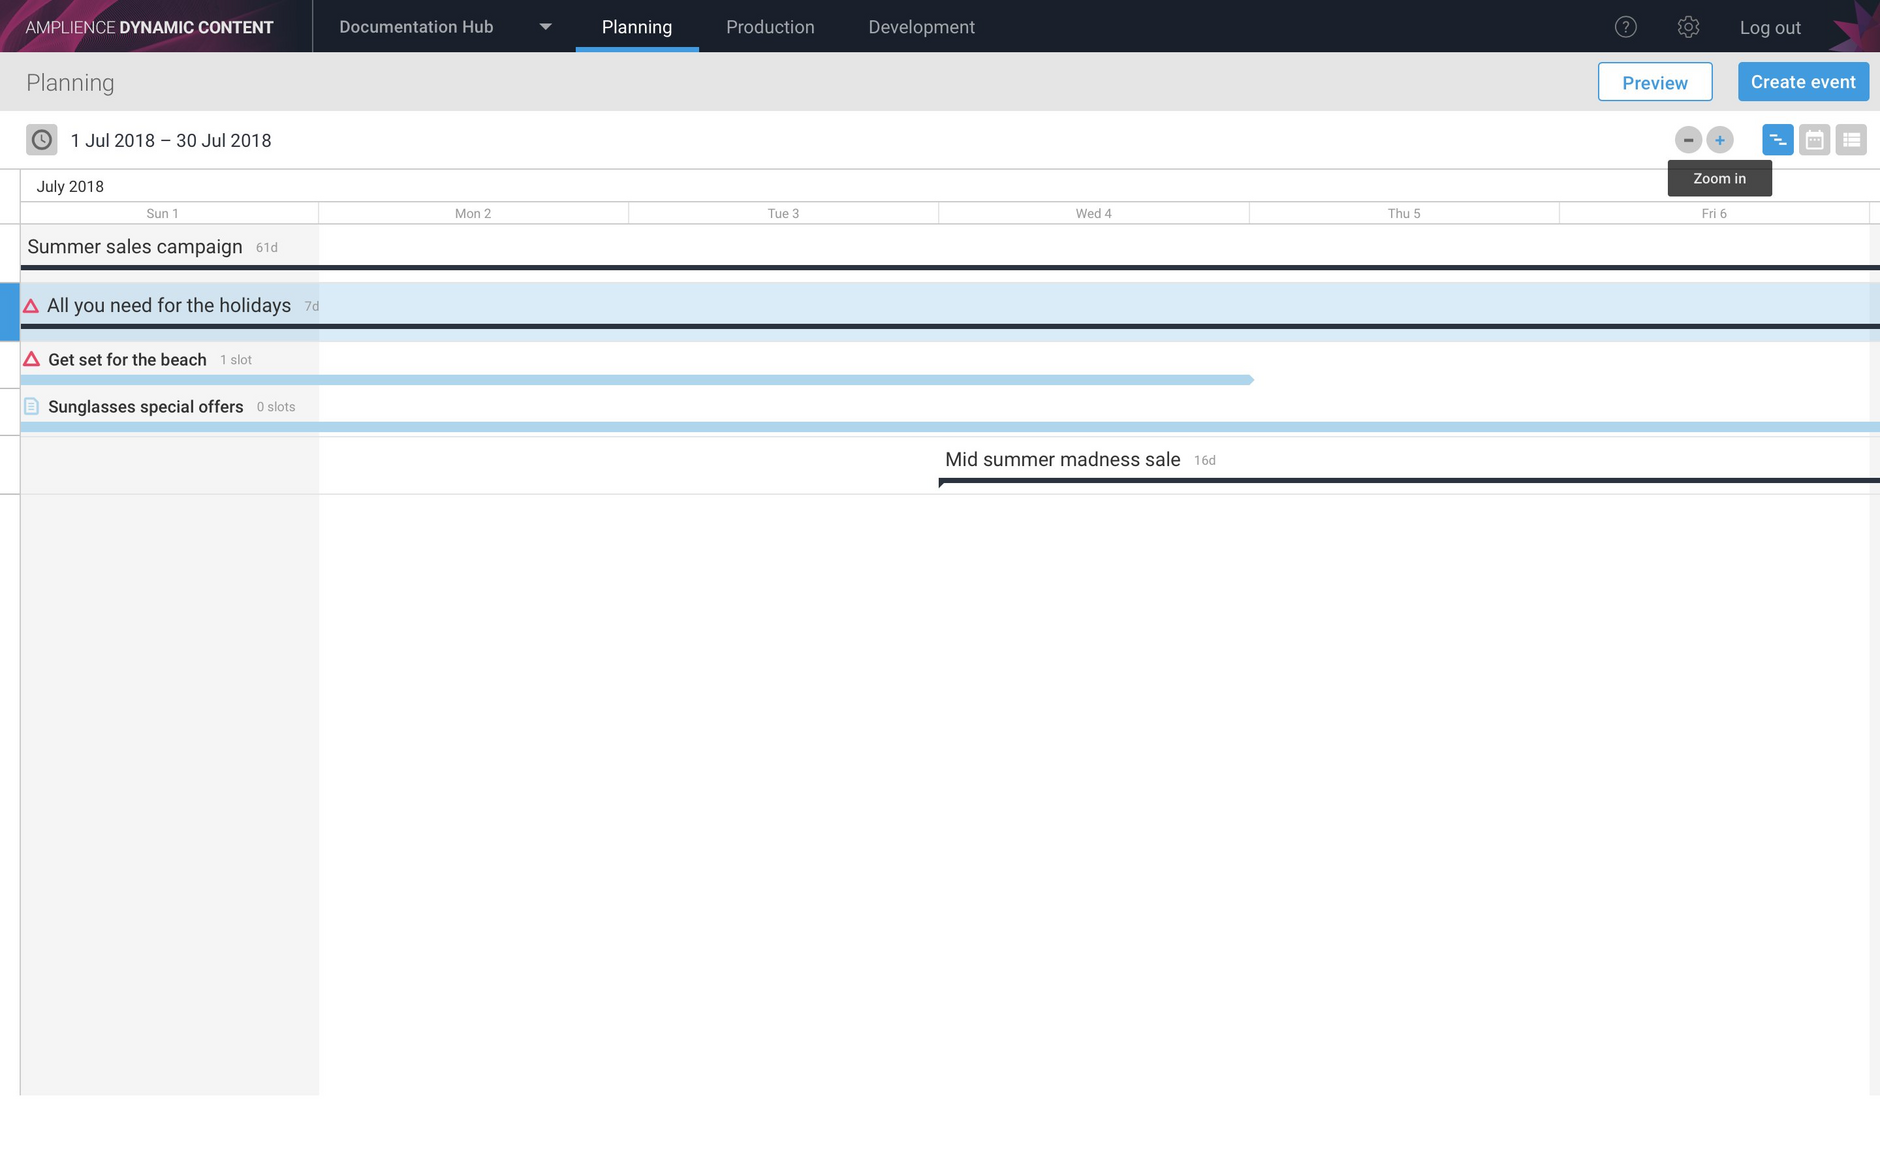
Zooming in will focus the timeline on a smaller number of days, by a week at a time. In the example below, the view is zoomed to show one week. This is particularly useful if you have overlapping editions and want a more detailed view of what is scheduled to go live and when.
Events and editionsLink copied!
In the timeline, you can quickly create, view and edit events and editions.
To create a new event, select the "Create event" button at the top right of the window.
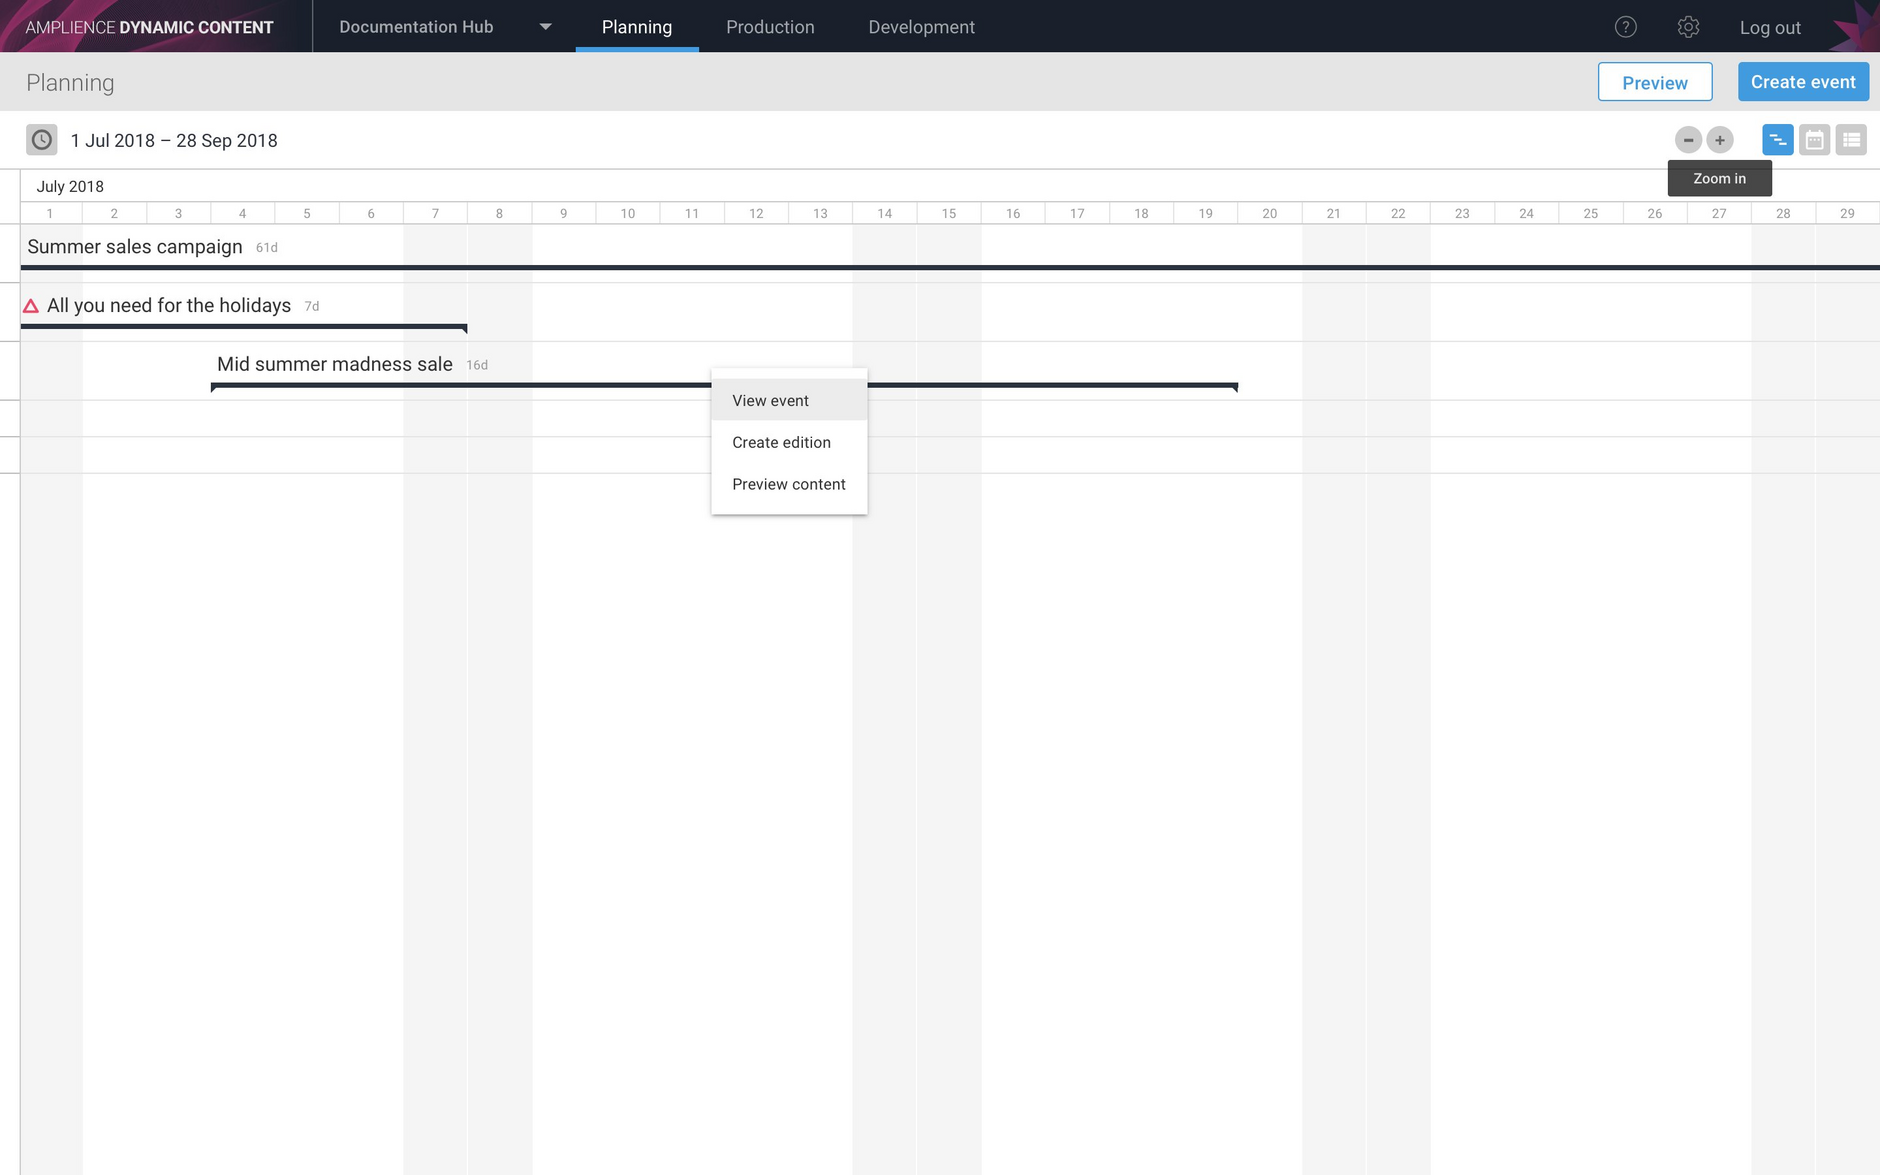
Right-clicking an event will display the event menu, from which you can open the event editing window, create an edition or preview content, with the start date defaulting to the date you clicked within the event. Single clicking in the event name will open the event editing window.
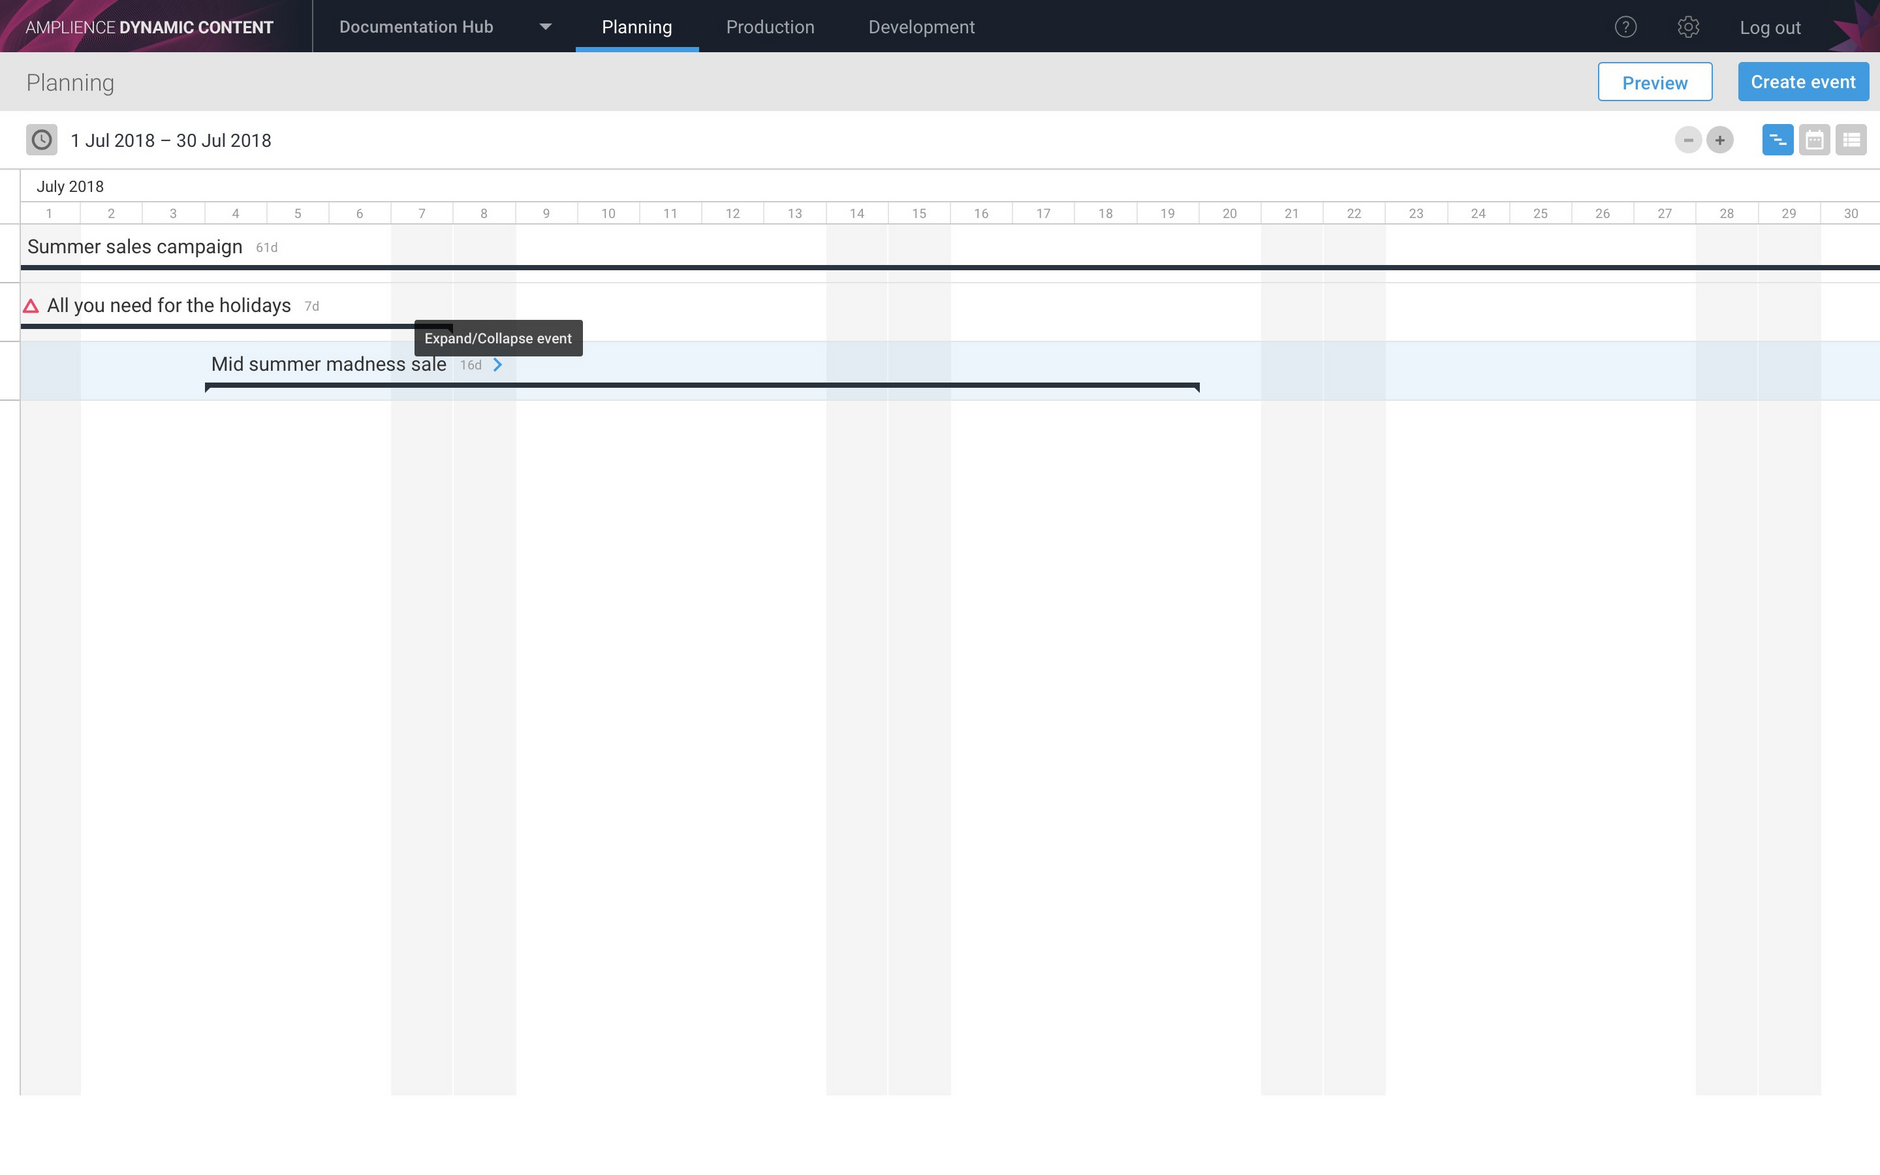
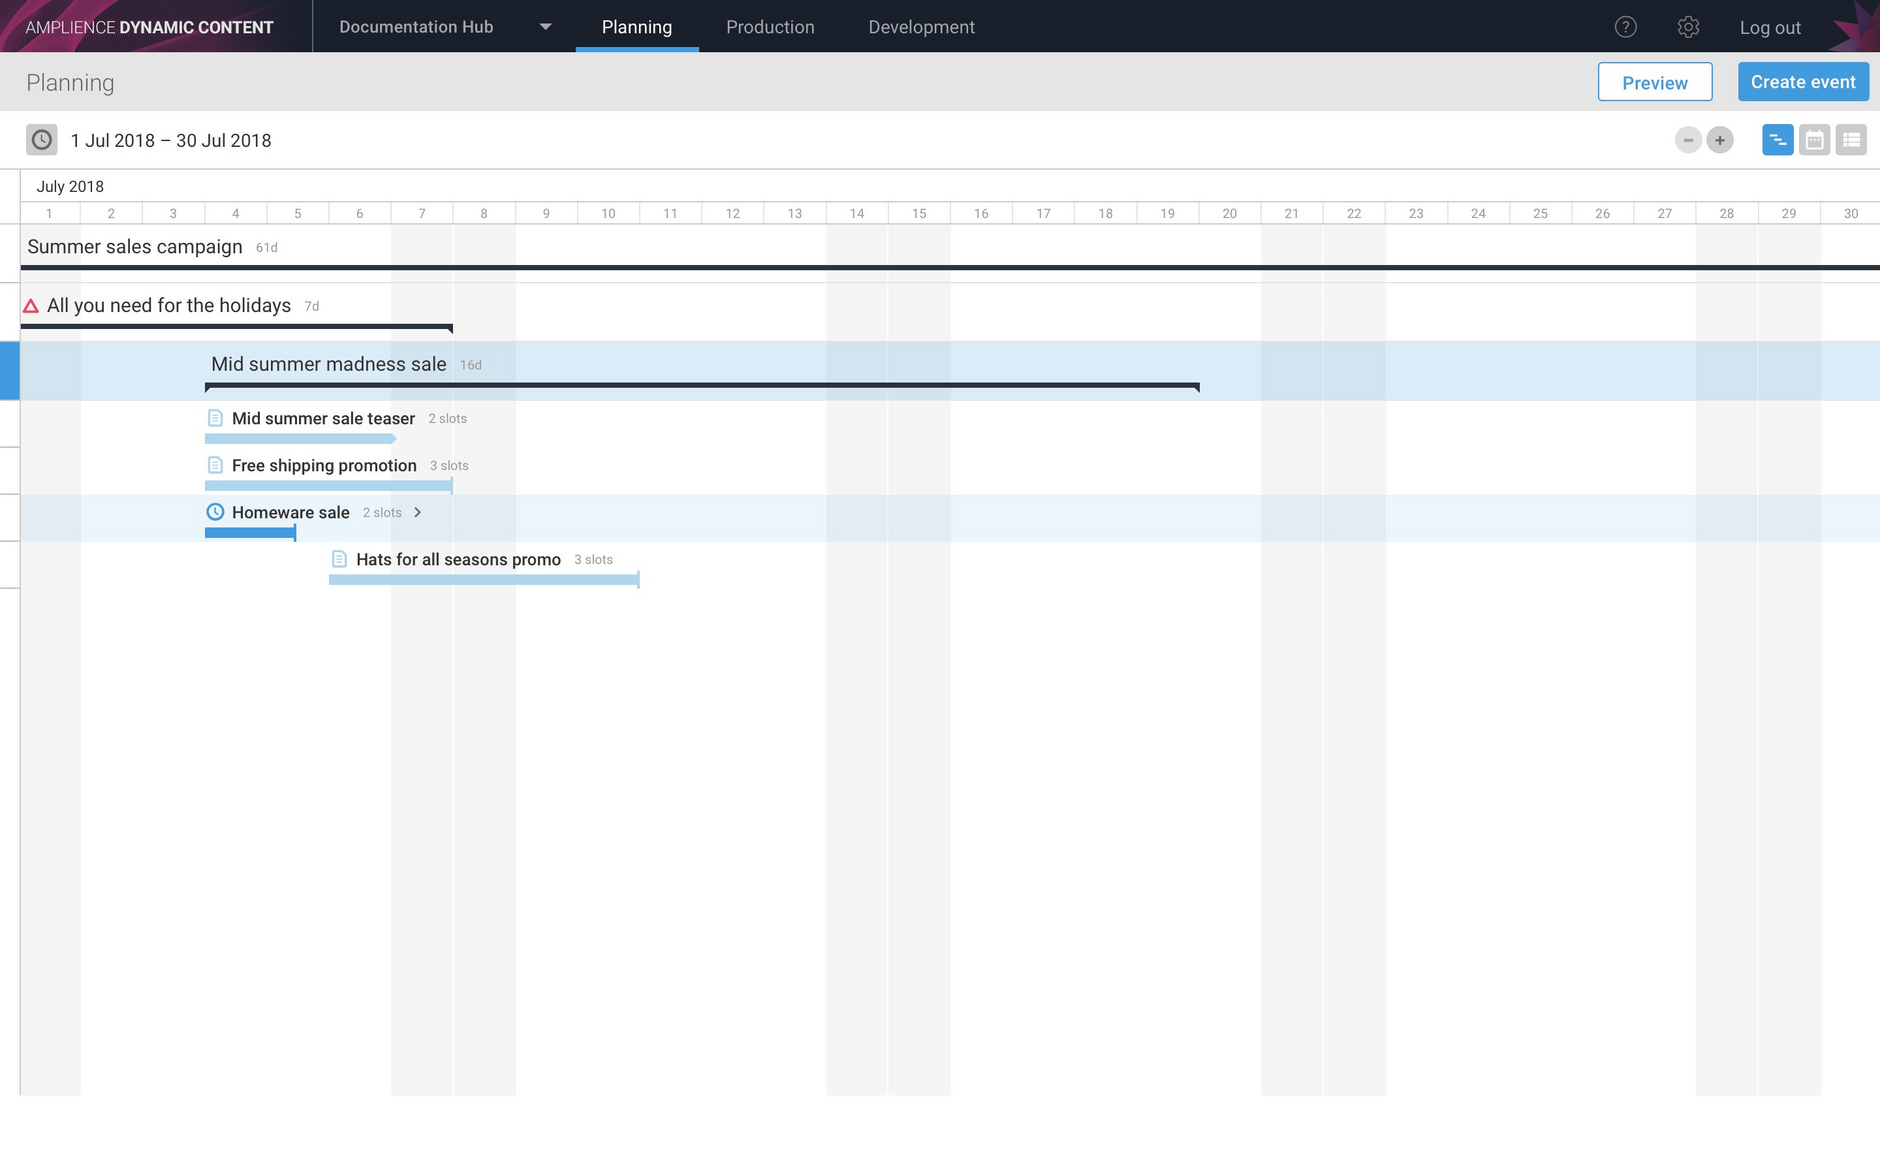
Click the expand/collapse icon to the right of each event containing an edition within the current time frame to view the editions. In this example we have chosen to view the editions within the "mid summer madness" sale.
You can also expand/collapse an event by clicking in the area on the left hand side of the timeline.
The editions are now displayed. Editions that are in draft mode are shown in light blue, while those that have been scheduled are shown in darker blue, together with a clock icon to the left of the edition name. Published editions are shown in green, while those with a version conflict are displayed with a red exclamation mark.
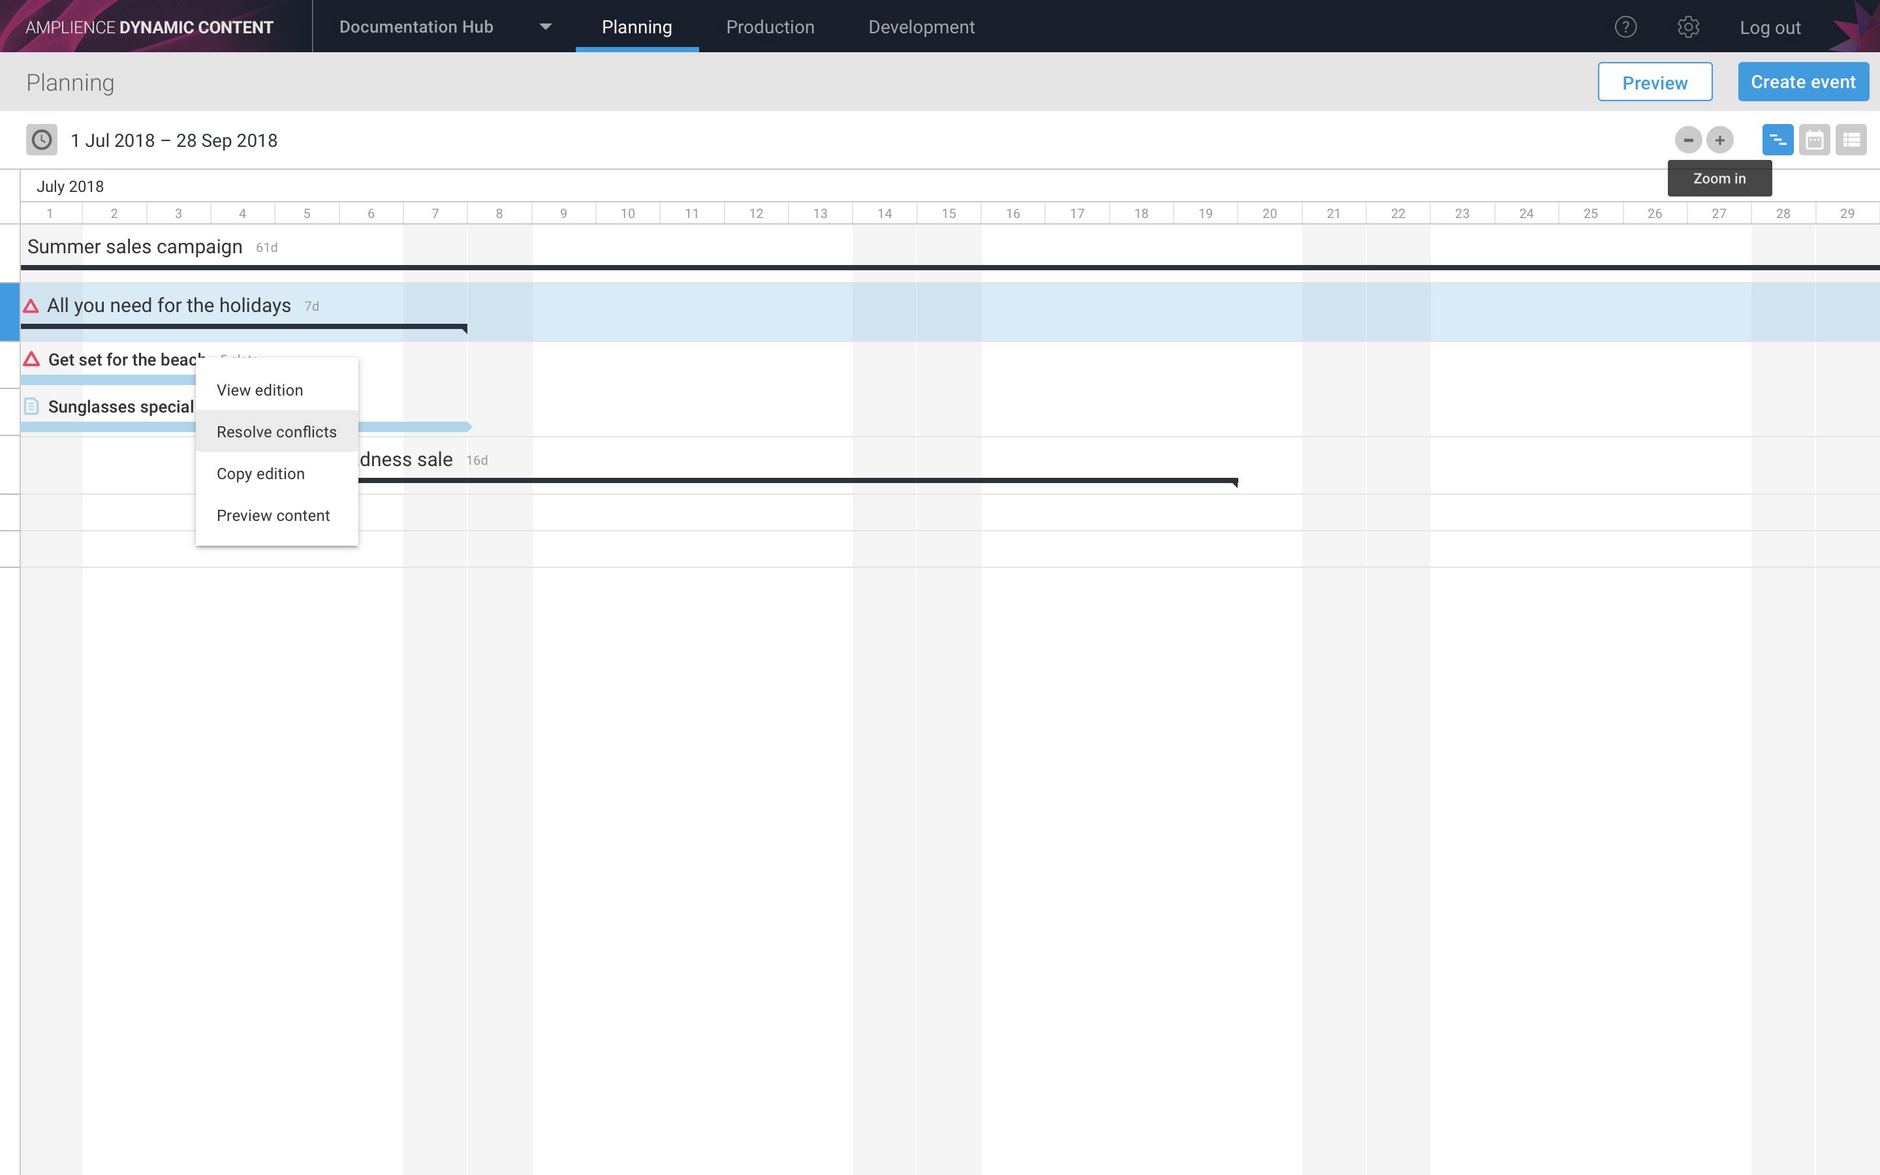
Right-clicking an edition will display the edition menu, allowing you to view or copy an edition and open the content preview dialog. If the edition contains a version conflict, then the "resolve conflicts" option will be included.
A single click in the edition name will open the edition editing window.
Content previewLink copied!
There are several ways that you can choose to display a content preview from the timeline view:
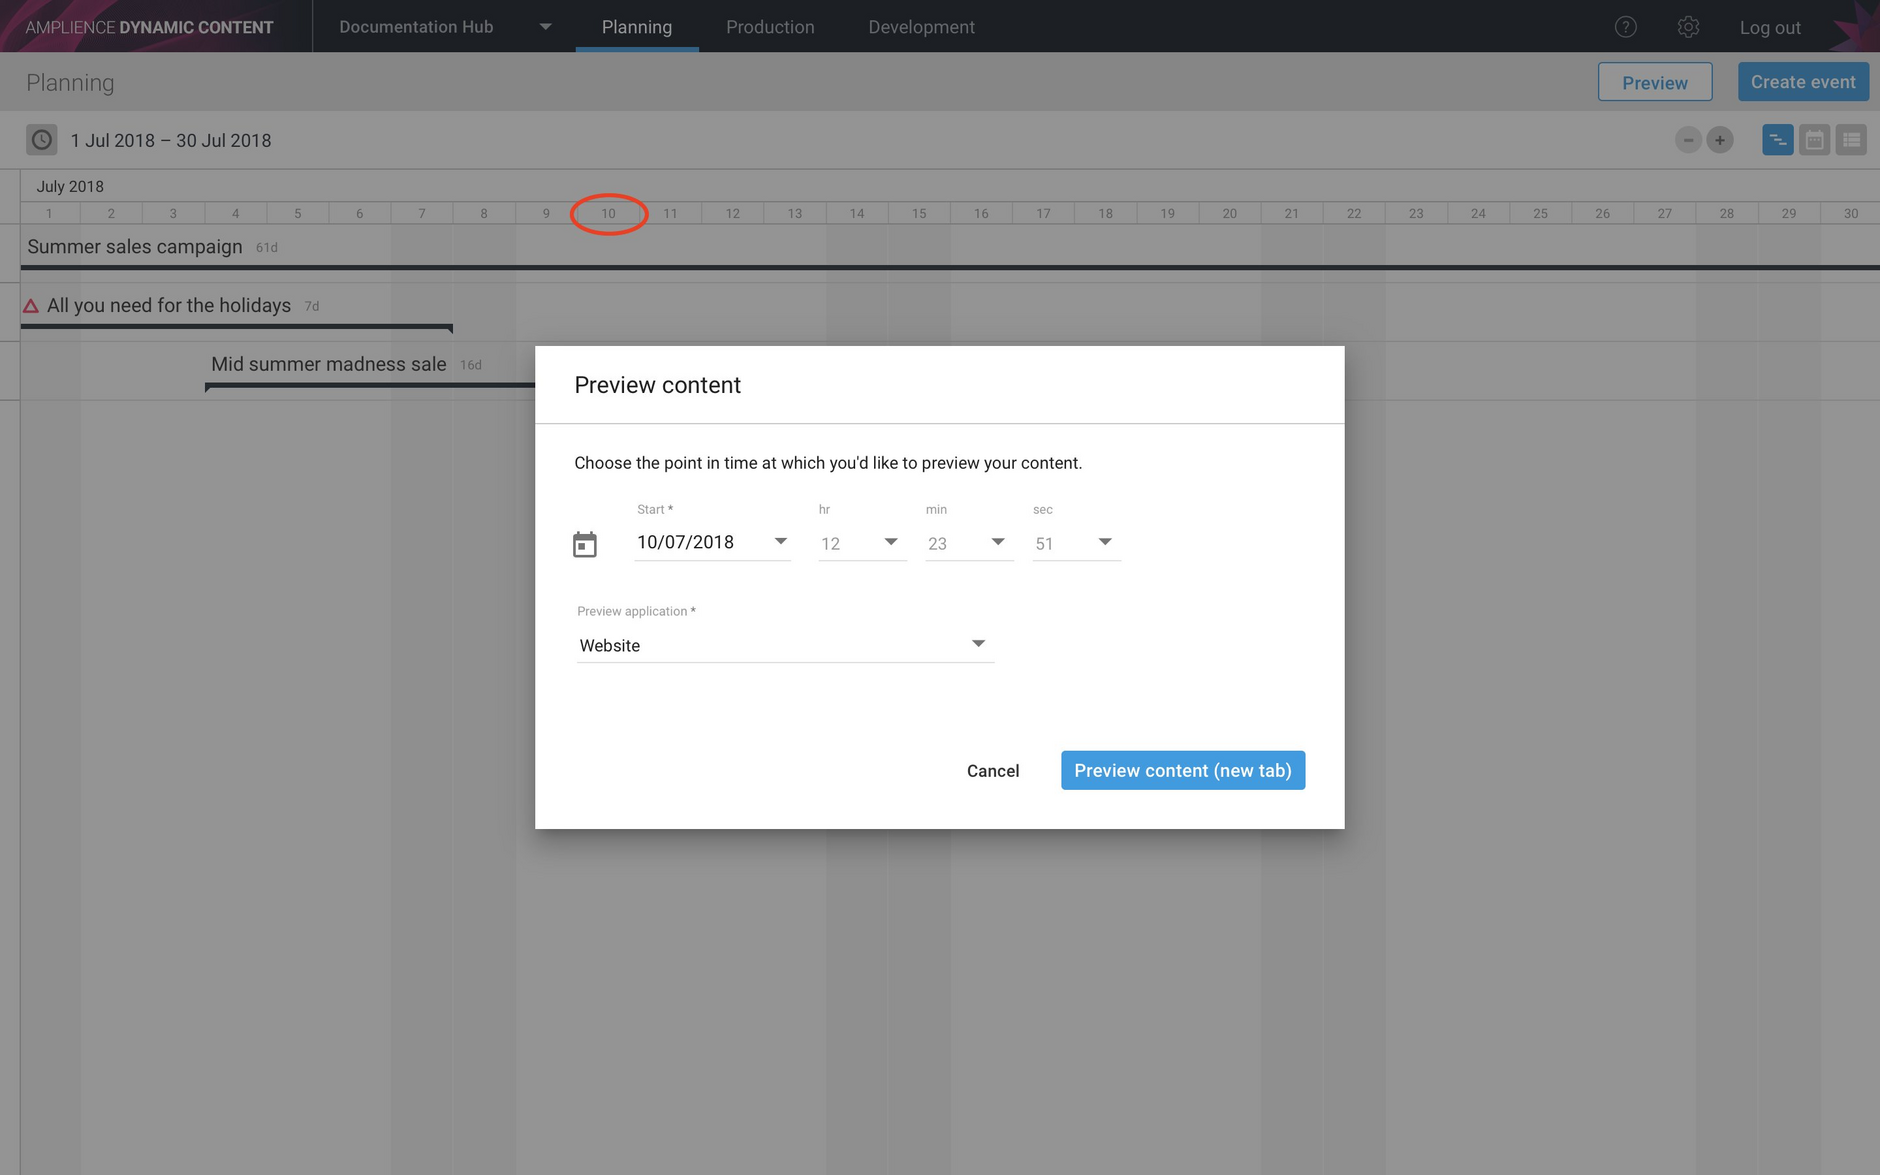
- Click on any date at the top of the window and the preview dialog will be displayed with the start date defaulting to the selected date.
- Right-click within an event or edition and choose "Content preview". The start date will default to the date at which you clicked.
If you choose a date in the past, the preview will be set to start on the current date.
You can also click the "Preview" button at the top right of the window to open the preview dialog.
In the example below, clicking on July 10th at the top of the window, opens up the Preview content dialog with this as the start date.
