Planning enhancements, publishing, registering content types
Release date: 11th April 2018
This release note covers what's new in the latest version of Dynamic Content. We'll go into detail on the enhancements in planning, the publish and copy content item functionality, and the new developer section including features that allow you to configure and register a content type. You'll also find details on folder improvements, new settings and help icons, and the content rendering service.
Planning user interface enhancementsLink copied!
We've made several updates to the planning view in this release. A new date selection dialog has been added and we've made a few changes to make editions easier to work with. New items have been added to the edition contextual menu to make accessing commonly used functions faster, editions and events can now include description text and slot validation information has been made clearer.
Easier date selectionLink copied!
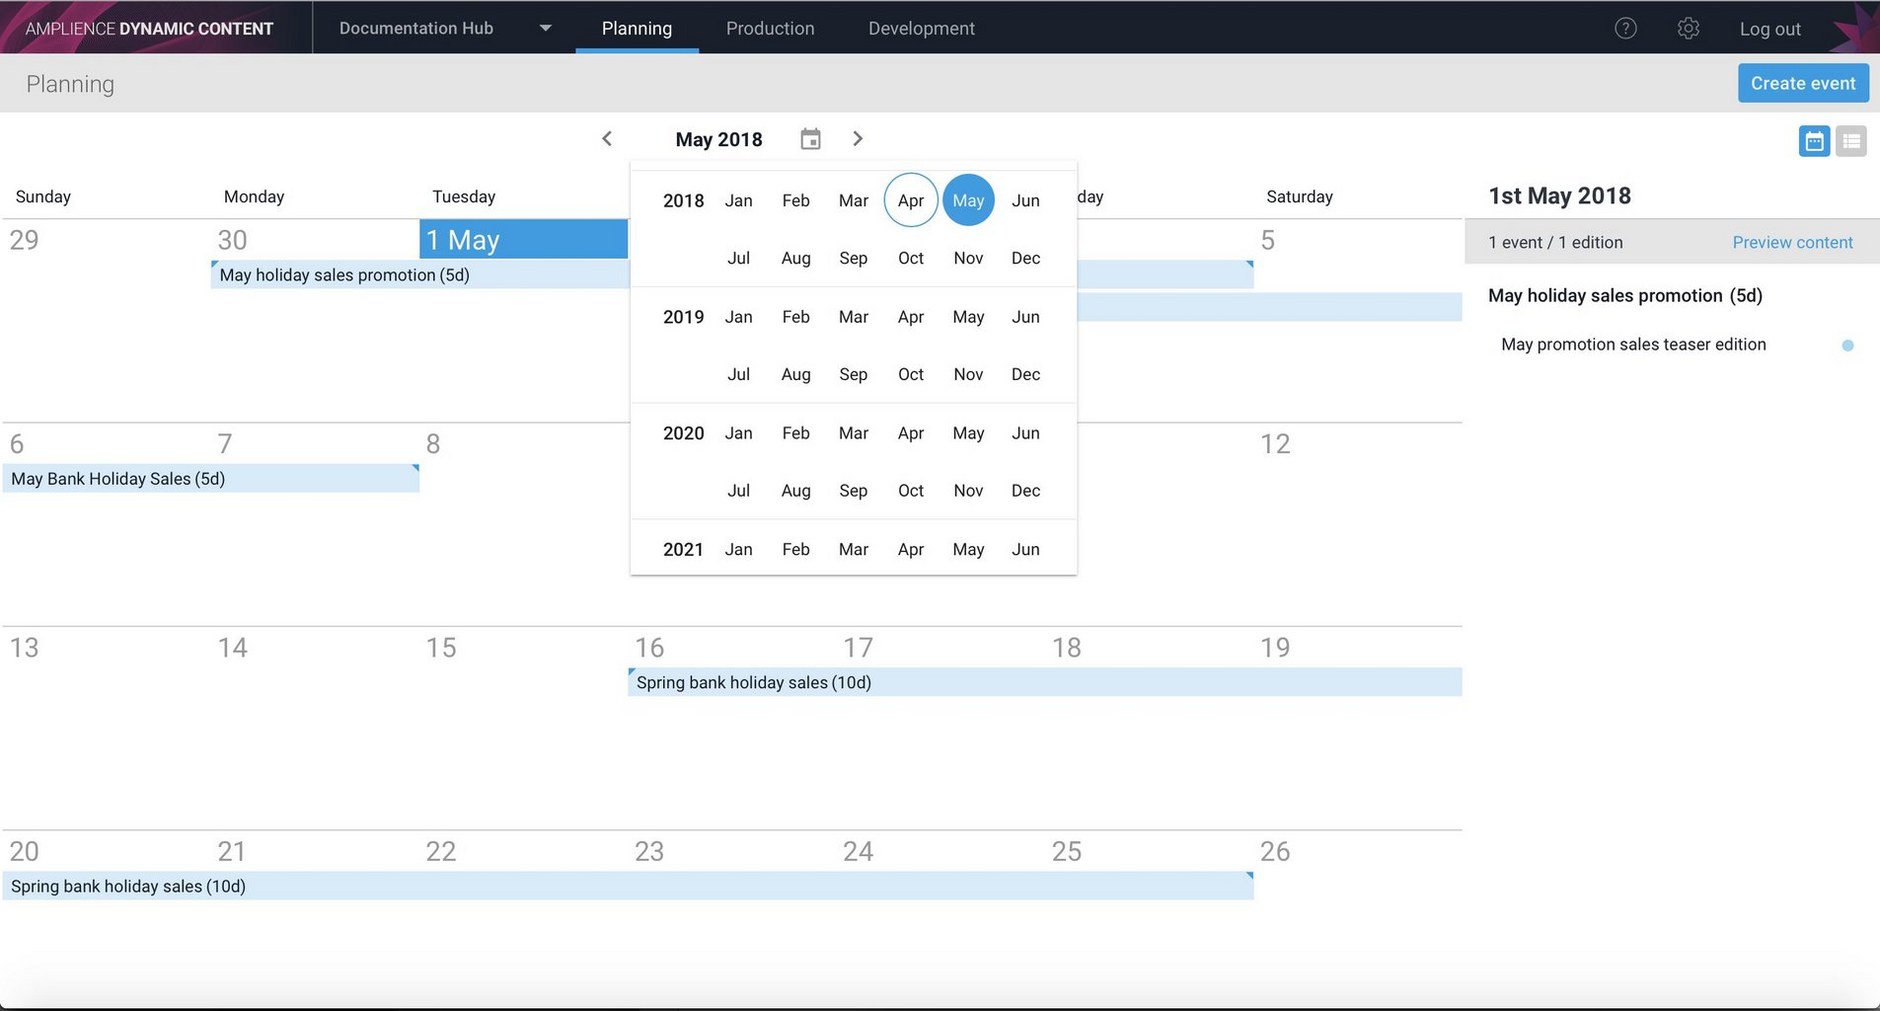
We've made it easier to go straight to a chosen month or year from the planning view. Click the new date selection icon and choose the month from the date selection window, as shown in the example below.
New items on the edition contextual menuLink copied!
To make it easier to work with editions, new actions have been added to the edition contextual drop down menu, available from the "Schedule" button in the edition window. The items available in the menu will vary according to the state of the edition.
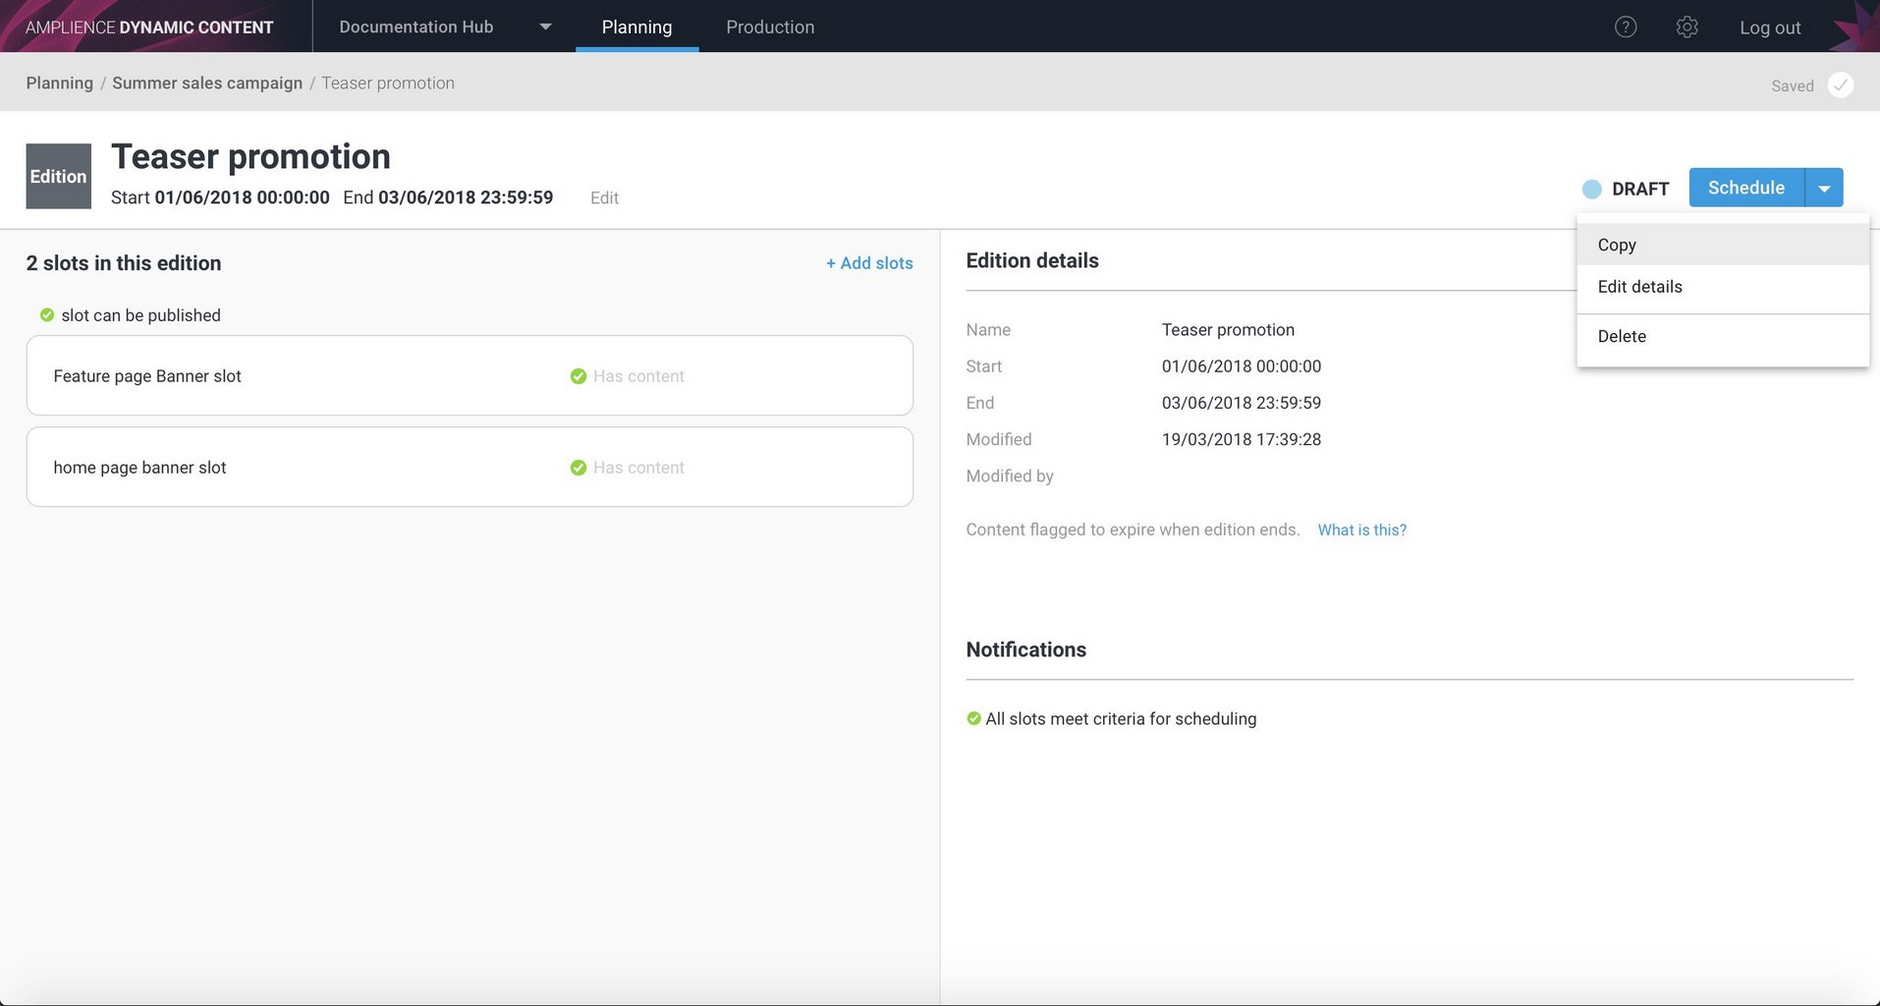
If the edition is in a 'Draft' state, that is it has not been scheduled, then the Copy, Edit details and Delete menu items are available.
An example of the contextual menu for a draft edition is shown below.
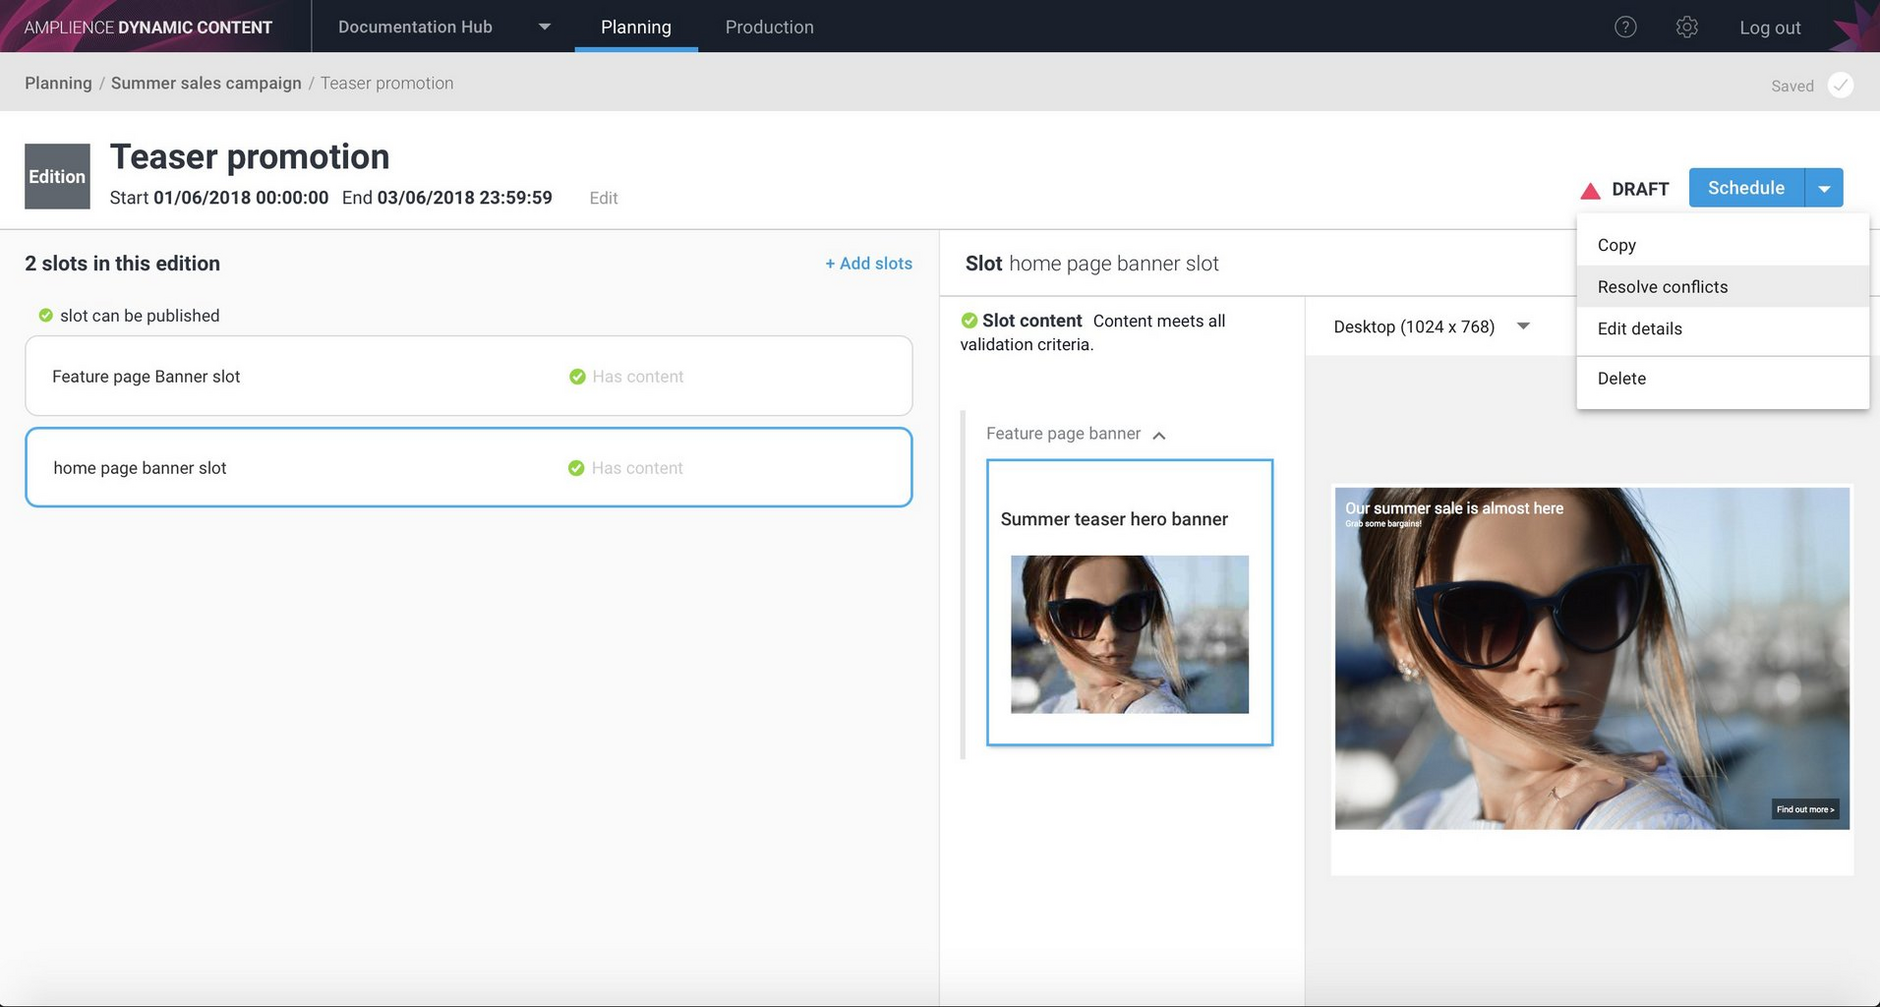
If the edition is in a draft state and also contains slots for which there is a version conflict, then a "Resolve conflicts" menu item is included, providing easy access to the conflict resolution centre.
The image below shows the contextual menu for an edition that contains a version conflict.
If an edition is no longer in a draft state- if it is scheduled, published or expired, then only the "Copy" item will be displayed in the menu.
Adding descriptions to events and editionsLink copied!
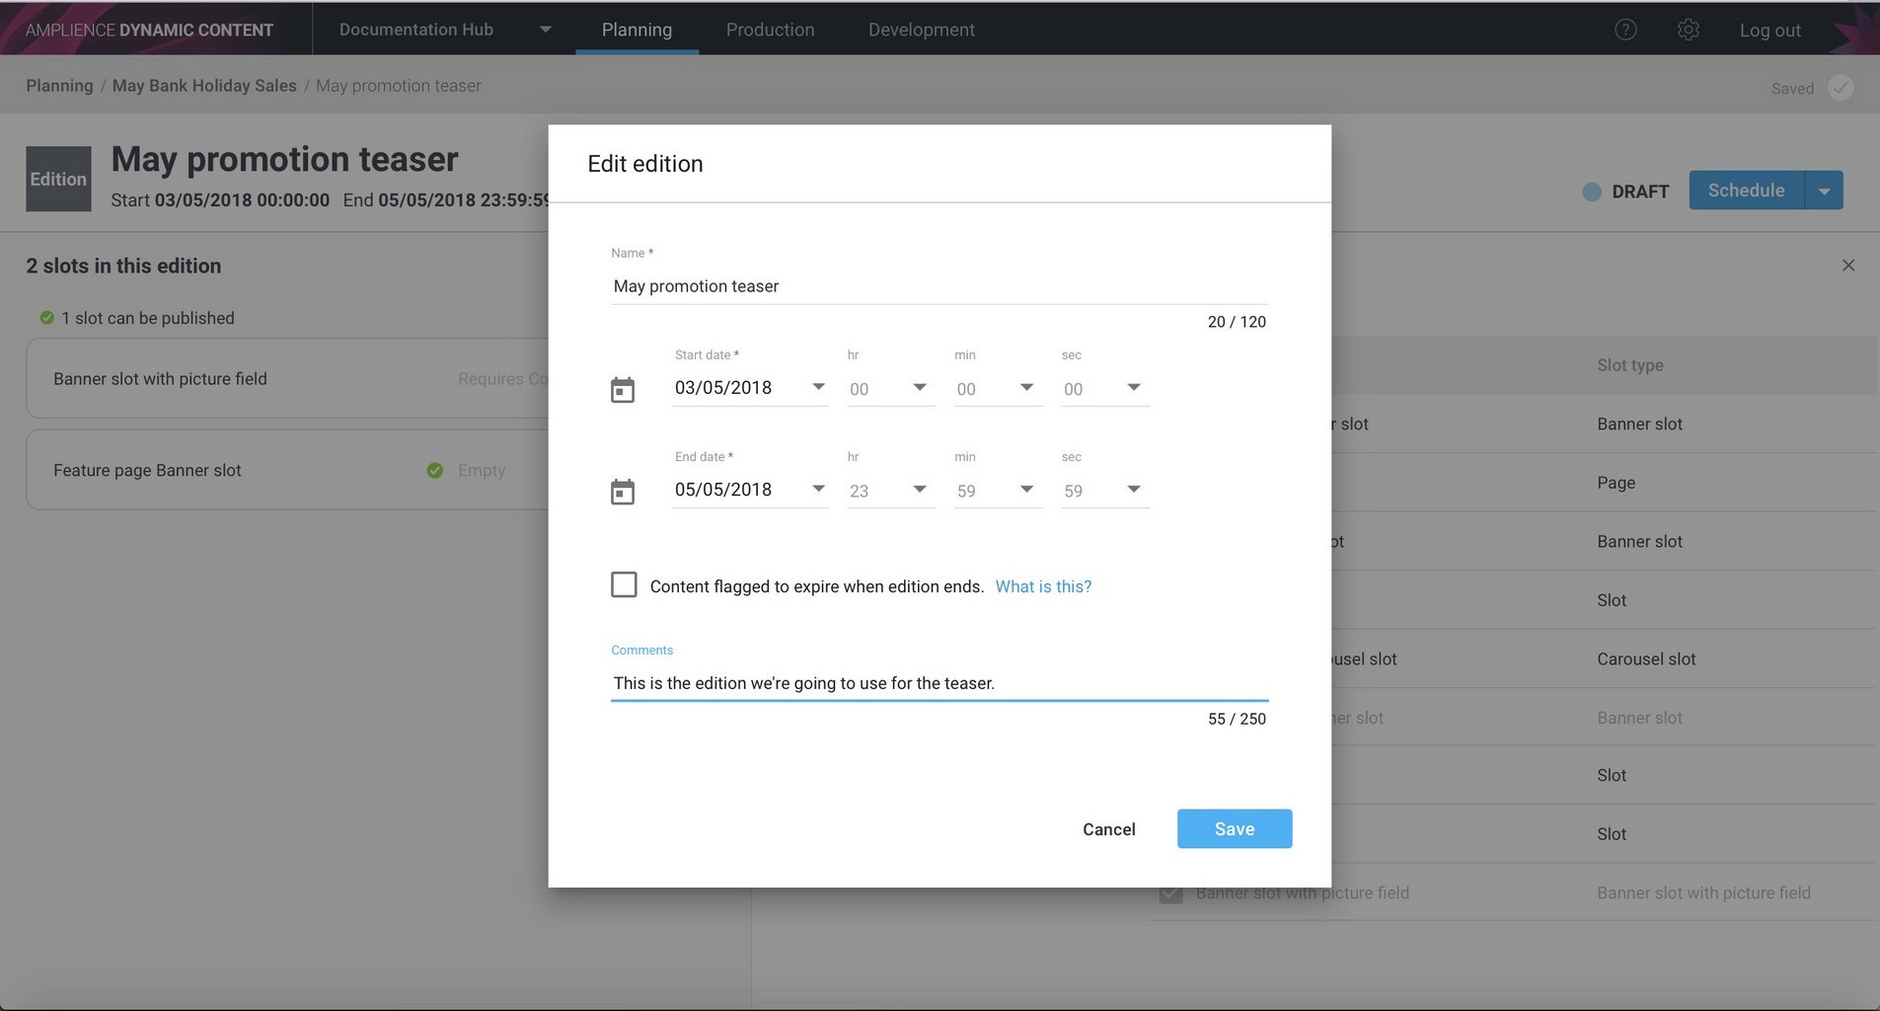
You can now add description text to events and editions, so planners can add comments for other users, for example. The text can be added when the event or edition is created, or updated from the event or edition editing window.
An example of the new edit edition window with the comments field is shown below.
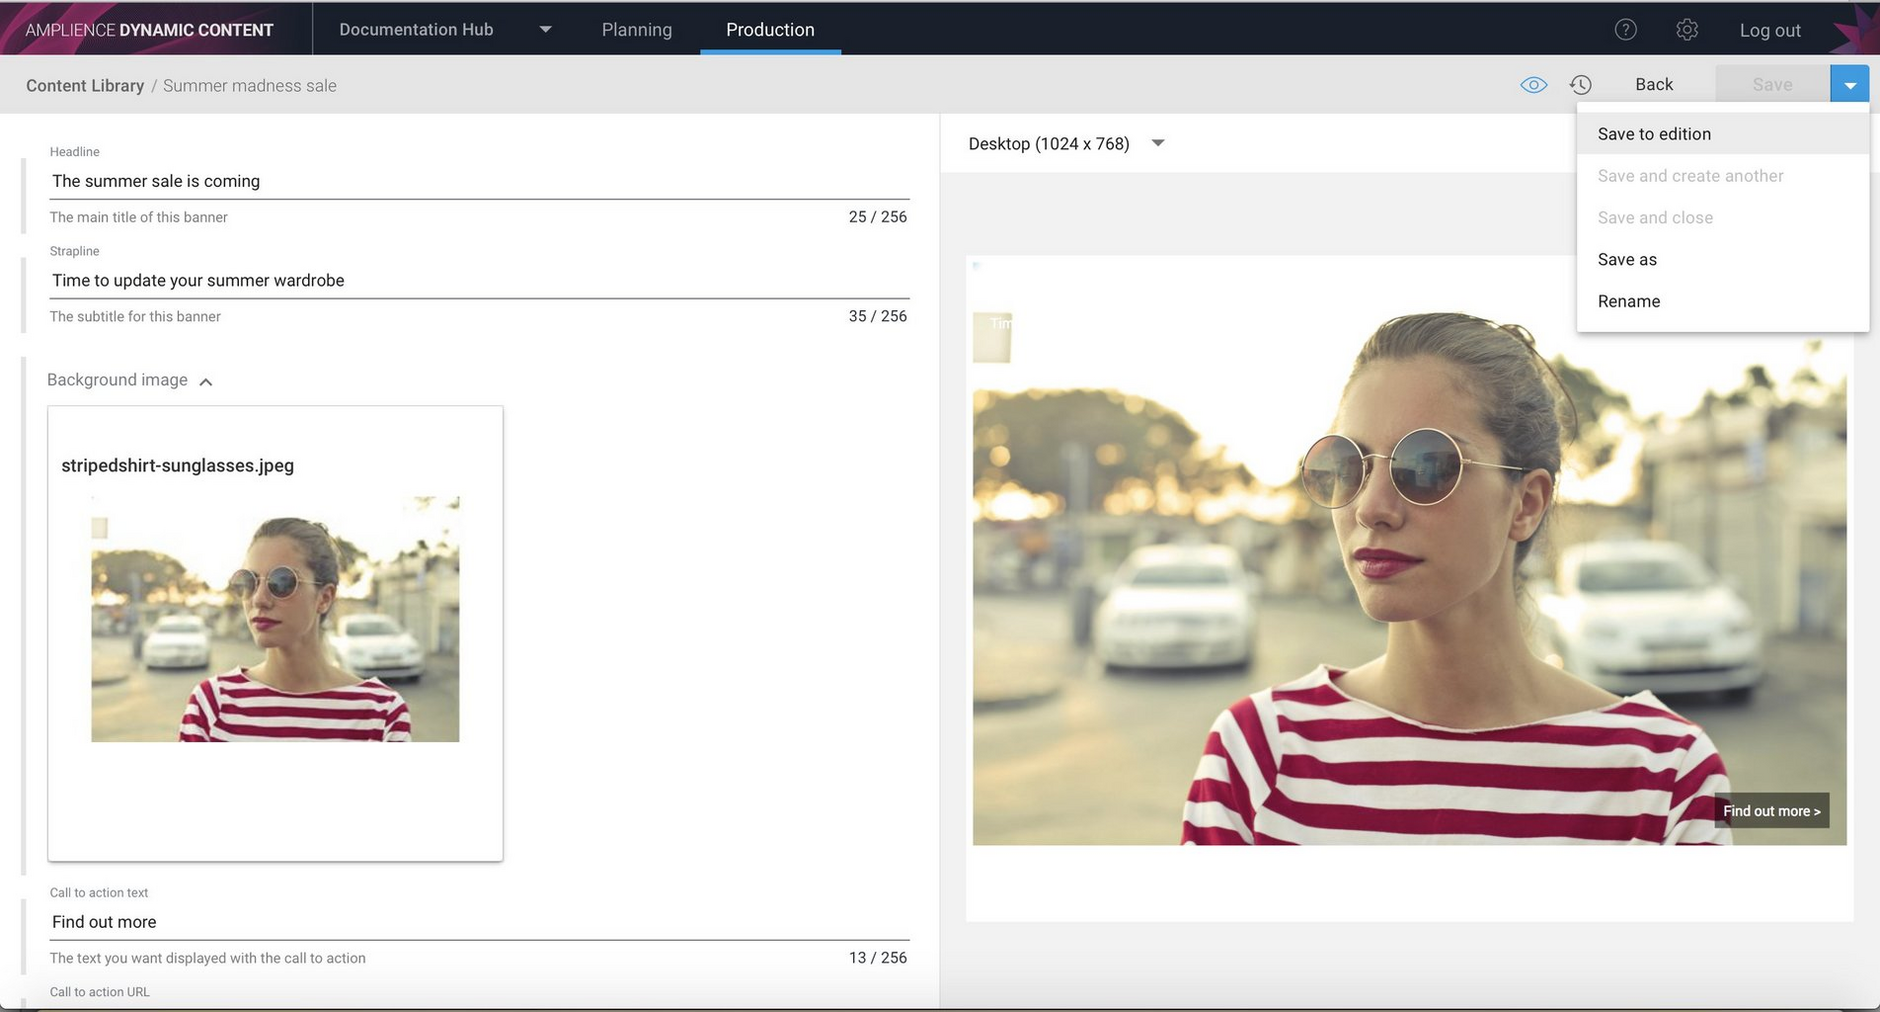
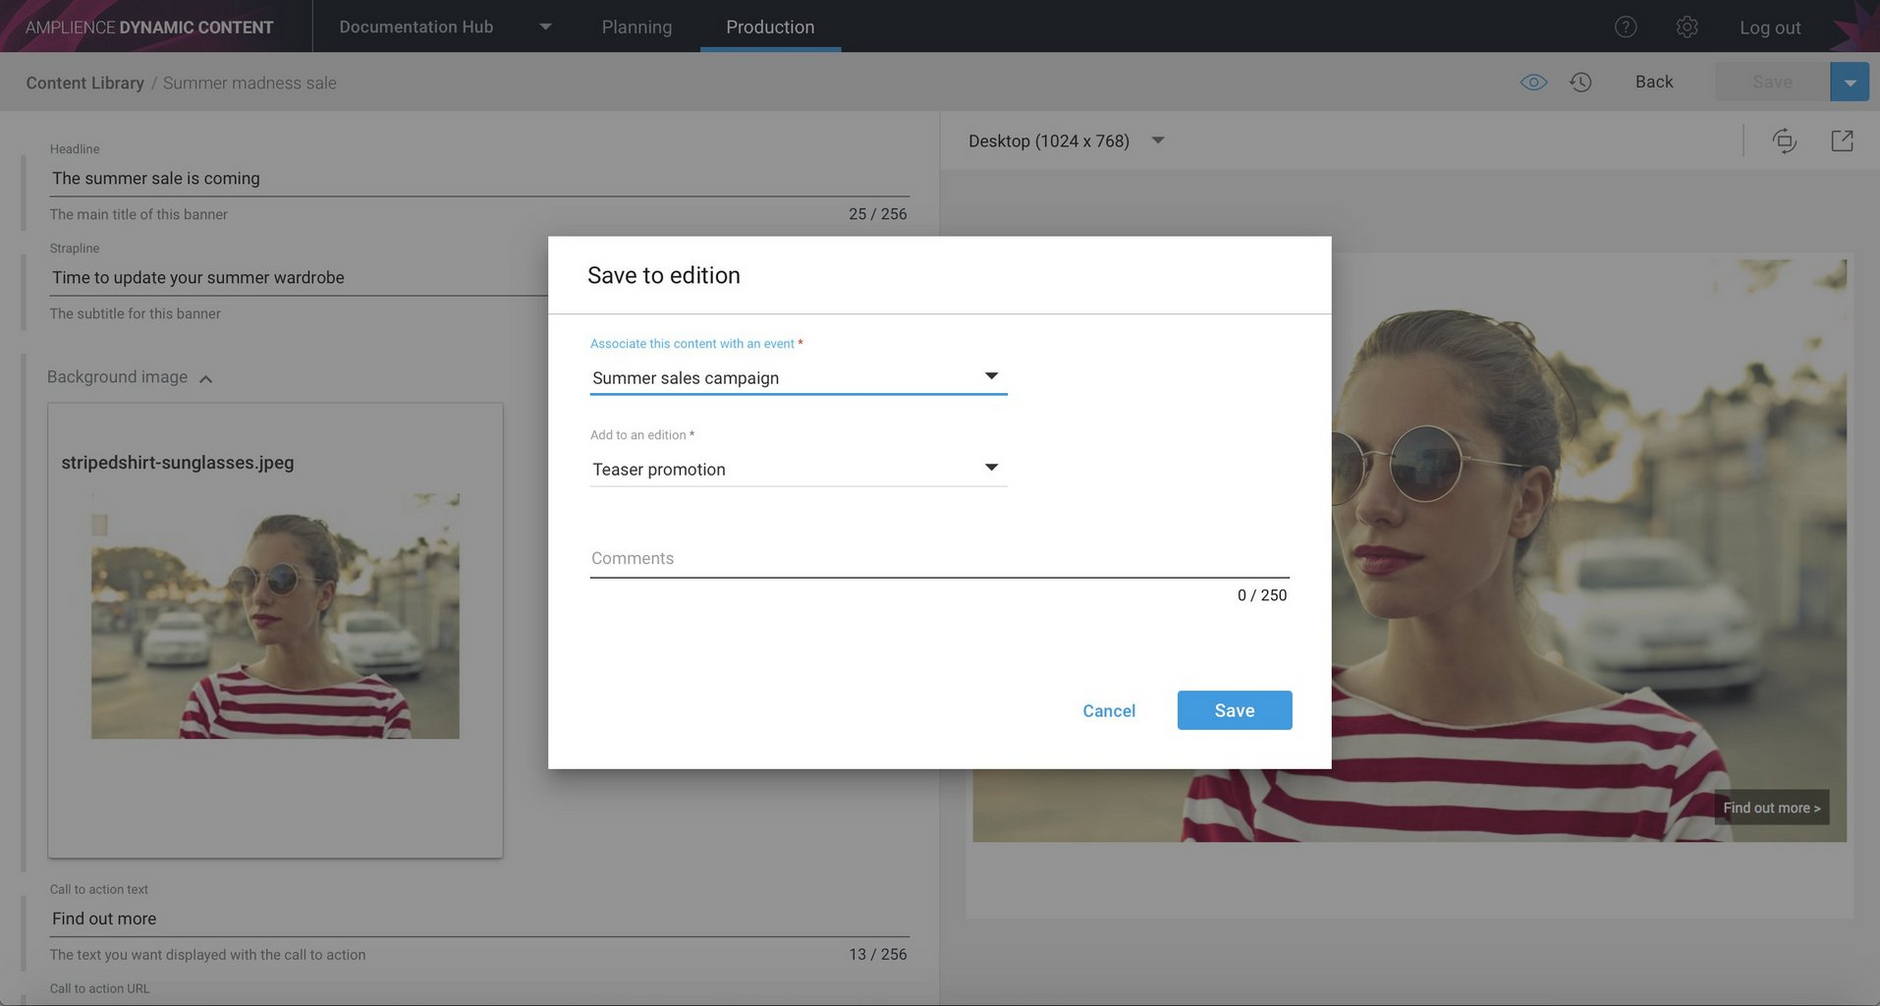
Save to edition remembers your last choiceLink copied!
To speed up the process of choosing an edition to save content to, "Save to edition" now remembers the last edition that you saved content to.
In the example below we're choosing to save the "Summer madness sale" banner to an edition.
The Save to edition dialog is now displayed with the last event and edition that we saved content to selected. If we had previously saved this content to an edition, than the edition we previously saved content to would be selected, otherwise the last edition to which any content was saved will be selected.
Slot validation improvementsLink copied!
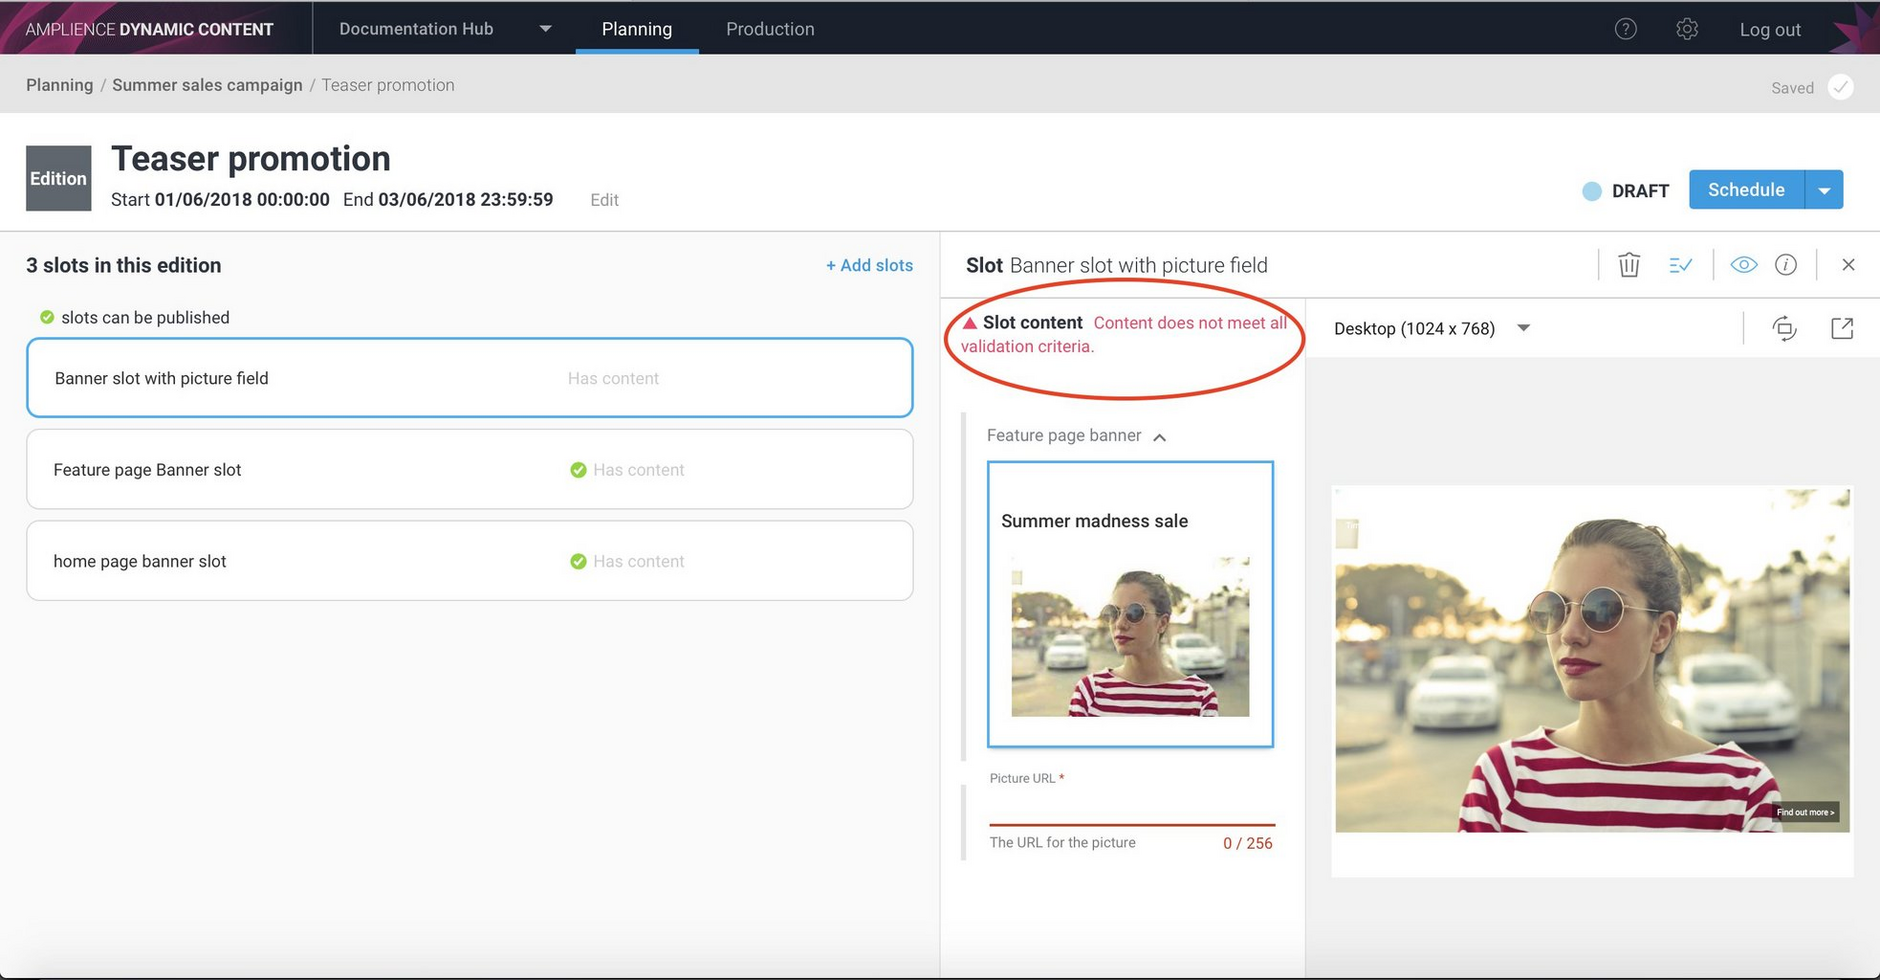
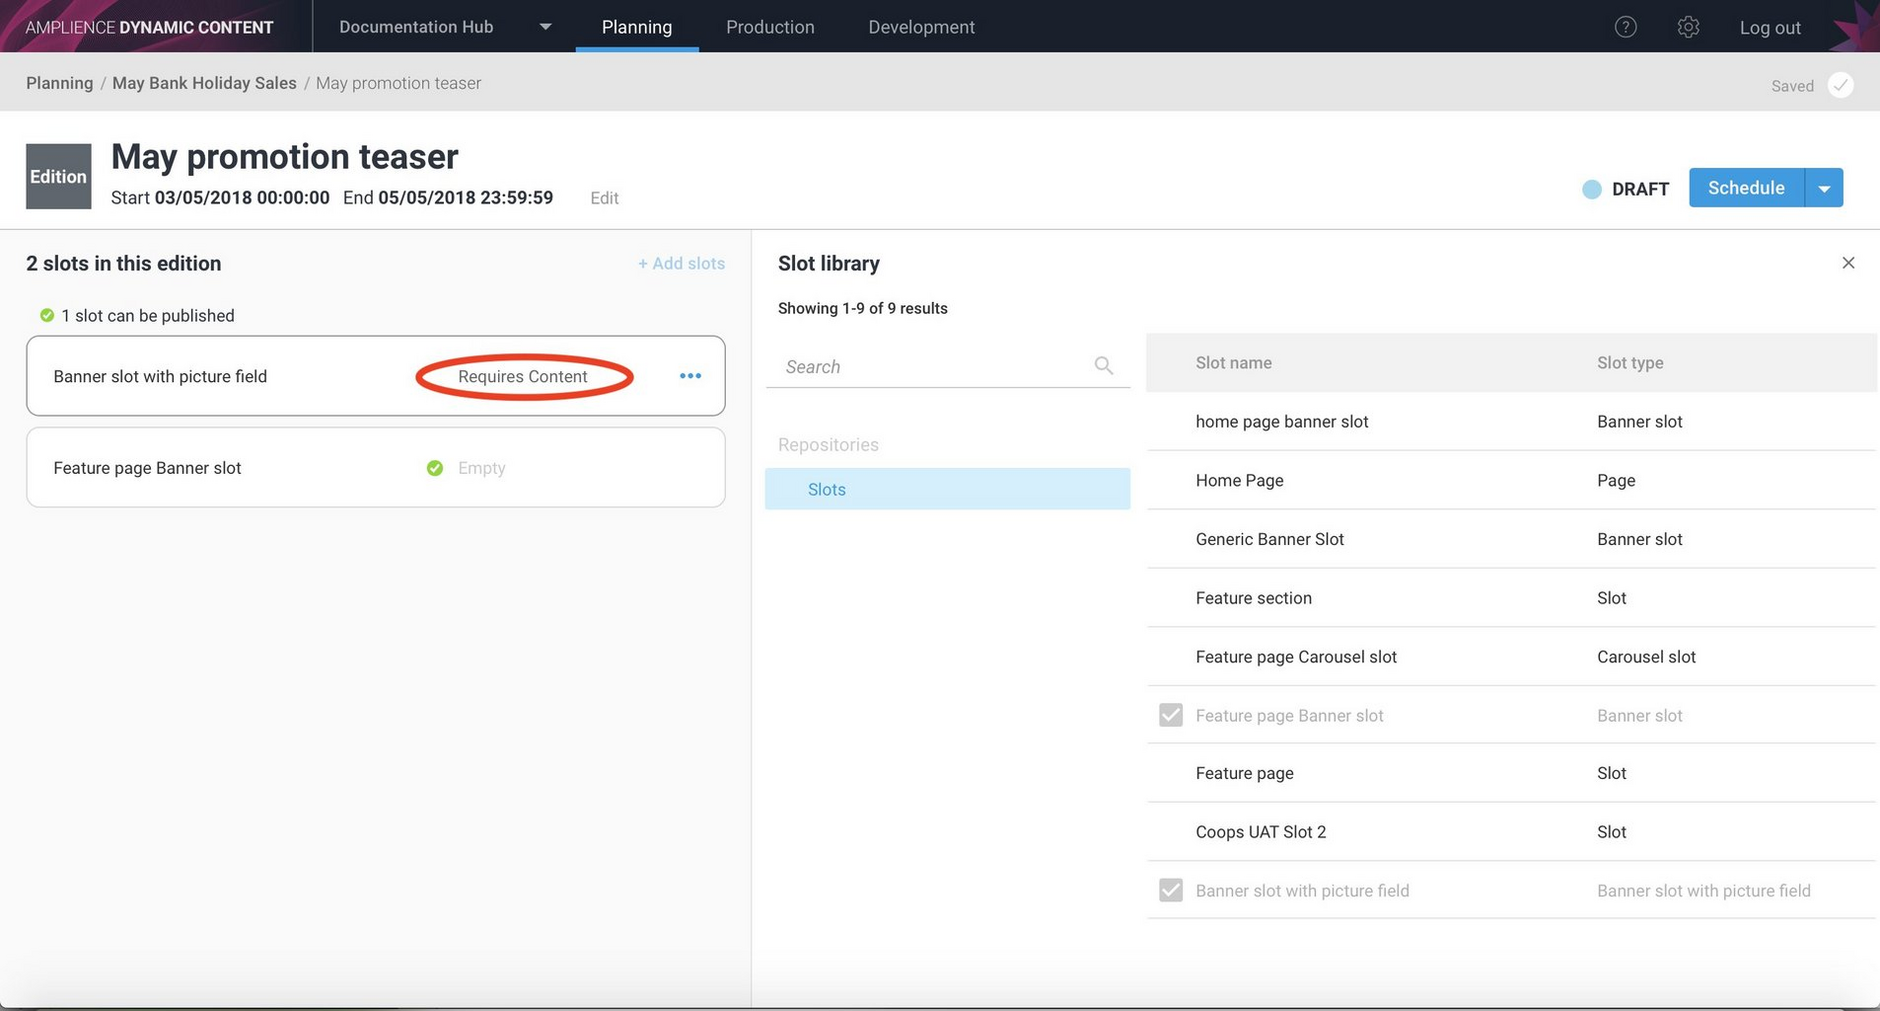
Slot validation information is now displayed when a slot is added to an edition, indicating to planners which fields are required and which contain valid information.
In the example below, the "Banner slot with picture field" is set up to require a valid URL and no valid URL has been entered. If a valid value is not supplied for this field, then the slot is not valid. The edition cannot be scheduled until valid information is entered in this slot. Previously you would only be warned when attempting to schedule the edition.
Slots will also be validated when the fields within them are updated.
Multiple users working on the same edition- improvementsLink copied!
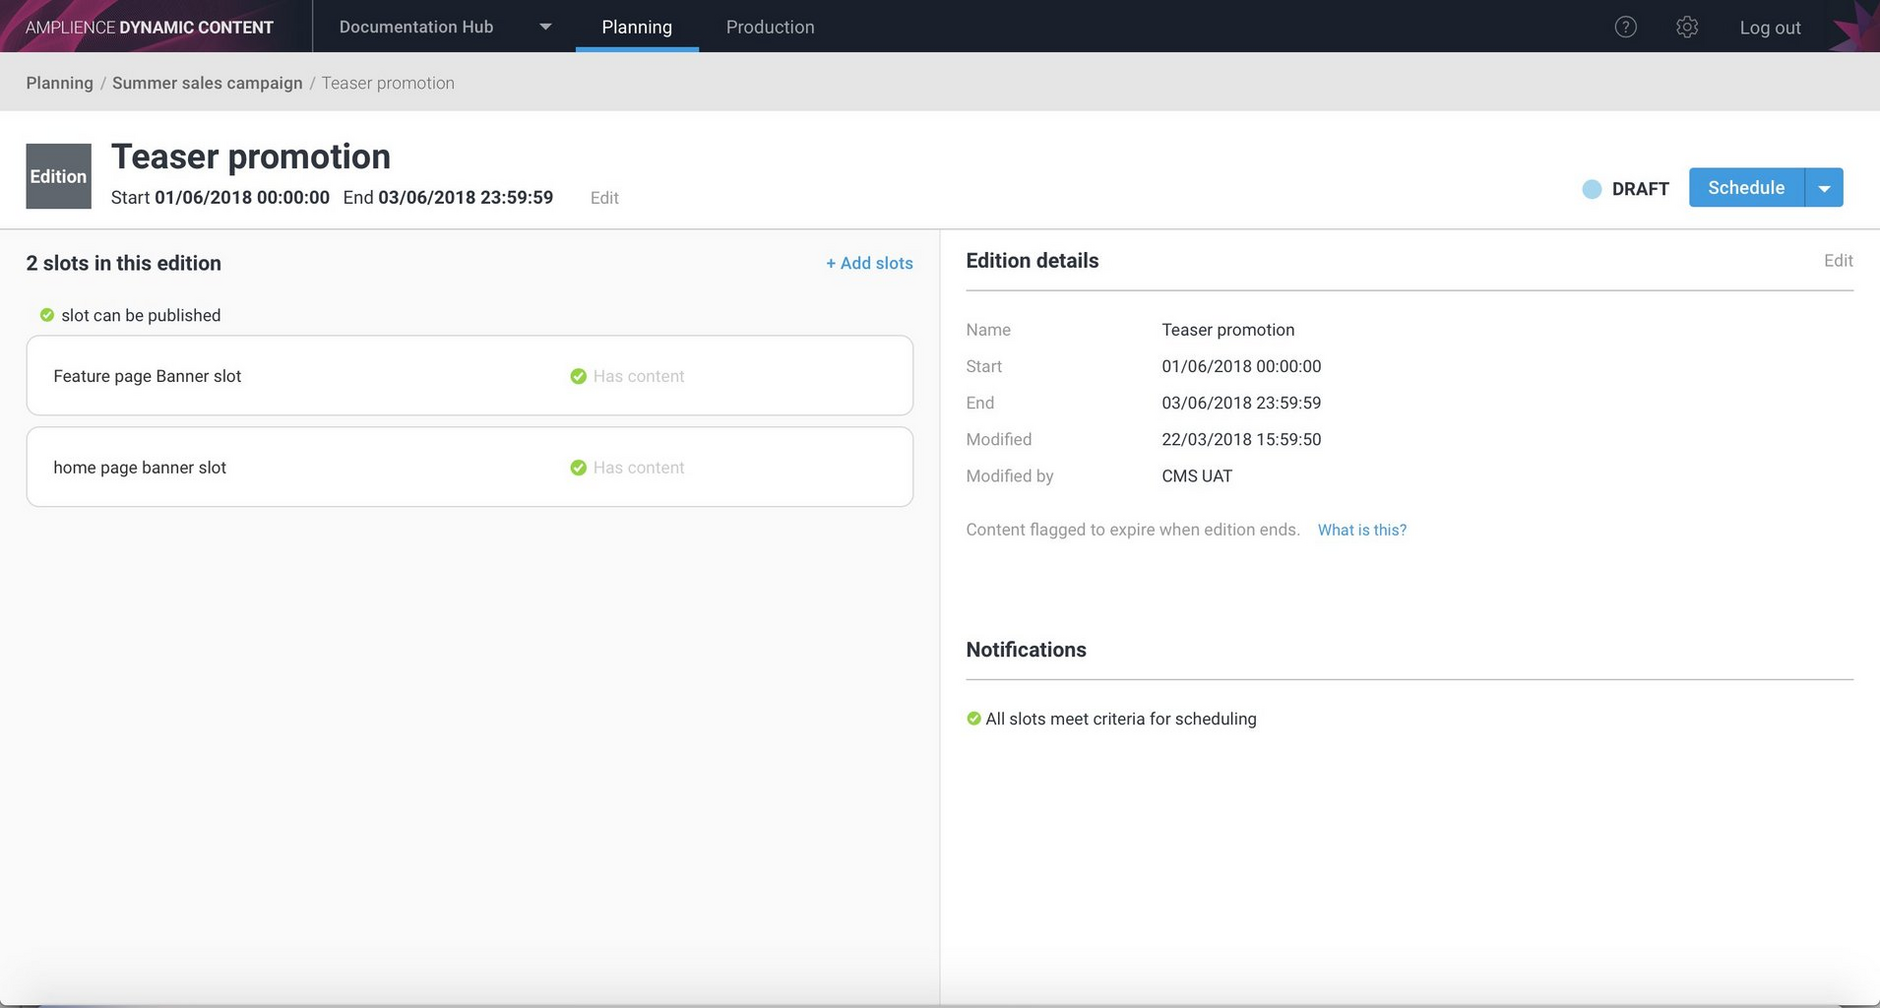
We've made it easier to deal with the situation where multiple users are working on the same edition at the same time. When a user opens an edition to schedule it or resolve conflicts, that user is made aware of any changes made concurrently by another user. Modified date and modified by fields have also been added to the edition window, to help identify which user made the change to an edition and when they made it.
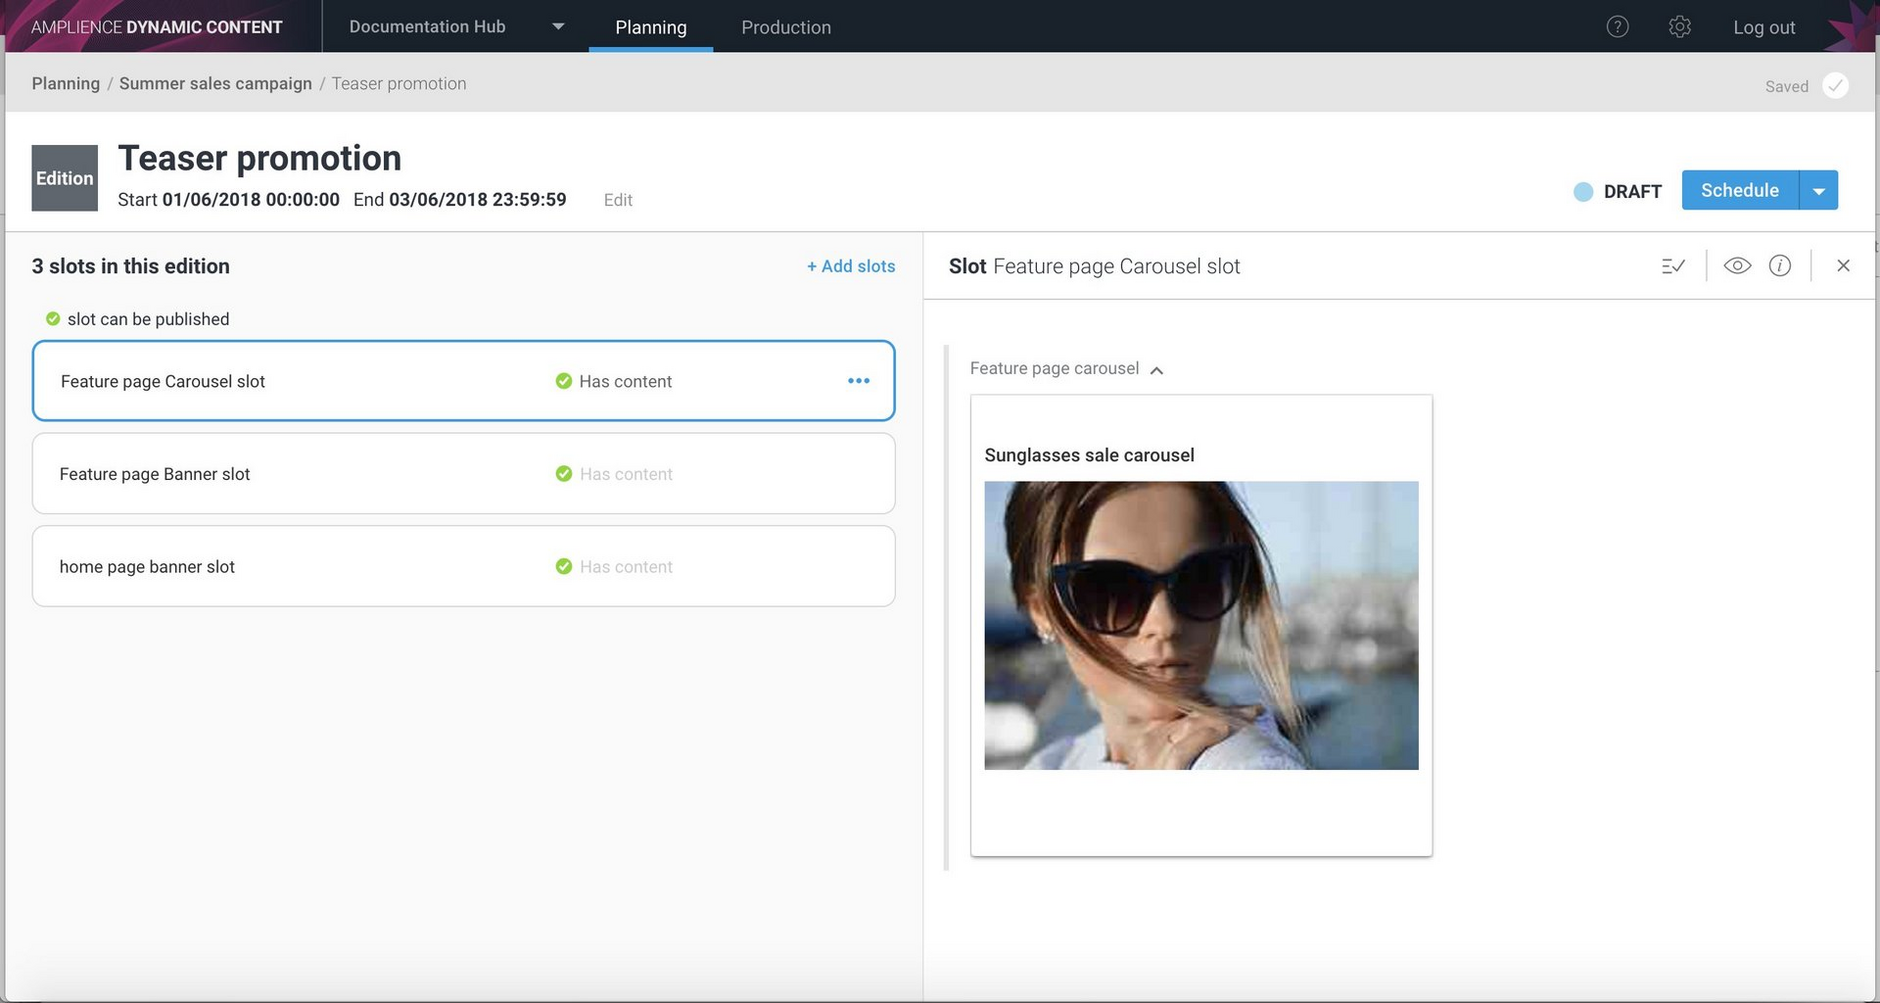
The example below shows this in more detail. One user is preparing to schedule an edition that contains two slots
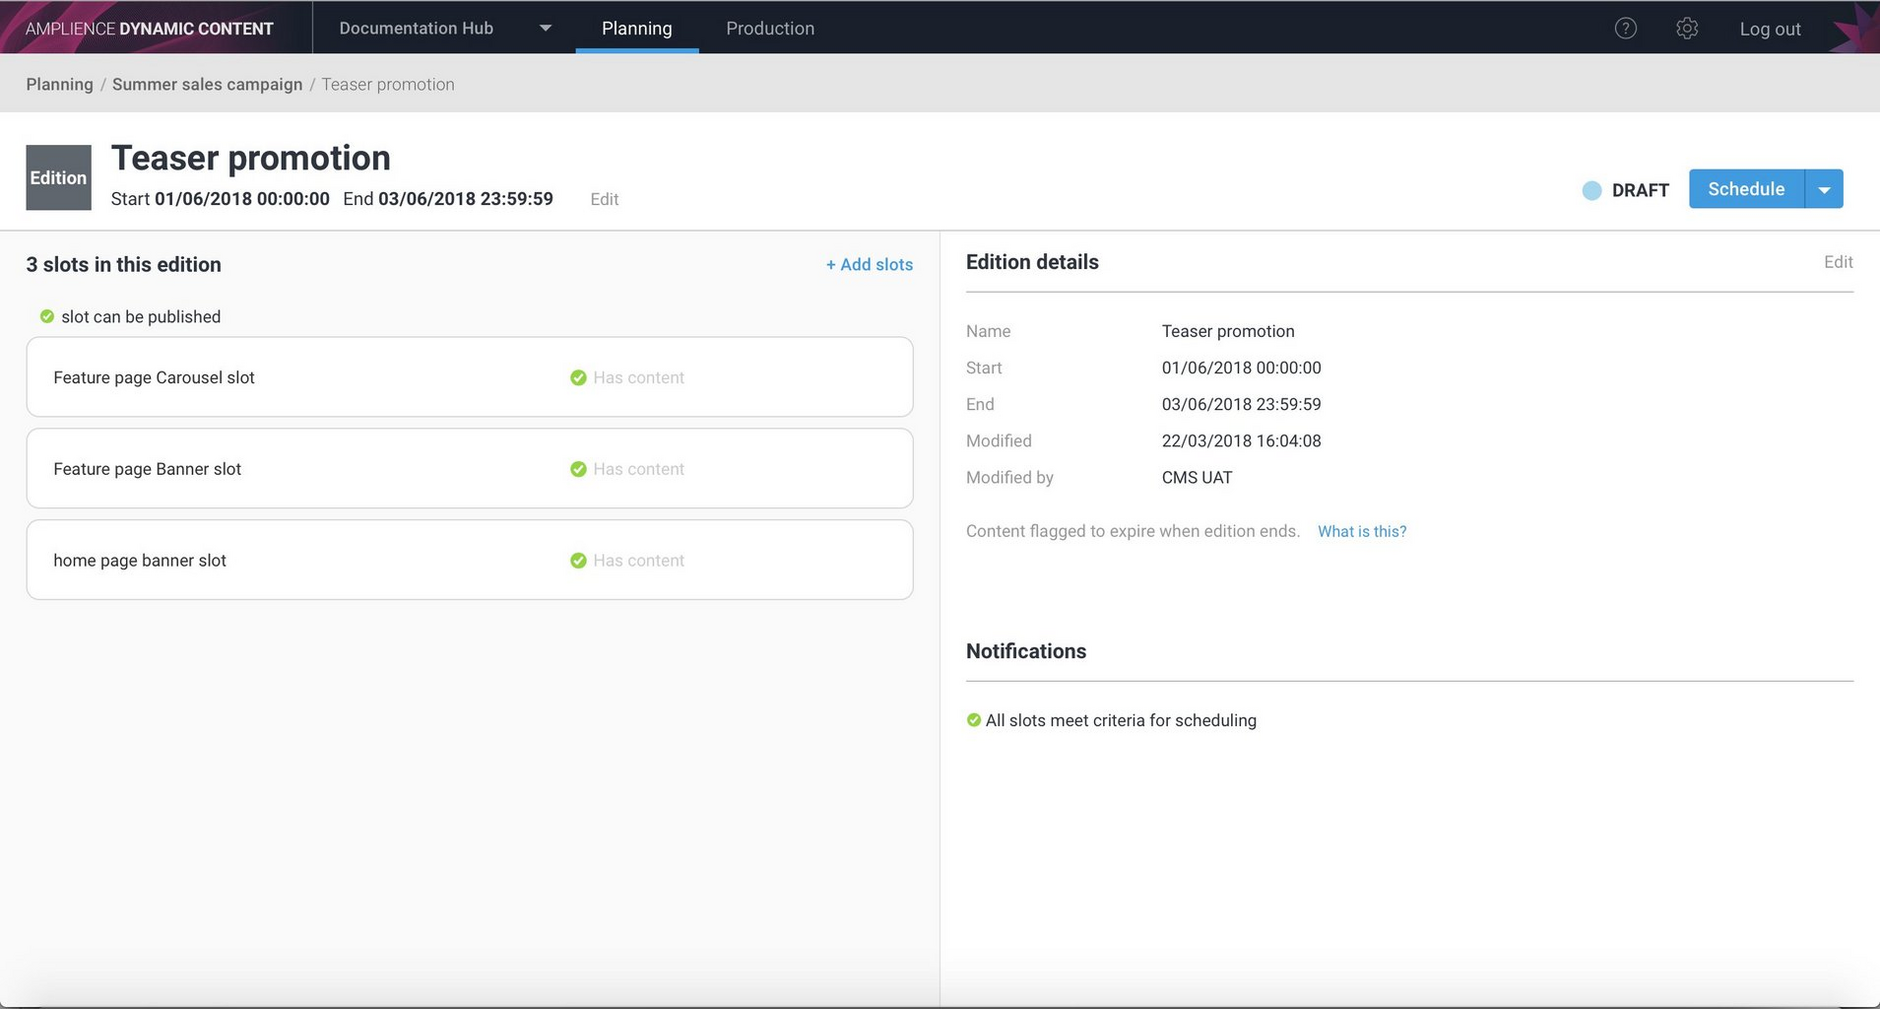
At the same time, another user has edited this edition, adding a slot to it, so it now contains 3 slots.
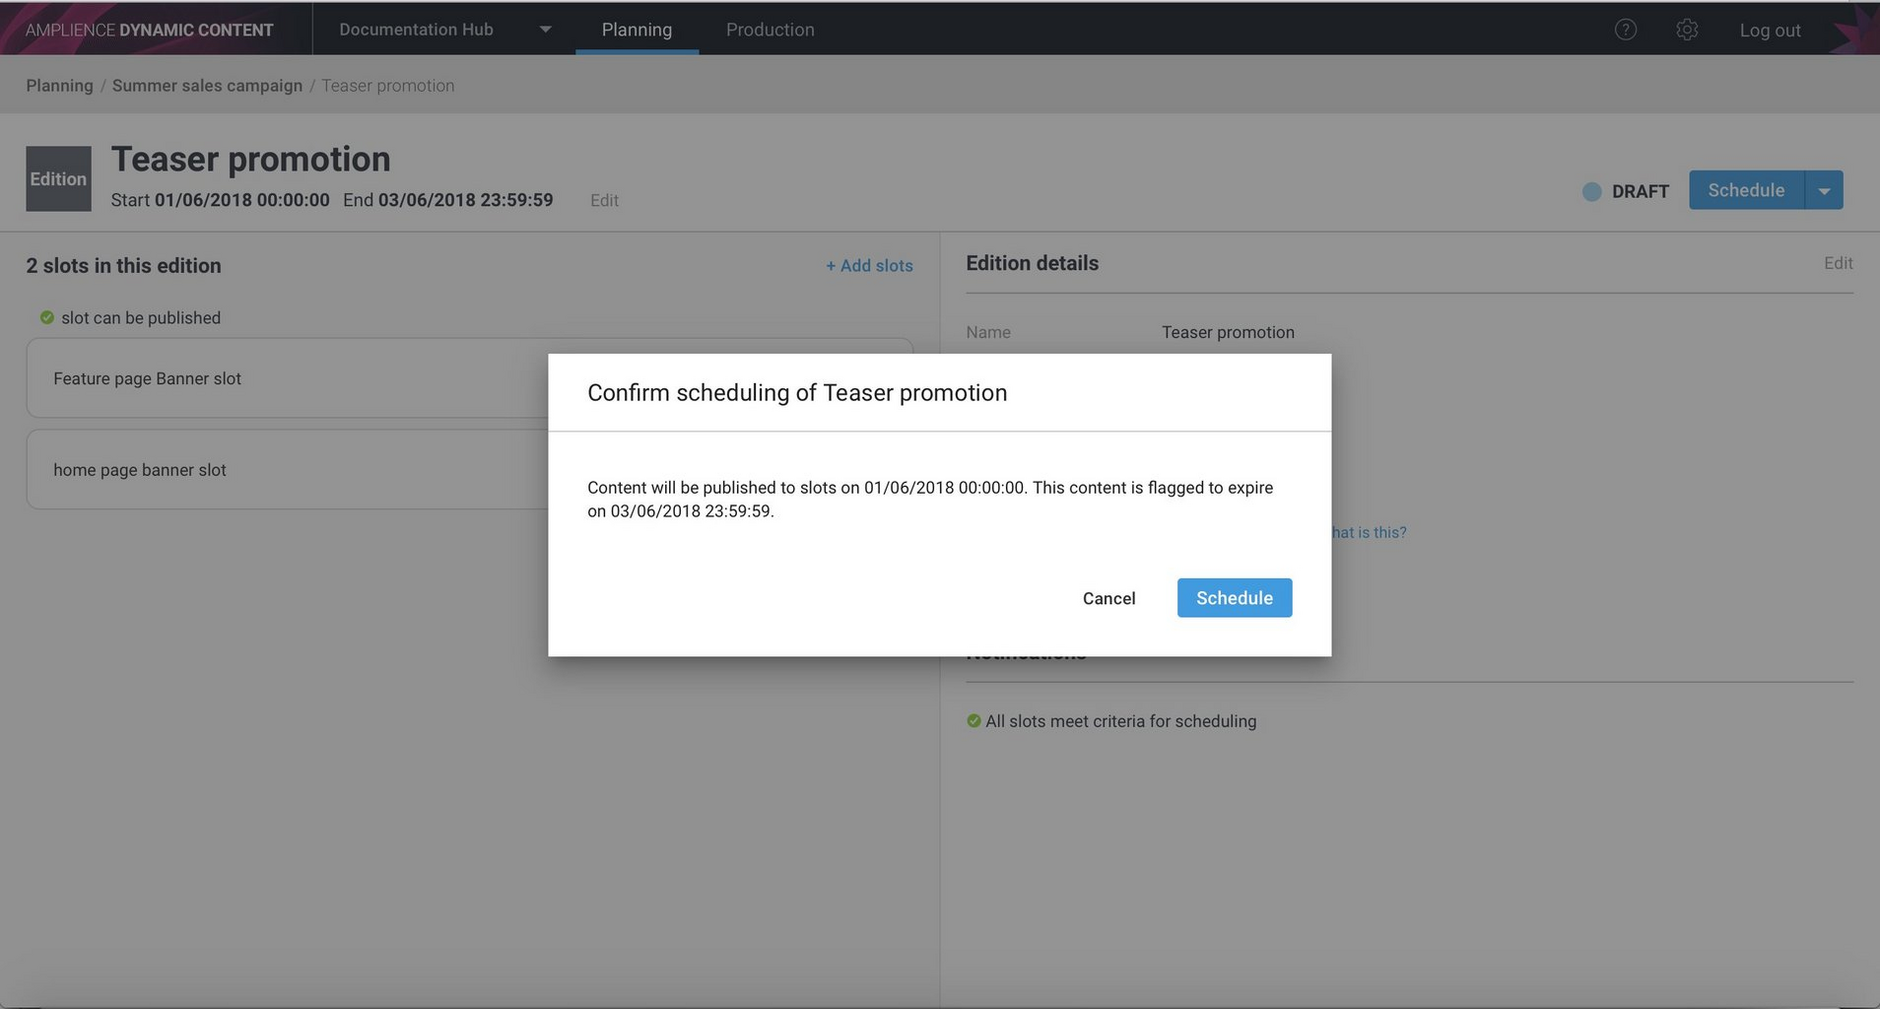
The first user now attempts to schedule the edition and presses the OK button to confirm.
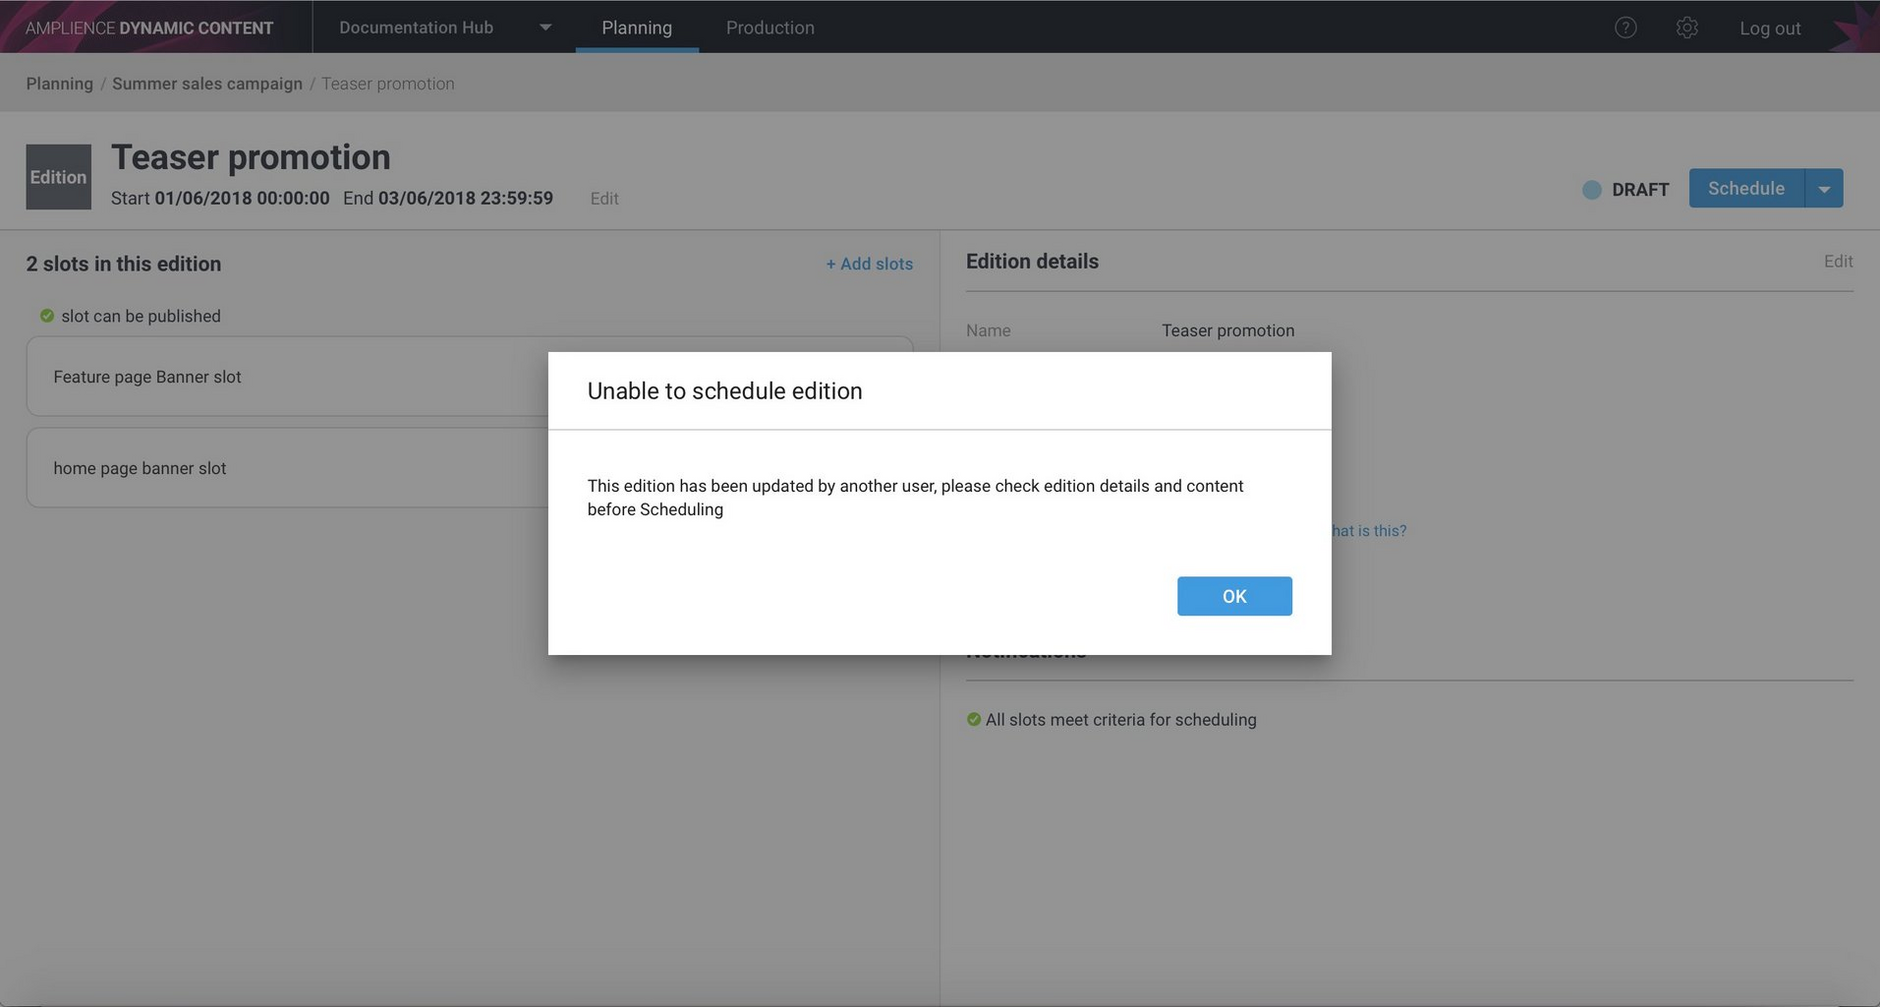
The user is warned that the edition has been updated since they opened the edition for editing. The edition cannot be scheduled until the user checks the edition and chooses whether to schedule it again.
The user can check the modification date and modified by field to check who made the change and when.
The edition window is refreshed. If the user is happy with the changes made by their colleague, then they can click Schedule button to schedule the edition.
Other changesLink copied!
In the editions window, we've made it easier to tell when an empty slot requires content. As shown in the image below, if a slot is empty and does not require content, then it will be marked with a tick, but if you need to add content to a slot to make it valid then a "requires content" label will be shown in the slot. The edition cannot be scheduled until all the slots are valid.
We've also made a change so that it's no longer possible to browse to a deleted event or edition. So if you have an edition or event bookmarked that is then deleted, browsing to that event or edition will now cause a "this event or edition has been deleted" message to be displayed.
Publishing and copying content itemsLink copied!
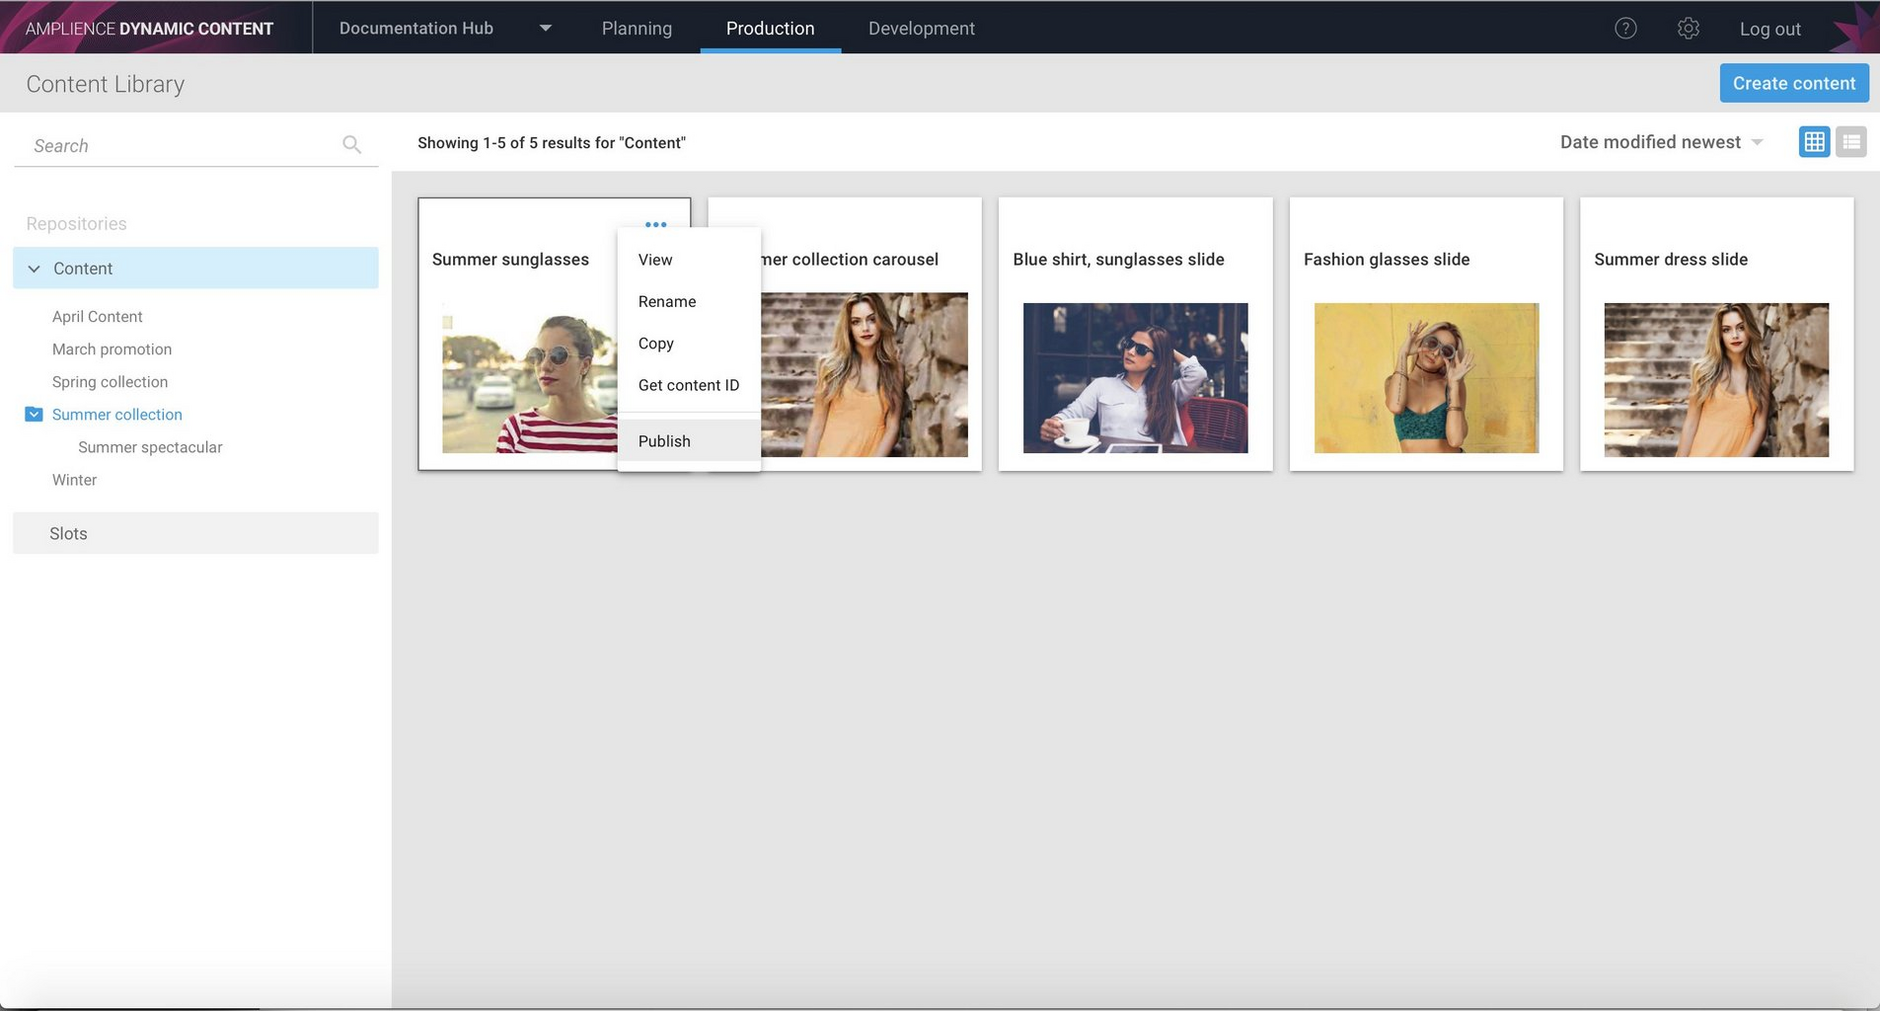
There are two new features accessible from a content item's contextual menu: publishing and copying.
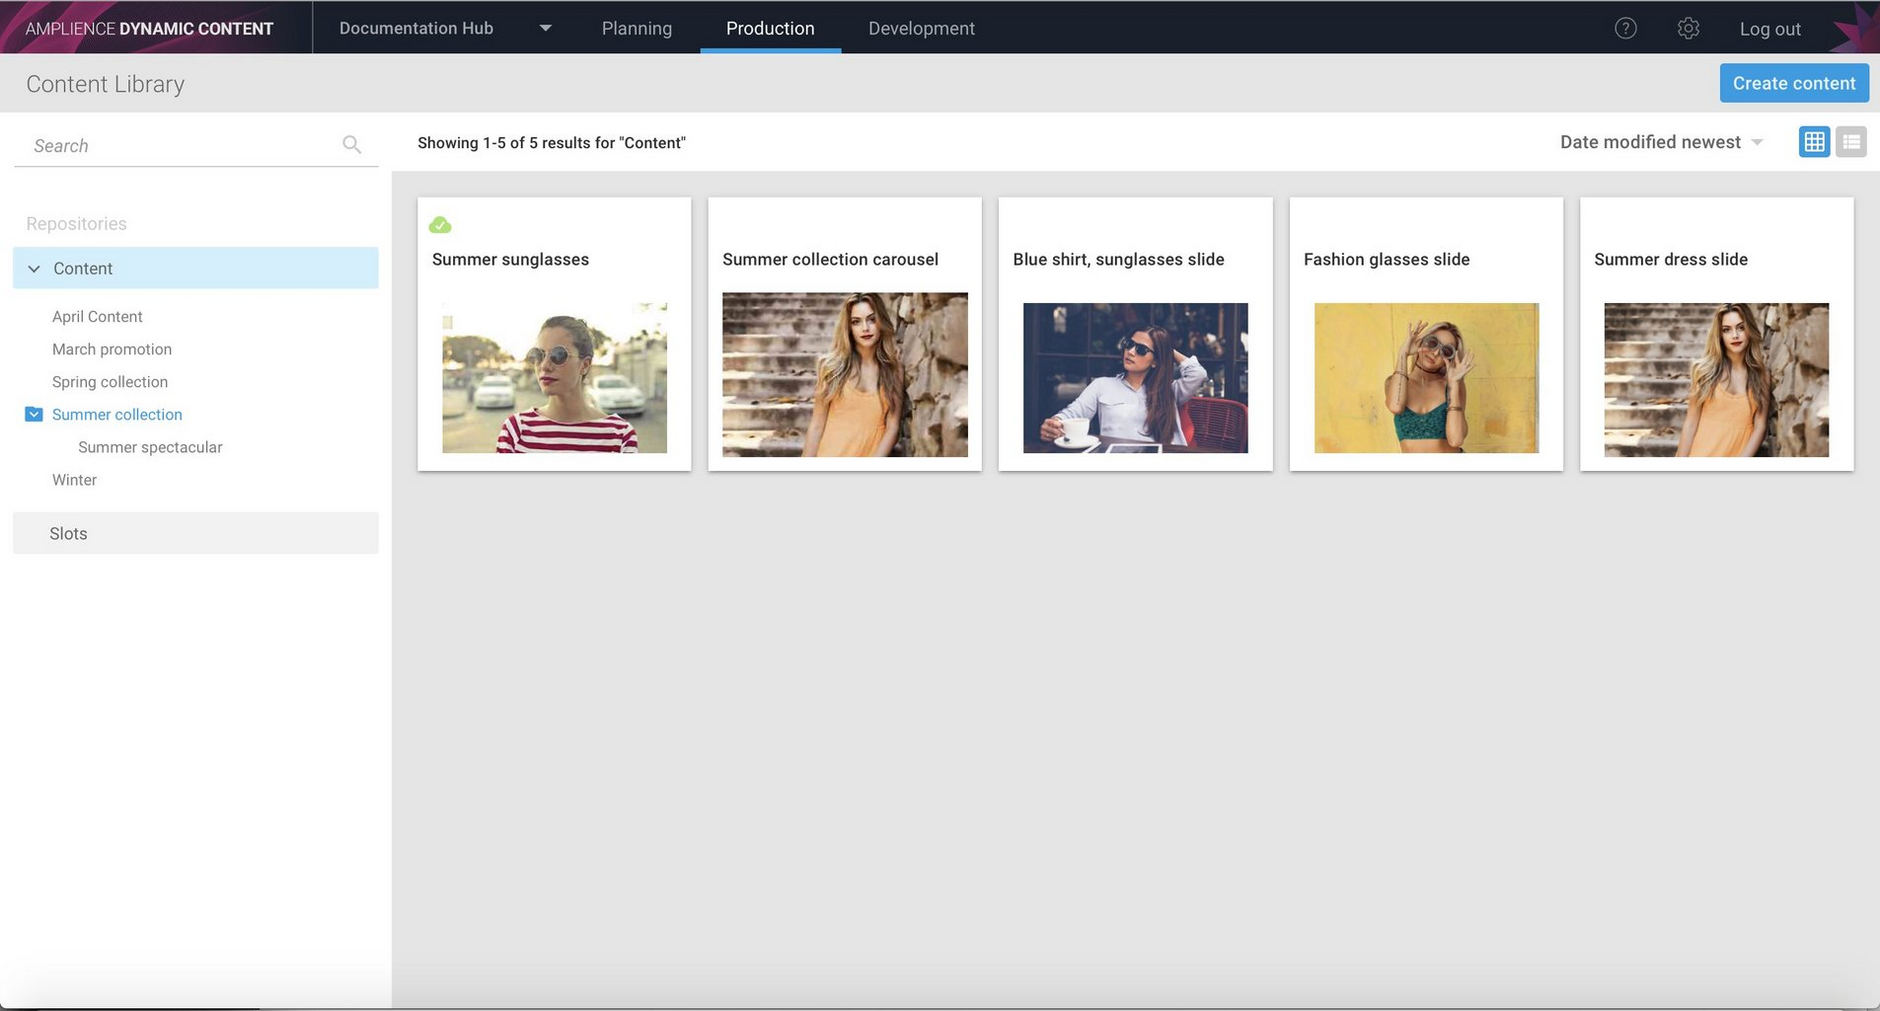
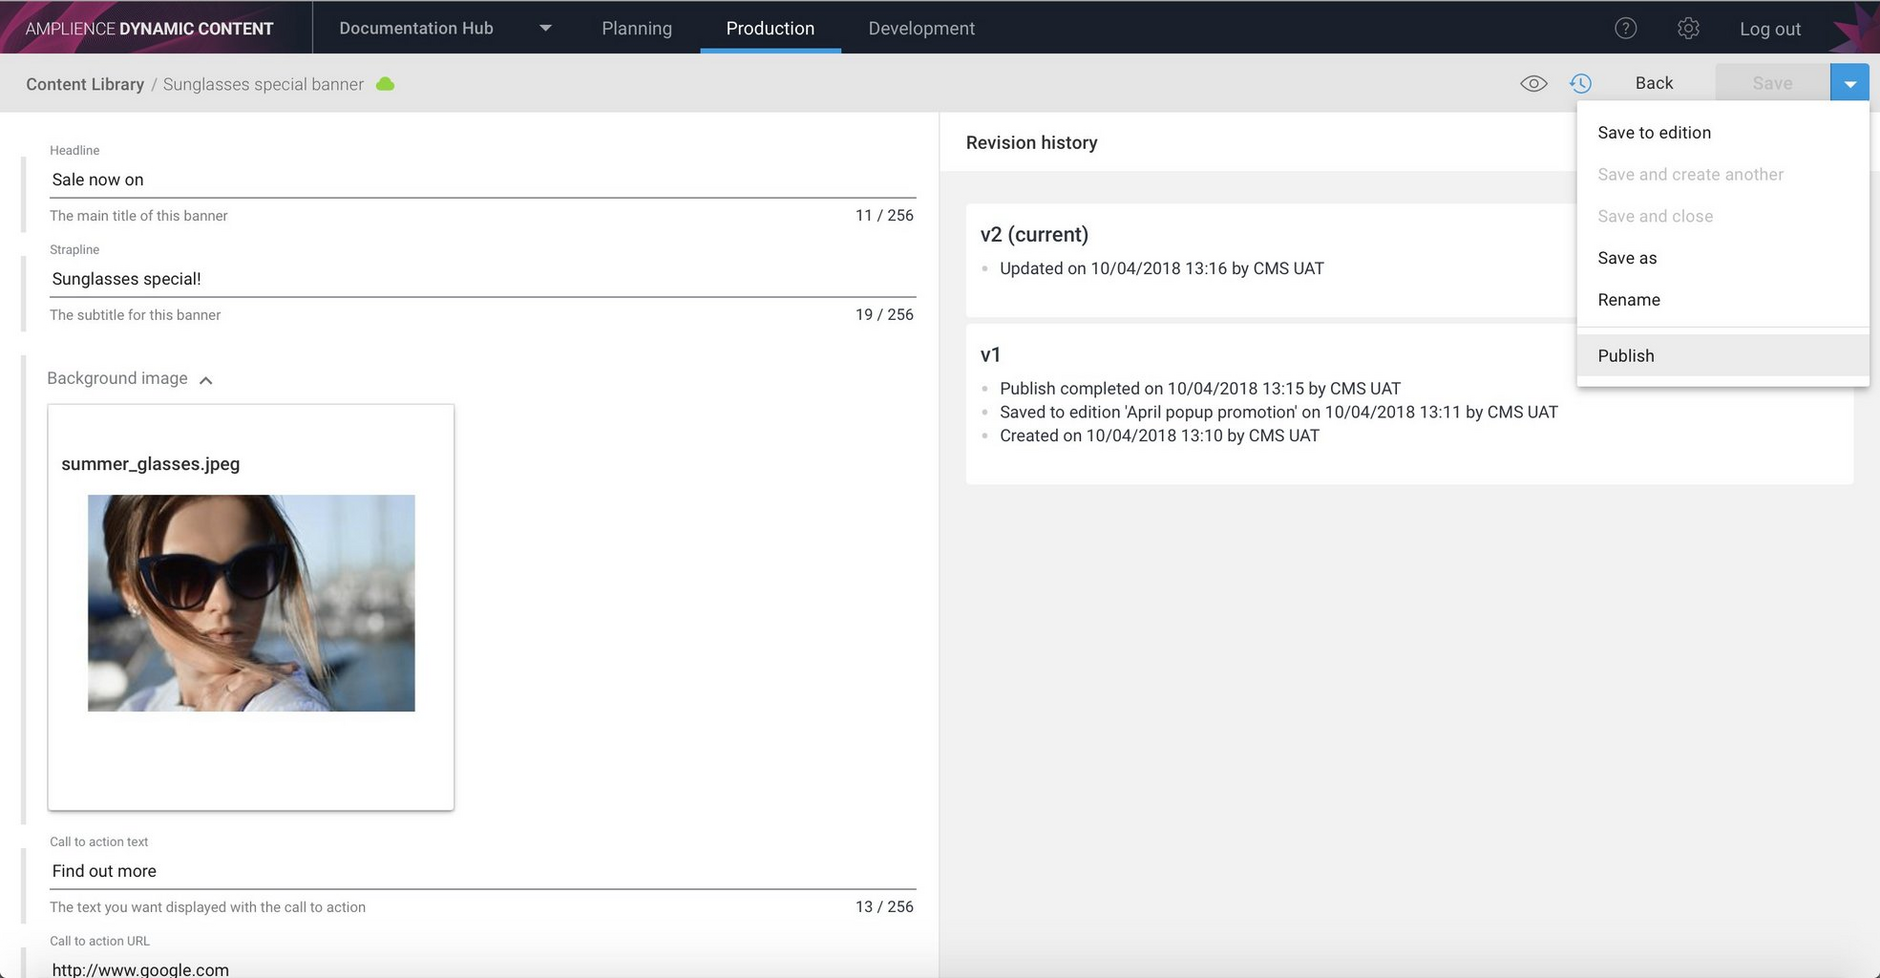
You can choose to publish a content item in two ways, by choosing 'Publish' from the contextual menu in the content library, or from the 'Save' menu in the content form. When a content item is published, the publish status is shown on the item's card, with a green tick indicating that the latest version is published.
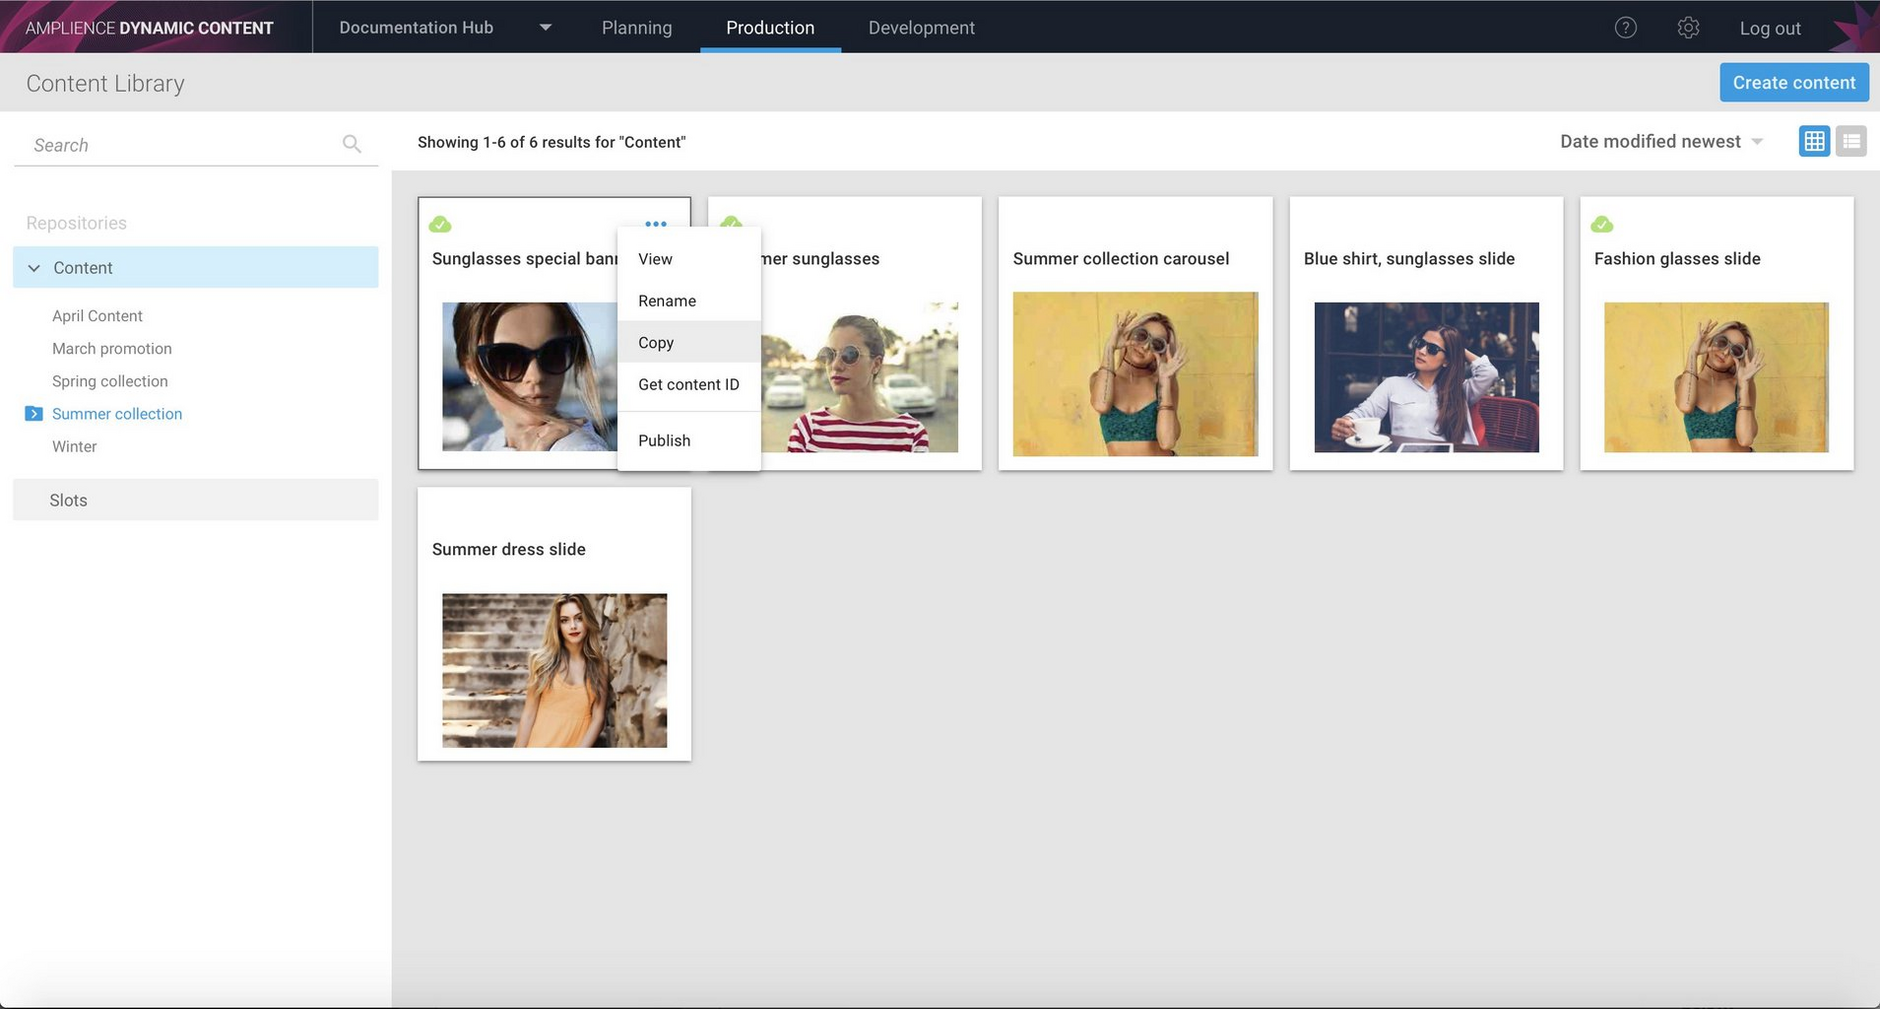
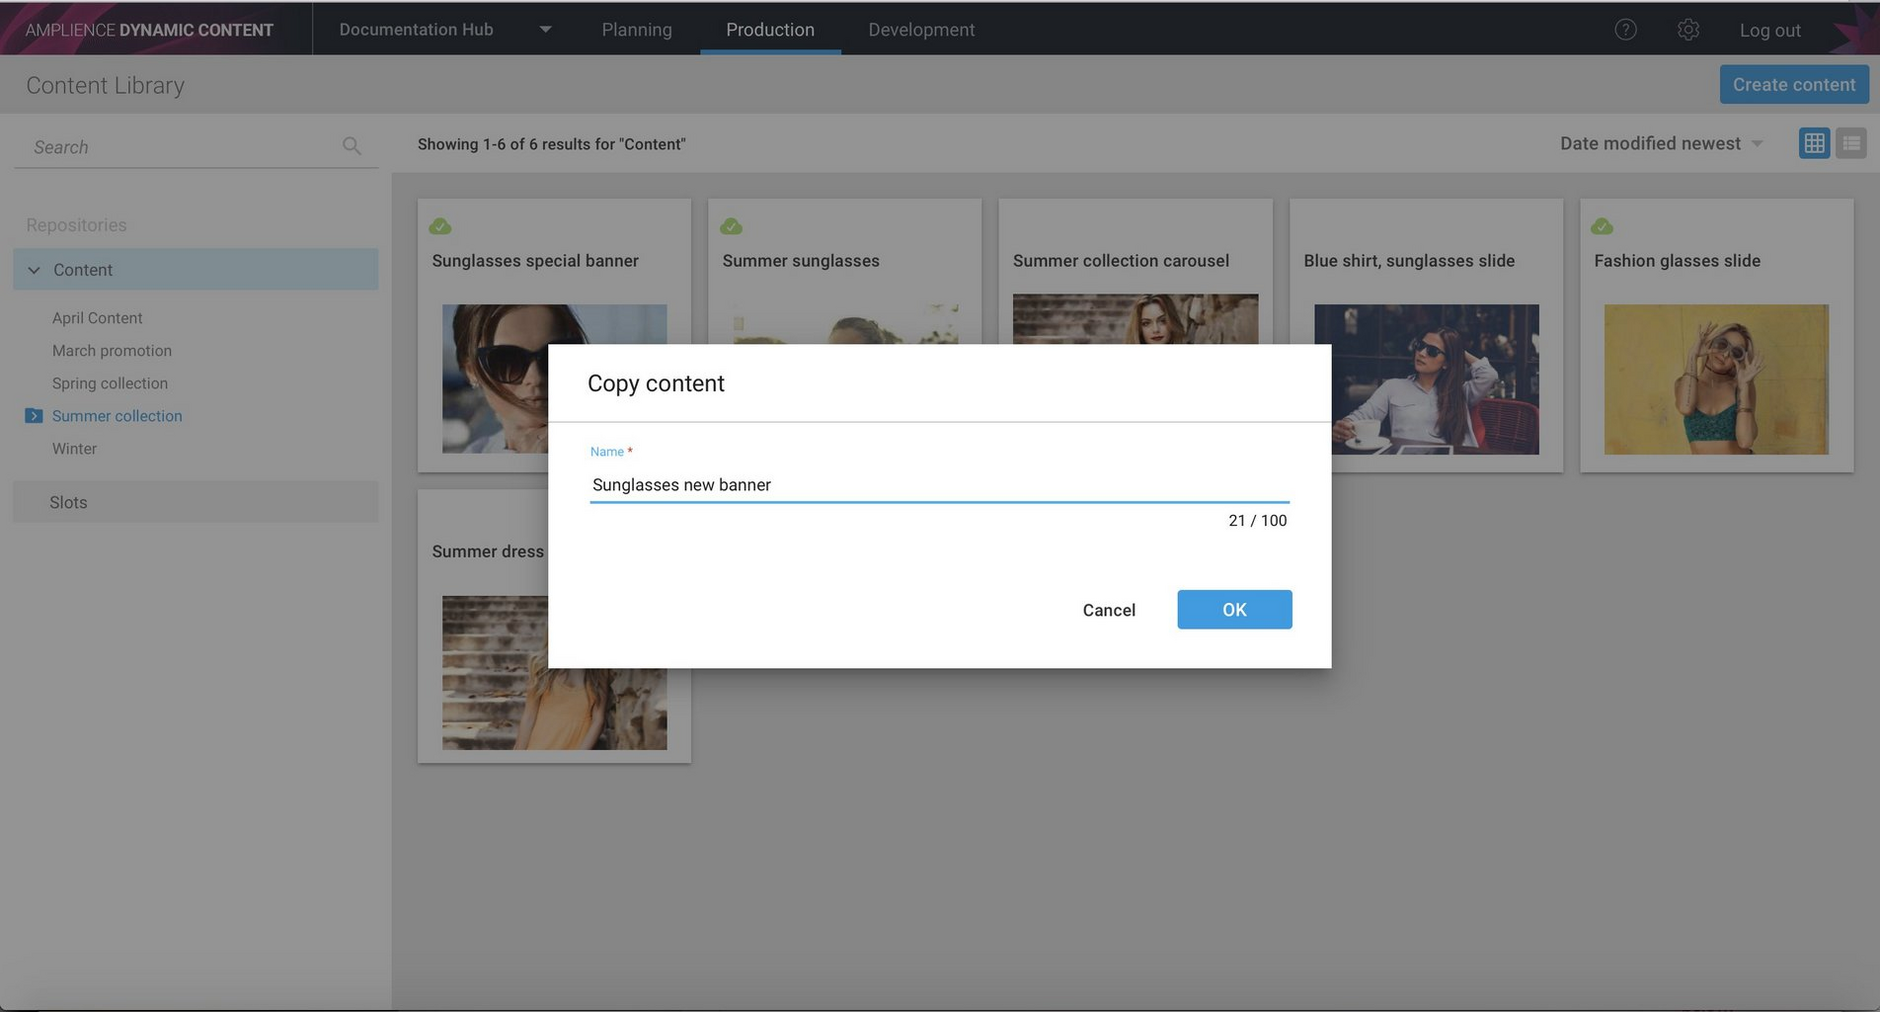
To make a copy of a piece of content, choose "Copy" from the item's contextual menu in the content library. You'll be asked to give the copy a name and a new copy of the selected content will be added to the content library with the name you've chosen.
Publishing content itemsLink copied!
There are two ways of publishing a content item, by choosing 'Publish' from the contextual menu in the content library or from the 'Save' menu in the content form. When a content item is published, the publish status is shown on the item's card, with a green tick indicating that the latest version is published.
In the example below, we want to publish the Summer sunglasses content item, so we choose "Publish" from the item's contextual menu.
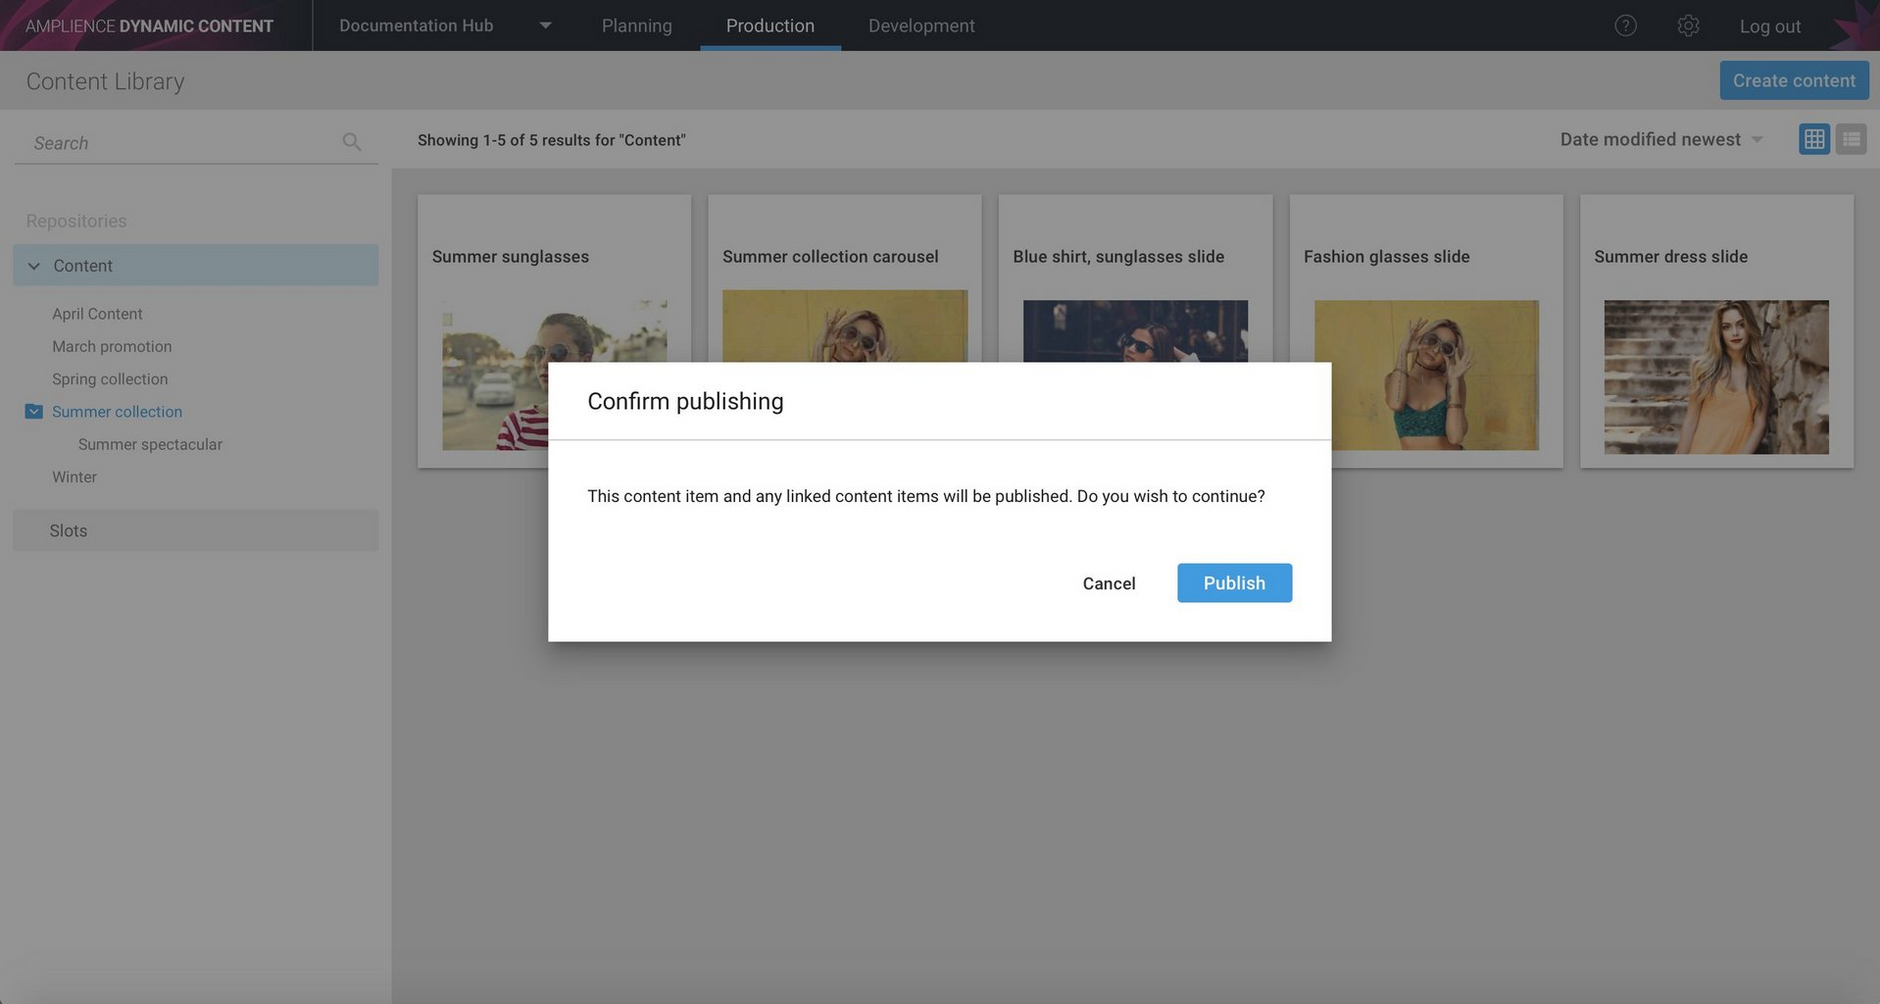
A dialog is displayed asking to confirm the publish operation. When an item is published, any assets contained within it and each linked content item is published at the same time. This includes media such as images or video included within the content and other content items that this item contains. For example, if you have a carousel that contains individual carousel slides, each stored as separate content items, each of these slides will be published with the carousel.
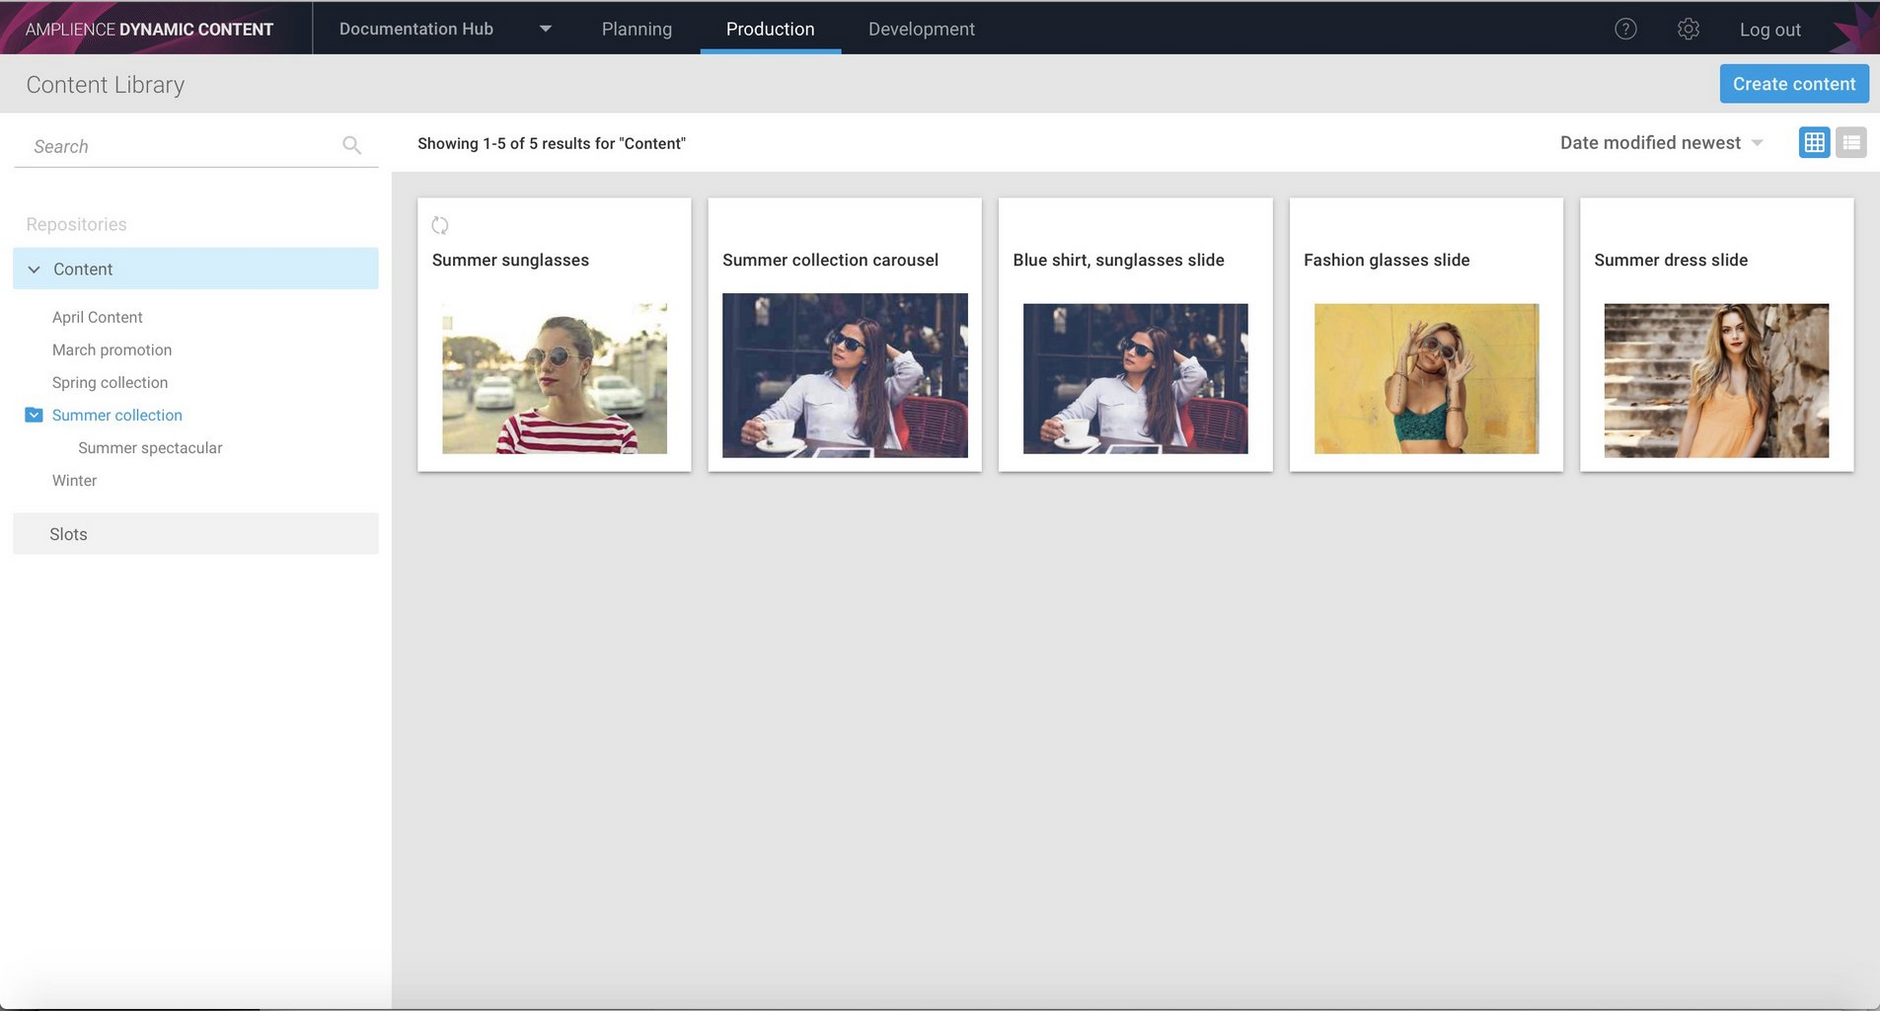
If more than one content item is published as a result of publishing the 'parent' item, then you will need to refresh the content library window for the publishing status of the linked items to be updated.
On clicking the Publish button, the publishing operation starts. A progress indicator is displayed in the top left of the item being published.
When the item is published the publish status icon is updated to a green tick. The latest version of the content item is now published to our Content Delivery Network (CDN) and available to consume in a website or from an app or e-commerce system. This will replace any previous published version of the content.
Updating content published to slotsLink copied!
In some cases you might have populated an edition with content and scheduled it to go live. Once the content is published you decide that one piece of content needs to be updated. Perhaps you need to use a new image for a banner, or update the text in a blog post. You might choose to create a new edition and include just those slots containing the content that needs to be updated, or you can just publish a new version of those content items.
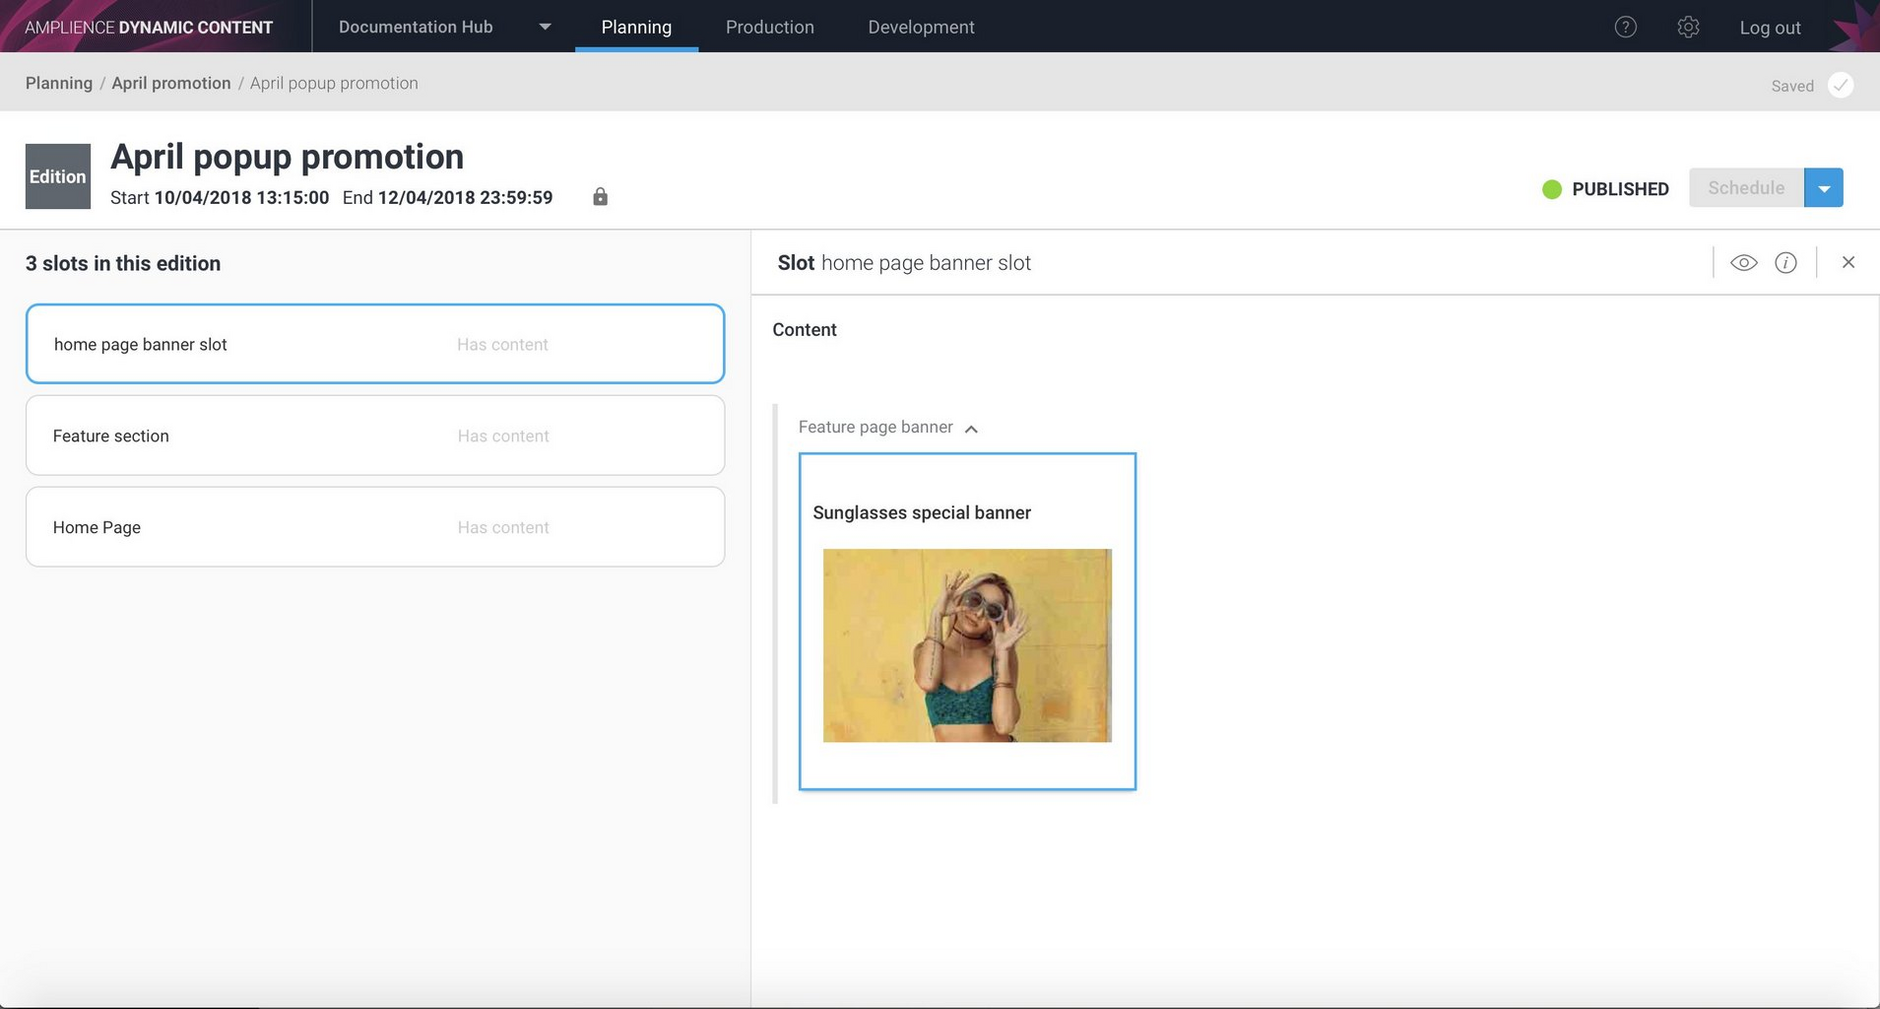
In the example below an edition has been scheduled and content has been published to its slots on the edition start date. One of the content items is a banner, as shown in the image.
When viewed in the content library, the publish status icon is a green tick, indicating that the latest version of this content is published. To update this content double-click to open the content form.
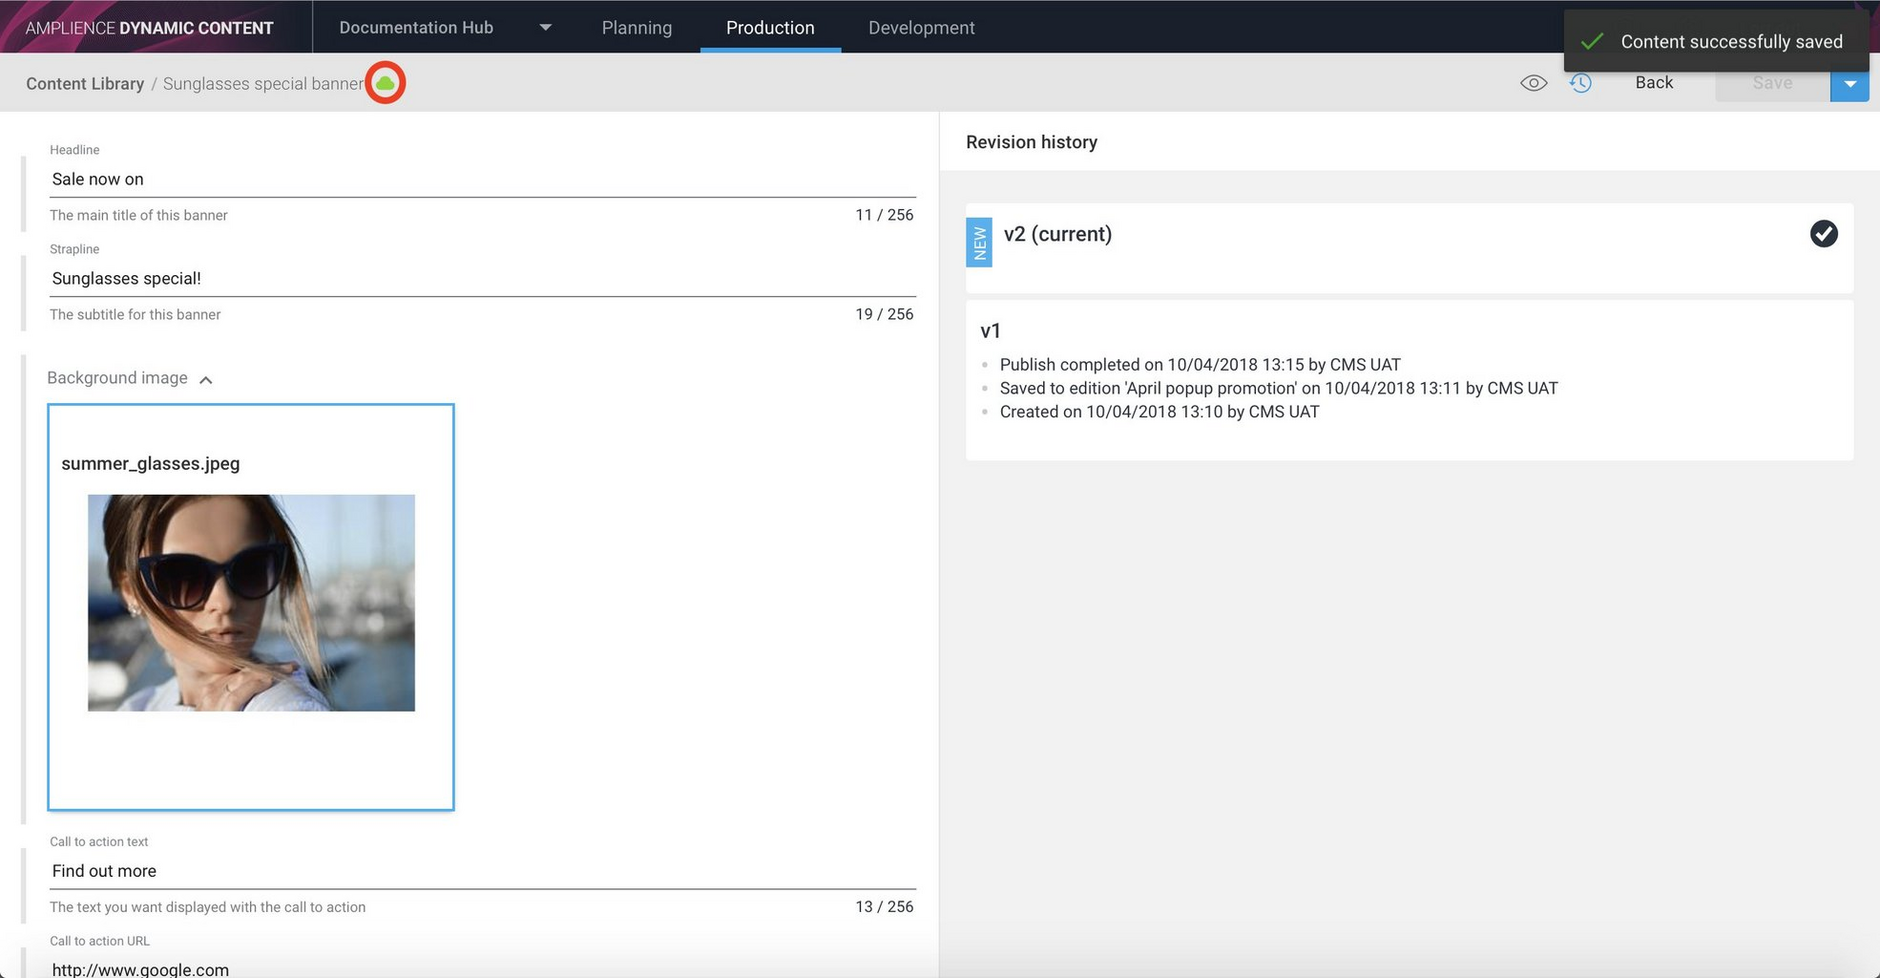
A new image has been chosen and the content saved. Notice that the publishing status icon is now a green cloud, because we have updated the content and the published content is no longer the latest version.
To publish the latest version of the content, choose "Publish" from the "Save" menu. Note that if the content had not been saved then this item would be named "Save and Publish".
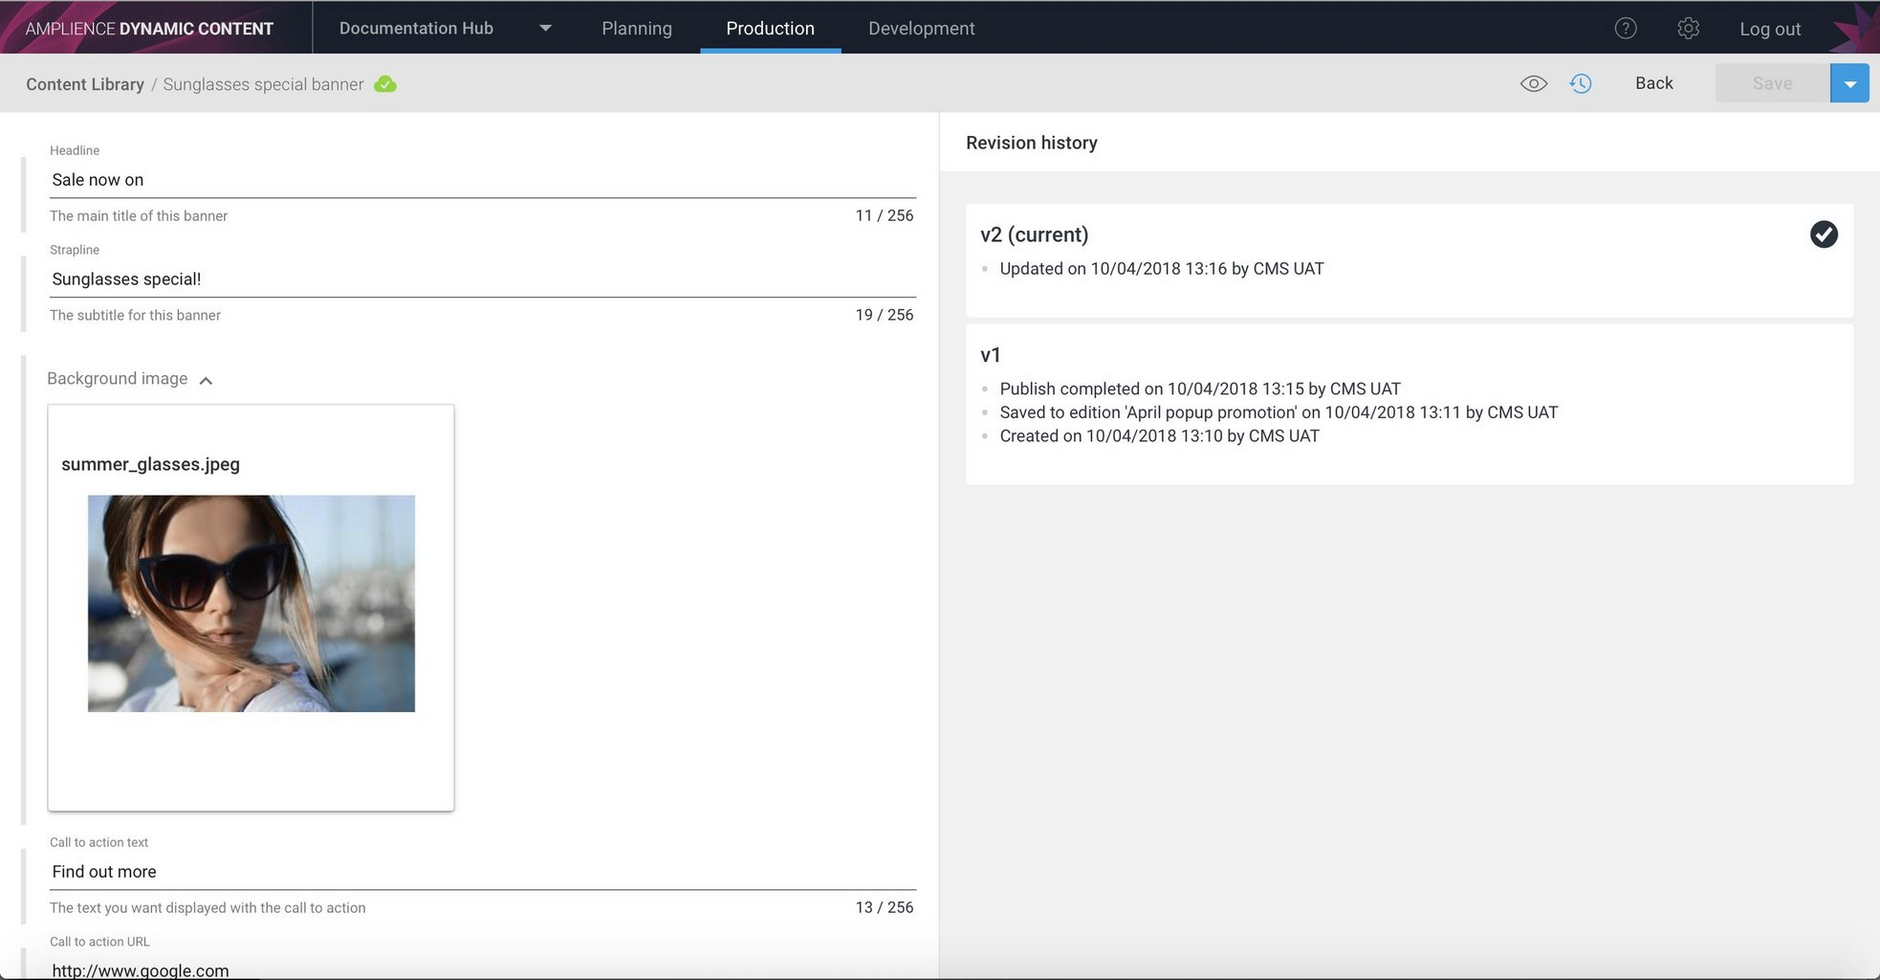
The content is now published and the publish status icon changes to a green tick.
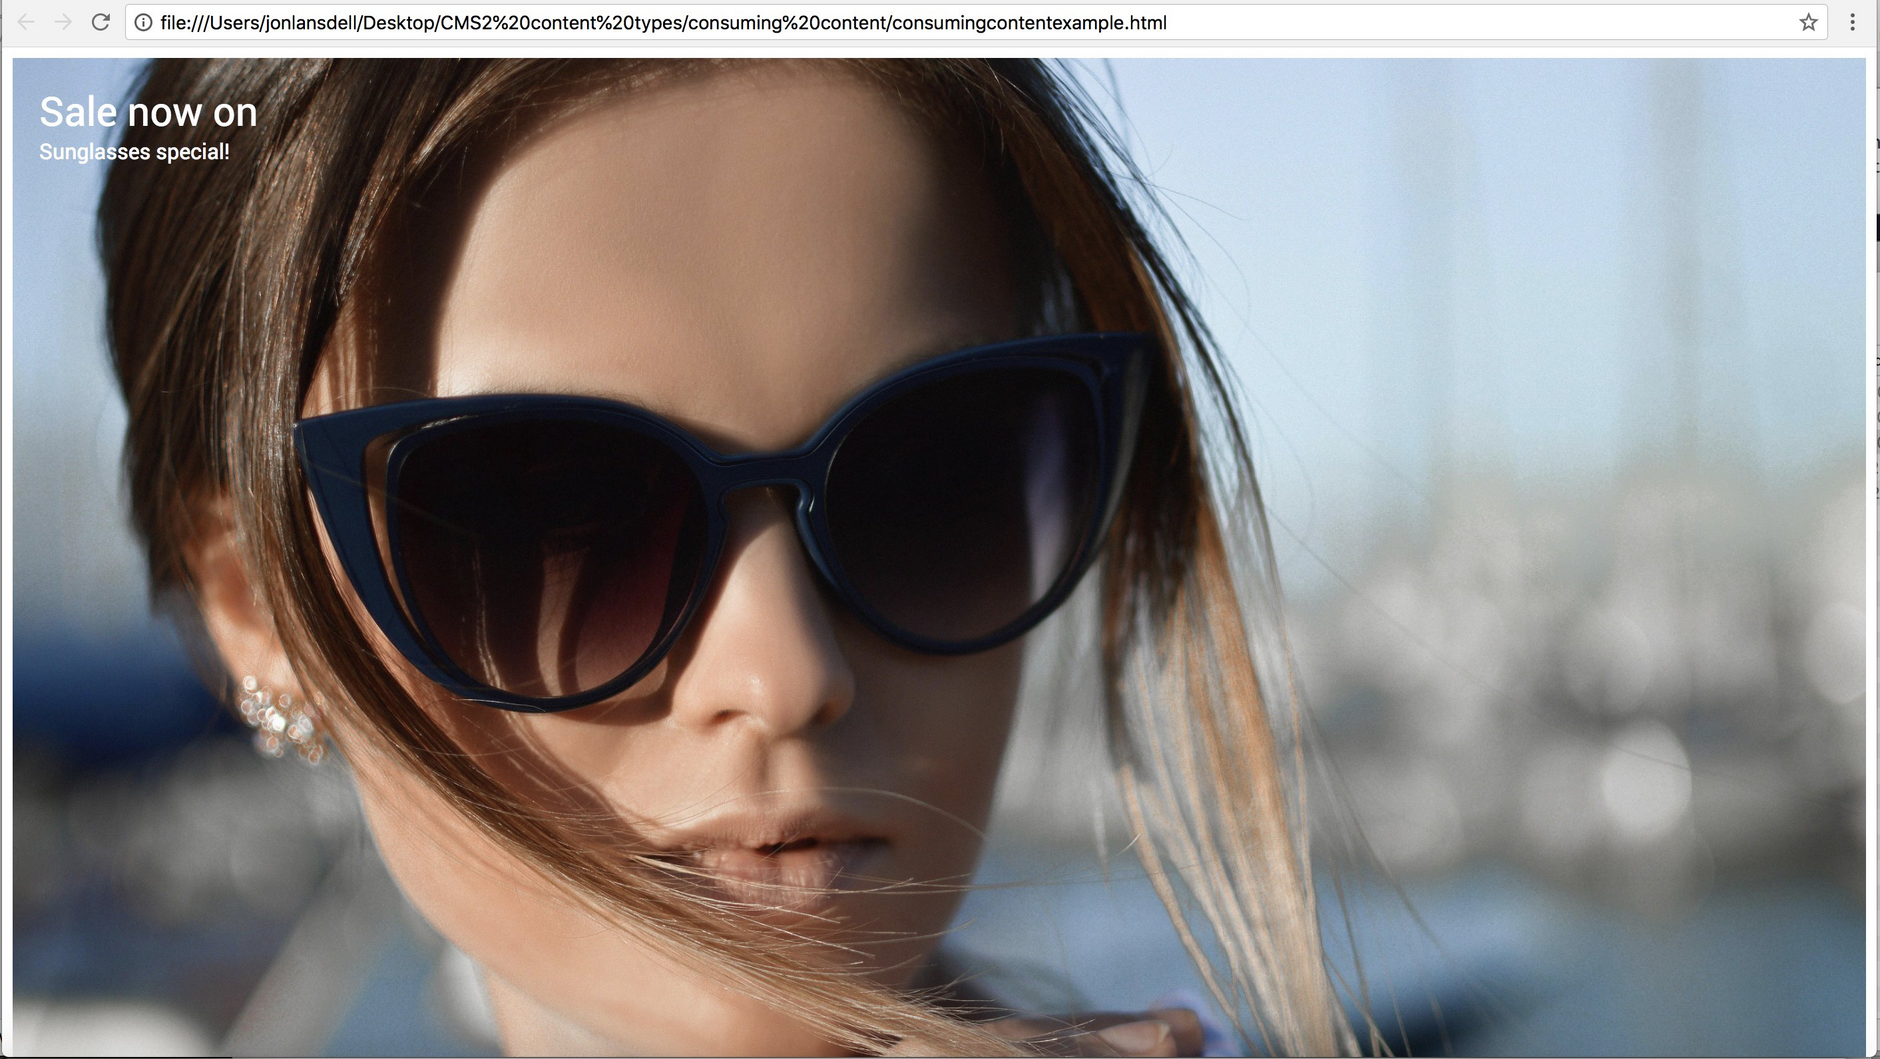
The updated banner is now available and can be consumed from our website, replacing the version published when the edition went live.
Copying content itemsLink copied!
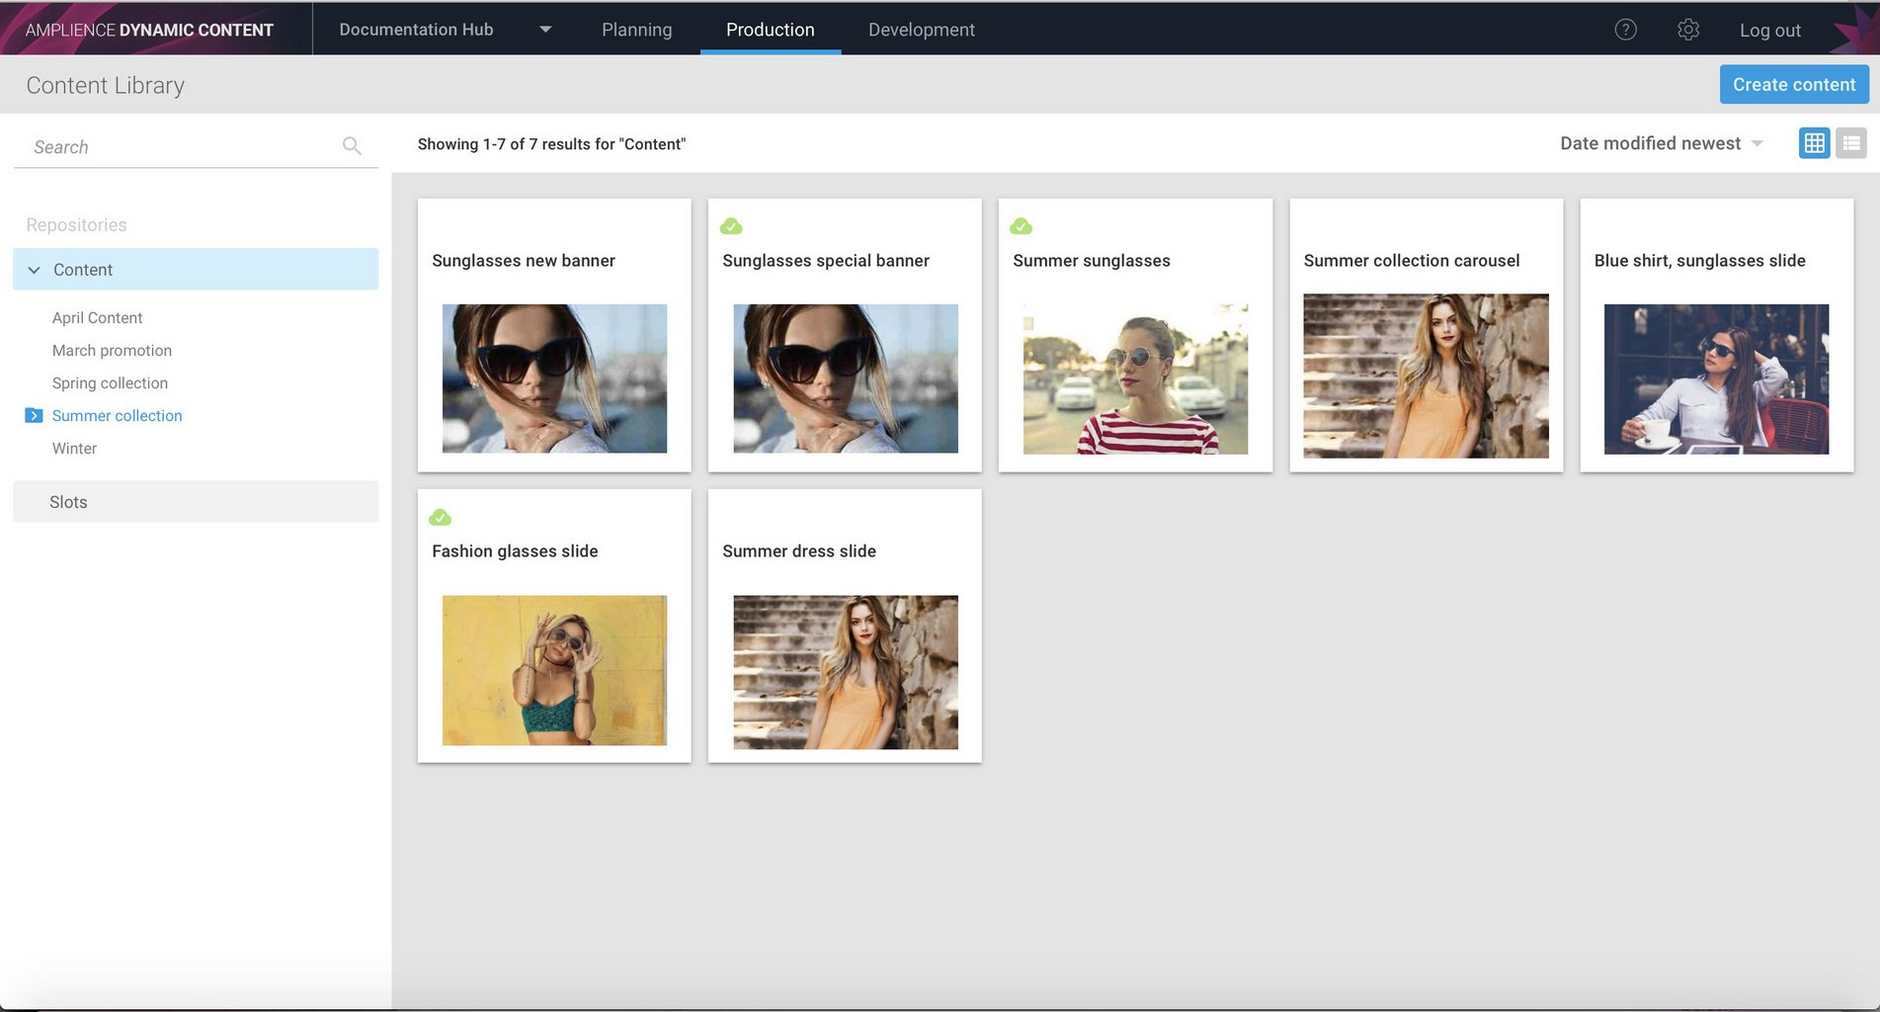
To make a copy of a piece of content, choose "Copy" from the item's contextual menu in the content library. You'll be asked to give the copy a name and a new copy of the selected content will be added to the content library with the name you've chosen. Note that you currently need to refresh the window for the copied item to be displayed.
The new copy will include references to the same content items as the original, so if you make a copy of a carousel and then make a change to one of the carousel slides it contains, then both the original content and the copy will be updated.
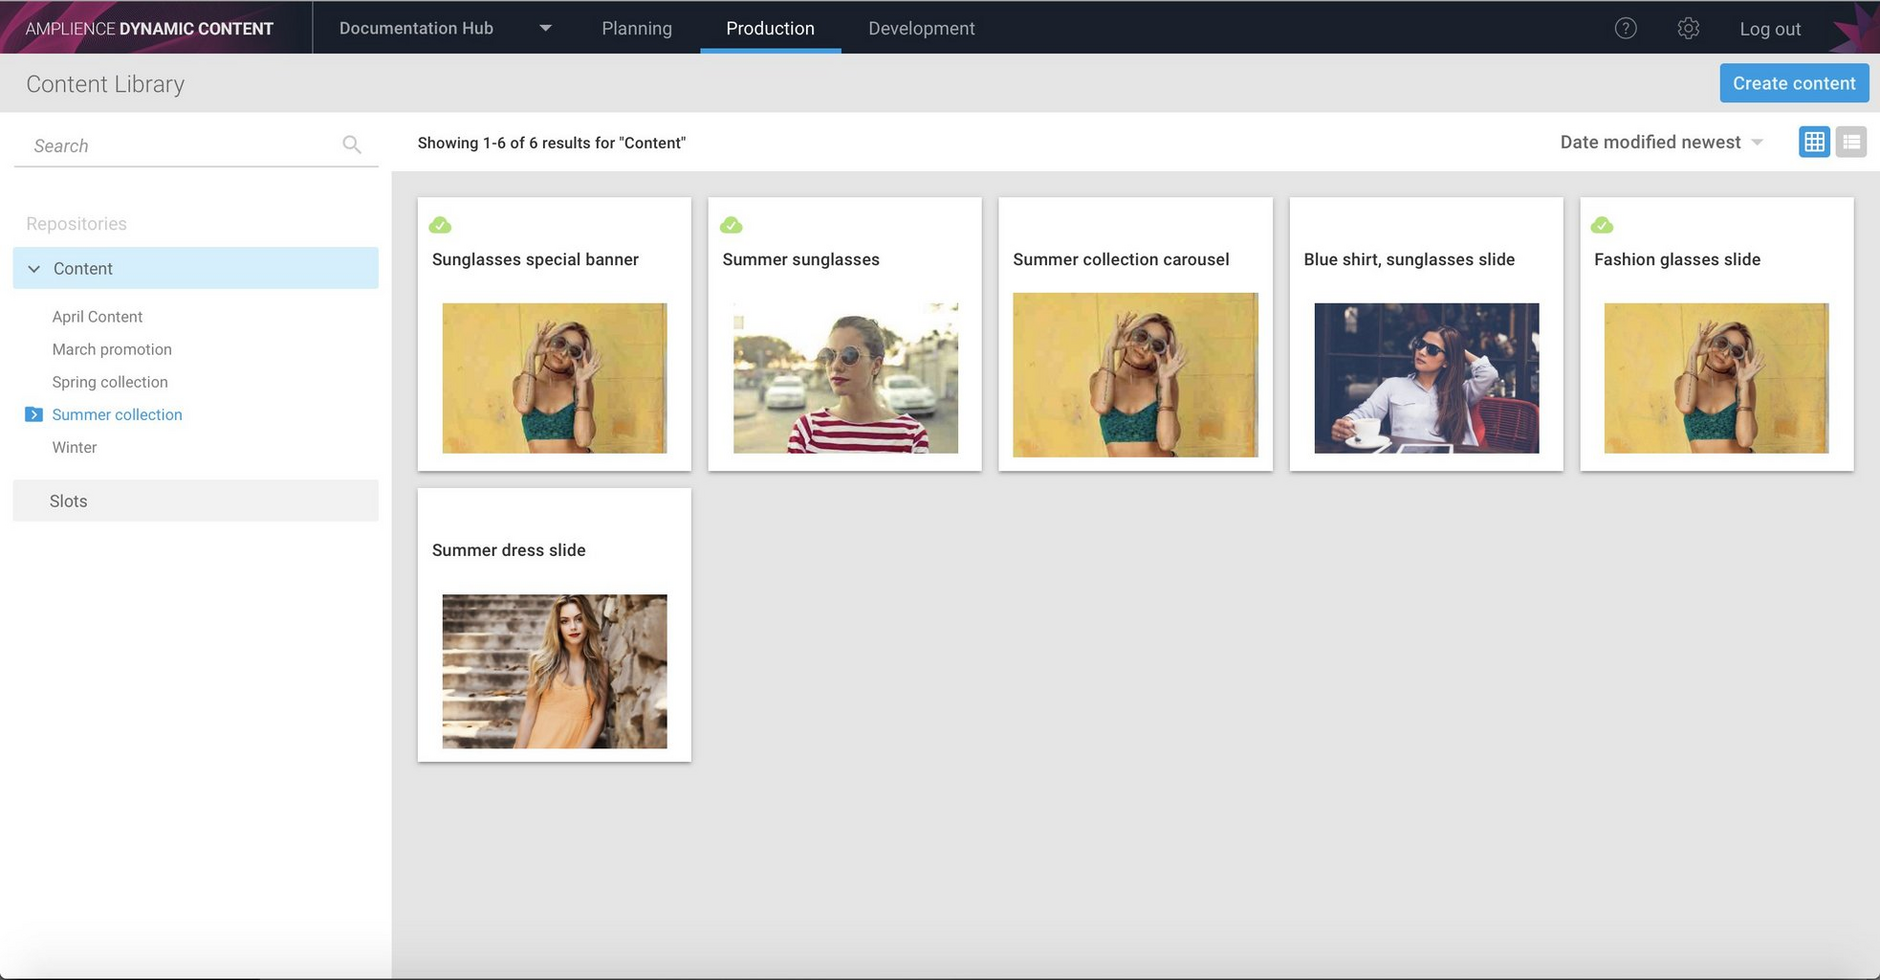
In the example below we want to copy a banner item, so choose "Copy" from the item's menu.
We give the new content a name and click OK to create the copy.
After refreshing the window the new content item is shown in the content library.
Registering and updating content typesLink copied!
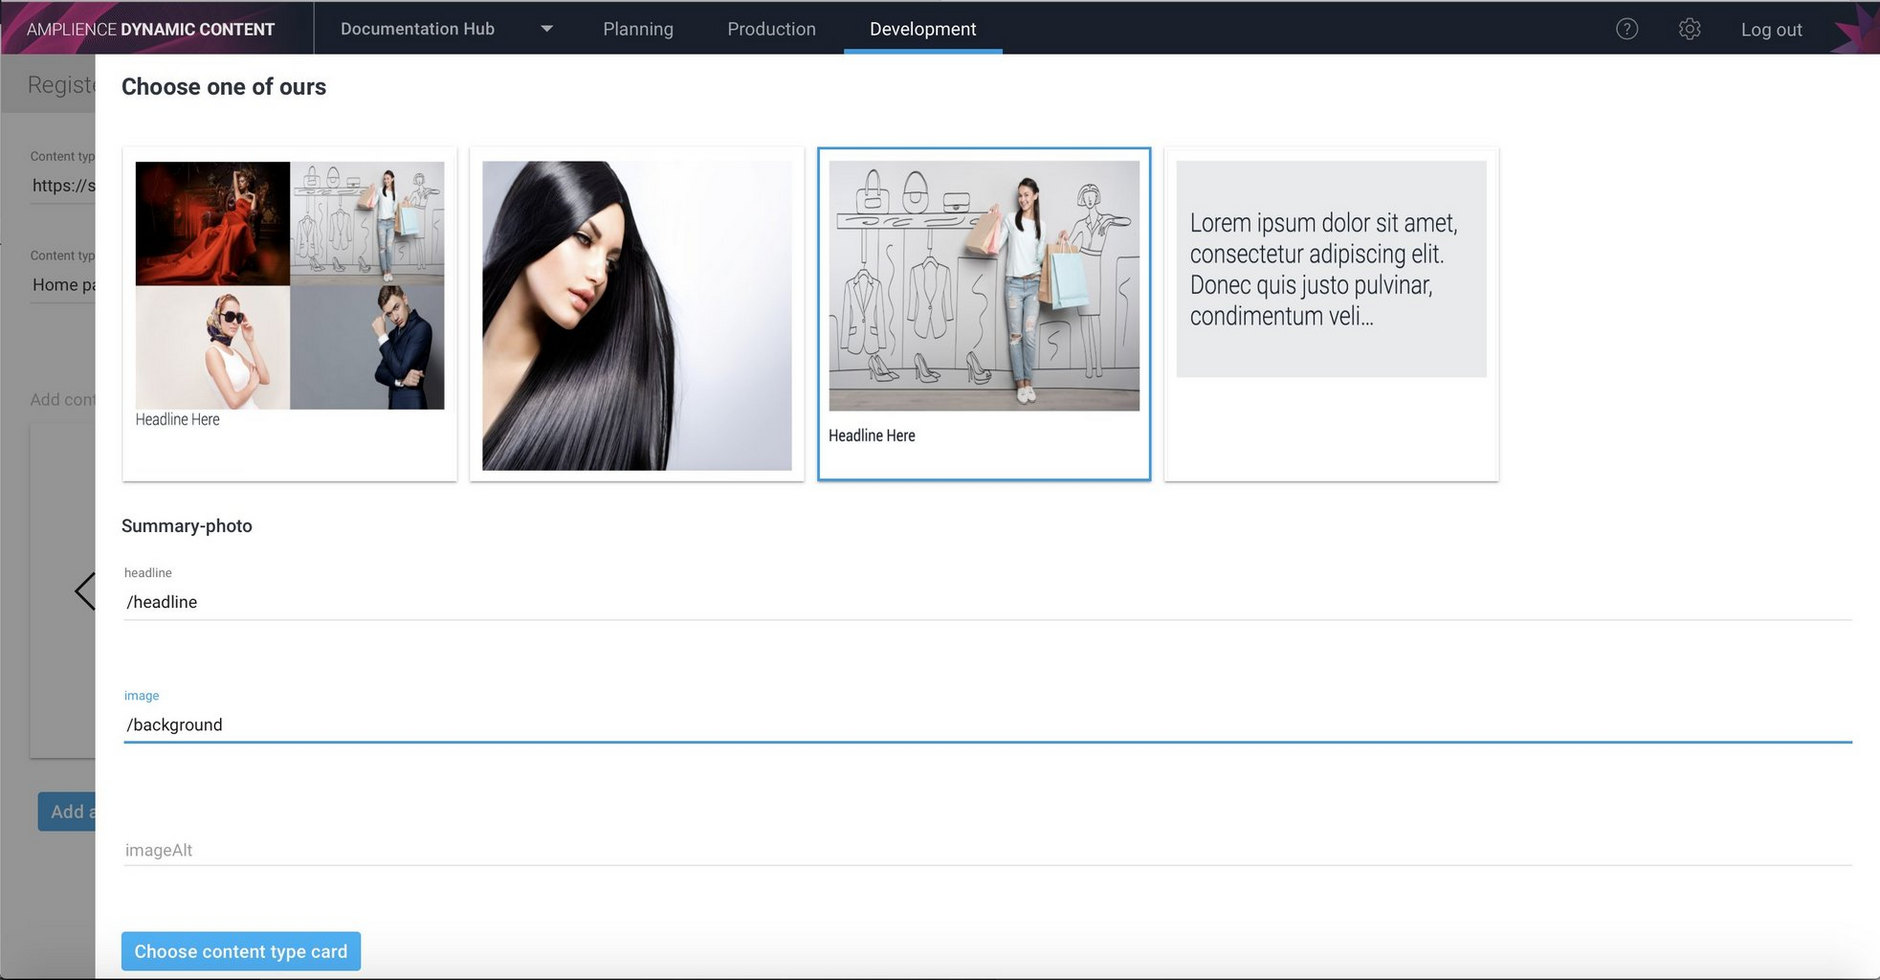
In this release we've added a new section to the Dynamic Content masthead: development. From the development tab you'll be able to access features intended for developers, starting in this release with registering and updating content types.
There's a new a user interface to make it easier to register and configure content types, including providing support for out of the box icons and content library cards.
Improved folder handlingLink copied!
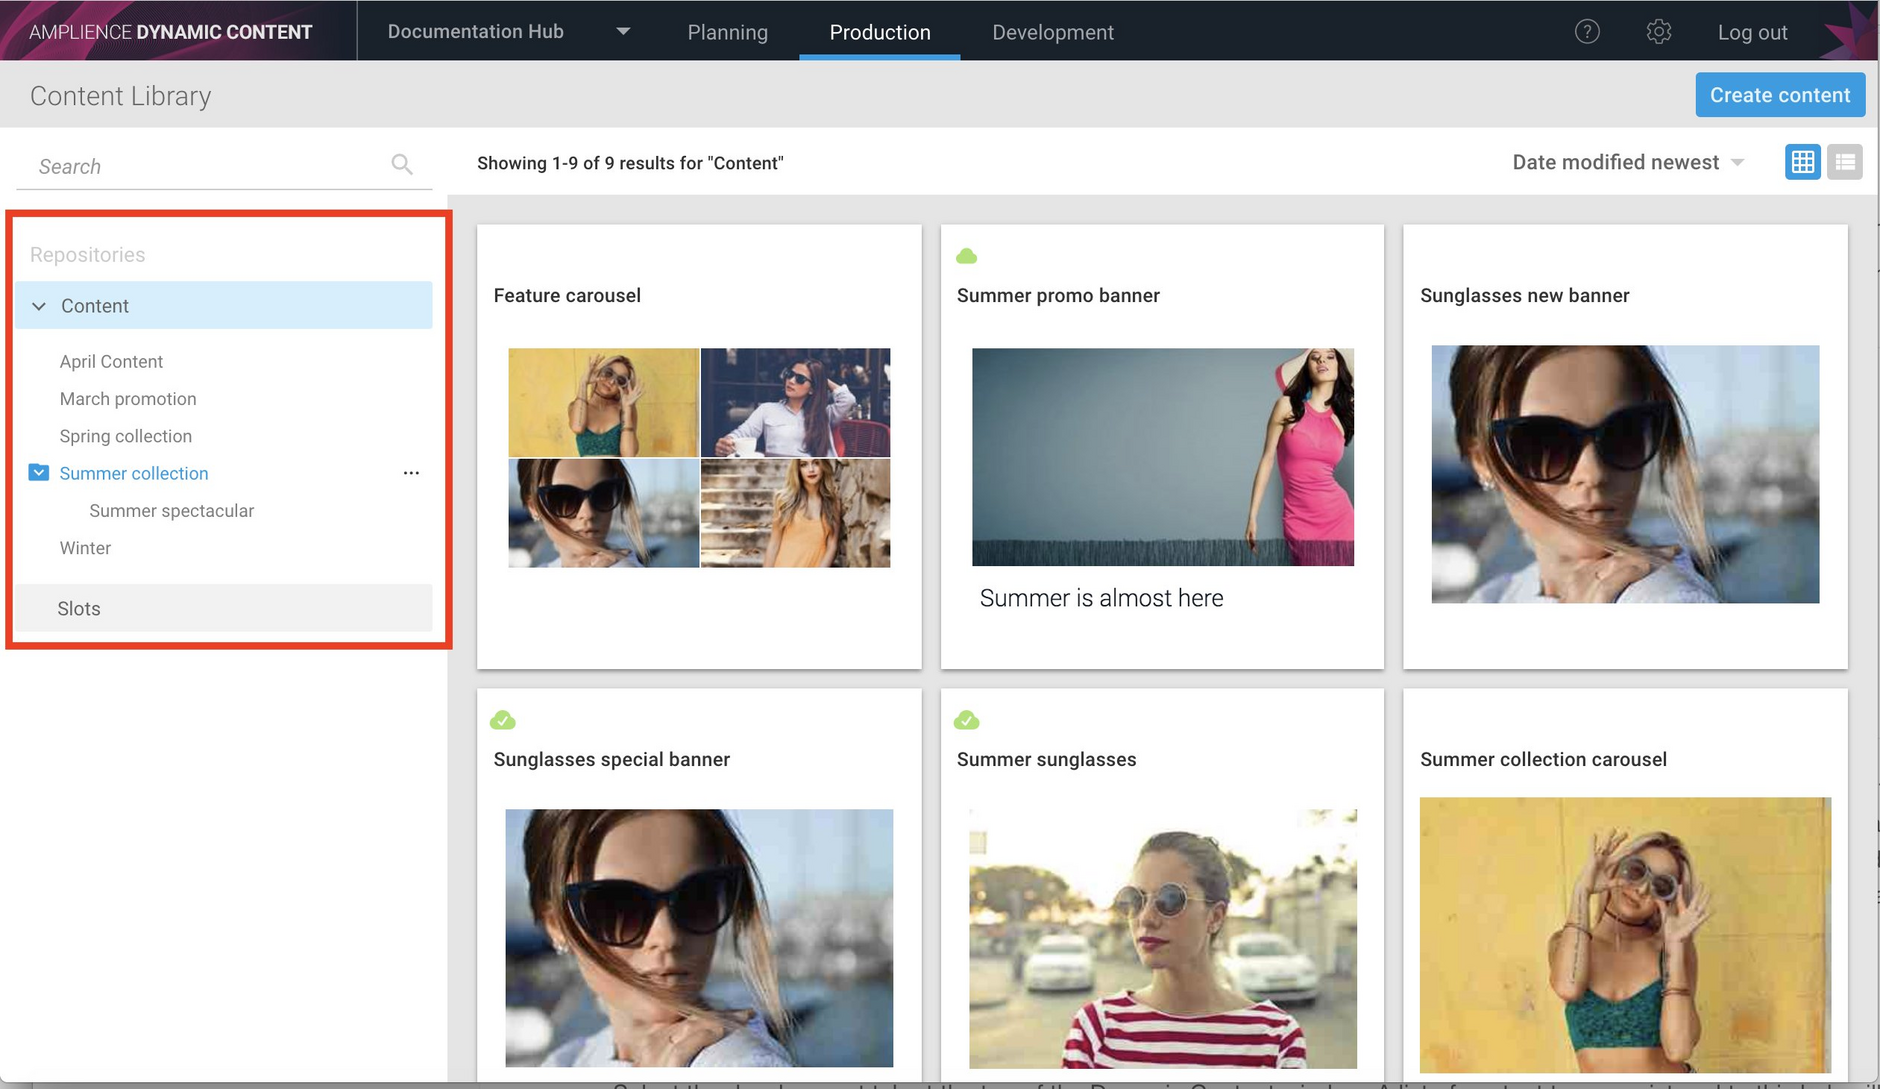
The way repositories and folders are organised in the content library has been improved. The "All content" section at the root level of each repository has been removed and clicking the repository title will now take you to the top level of that repository. If the repository contains folders, then an expand/collapse arrow can be used to display the folder structure.
You can see the new repository layout highlighted in the image below.
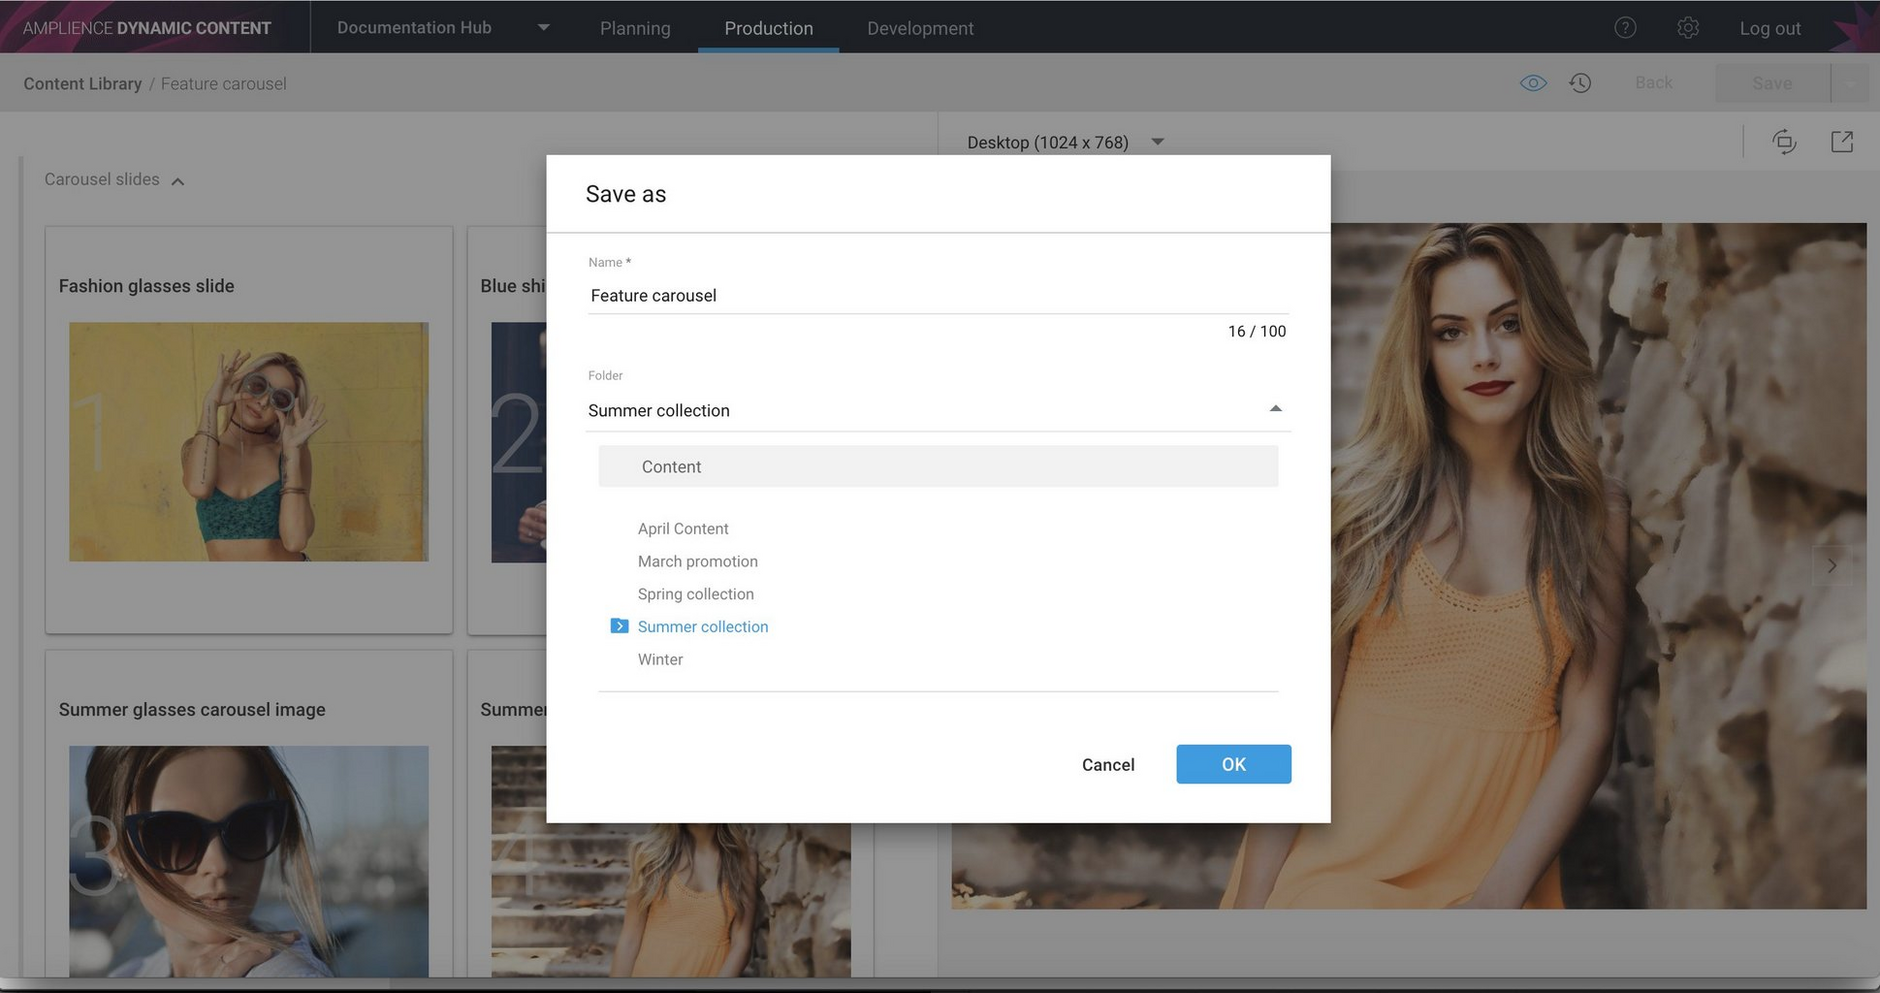
Folder handling has also been enhanced when saving content. In the example below "Save as" has been chosen from the "Save" menu in the content form. The user can choose the folder in which to save the content by clicking the down arrow and navigating the folder structure. The save location defaults to the current folder.
Other user interface changesLink copied!
At the top of the Dynamic Content window, the settings menu is now represented by an icon, as shown in the image below.
Apart from the user interface change, an option has been added to the Date & time settings dialog to allow you to choose between a 12 or 24 hour clock.
There's also a new help icon, so you can open this documentation site directly from the app.
The content rendering serviceLink copied!
The content rendering service reduces the number of steps it takes to retrieve slots and content items from Dynamic Content and convert them into HTML. The service provides an API that takes a content or slot ID and a handlebars template as parameters and returns HTML in the response. This HTML can then be combined with CSS styling to display on your website or app, or served from an e-commerce system.
The content rendering service includes a number of handlebars helpers to make it easier for developers to develop their templates, and supports partials, a feature that allows templates to be structured more efficiently.
For more information about the service, including an API reference, details about the supported handlebars helpers and examples, see the content rendering service reference page.
