Content item localization
Release date: 31st October 2018
In this release we have made some improvements to the internationalization features in Dynamic Content. You now have a choice of ways of localizing your content: field level and content level localization. With field level localization users create a single content item with fields for each supported locale, while content item localization allows you to create a separate content item for each locale.
Content item localization was designed to meet the requirements of organisations that have many sites, support lots of locales and use several teams for creating and localizing content.
In this release note we'll provide an overview of the new content item localization feature. For more information see the Content item localization page.
Content item localization exampleLink copied!
To localize a content item, you start with an item created for one locale and create localized variants for whatever locales you choose to support. Dynamic Content will create a separate copy of the entire content item, with its own unique content ID and revision history, for each locale you localize it to.
Localized content can be created either in the same repository or in a repository to which one or more locales have been assigned. This allows you to set up repositories to contain content localized for particular locales, and makes it easier to share translation work among different teams.
Assigning a locale to a content itemLink copied!
In order to localize a content item, you must first assign it a locale.
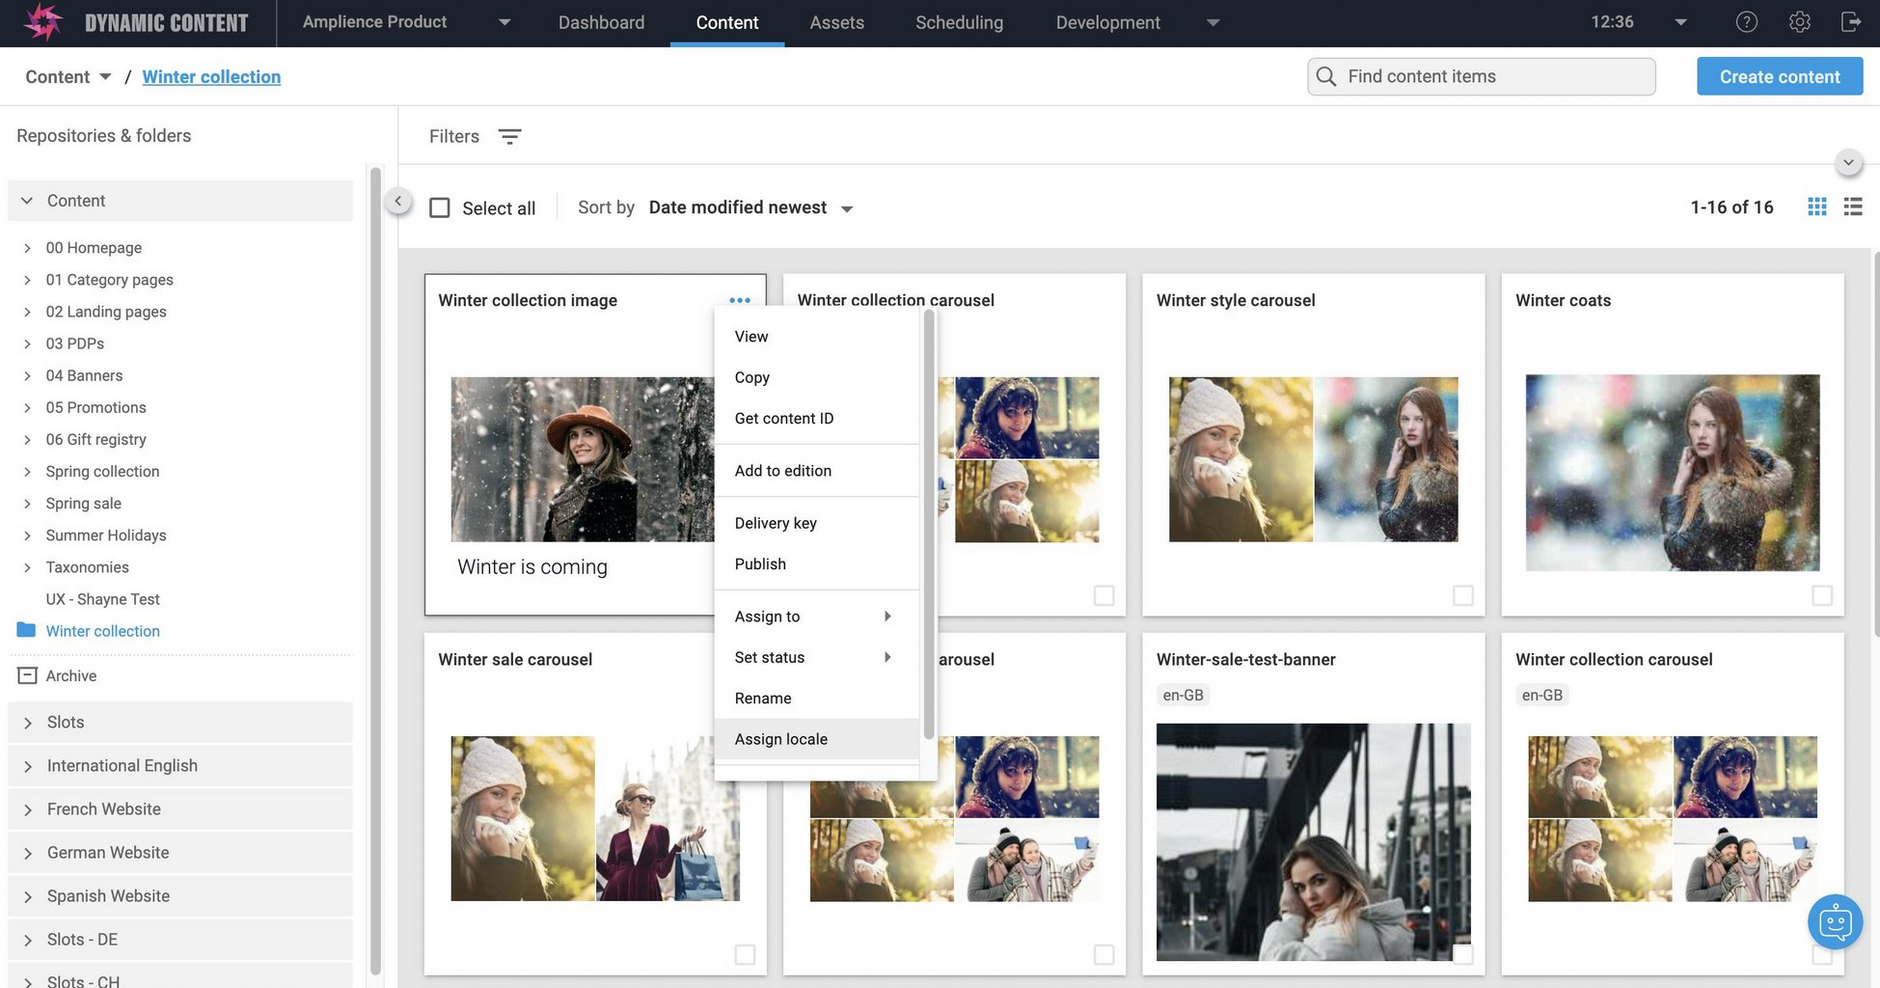
To assign a locale, choose "Assign locale" from the item's contextual menu or from the "Save" menu in the content form.
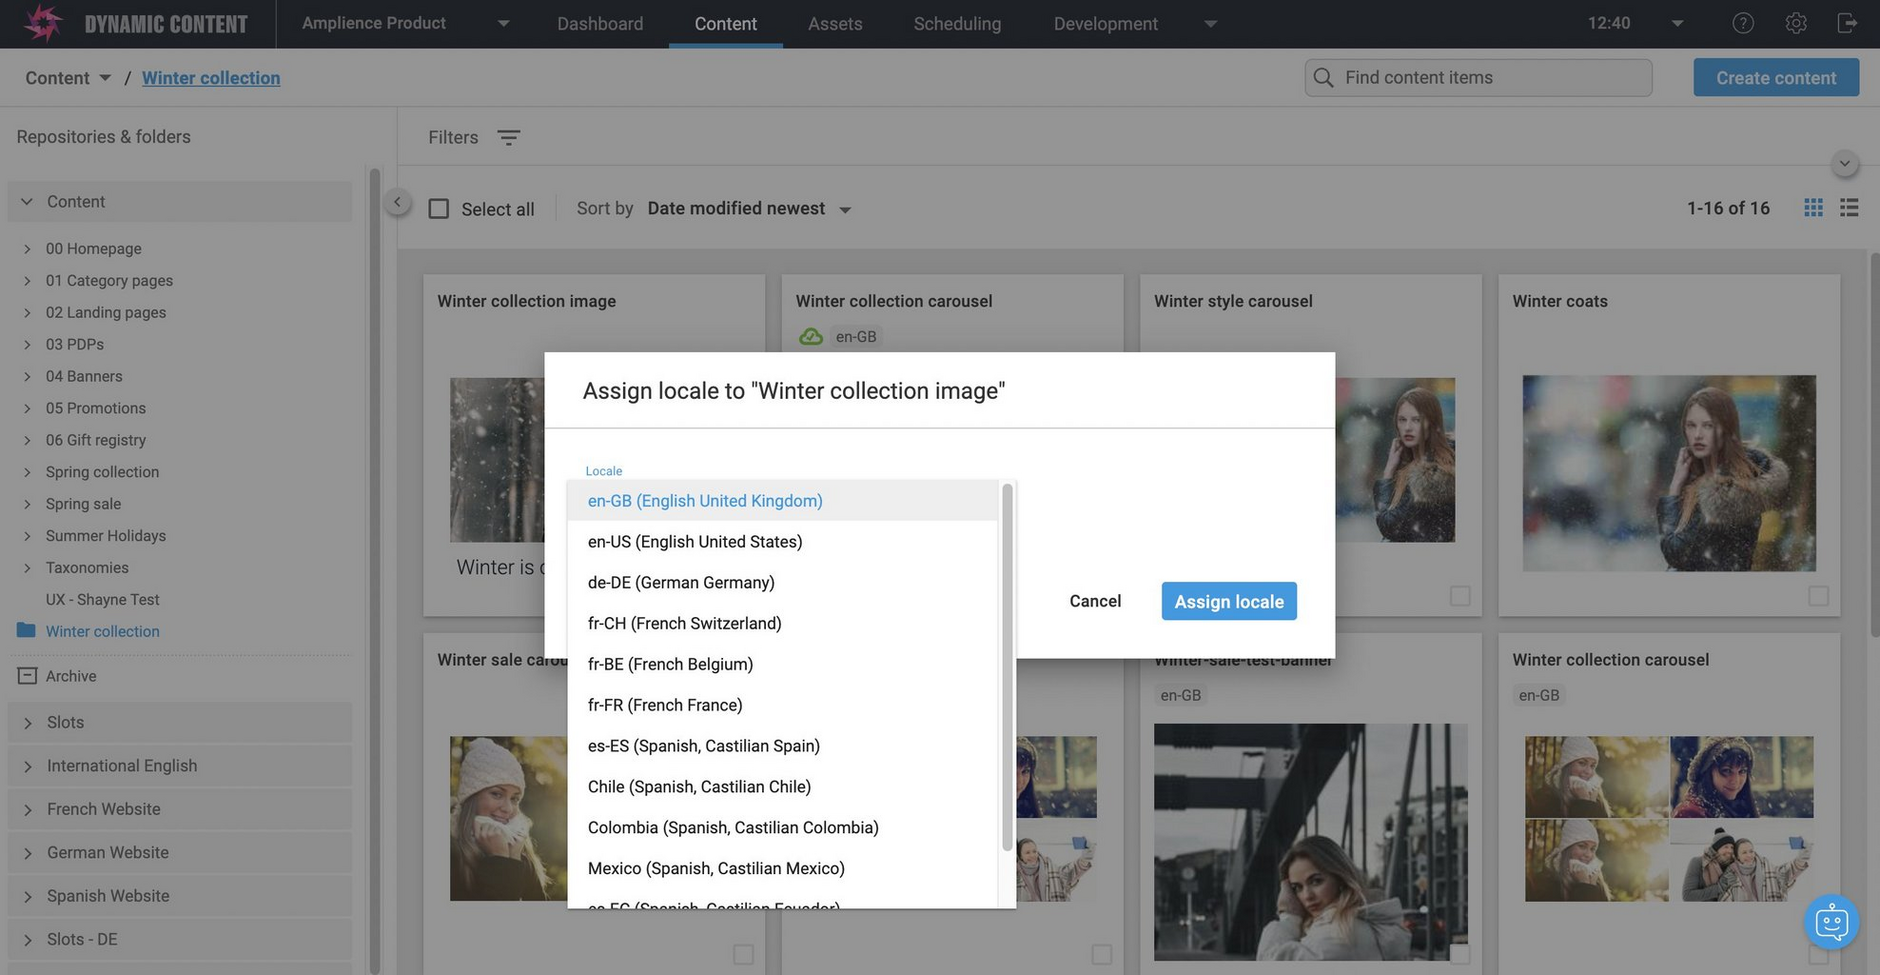
An item can be assigned any locale that has been added to a hub. You might choose to assign locales to particular repositories and in that case when you assign a locale to a content item, you will be restricted to the locales to the locales assigned to that repository.
Here we are choosing to assign the en-GB locale because we have created the content item with English content.
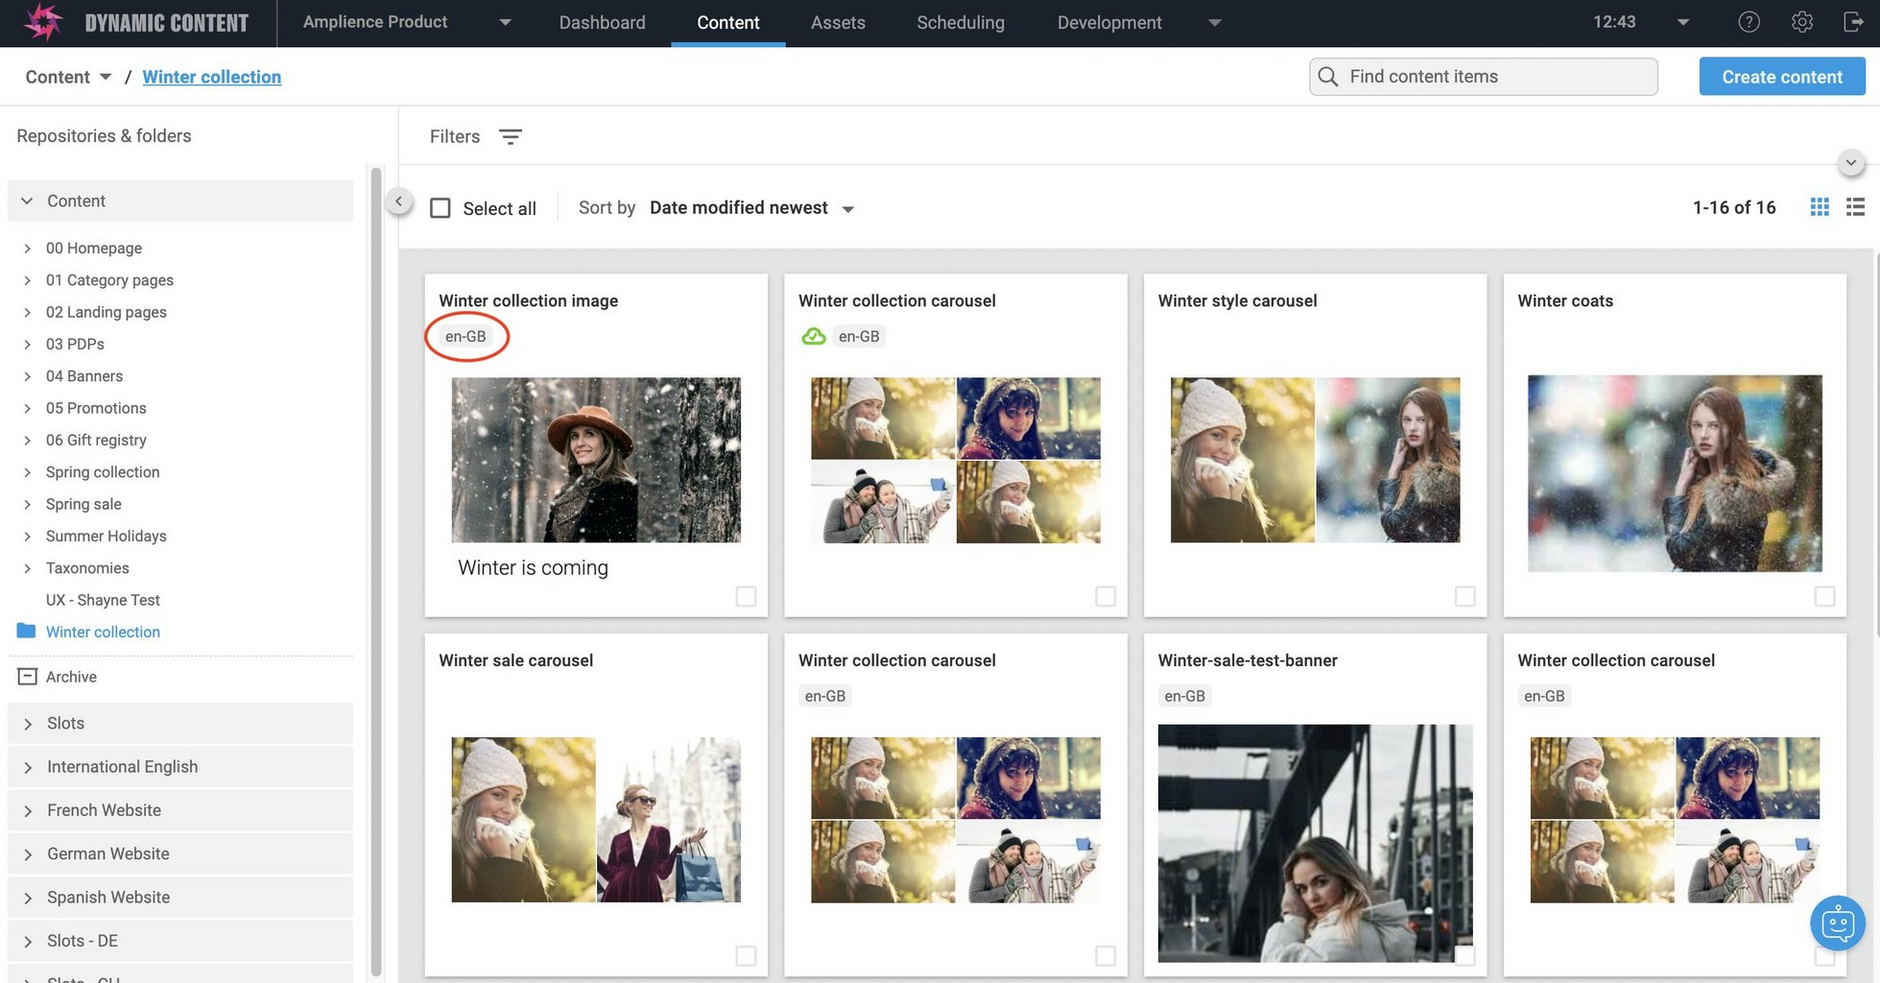
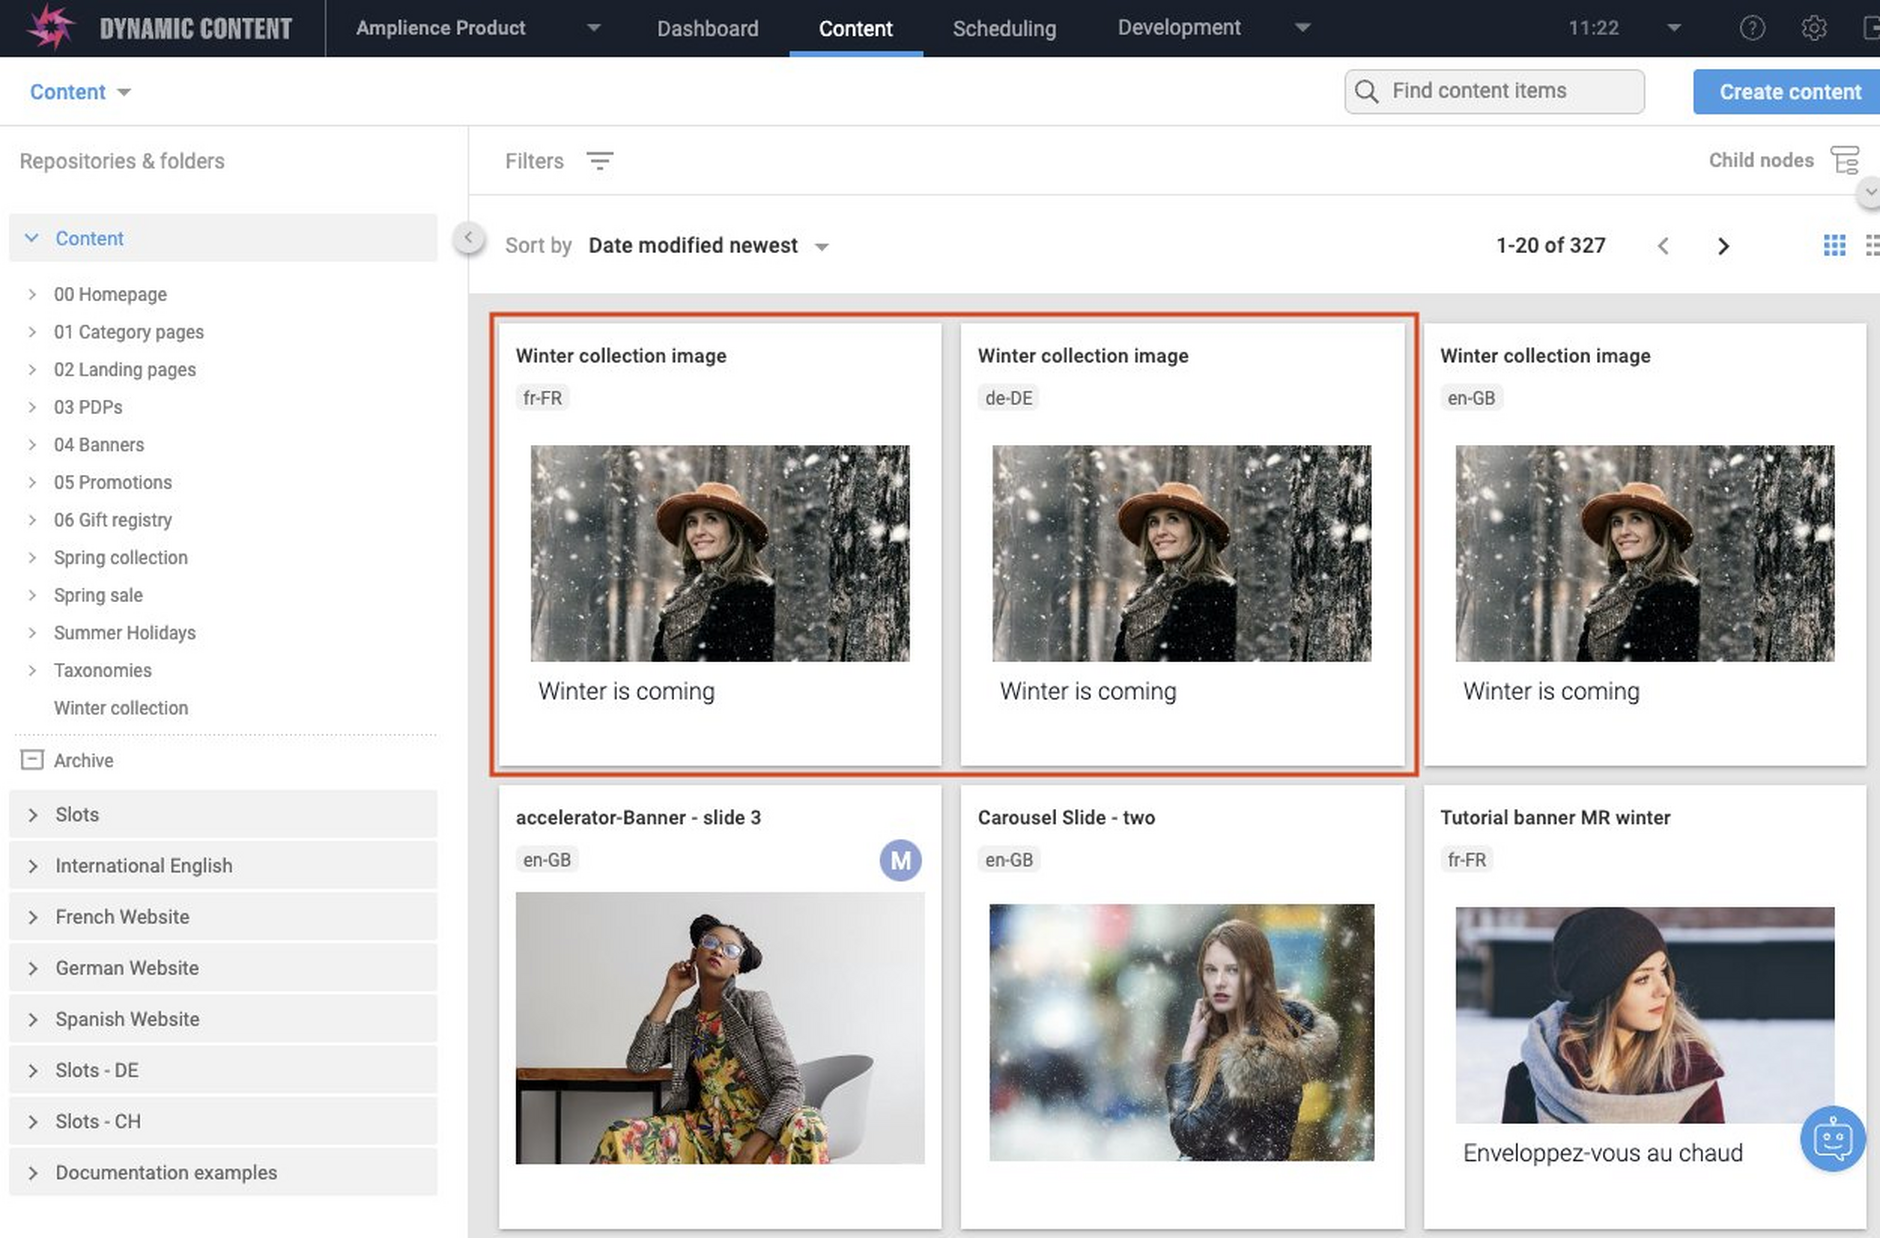
A visual indication of the locale is now shown on the content item's card in the Content Library. It's also shown in the list view.
Localizing a content itemLink copied!
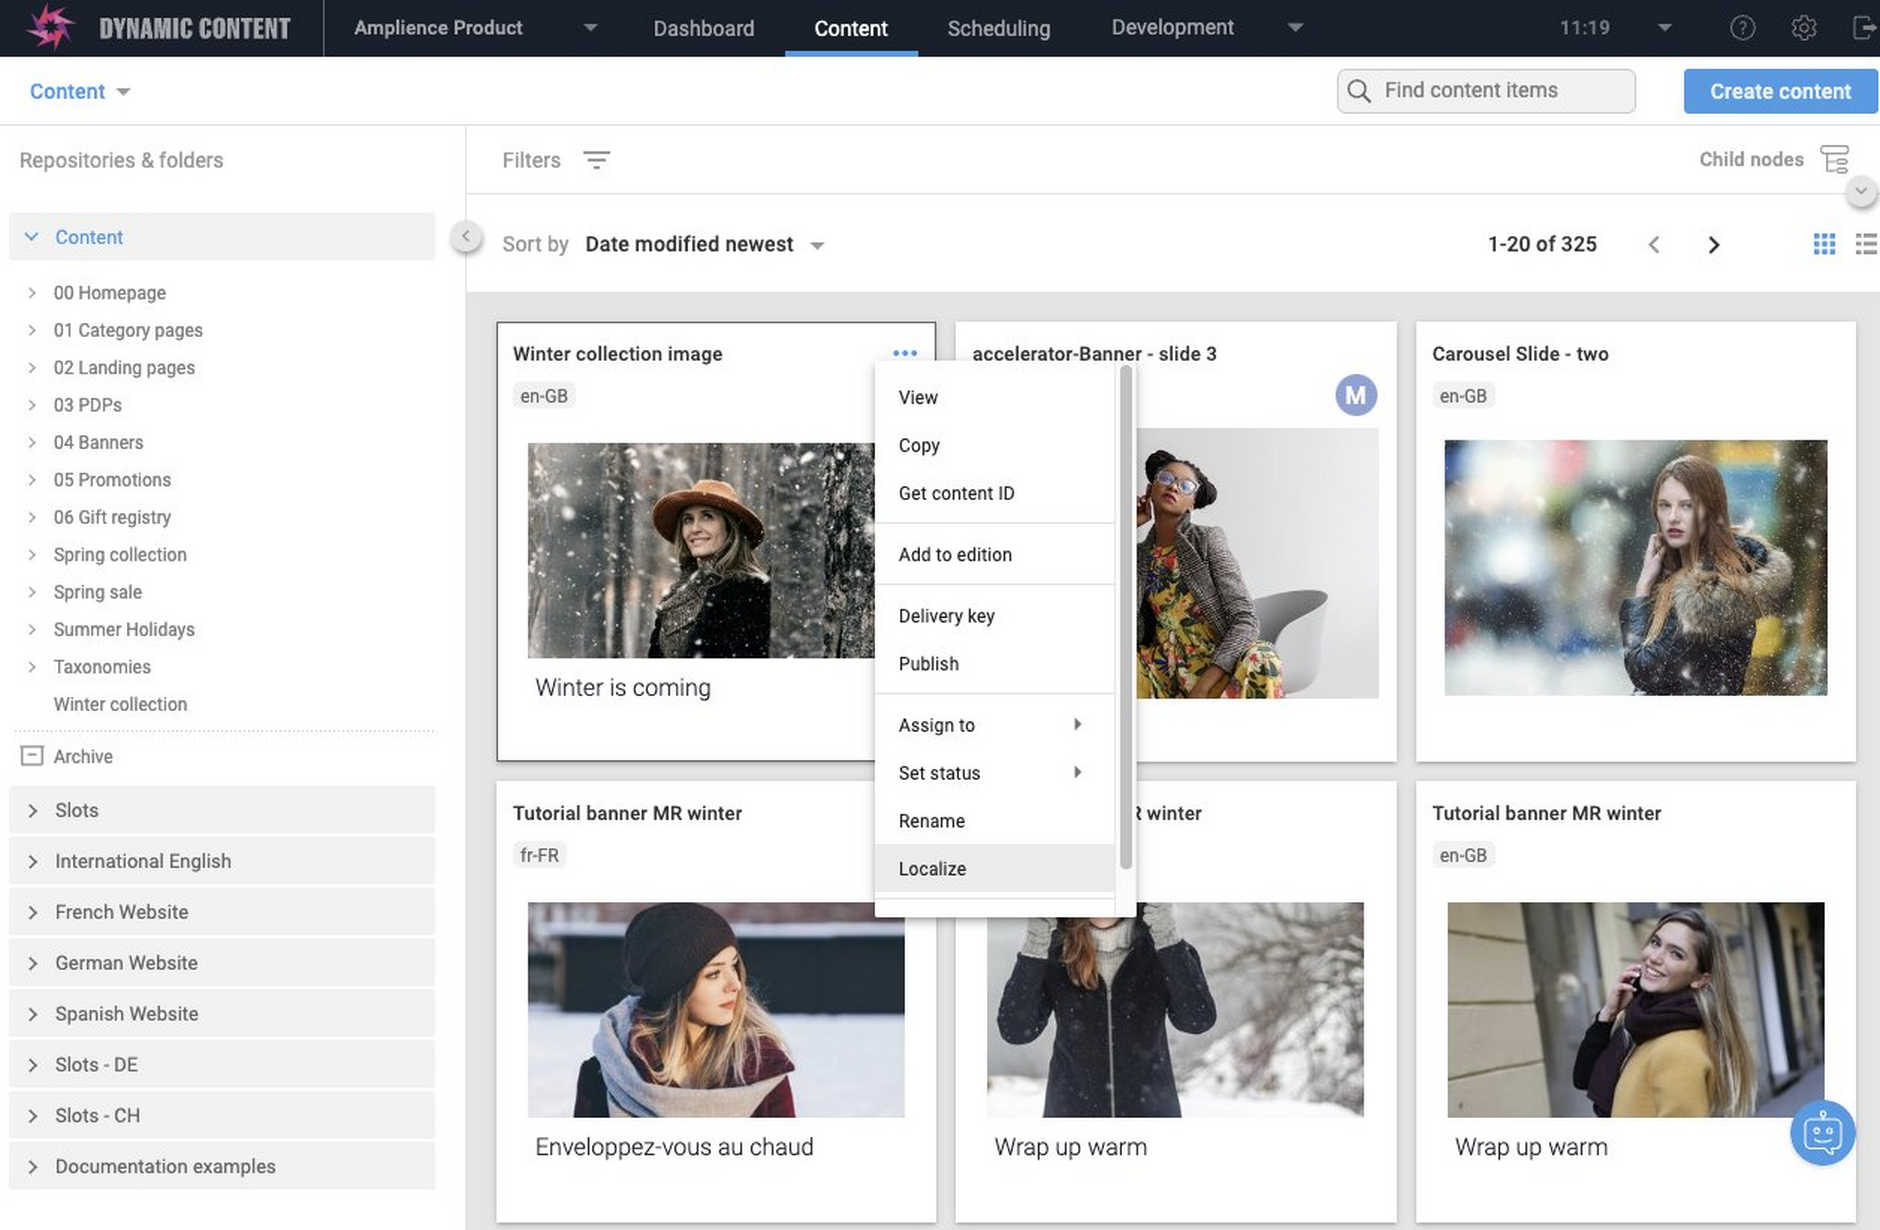
Now that the item has a locale, we can localize it. Choose "Localize" from the item's contextual menu. You can choose to localize from any locale to another of your supported locales.
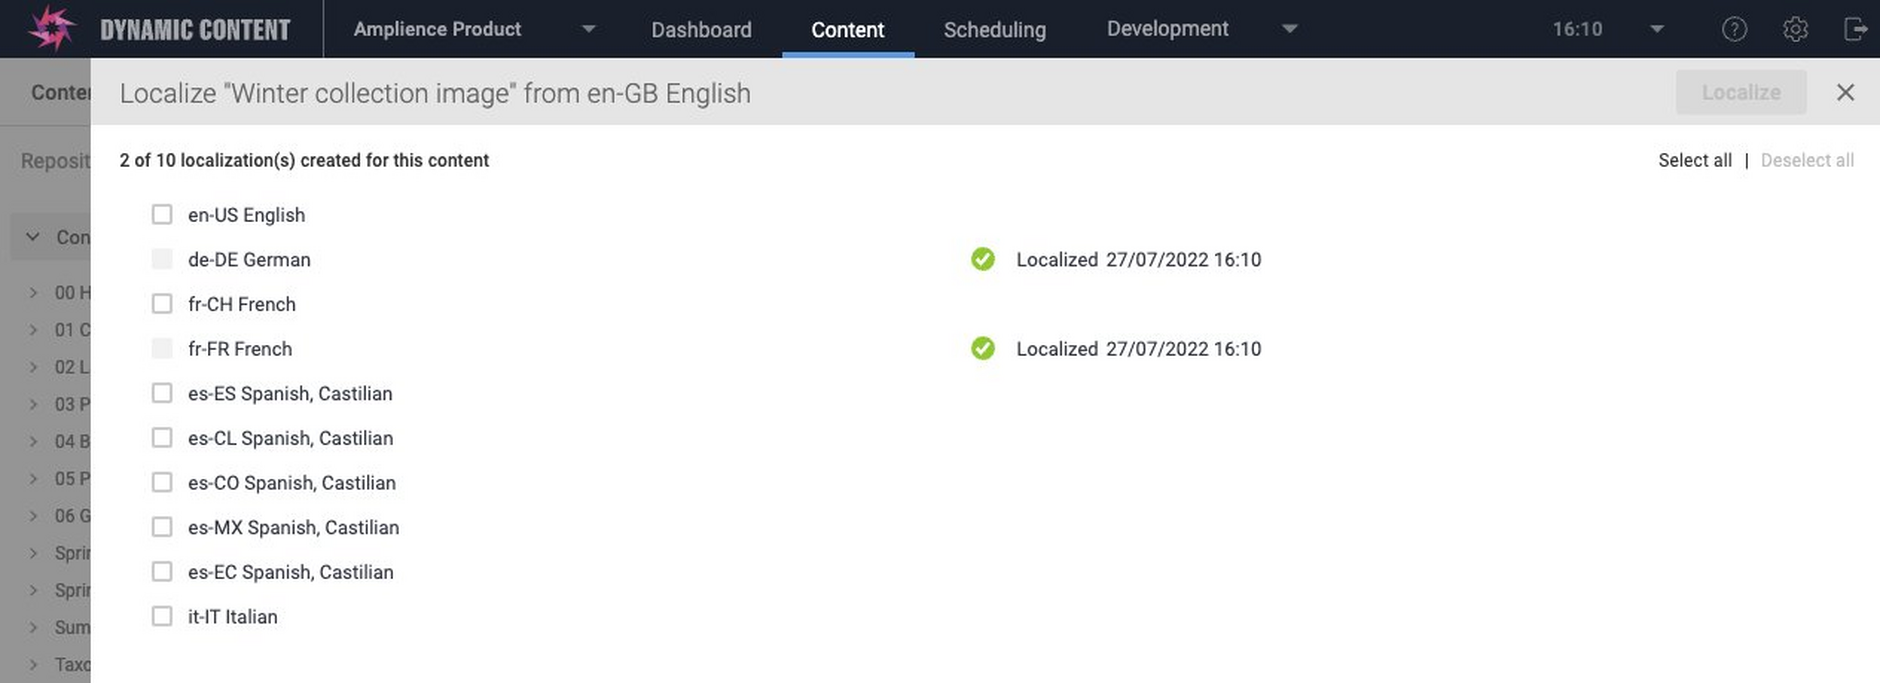
The Localize window appears. This hub has fr-FR and de-DE locales available in addition to en-GB, so we'll choose to create both English and German localized versions of the content.
You can only create one variant of a content item for a locale, so if a fr-FR localization of this content had already been created, then you wouldn't be able to select the fr-FR locale.
Choose which locale variants to create and click the "Localize" button. A spinning icon will show that localization is in progress. When the localization is complete, a green tick will be shown next to the locales for which an item has been created, together with the time and date it was localized.
New content items have been created for the fr-FR and de-DE locales. These each have their own unique content ID and revision history. Because these are separate items we can edit the image and other properties without effecting the other variants.
Switching between locale variantsLink copied!
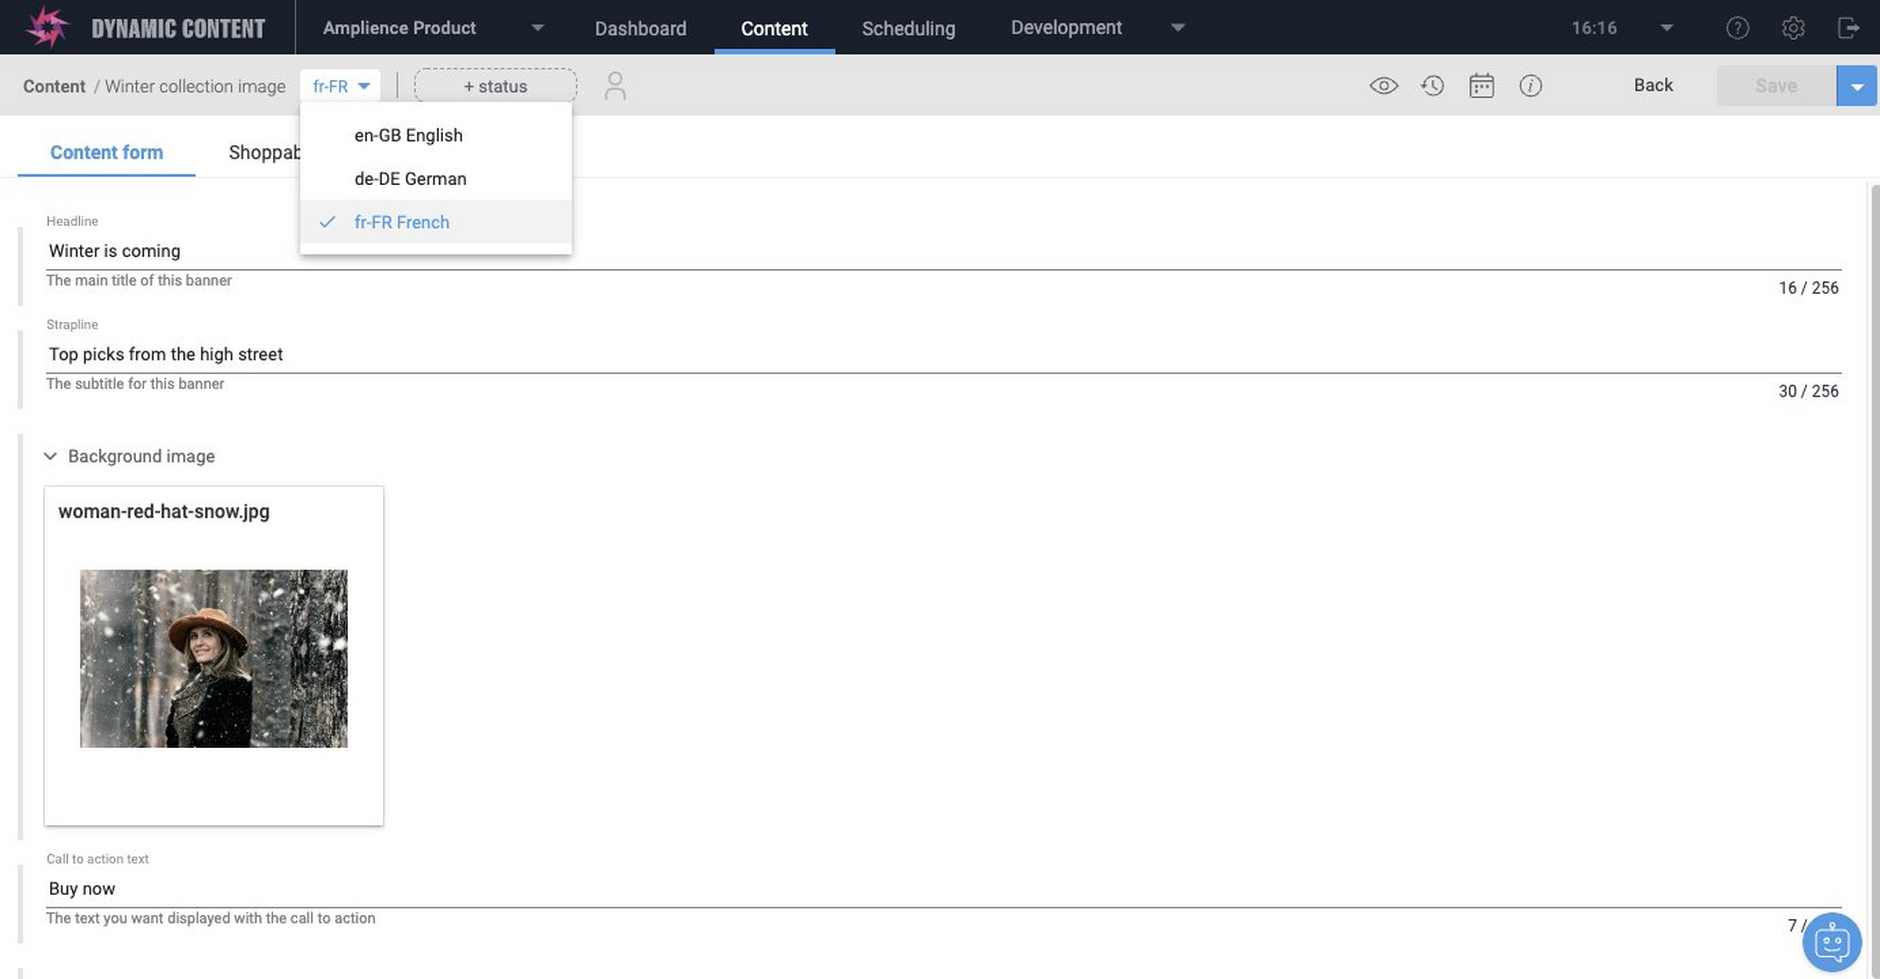
Even though each variant is a separate content item, you can easily switch between each variant. Open the content form for any variant of a content item and choose the variant from the locales menu as shown below. Here the fr-FR variant is selected, but we can easily switch to the other variants we created.
