Creating content previews
A content preview app provides a way for you to preview content in your website, app or other channel and allows you to see how it will look before it goes live. You can choose to launch a preview at specified date and time, or preview an individual edition.
The first step in developing a preview app is to configure an online resource that will be used to preview your content. This resource can be as simple or complex as you like, from a single page to an entire website or a mobile app running on an online simulator. A common use case is to point to a staging version of your website.
On this page we'll walk through the structure of a very simple preview app that renders the content of a single slot containing one content type. It shows the key concepts you'll need to know when writing a preview app. For more information about using preview apps see the previewing content page.
For an example of setting up a content preview to use with the Dynamic Content Salesforce Commerce Cloud (SFCC) integration see the SFCC content preview page.
Setting up the preview app settingsLink copied!
The preview app URL specifies the URL that will be launched when the preview feature is selected in the Dynamic Content UI.
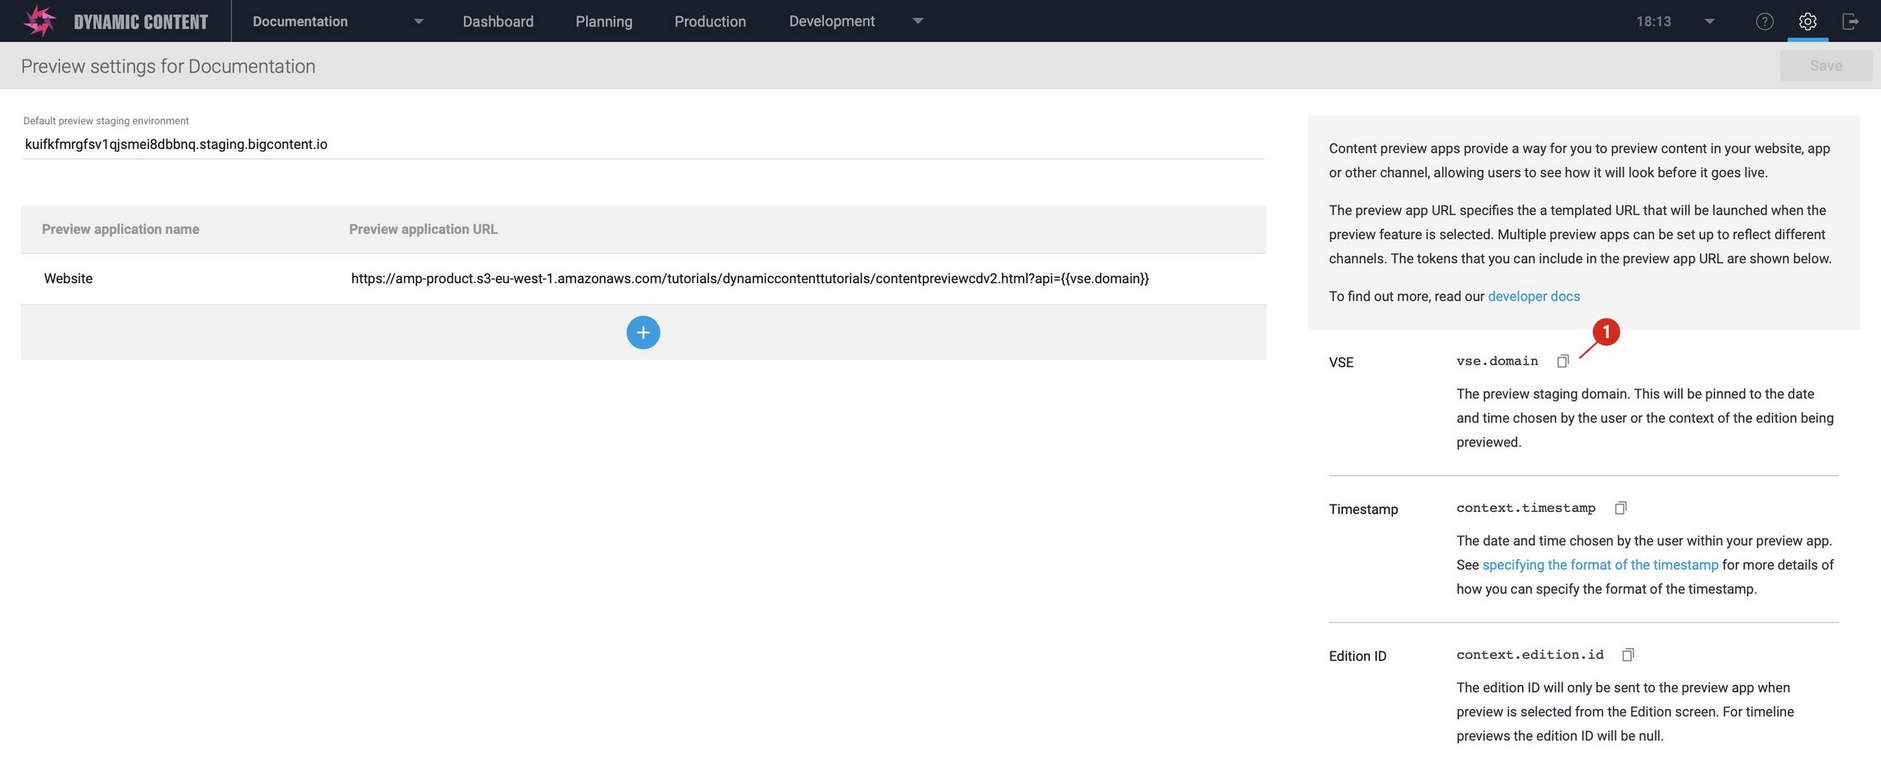
The preview app URL is added to the preview settings dialog, available by choosing "Preview settings" from the "Settings" menu in either the production or planning views.
In the case of our example, the preview is just a one page web app, but for more complex previews you might write a Node.JS app, for example. You can add more than one preview app and allow the user to choose which one they want to use.
You can also copy the tokens to include in the preview URL. See the section below for more details.
The preview app templated URLLink copied!
A preview app is specified as a templated URL, including a parameter that will contain the virtual staging environment (VSE) domain. Much like a visualization this domain is used in place of the production domain to retrieve unpublished content.
Here's the templated URL for the preview app example. The virtual staging domain will be sent to the preview app in the api parameter.
No slotIDs or delivery keys are sent in the parameters, so you choose which slots to render. That might be all the slots on your website. The IDs and delivery keys of these slots won't often change, unless you restructure the website, just the content of the slots will.
Tokens in the preview URLLink copied!
The following is a list of the available tokens that you can include in the preview URL.
{{vse.domain}}The preview staging domain. This will be pinned to the date and time chosen by the user or the context of the edition being previewed.{{context.timestamp}}In some cases you may want to use the date and time chosen by the user within your preview app. See specifying the timestamp format for more details of how you can specify the format of the timestamp. When you launch a Quick preview of an edition from the edition window, the timestamp will be null.{{context.edition.id}}You can use the edition id to call the Dynamic Content Management API to retrieve information about the edition being previewed and the slots it contains. The edition id will only be sent to the preview app when preview is selected from the edition window. For previews launched from the timeline or calendar the edition id will be null.
Using the virtual staging domain to retrieve contentLink copied!
An example of the VSE domain that is sent to our preview app is shown below:
The virtual staging domain is used in place of the production content delivery URL to retrieve the unpublished content.
The VSE domain, when used in place of the production domain, will return the correct content for the context selected by the user:
- How the content will look at a selected date/time in the future based on what is scheduled
- How the content of the selected edition will look when it is published
Content Delivery v2 exampleLink copied!
This example uses Content Delivery v2. If you are using the original Content Delivery API then you can download the complete example preview app for the original Content Delivery API.
In the preview example we want to retrieve the contents of a single slot- the home page feature banner slot that contains one or more tutorial banners. You can find the tutorial slot and banner content type schemas in the schema examples.
The slot has a deliver key of home-page/feature-banner and we can use the key to retrieve the slot contents. We can build up the delivery URL to retrieve the slot contents as follows:
The virtual staging domain that is sent by Dynamic Content to the preview app is pinned to the timestamp chosen by the user, or the context of the edition that is being previewed. You should use the staging domain sent to your preview app and never modify it directly. If you want to preview content for another time period, then you update the staging domain using the Virtual Staging data service API, as explained in the advanced preview features section.
In this example we have specified that the content is returned in inlined format. A handlebars template is then used to convert the JSON content into HTML which is combined with some CSS to render the content.
Download the complete example preview app that uses Content Delivery v2, including the code shown on this page.
Using the preview app exampleLink copied!
The following example illustrates the preview app in action.
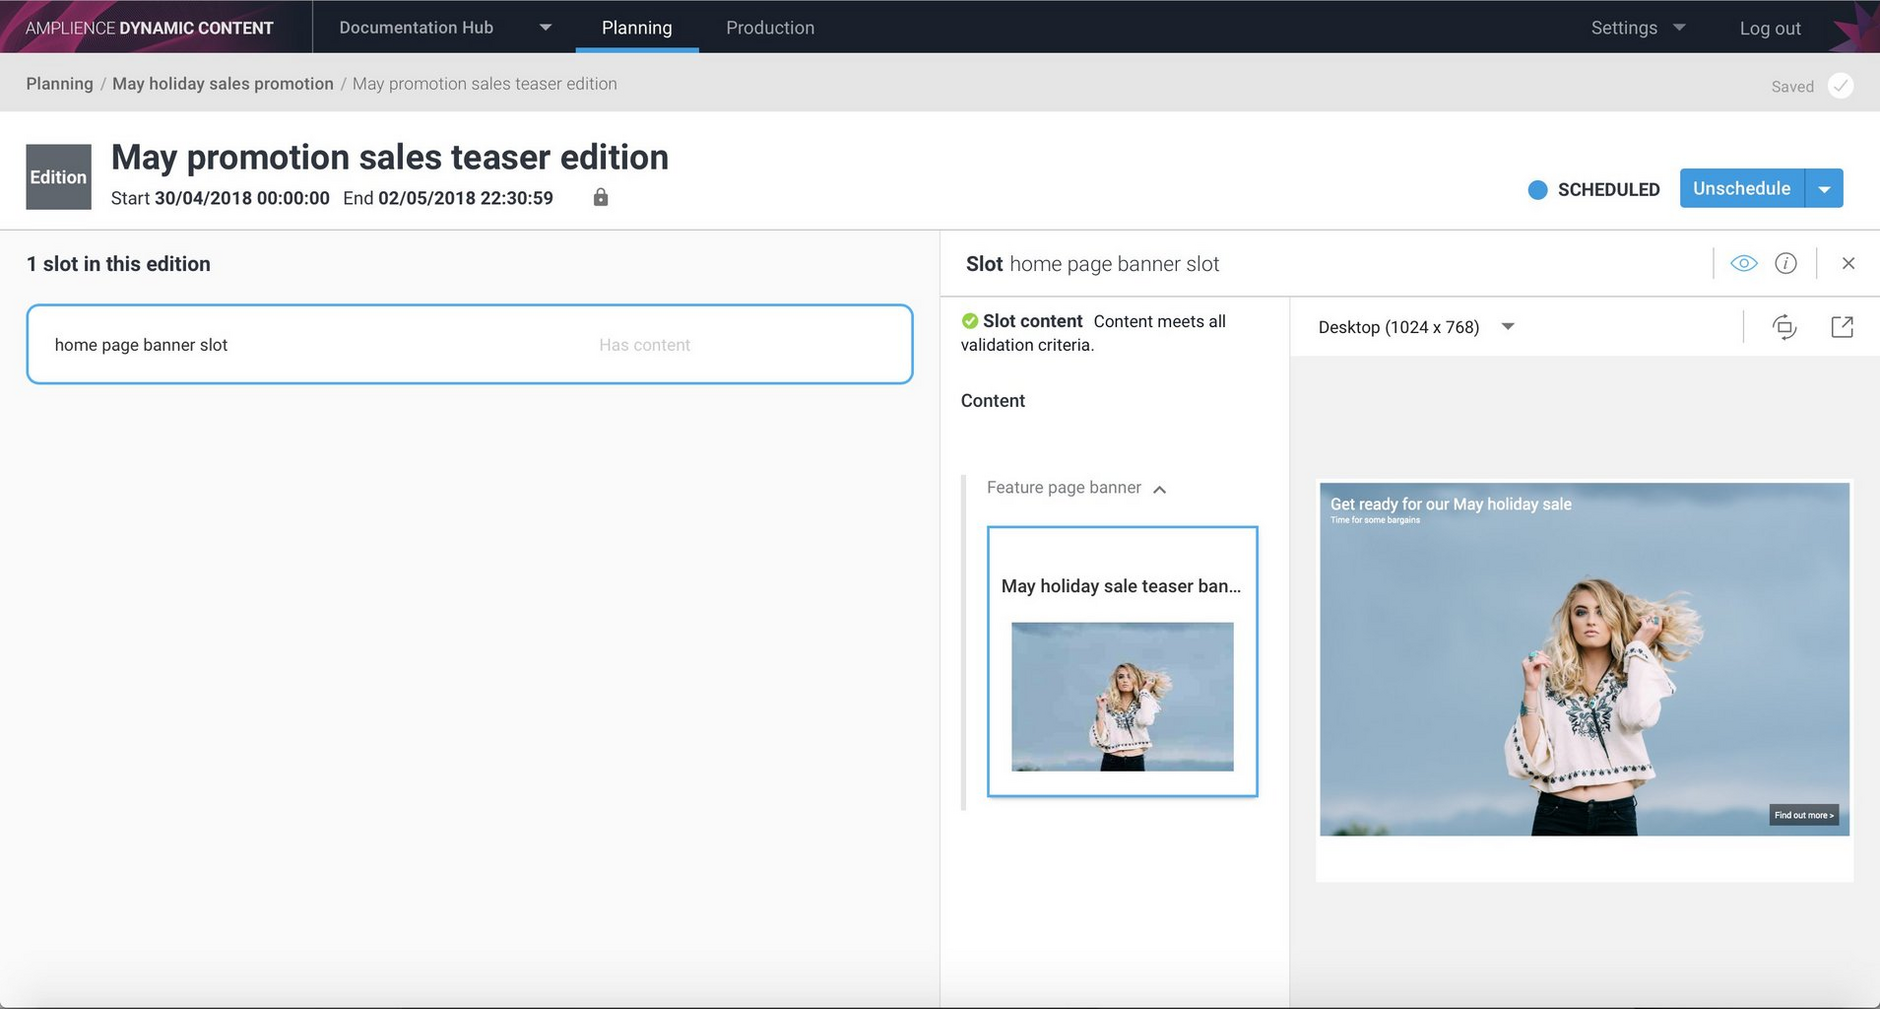
We've scheduled an edition called "May promotion sales teaser edition" to which we've added the home page banner slot and we've added a banner to this slot. The edition is then scheduled to go live on 30/4.
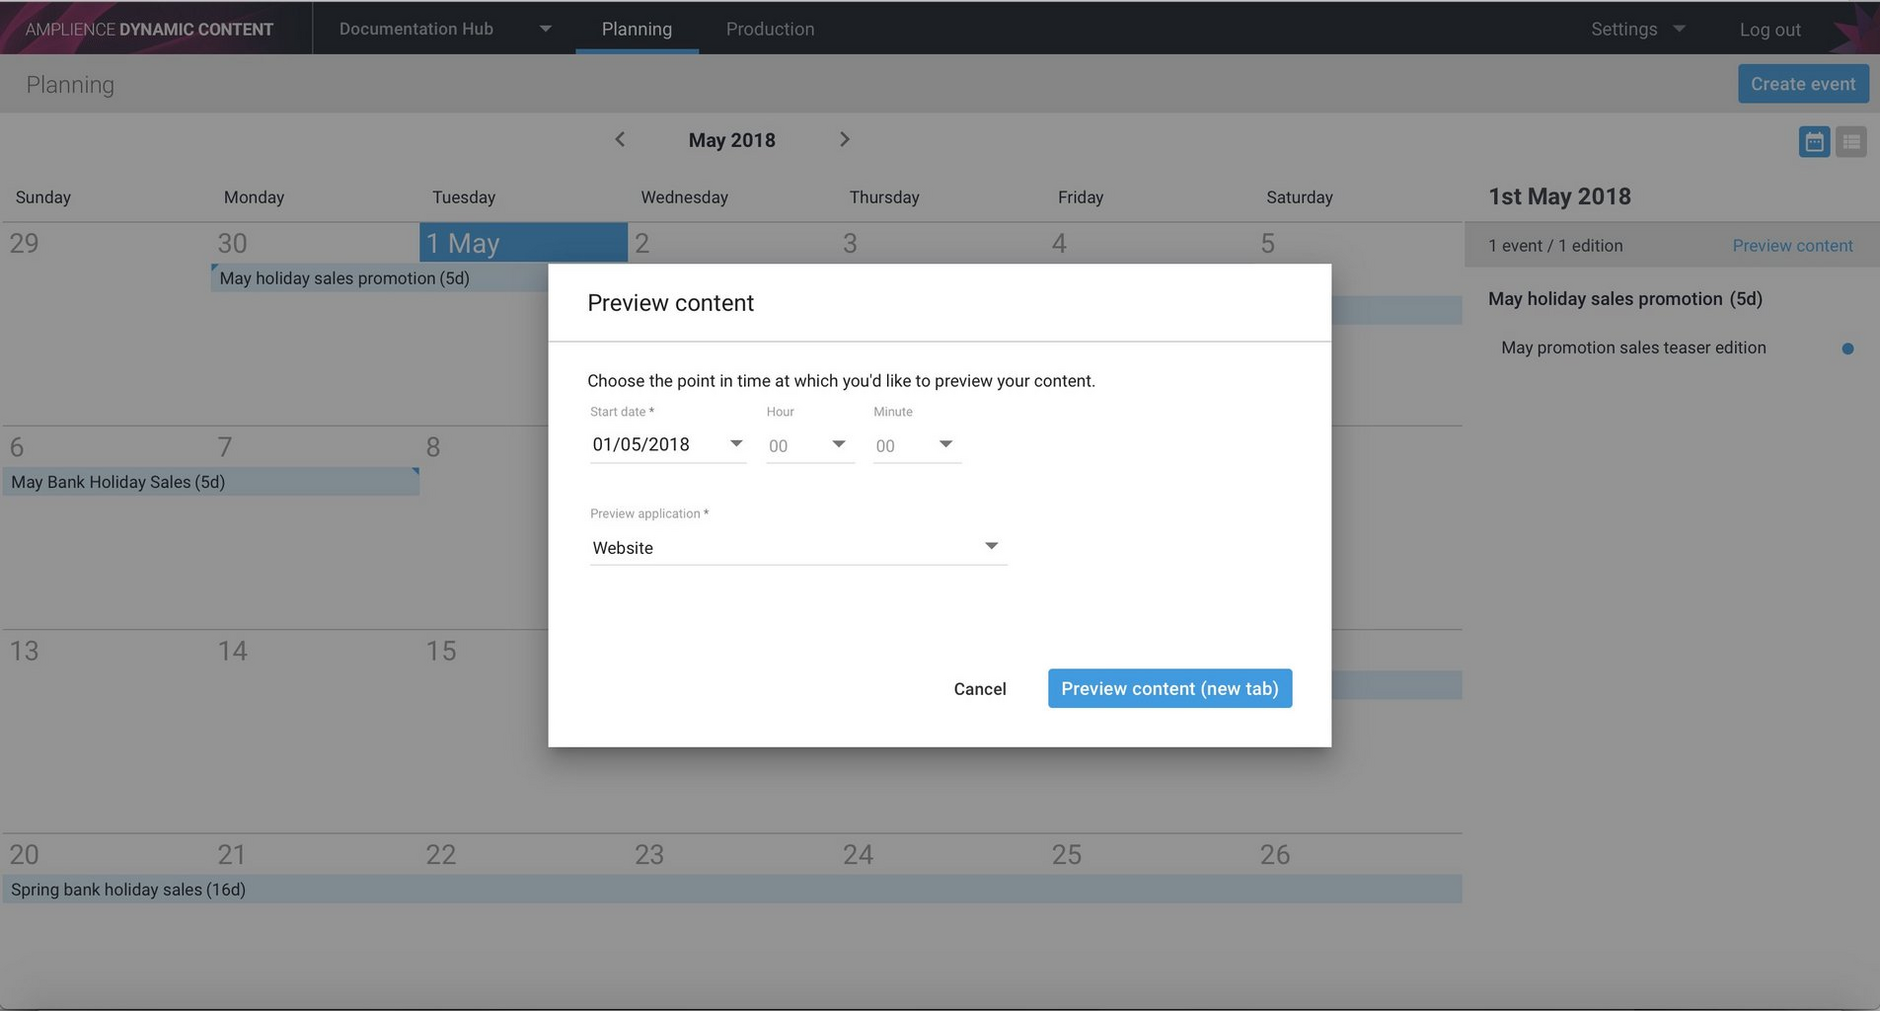
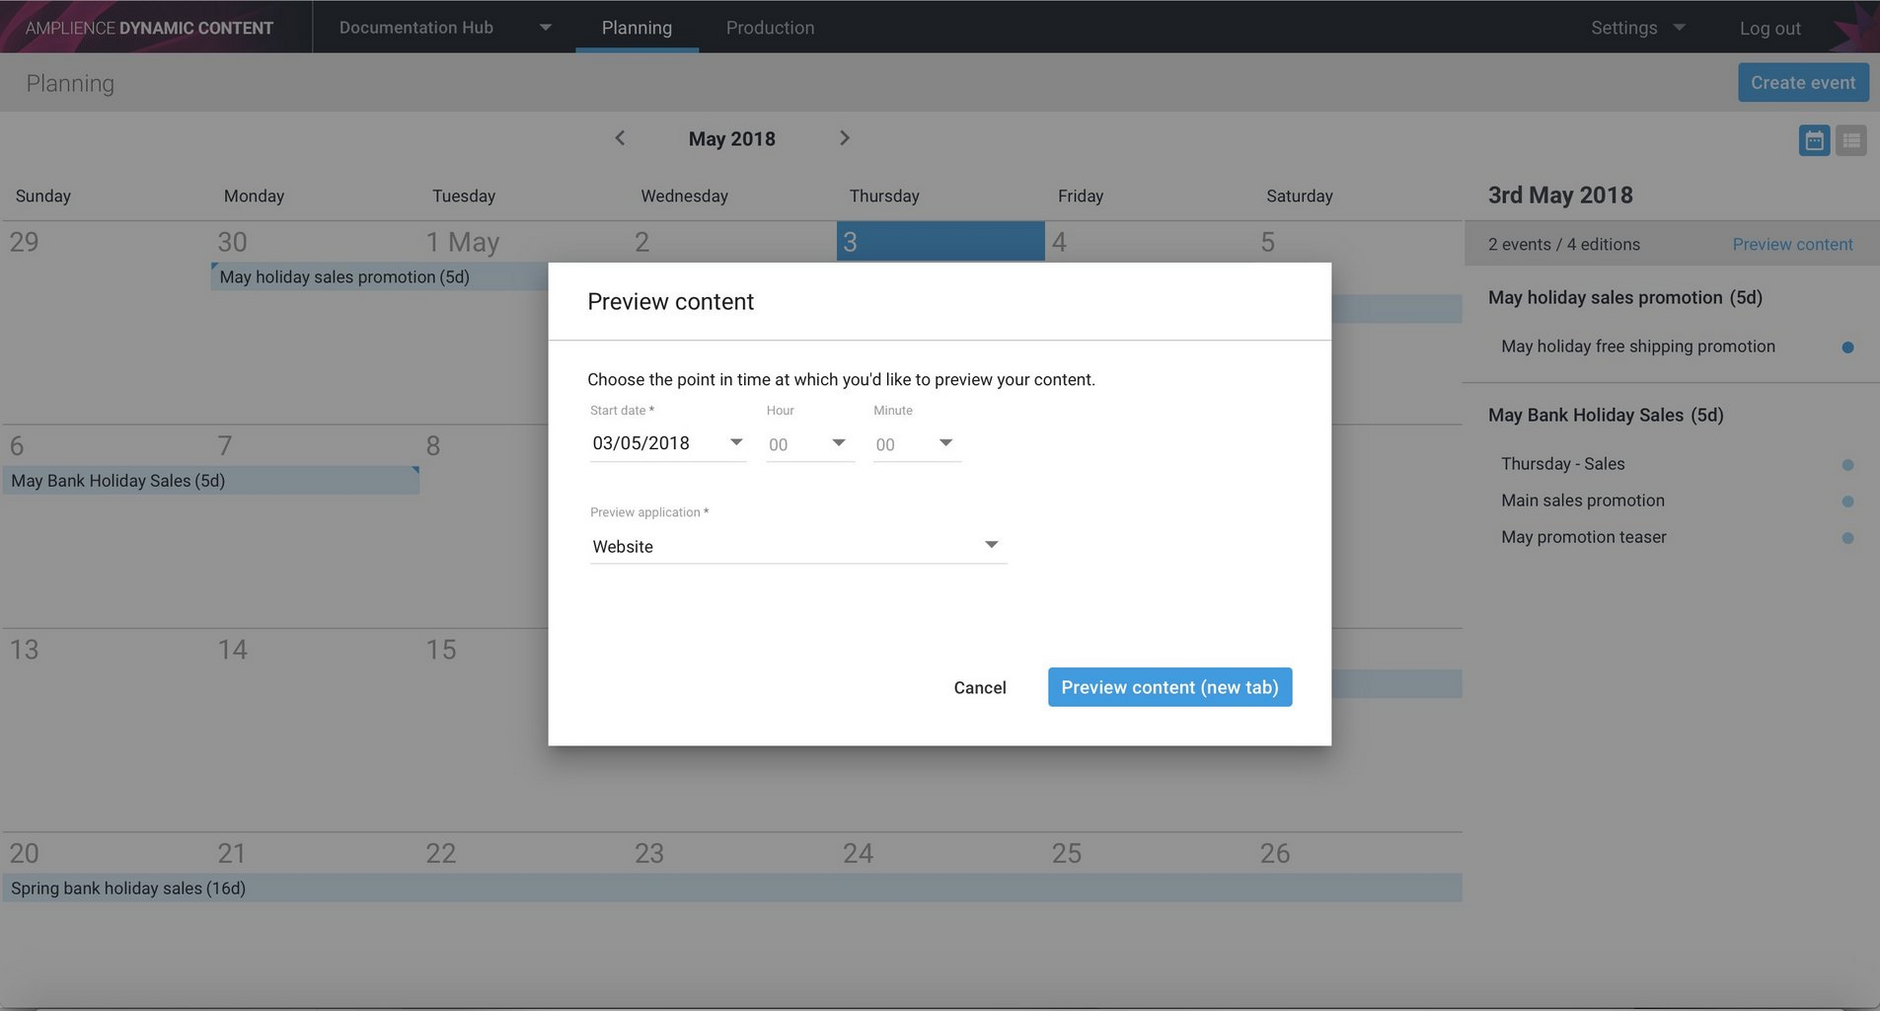
Back in the planning calendar, we right-click at the top of a date and choose "Preview content". A dialog is displayed allowing us to choose the date and time from which to view the preview. We'll choose 1/5, since we know that the edition is scheduled to be live then.
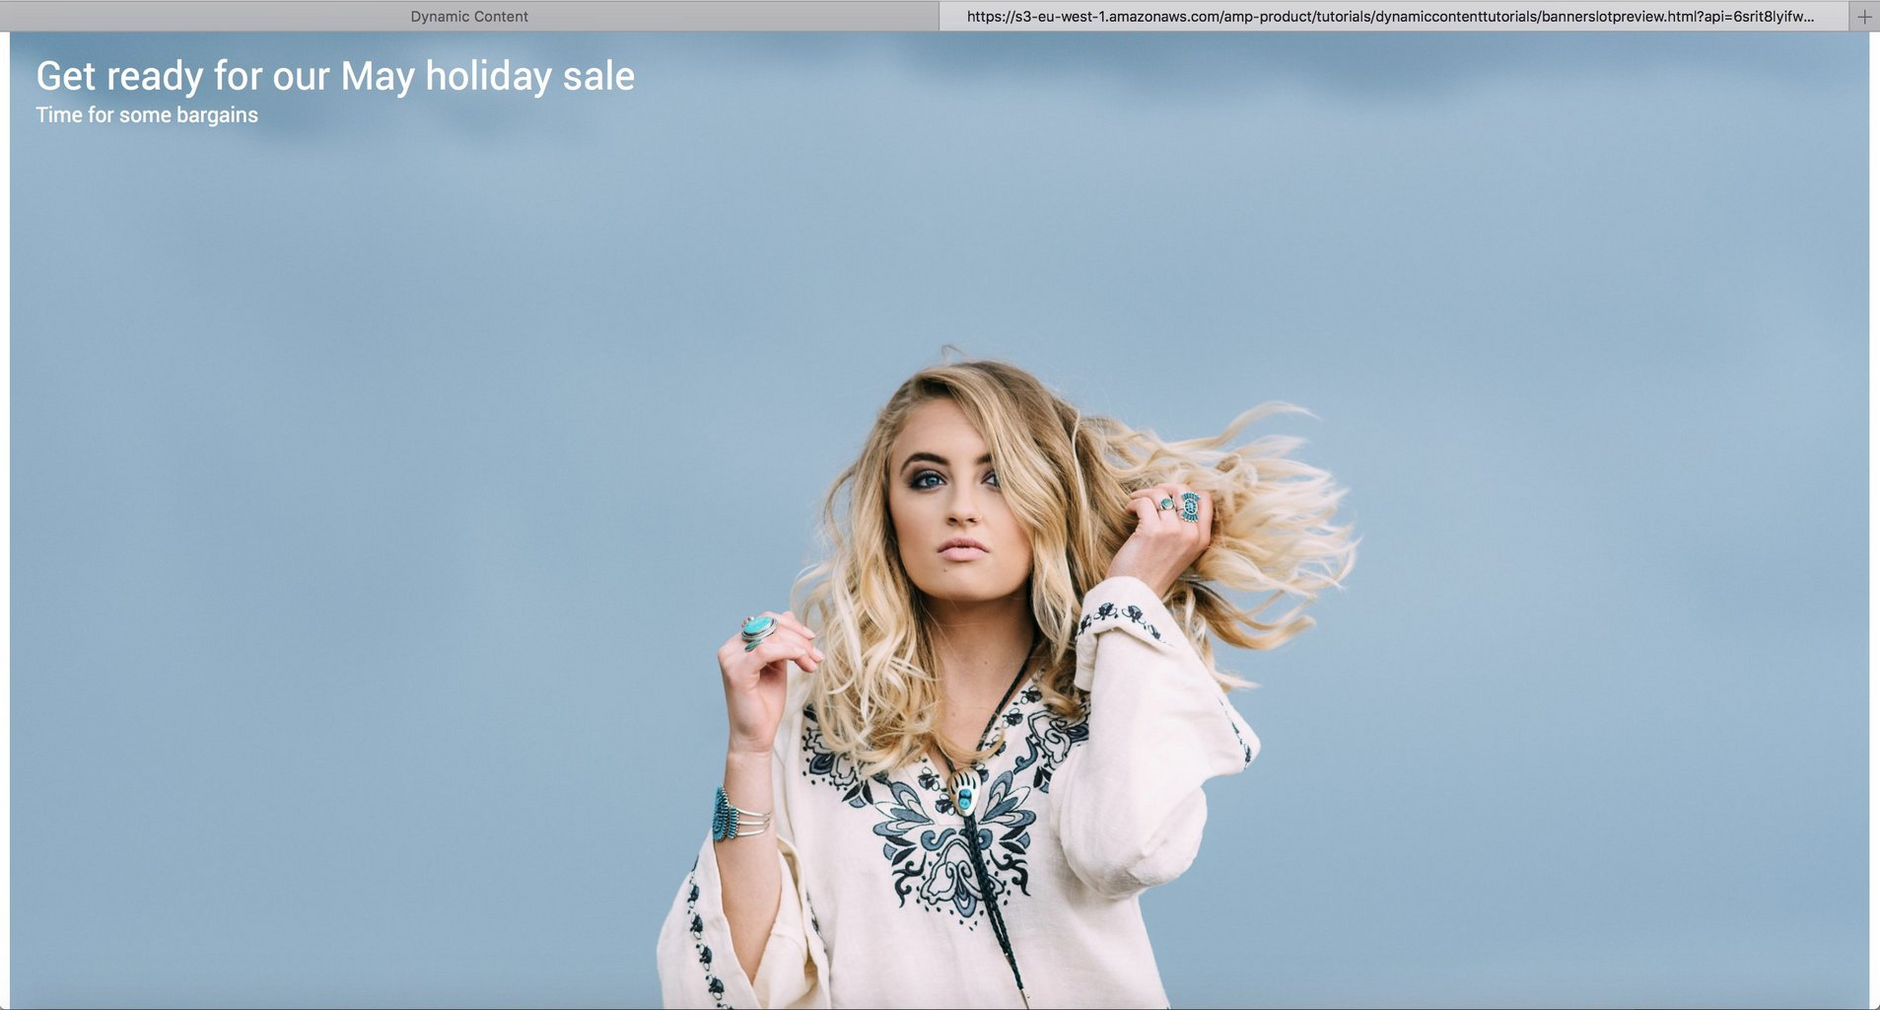
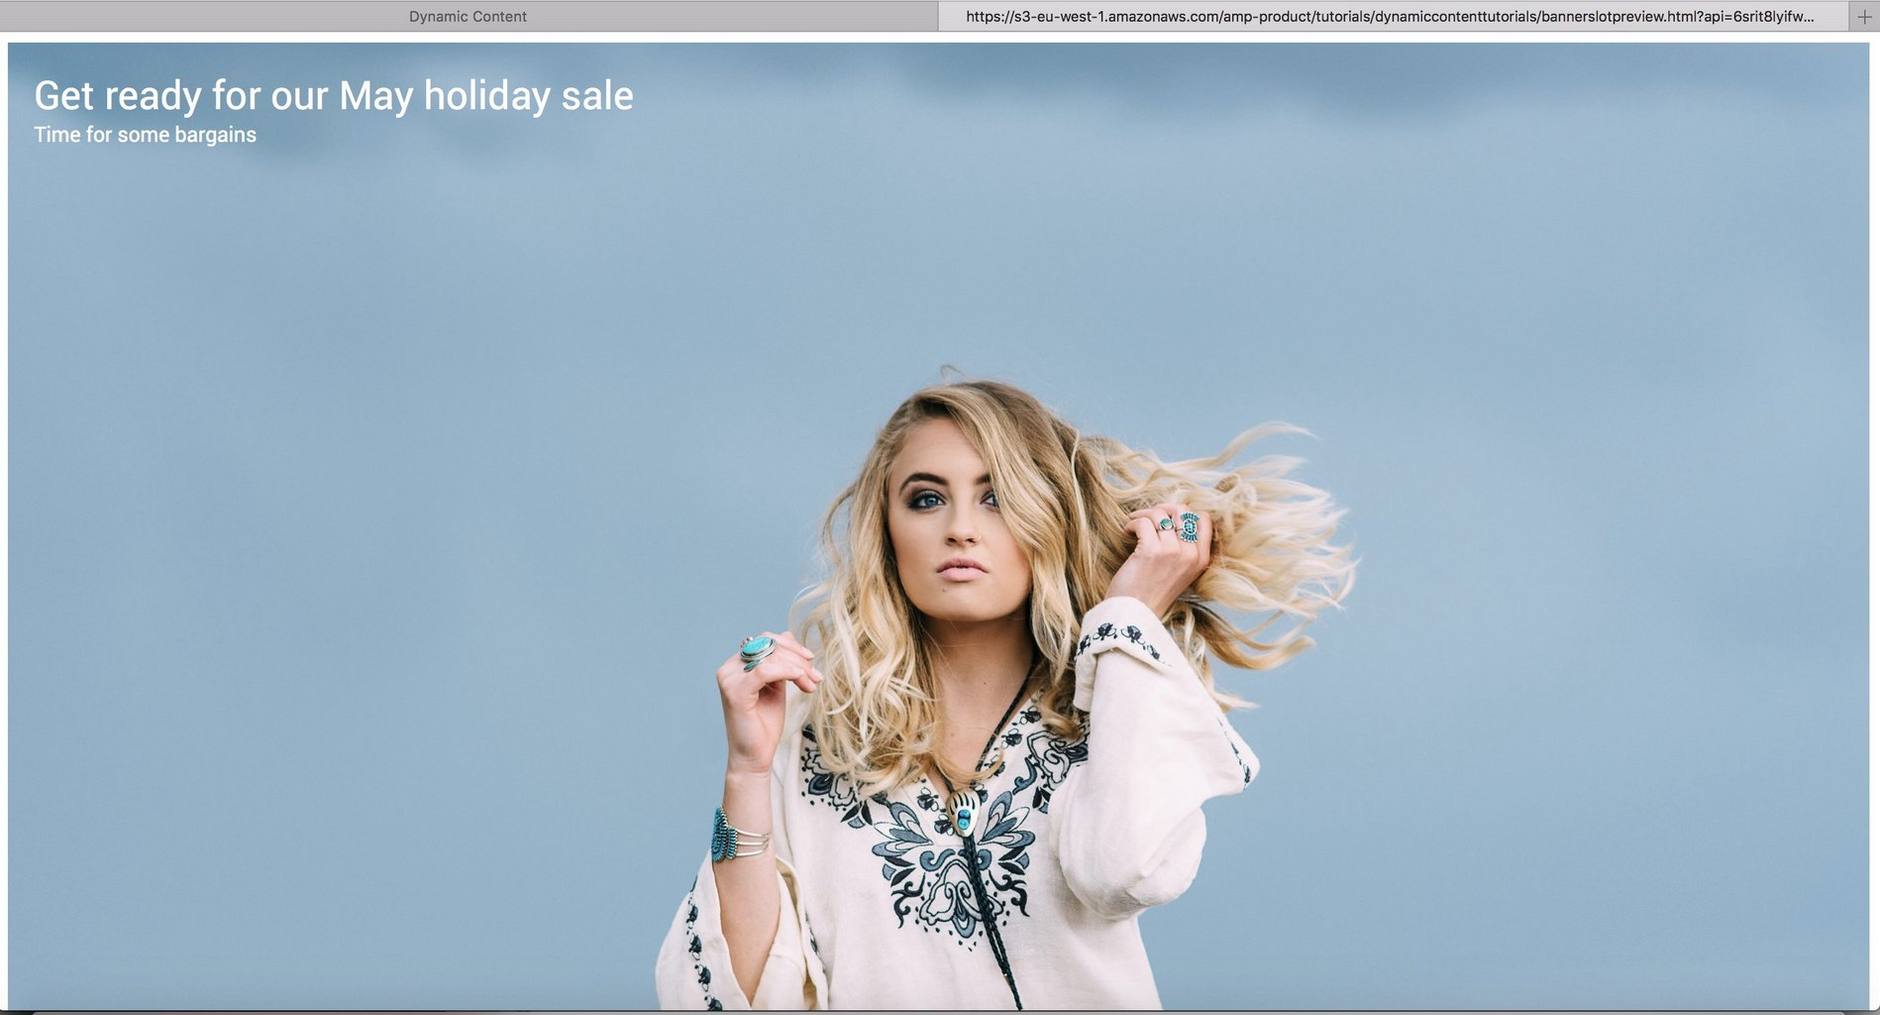
The preview app is launched and the preview is displayed in a new tab. The banner image of the model in a white shirt is displayed, the banner that we scheduled to be live on that date.
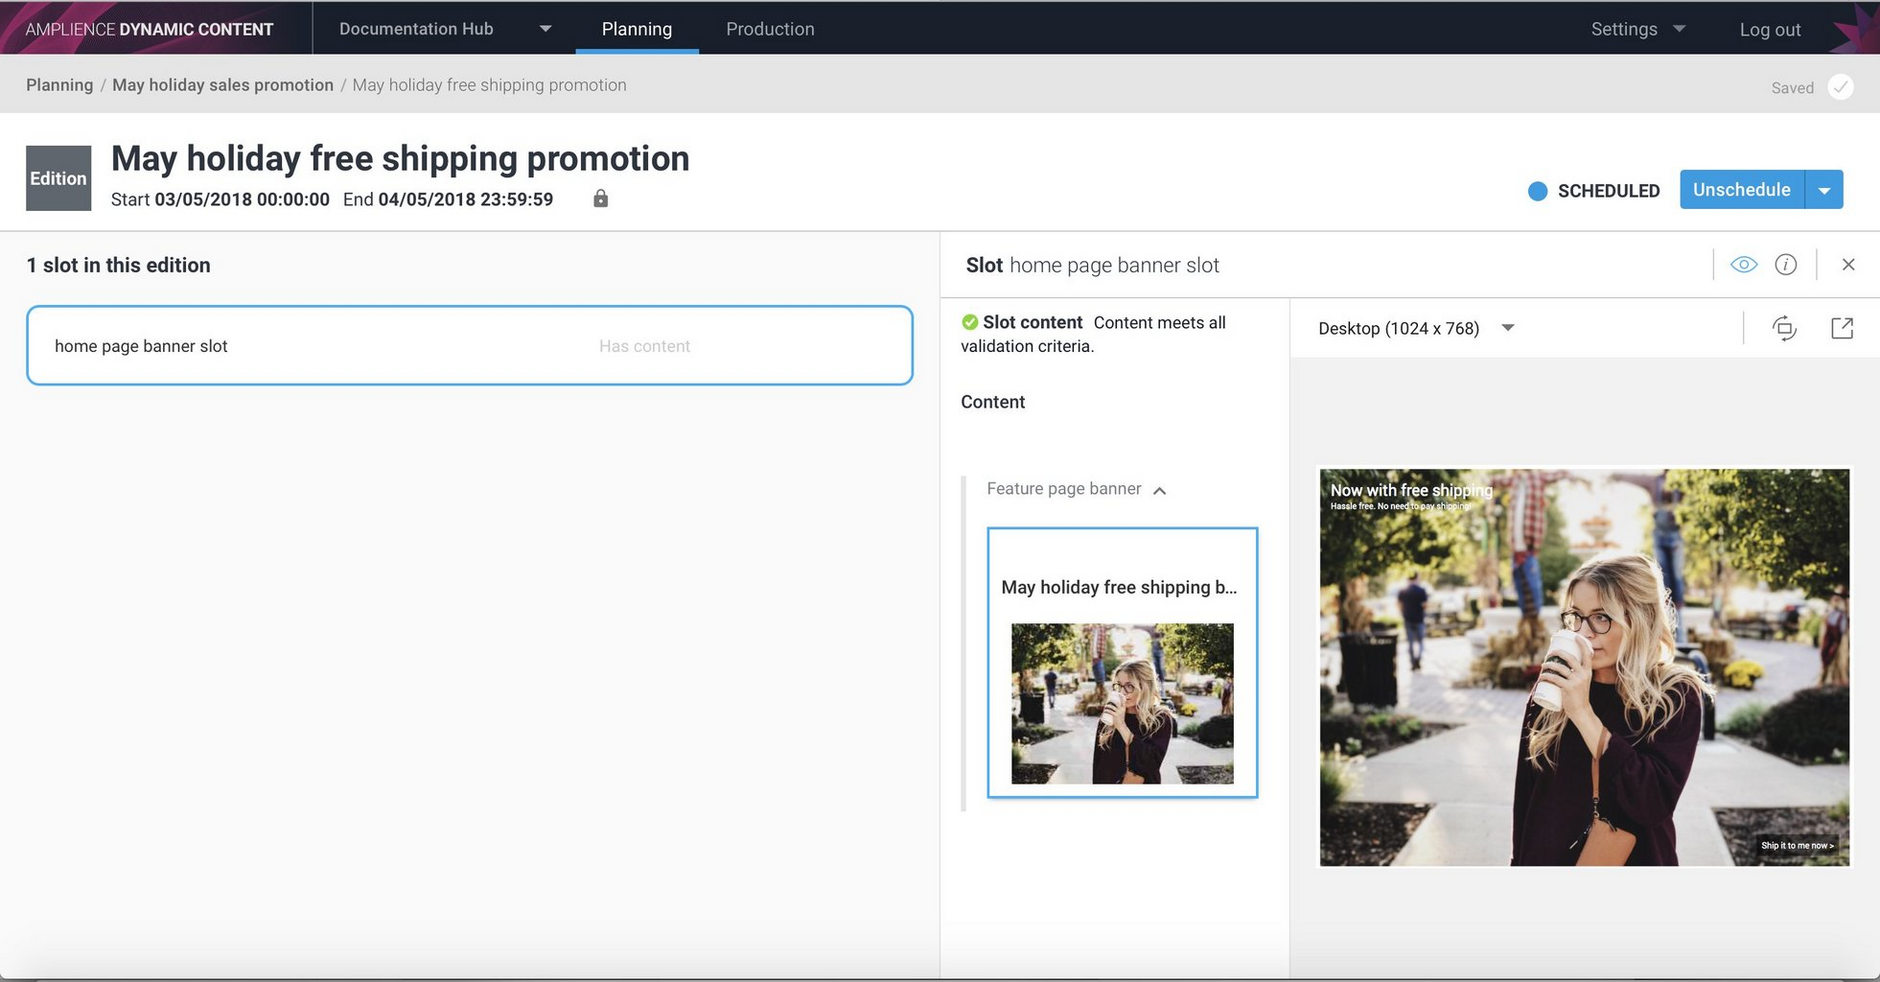
Next we'll create another edition, add the home page banner slot to it and add some content to this slot. This time it's a banner for the free shipping promotion. The edition is scheduled to go live on 3/5.
We'll choose to view the content preview on that date.
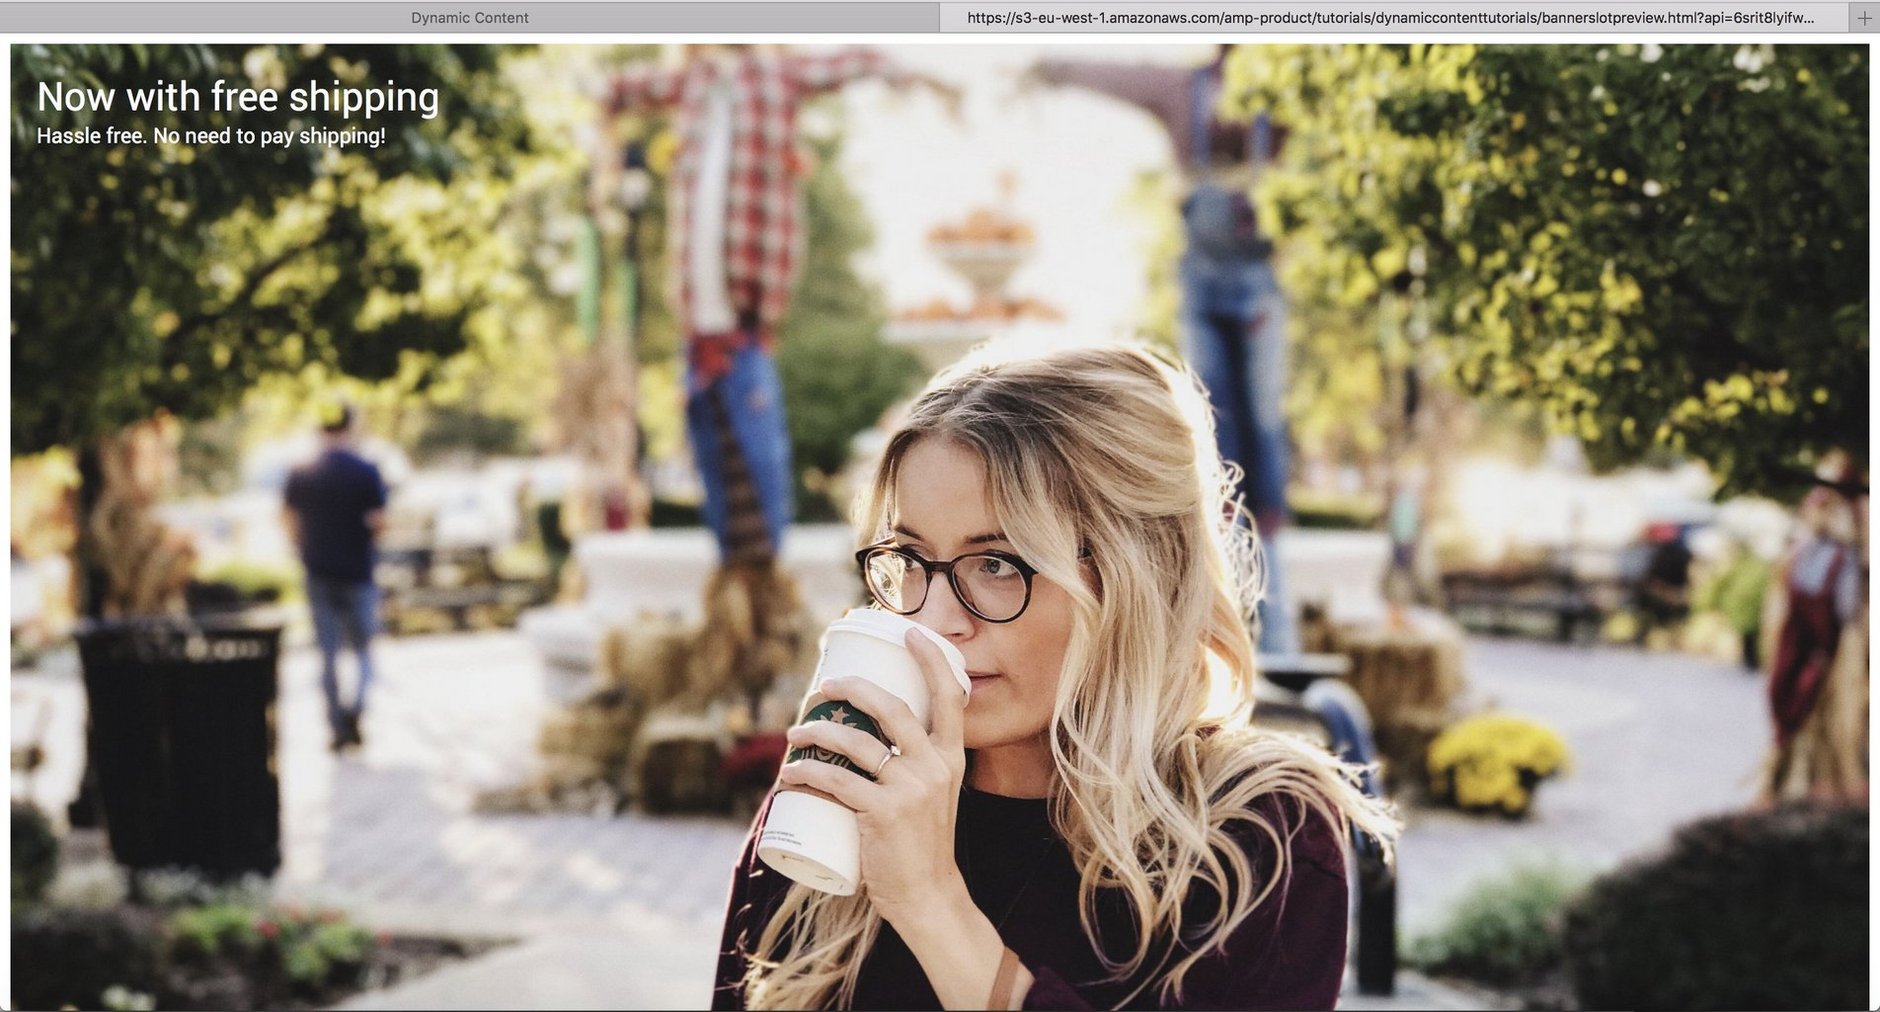
The content scheduled from the edition we created is now displayed.
If we go back and unschedule the free shipping edition and view the preview for 3/5 again, the content scheduled by the May promotion sales teaser edition is returned.
Specifying the timestamp formatLink copied!
In some cases it is useful to include the timestamp (the date and time chosen by the user) as a separate parameter to the preview app. To send the timestamp to the content preview, include the {{context.timestamp}} token in the preview app URL.
In the example below, the timestamp is sent to the preview app in the timestamp parameter. You would extract this parameter in the same way as the api parameter in the example shown above.
You can specify the format of the timestamp sent to the preview app using the date formats defined by the Angular date plugin and include this format in the preview URL. For example:
If you do not provide a date format, then the timestamp is returned in epoch milliseconds.
Advanced preview featuresLink copied!
It is also possible to generate a time stamp, or snapshot specific Virtual Staging domain via the Virtual Staging API. This is useful if you want to:
- Allow users to browse your preview resource directly. For example to navigate directly to a staging website without logging in to Dynamic Content
- Quickly change the date/time context without going back to Dynamic Content
- Preview a specific version of content using a snapshotId
For more details of this API see the Using virtual staging with Dynamic Content page.
