Creating events
Creating an eventLink copied!
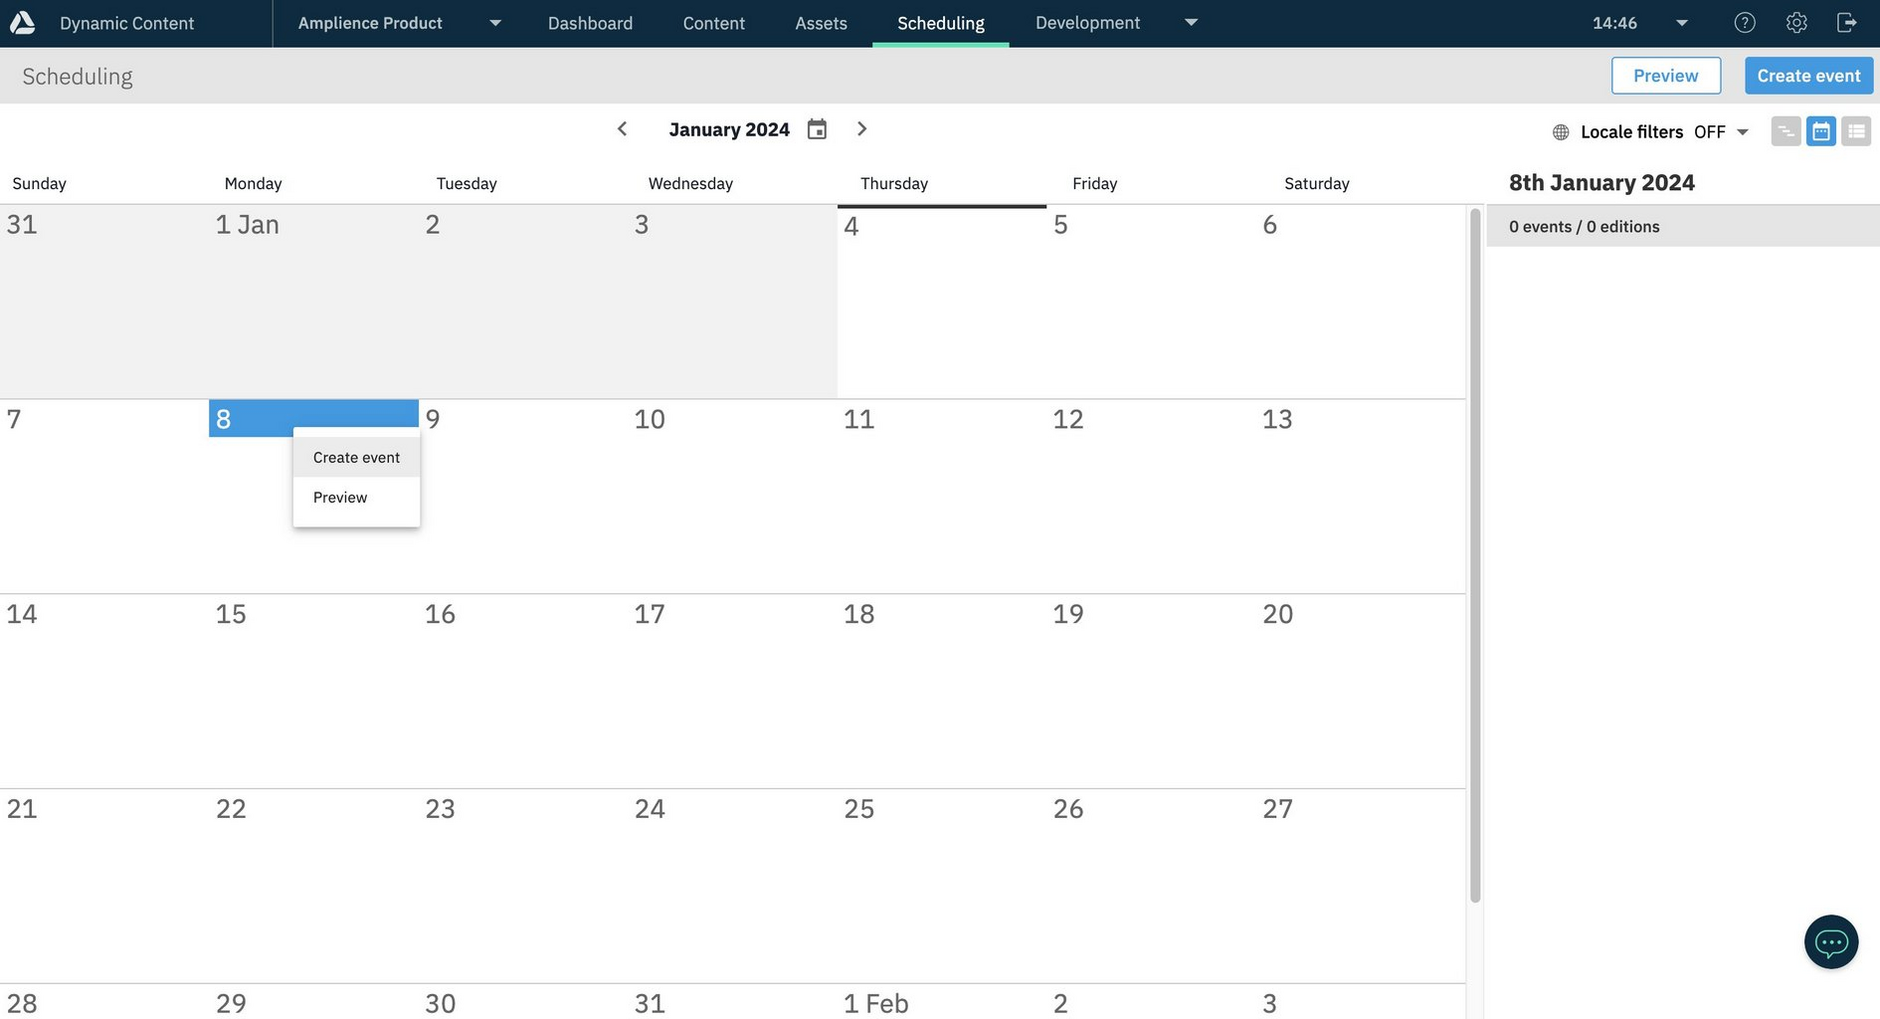
Events are created from the scheduling view. To create an event select the 'Create Event' button at the top of the scheduling window or right-click anywhere in the calendar and choose 'Create event' from the contextual menu. You can also double-click at the top of any date in the calendar to create a new event starting from that date.
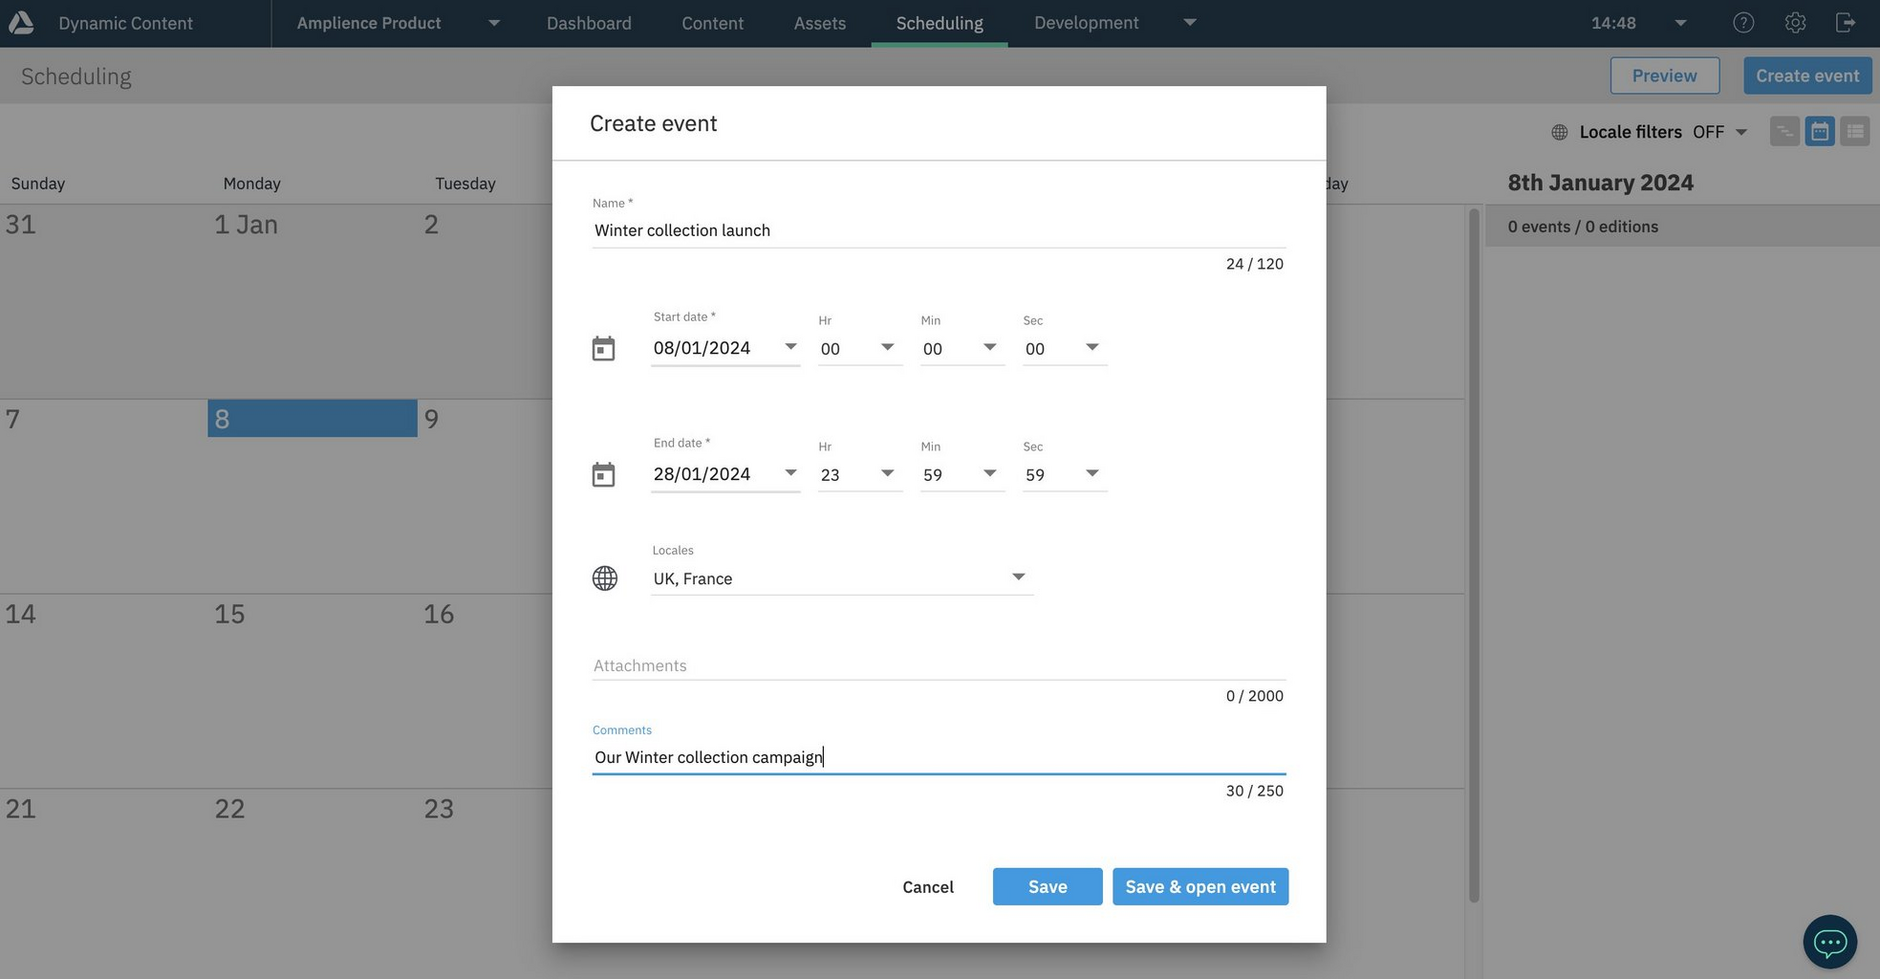
From the Create event dialog, give the event a name and choose the start and end date. You can edit the event later, changing the duration if you choose to. In this case we'll set up an event for a winter collection campaign lasting for 10 days.
The event can also contain an attachment, which is specified as a URL. You might include the URL of a web based content creation brief or other planning information related to this event.
Once you've entered all the information for an event you can choose to save it and add an edition or save and add editions later. In this case we'll just click "Save" to save the empty event.
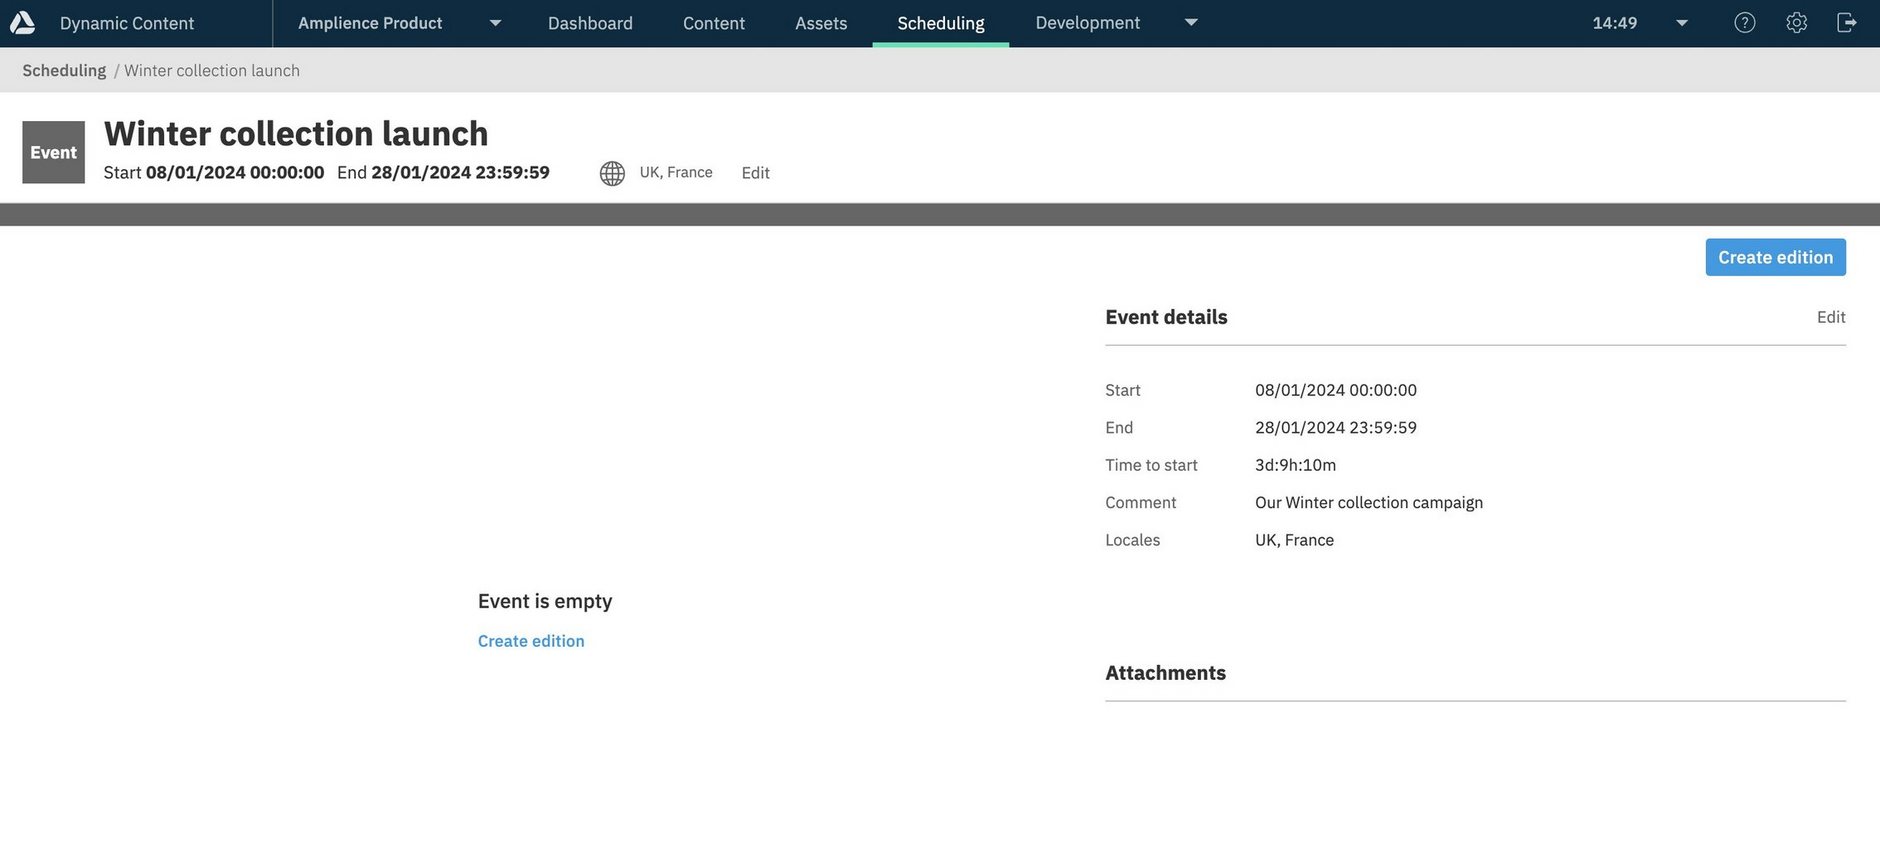
The event information screen is now displayed. The Winter collection launch event currently contains no editions. We can add editions by clicking "Create edition" from this window, by editing this event later or from the event's contextual menu in the planning view.
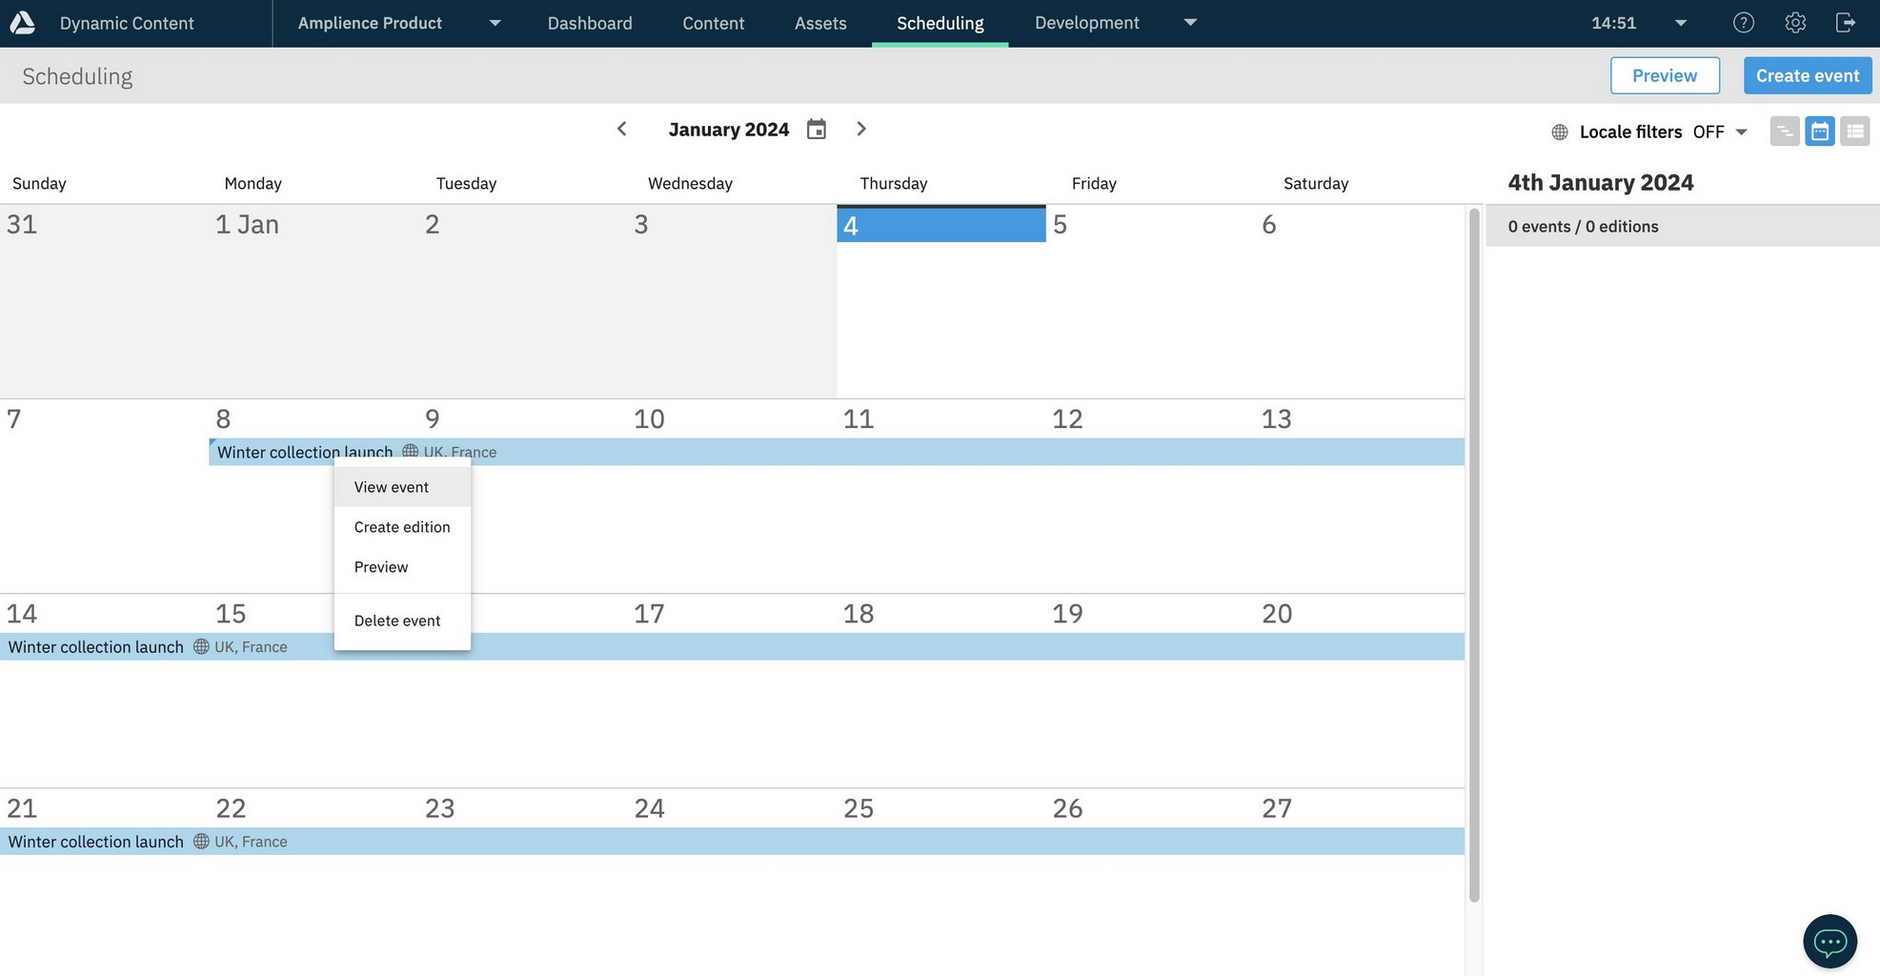
If we go back to the Scheduling calendar view, the event is now shown on the calendar. From the event's contextual menu you can view and edit the event, create an edition and delete the event.
Assigning locales to an eventLink copied!
If you have teams working on content in different languages, then one way to organize and schedule your content is to create events containing editions with content for particular locales.
You can assign one or more locales to an event and filter the timeline, calendar and list view by locale, allowing you to focus on the events containing editions with content for the particular locales you're working with.
Note that you can only assign locales to events and filter by locales if you have one or more locales added to your hub.
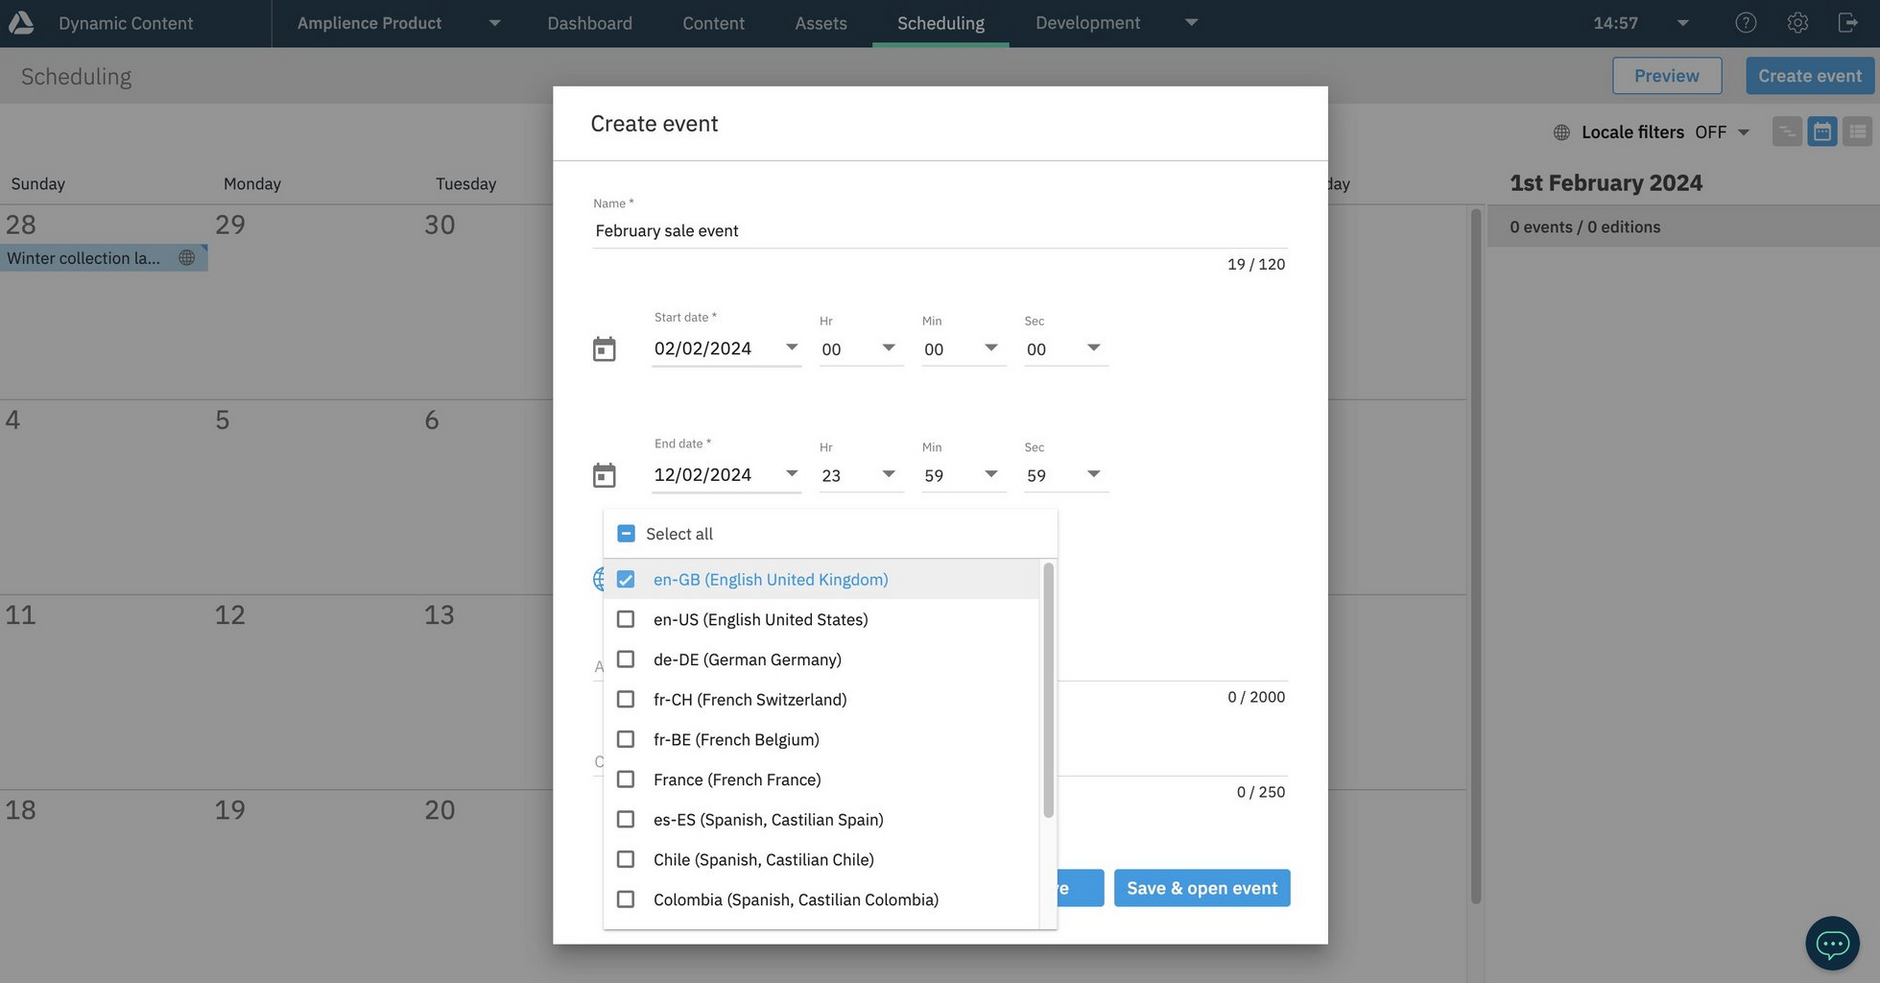
Locales can be assigned to an event when it's created and from the event details window. In the example below we are creating a new event and choosing en-GB from the list of available locales that have been added to the hub. Multiple locales can be assigned to the same event, or you can choose to assign no locale.
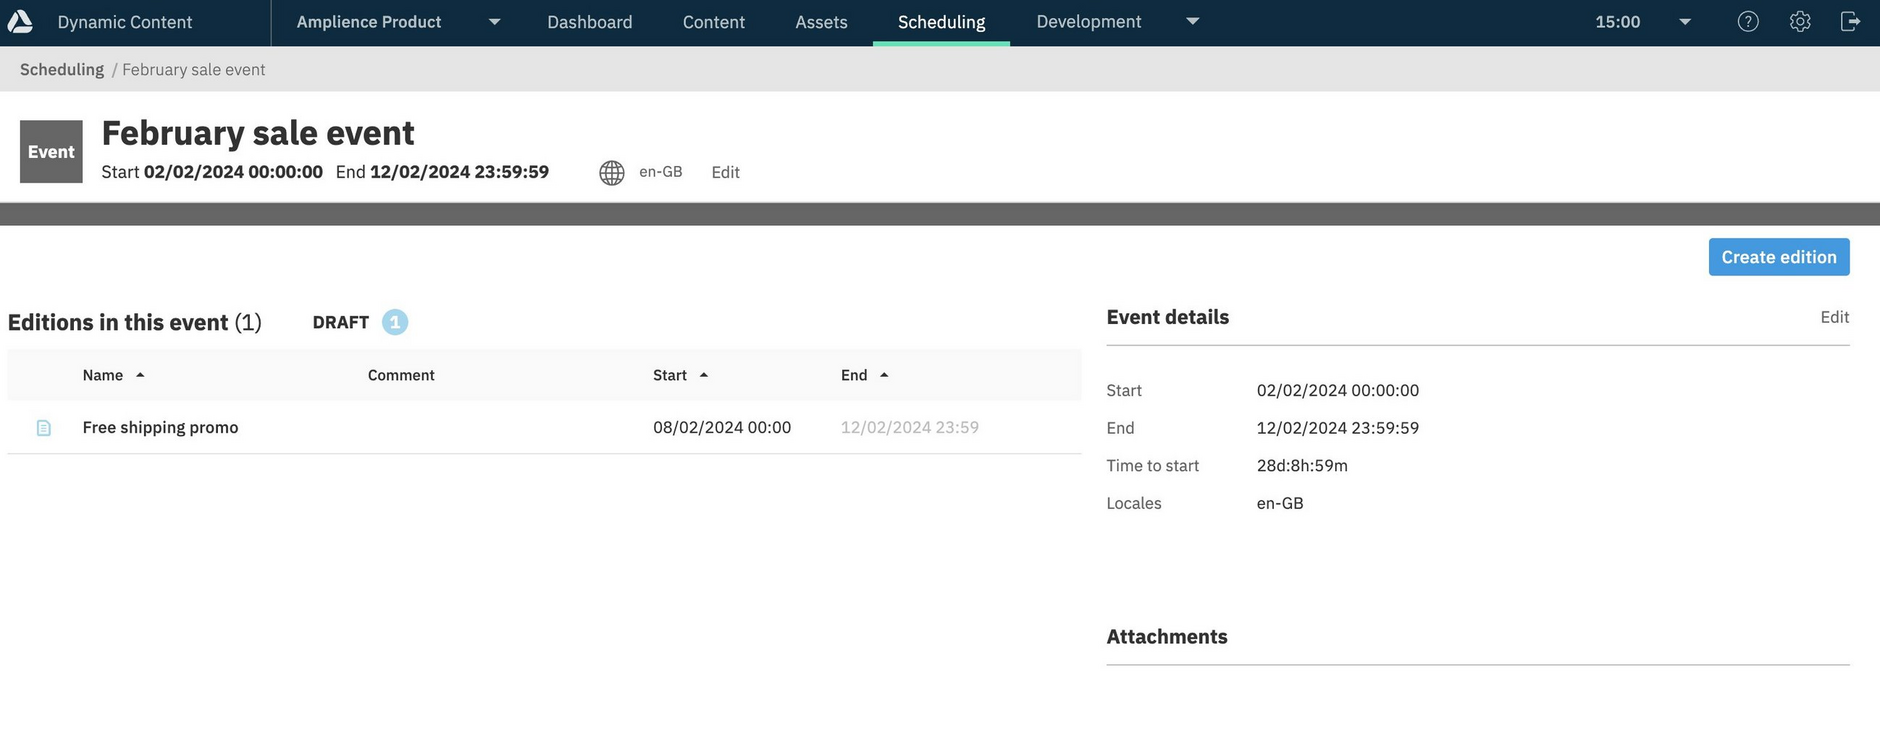
When the event is created, the assigned locales will be shown in the event details window.
You can edit the event to add, edit and remove the locales assigned to it.
