Content Hub asset locales
Being able to retrieve localized variants of an asset is particularly useful if an image isn't suitable for certain countries, and in those countries you want to use a localized variant instead. You might also have a campaign that uses different images and text for different countries. On this page we'll explain how you can assign locales to assets in Content Hub, group assets into localizations, and use Dynamic Media to retrieve a localized variant of any asset in a localization from any other asset in that group.
The information on this page refers to assigning locales to assets in Content Hub and retrieving localized variants of assets using Dynamic Media. To find out about working with localized content items in Dynamic Content, visit the localization overview page.
Asset locales are independent from the locales which are used for setting up automatic image alt text generation.
Asset locales and localizationsLink copied!
Asset locales, together with localizations, allow you to organize your assets to serve localized variants of an asset for different countries and regions. A locale is a combination of a language, for example French, English or Bulgarian, and an optional country variant, such as France or Belgium. For example, you might use fr-FR for France, and fr-BE for French content for use in Belgium.
To retrieve a variant of an asset based on its locale, assets are grouped together in a localization, with each asset assigned a unique locale. You can use any asset in the localization to retrieve any other asset in the group by specifying a locale. Asset names must be unique, so the localization is a way of associating assets with each other.
The following Dynamic Media URL shows how to retrieve the French variant of another asset in its localization.
If there is no asset in the localization assigned the "fr-FR" locale, then an error will be returned.
Adding localesLink copied!
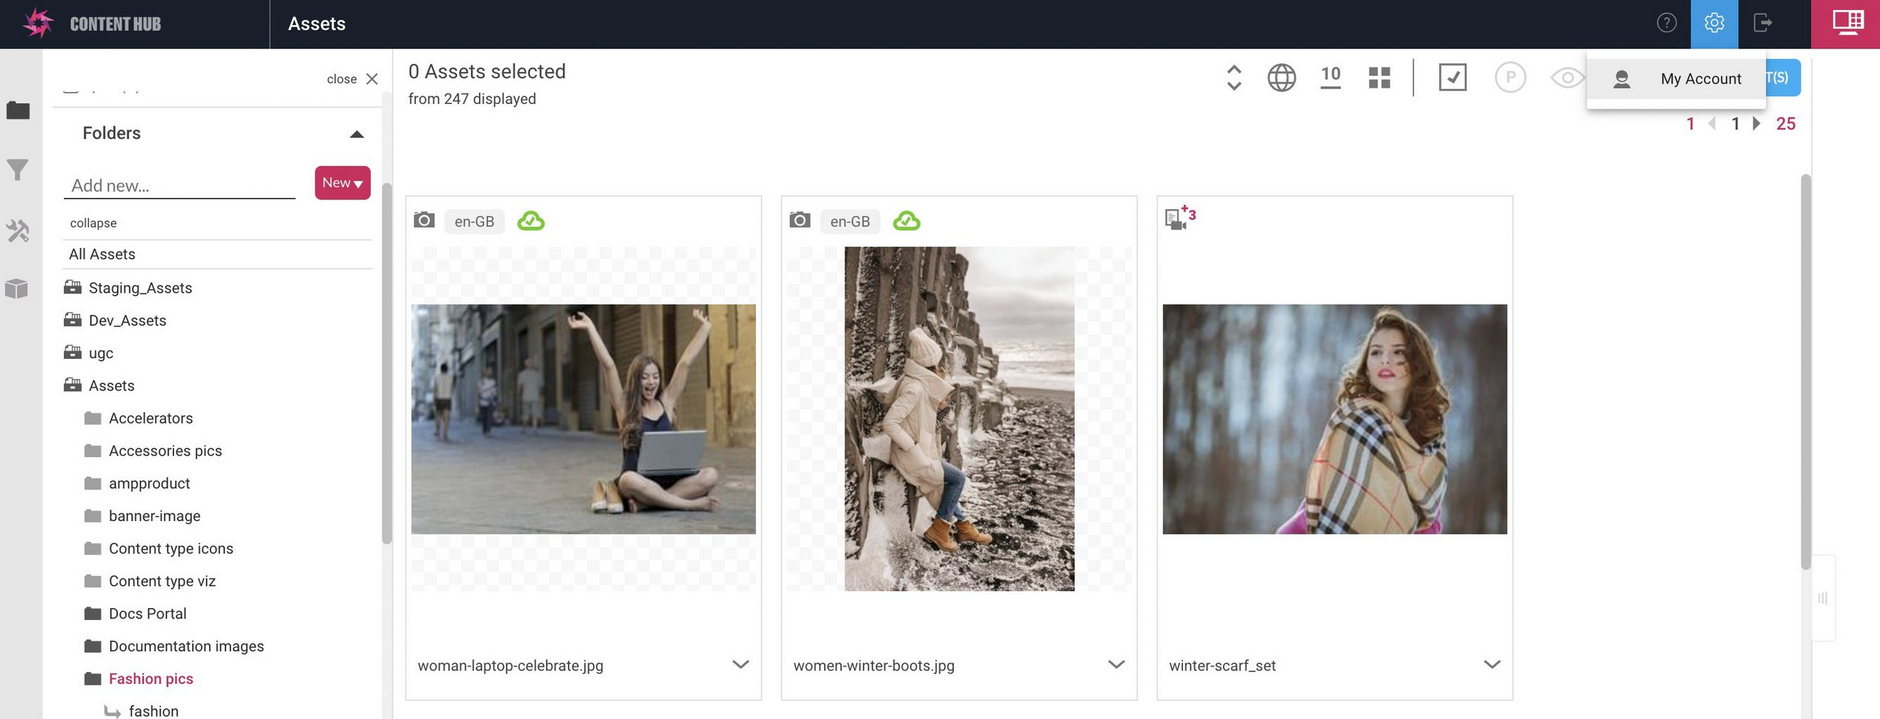
Locales are specified at the account level and you need administrator access to add locales to an account. To add a locale, choose "My account" from the menu in the top right of the window.
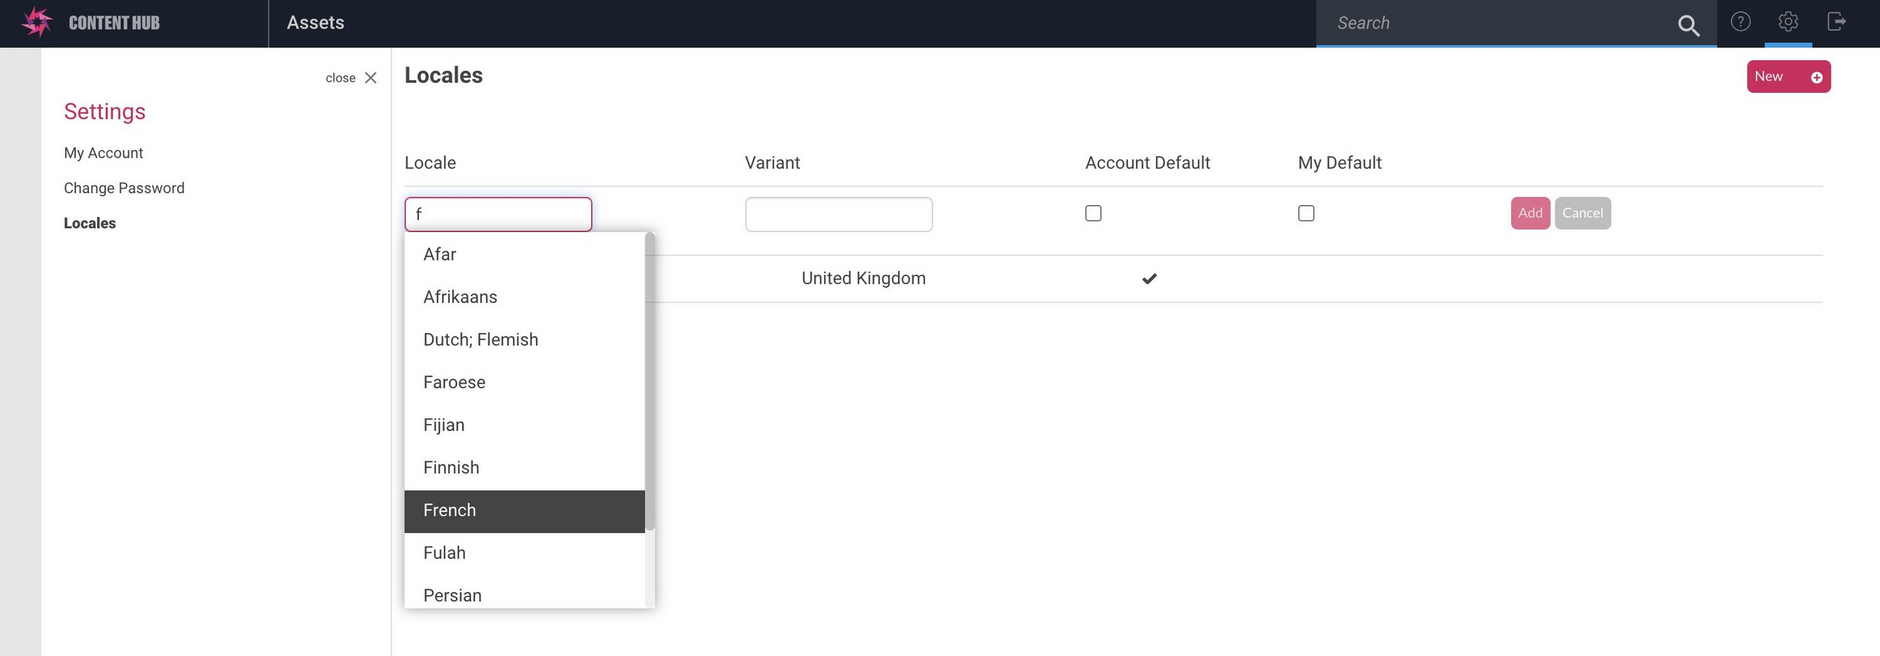
The Settings window opens, from which you choose "Locales". The Locales pane is displayed and shows any locales on your account. You can specify that locales can be applied by default to assets at the account or user level.
To add a new locale click the New button as shown.
Choose the Locale and the optional variant and click the Add button.
The Locale is added to your account and is now available to assign to assets.
Updating localesLink copied!
You can update or delete existing locales. To update a locale, hover the cursor to the left of the locale name, and choose "Update" from the cog menu. Make your changes, then click the Update button.
Assigning a locale to an assetLink copied!
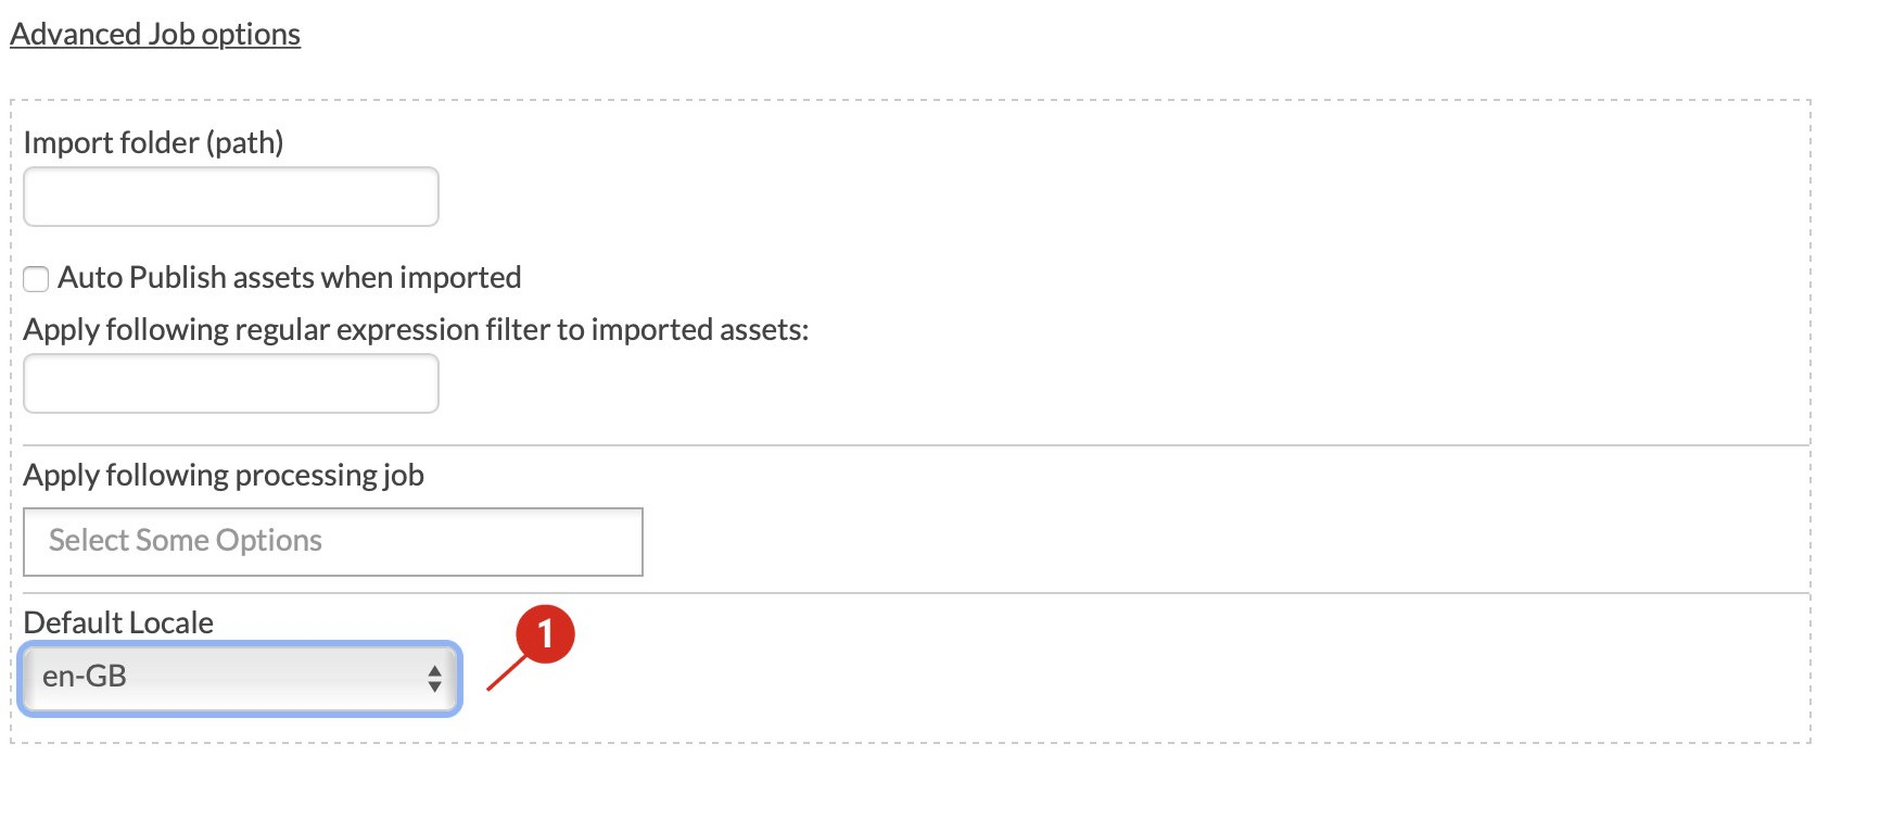
There are two ways of assigning a locale to an asset: via bulk upload, or manually using Content Hub. When using bulk upload you can assign a default locale to assets by selecting "Advanced job options" and choosing a default locale to apply to all assets ingested with that upload job.
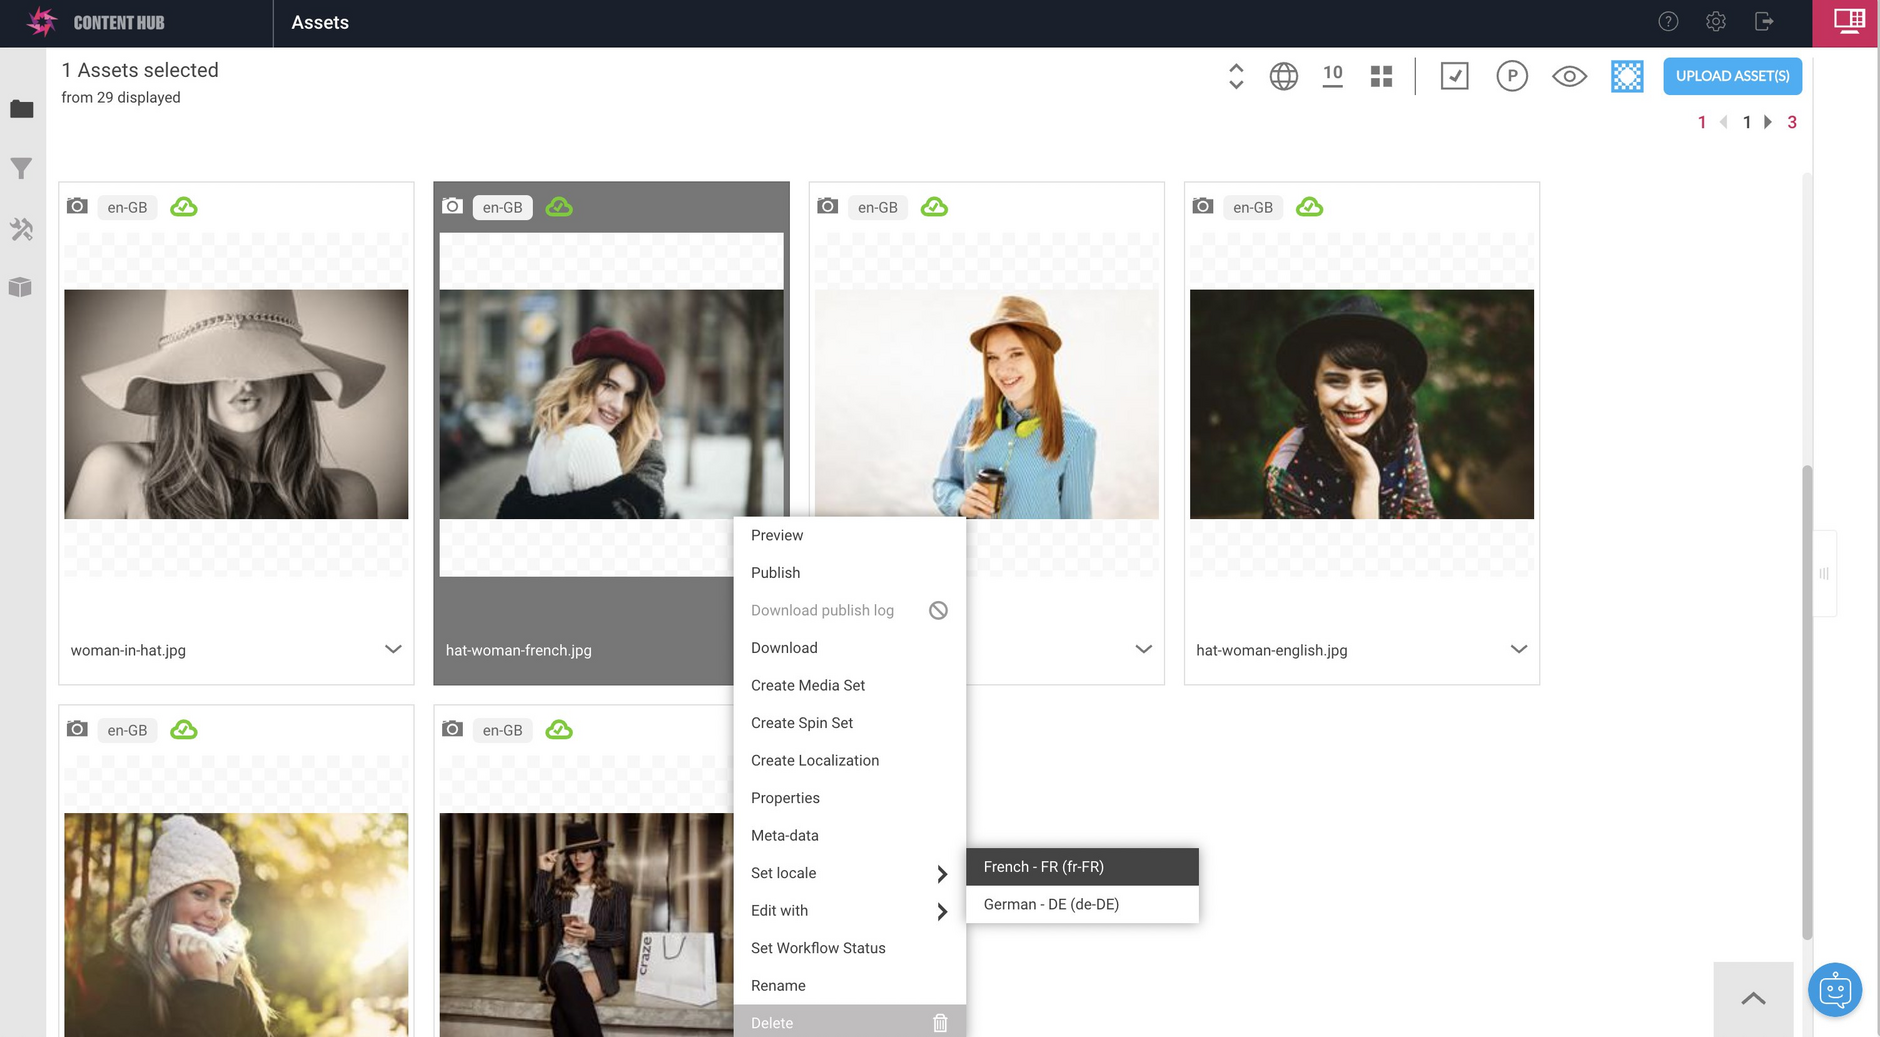
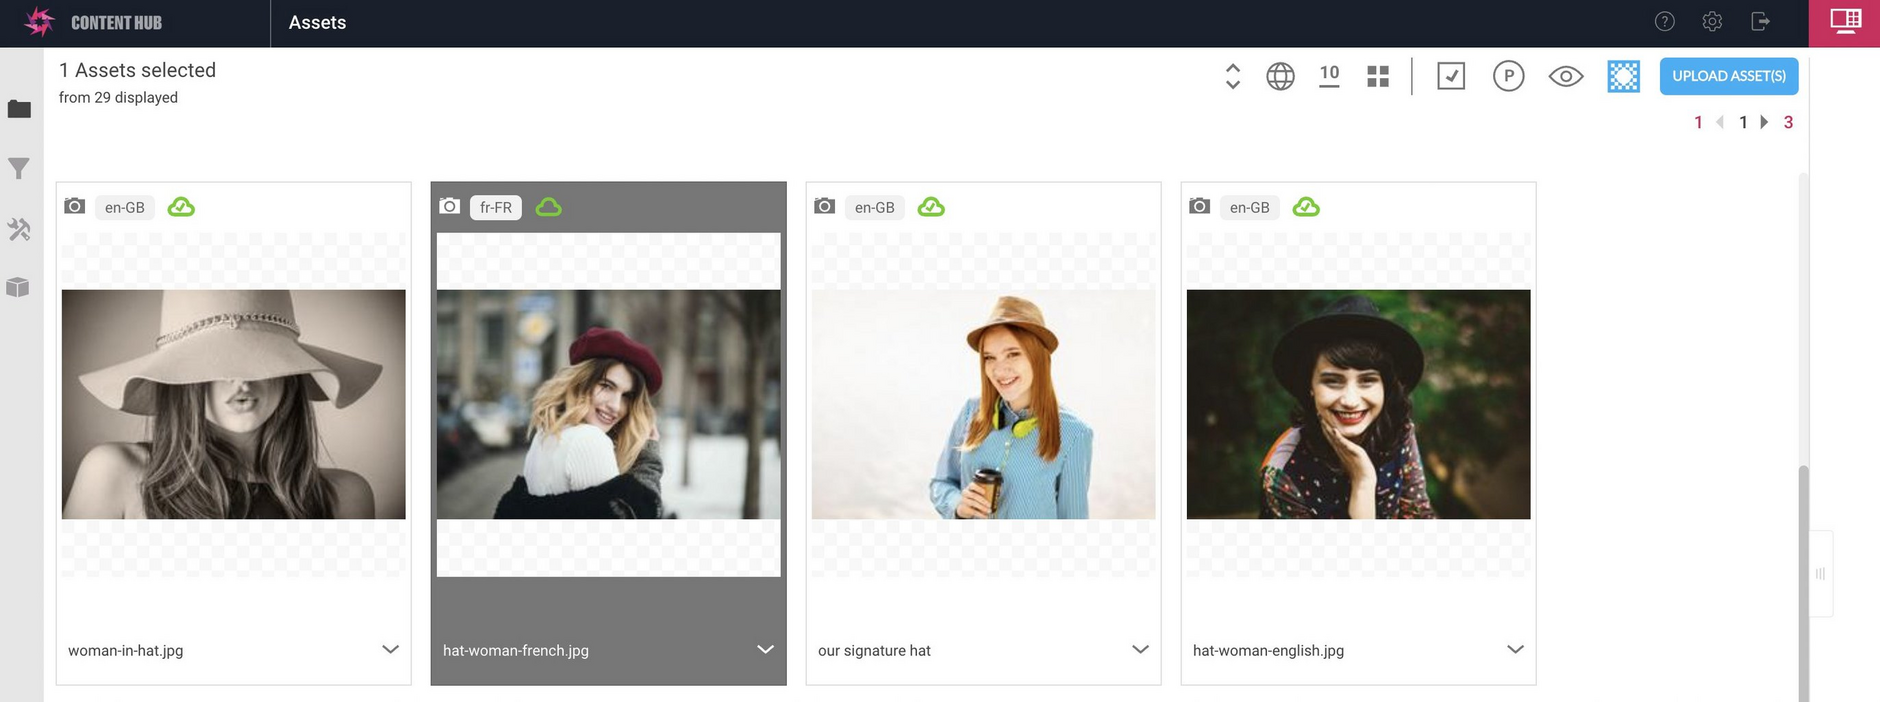
To manually assign a locale to an asset, choose "Set locale" from the Asset menu and select the locale you want to assign from the list. In this example we want to assign the fr-FR locale to the image named "hat-woman-french".
The locale label at the top of the asset's card is updated with the new locale.
Creating a localizationLink copied!
Localization groups are a way of organizing related assets so that you can use any assets to retrieve one of its "siblings"- that is a variant of the asset which has been assigned a different locale.
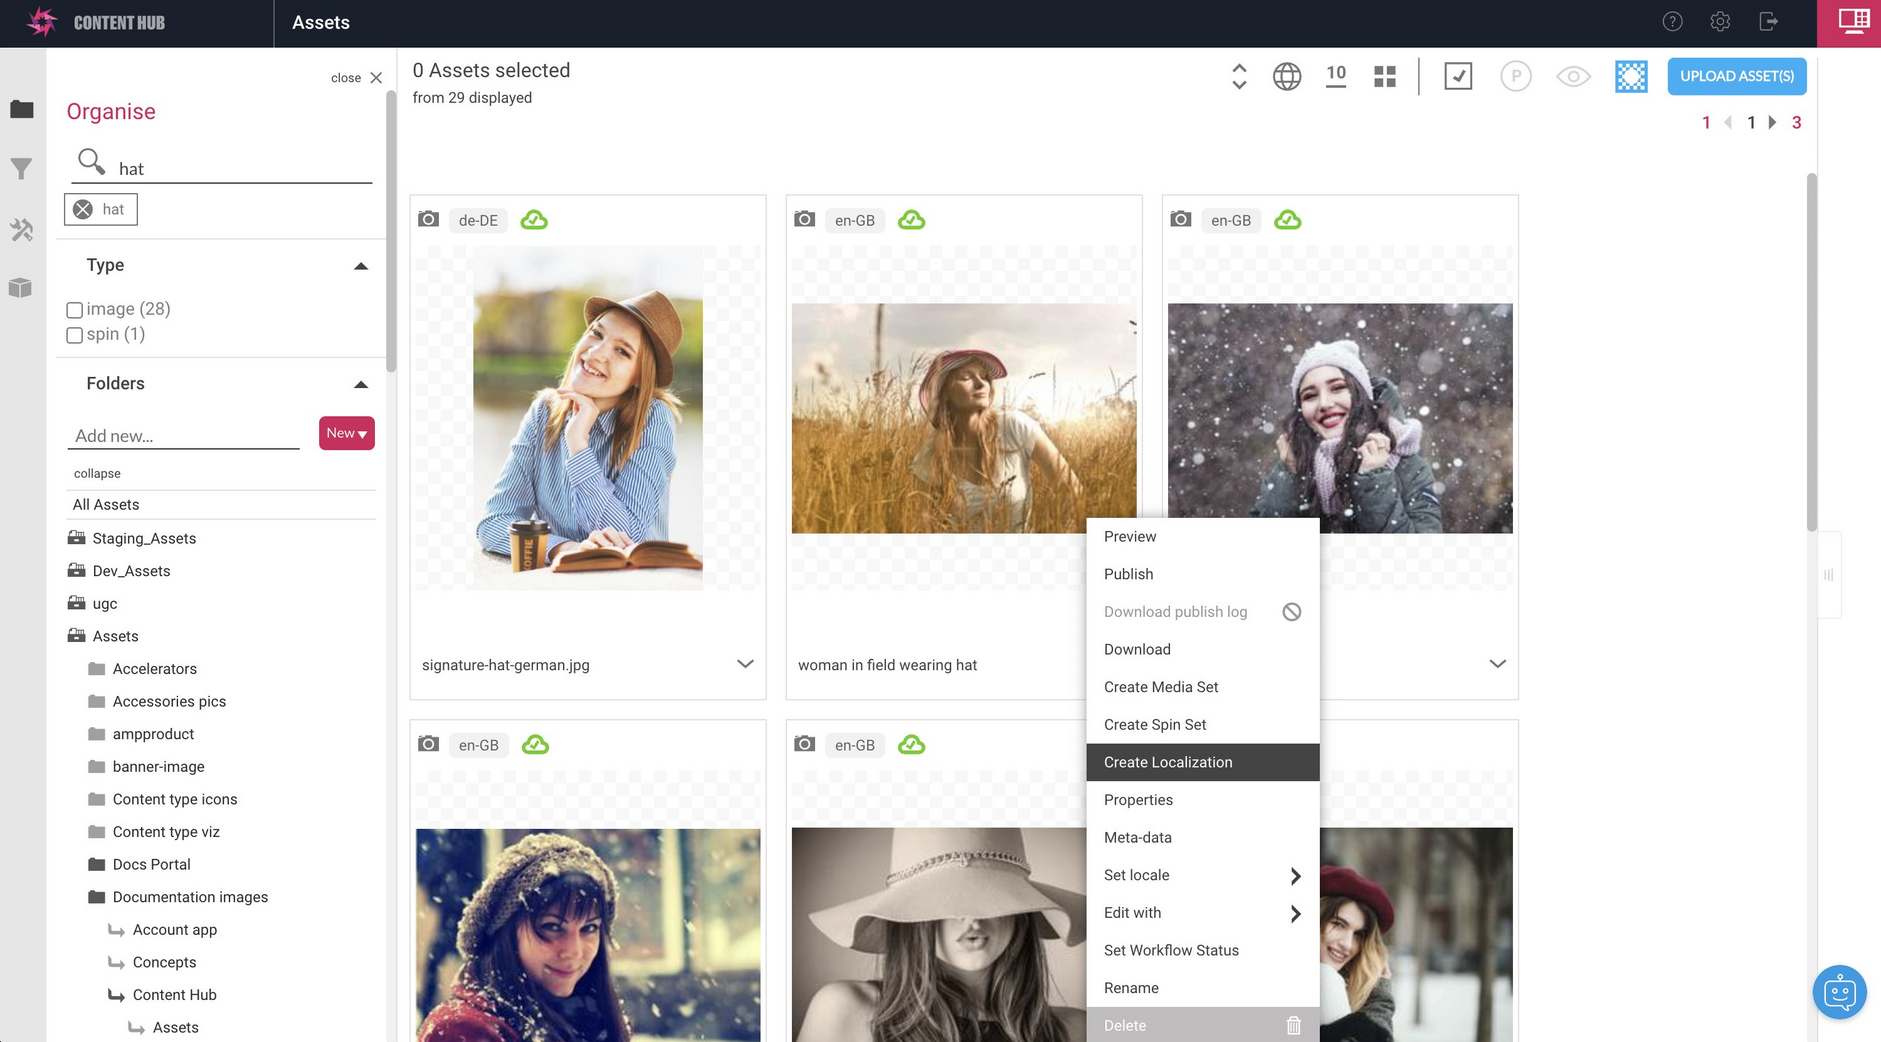
To create a localization group, select an asset and choose "Create localization" from the asset menu.
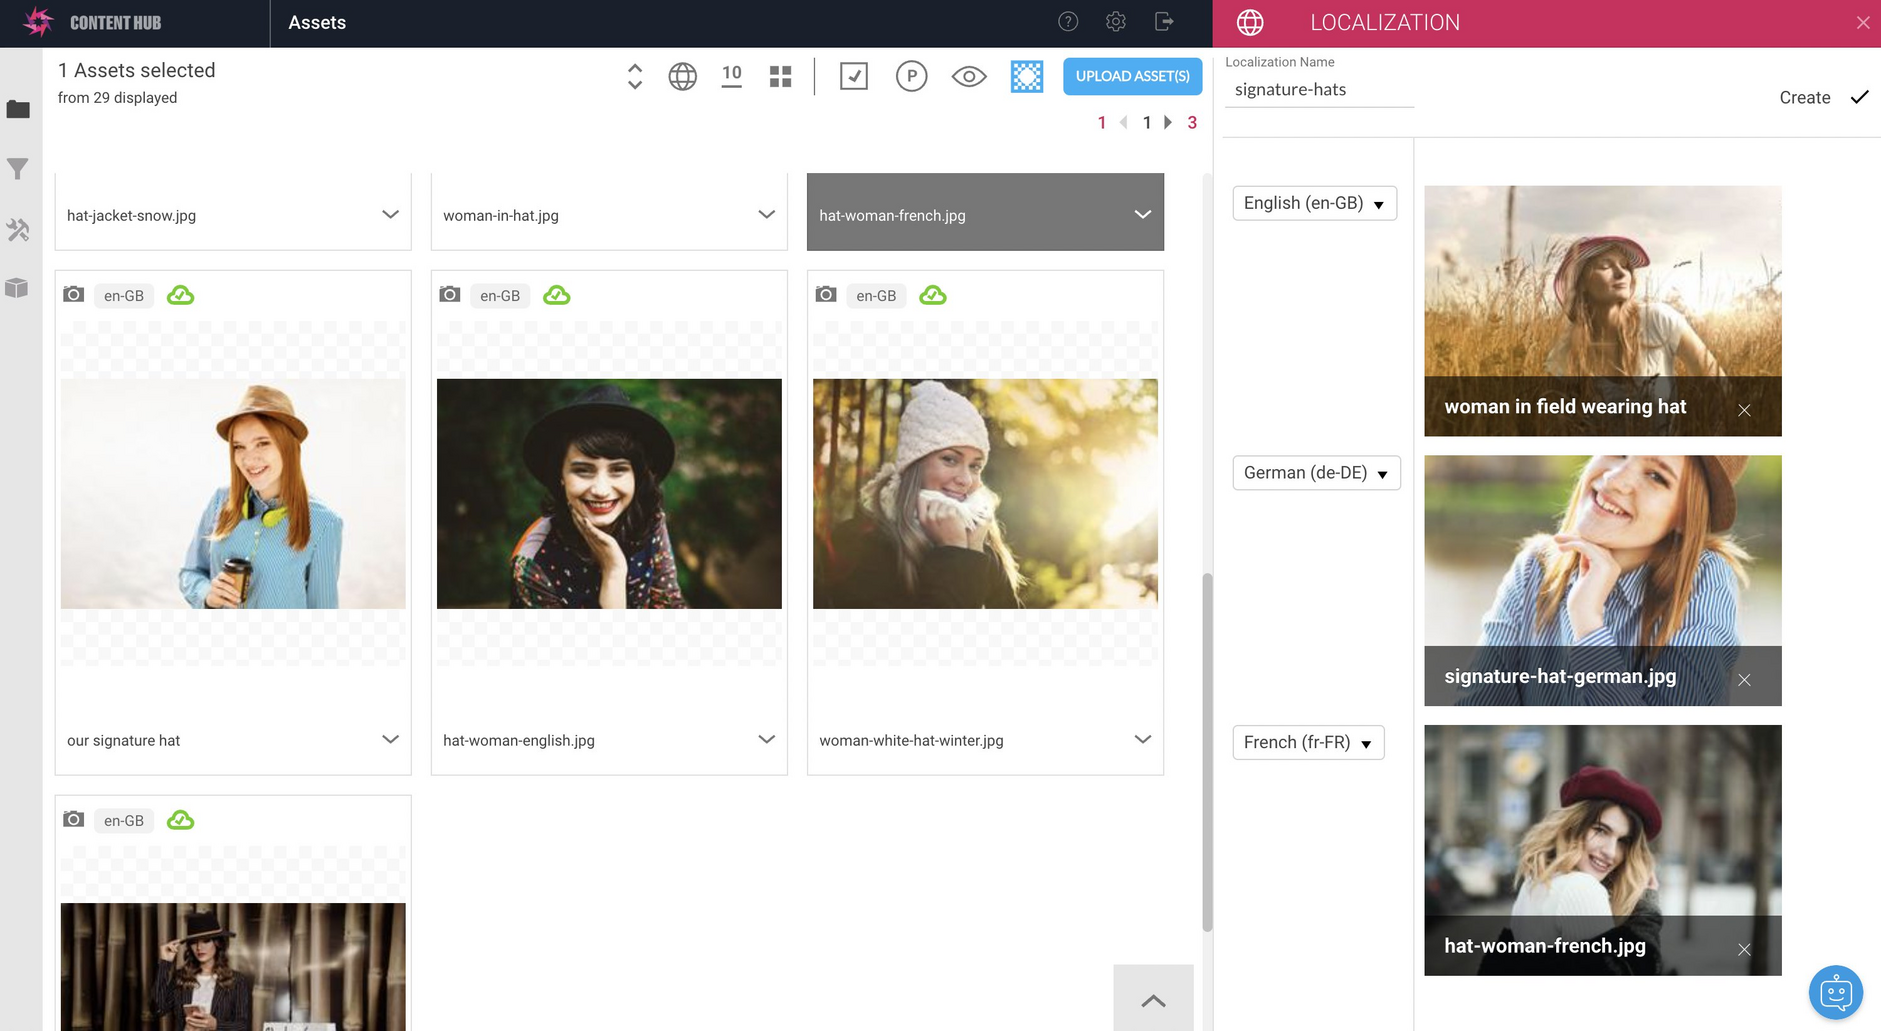
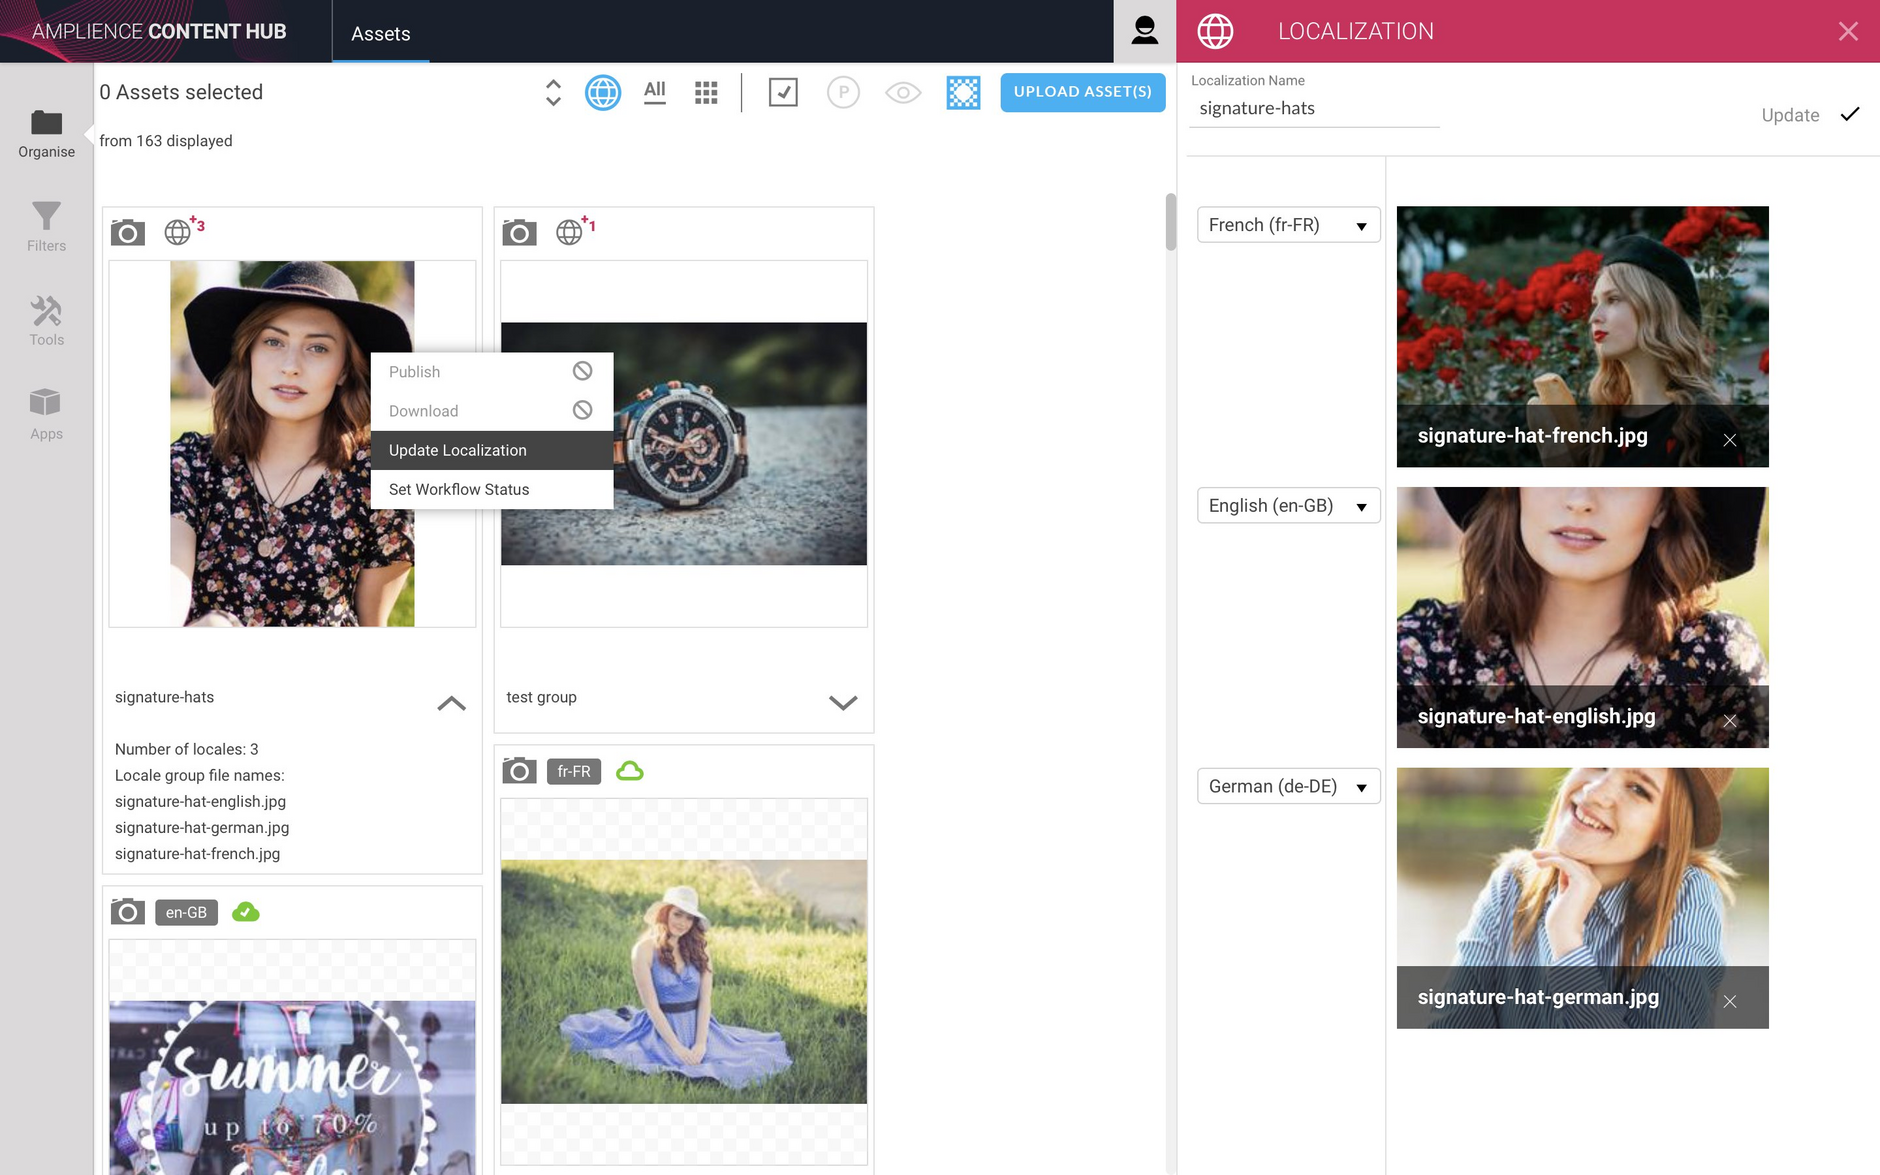
The localization window opens. From here you can give the localization a name, add assets to the group and update the locale for one or more of the assets. To add assets to the localization, select and drag the assets to the localization window.
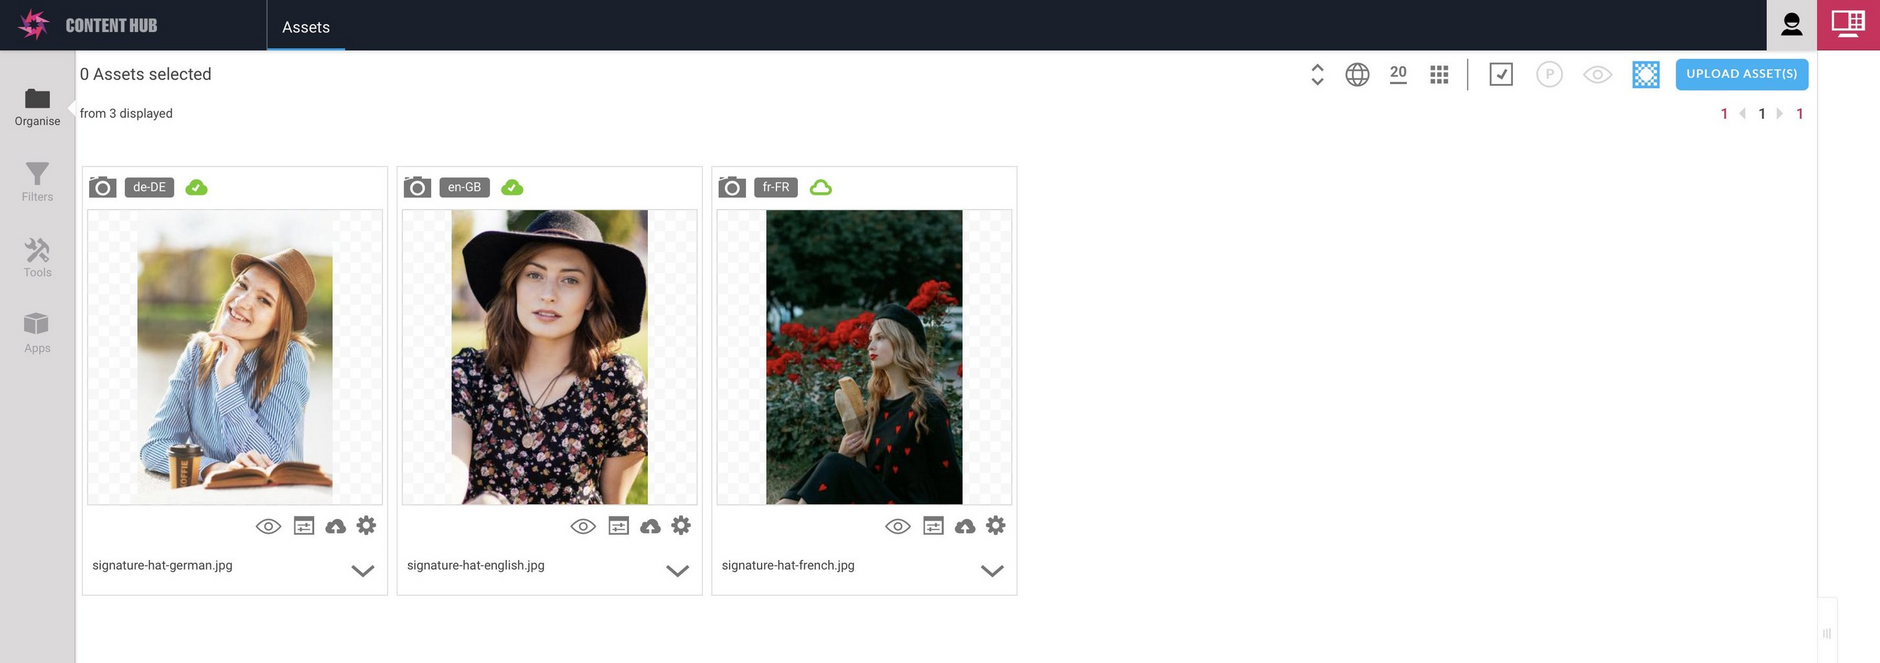
In this example we've added three assets from our signature hat collection and assigned each of them a different locale. When you've added all the assets you want to include, click the "Create" button.
- Assets in a localization must have unique locales
- Assets in a localization must all be the same type. You can add images and text to a localization, but they cannot be added to the same localization.
- Video assets cannot be added to a localization
Viewing locale variantsLink copied!
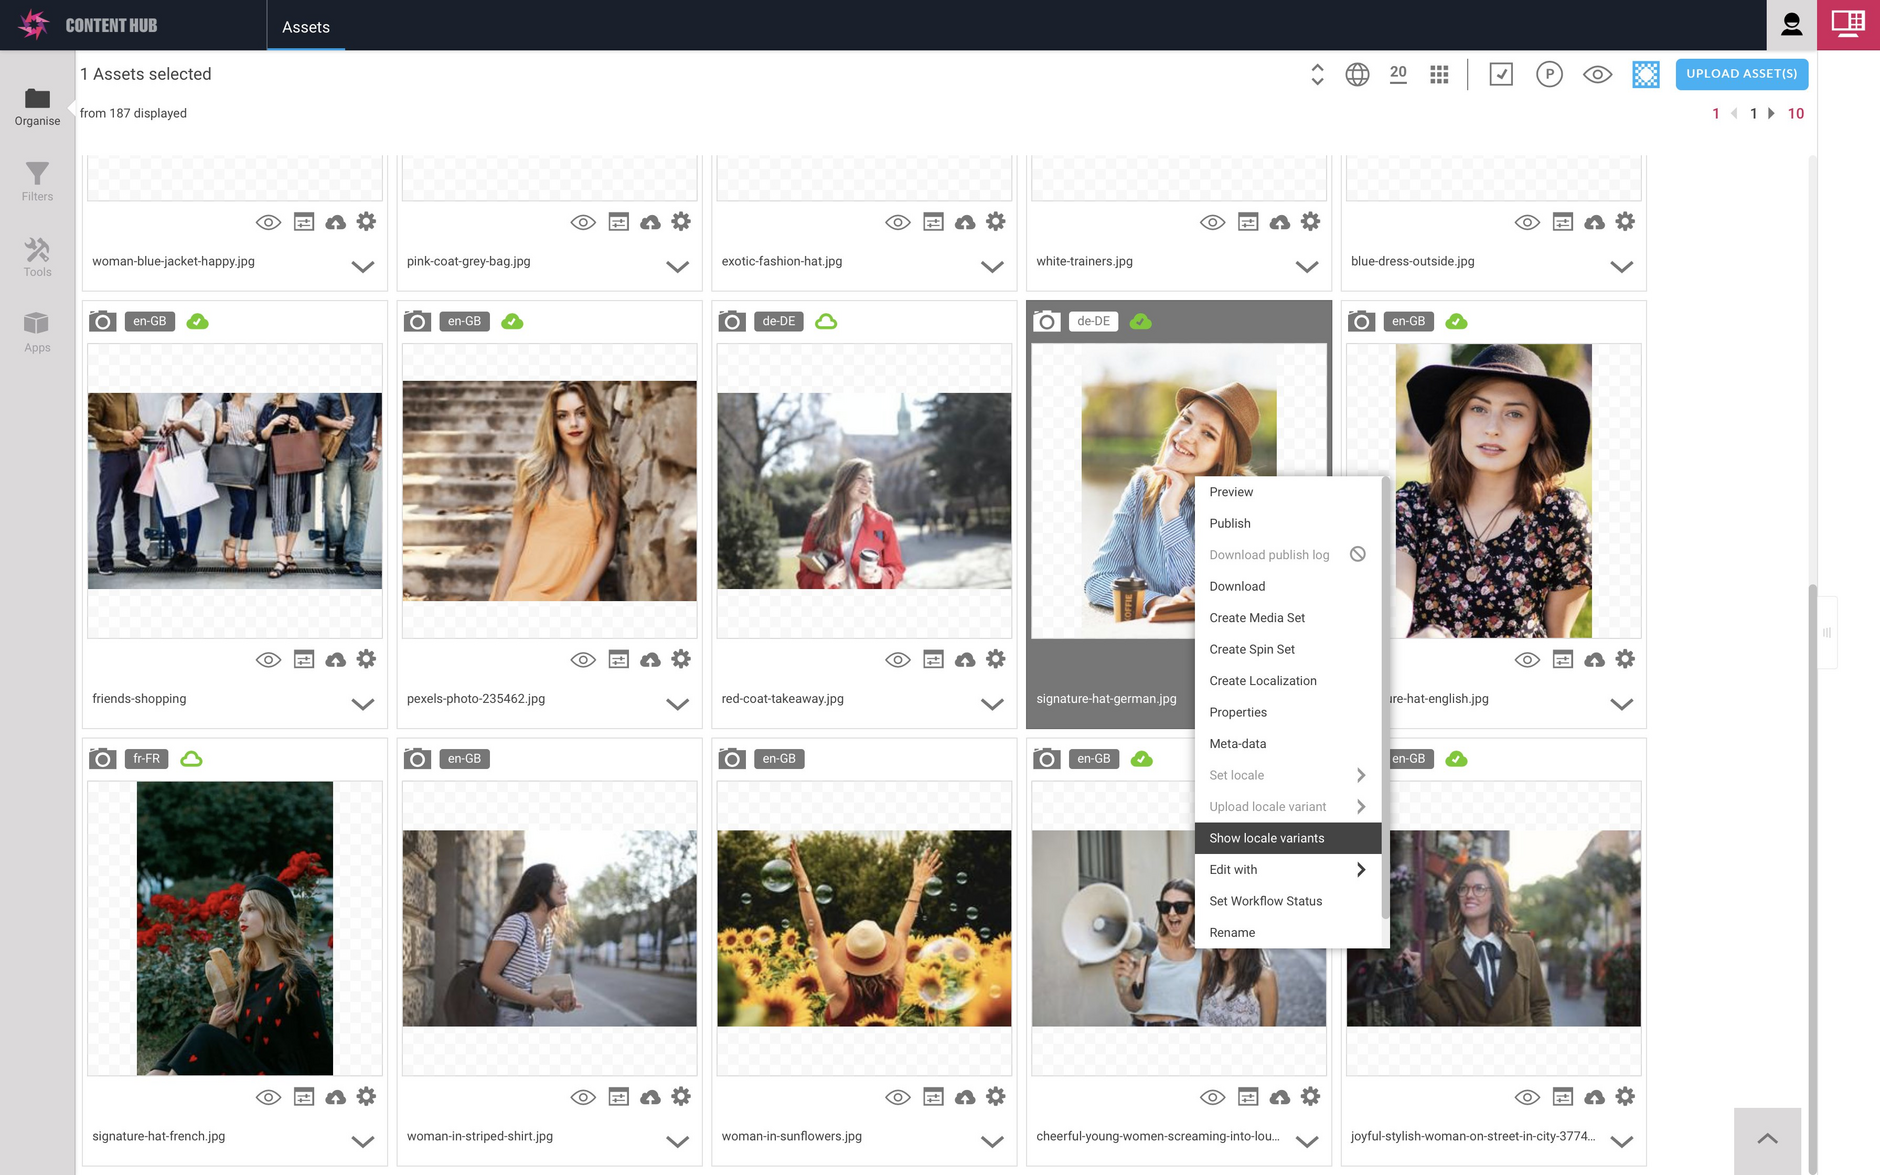
When an asset has been added to a localization, you can view its variants by right-clicking the asset and choosing "Show locale variants".
The assets in the localization will be displayed.
Group locale siblingsLink copied!
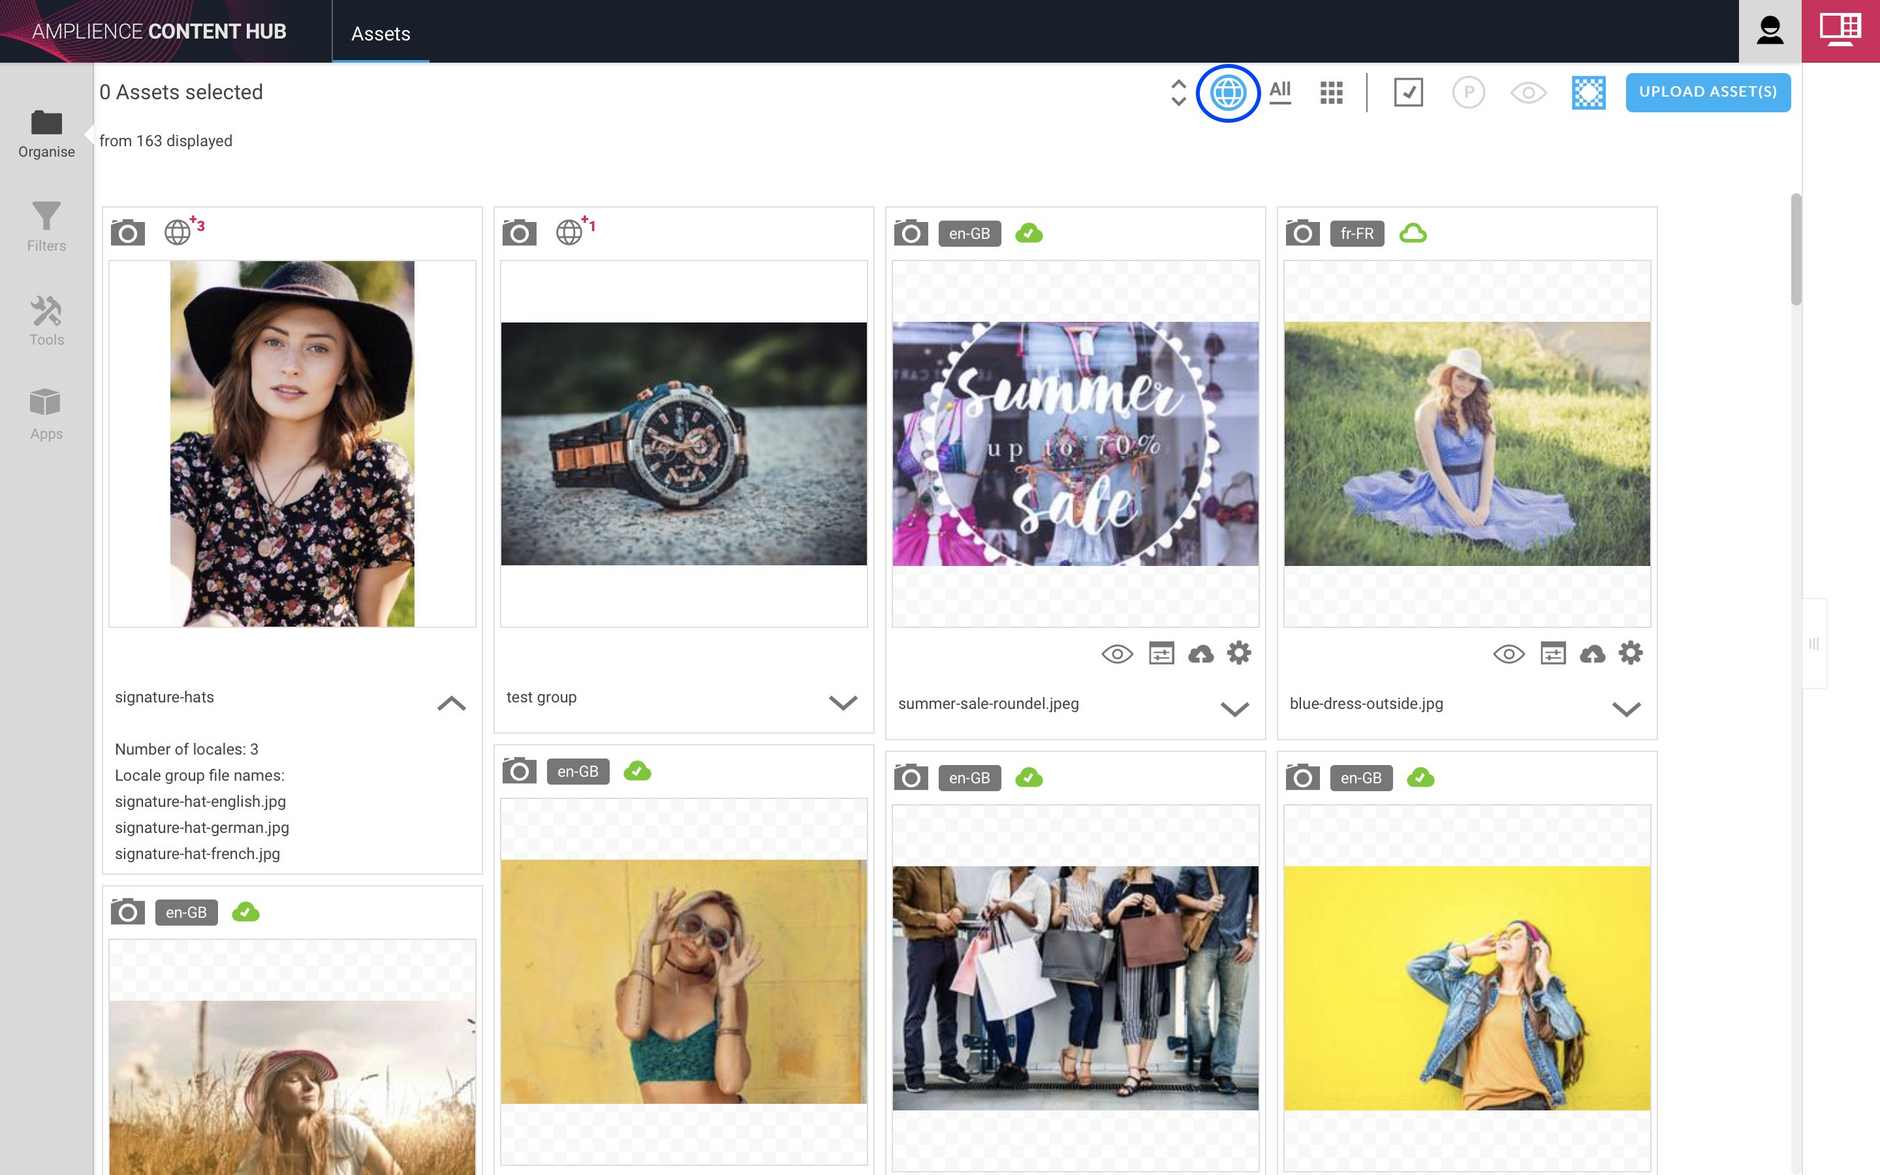
To make it easier to work with localizations, you can choose to group the assets in a localization together so that they are shown first. To do this select the "Group locale siblings" icon as highlighted below.
The localizations are shown, with the first asset in the localization displayed, together with the number of assets in the group. Click the down arrow to show information about the localization.
Updating localizationsLink copied!
With the "Group locale siblings" option selected you can view and edit a localization. Choose "Update localization" from the asset menu as shown below. You can update the locale of each asset in the localization. Hover over an asset and click the "x" to remove it from the localization.
You can only update the locale of an asset that is part of a localization from within the localization window.
Working with localized assetsLink copied!
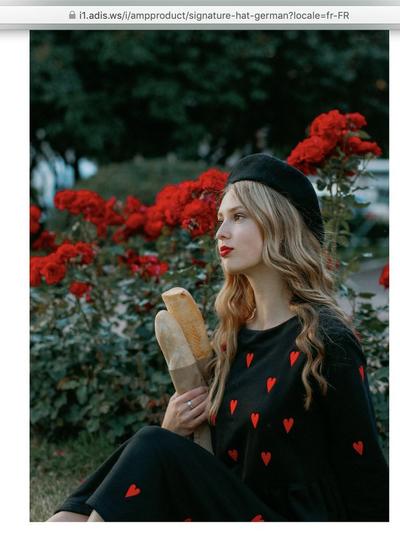
You can use any asset in a localization to retrieve another asset in the localization based on its locale. So in the example below, we can request the French variant of "signature-hat-german" as follows.
You can also add other Dynamic Media parameters to the URL. For example:
