Dynamic Content- Add to edition
Release date: 6th October 2021
In this release we've made some changes to make it easier for you to work with content in editions. You can now add content directly to an edition from the content form and see which editions your content is used in. The "Save" menu in the content form has also been rearranged to group the edition related features together.
On this page we'll provide you with an overview of the new features.
Adding content to an edition from the content formLink copied!
In a recent release we introduced a feature allowing you to add content directly to an edition, without having to add it to a slot. Now we've gone a step further, allowing you to add content to an edition from the content form. You can still add content to an edition from the content browser in the scheduling view, the new feature just provides you with another option.
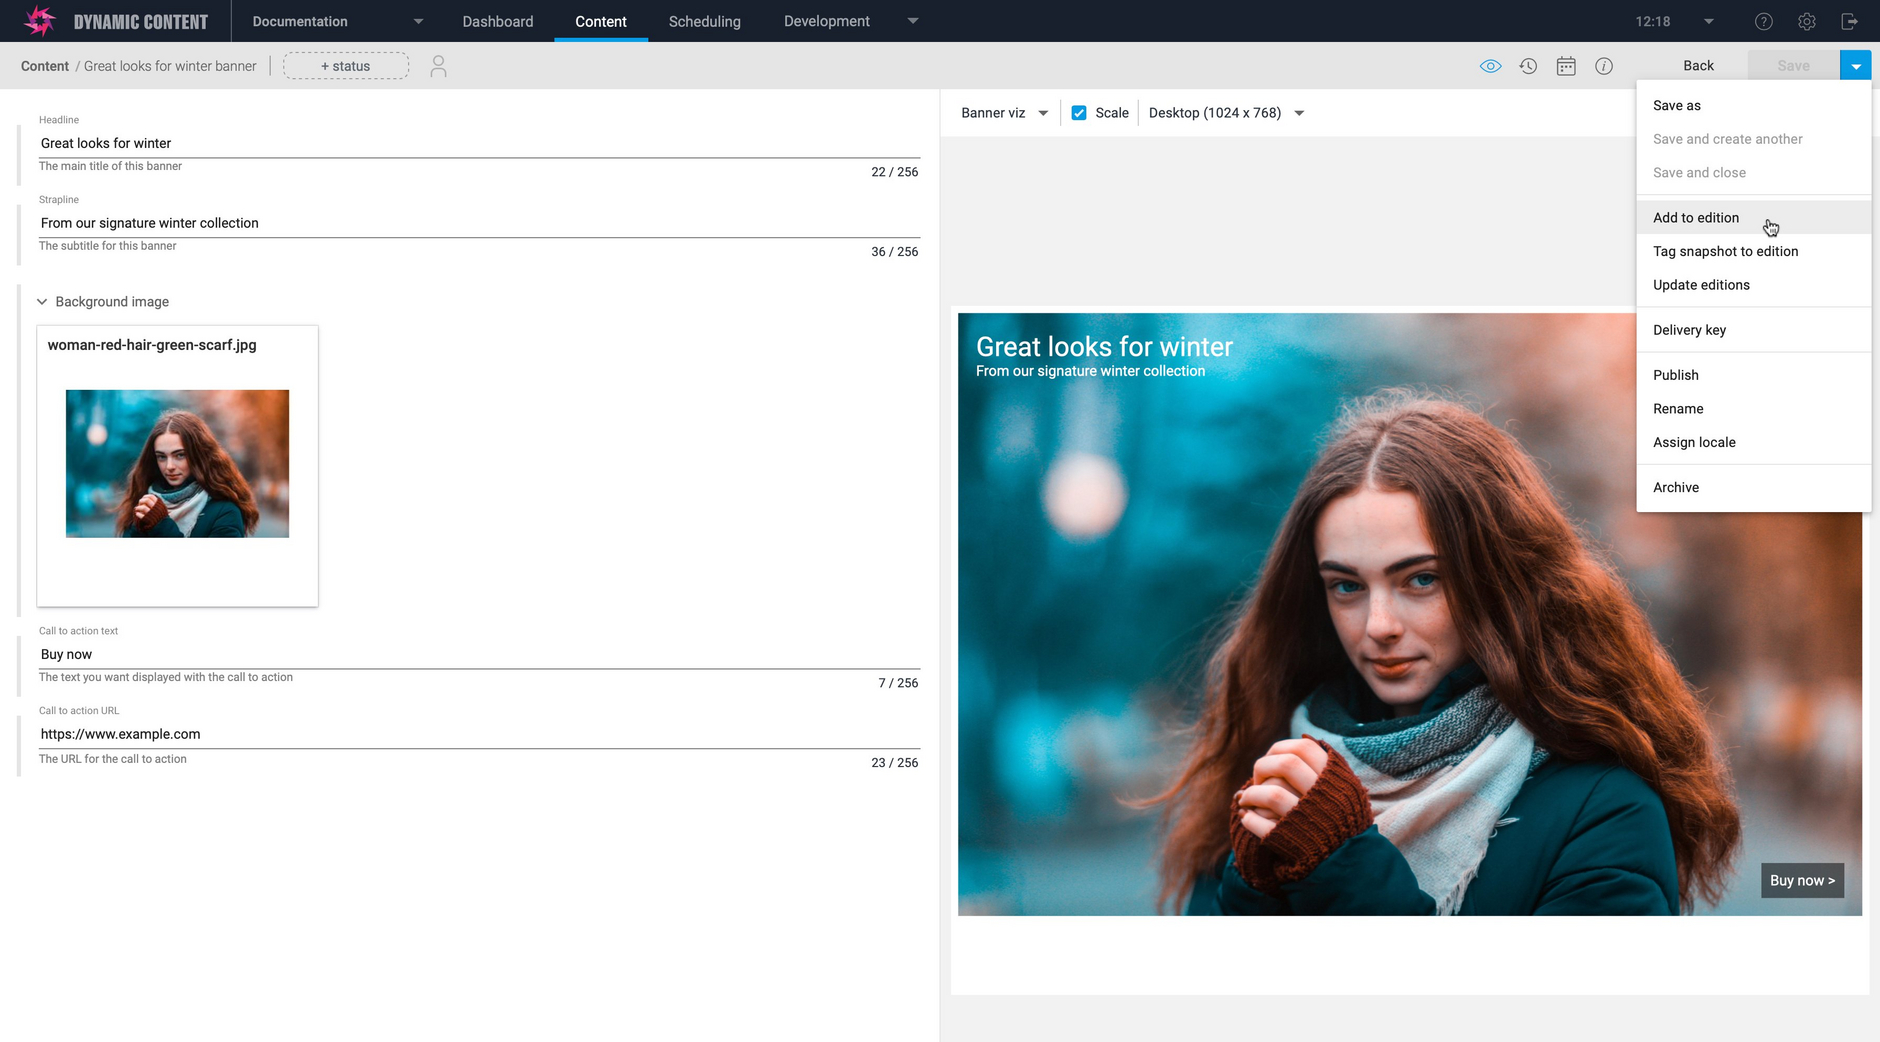
The example below shows a "Great looks for winter" banner. An edition has already been set up, ready to add the content for our winter collection. All you need to do is select "Add to edition" from the Save menu in the content form and choose the edition to which to add the content.
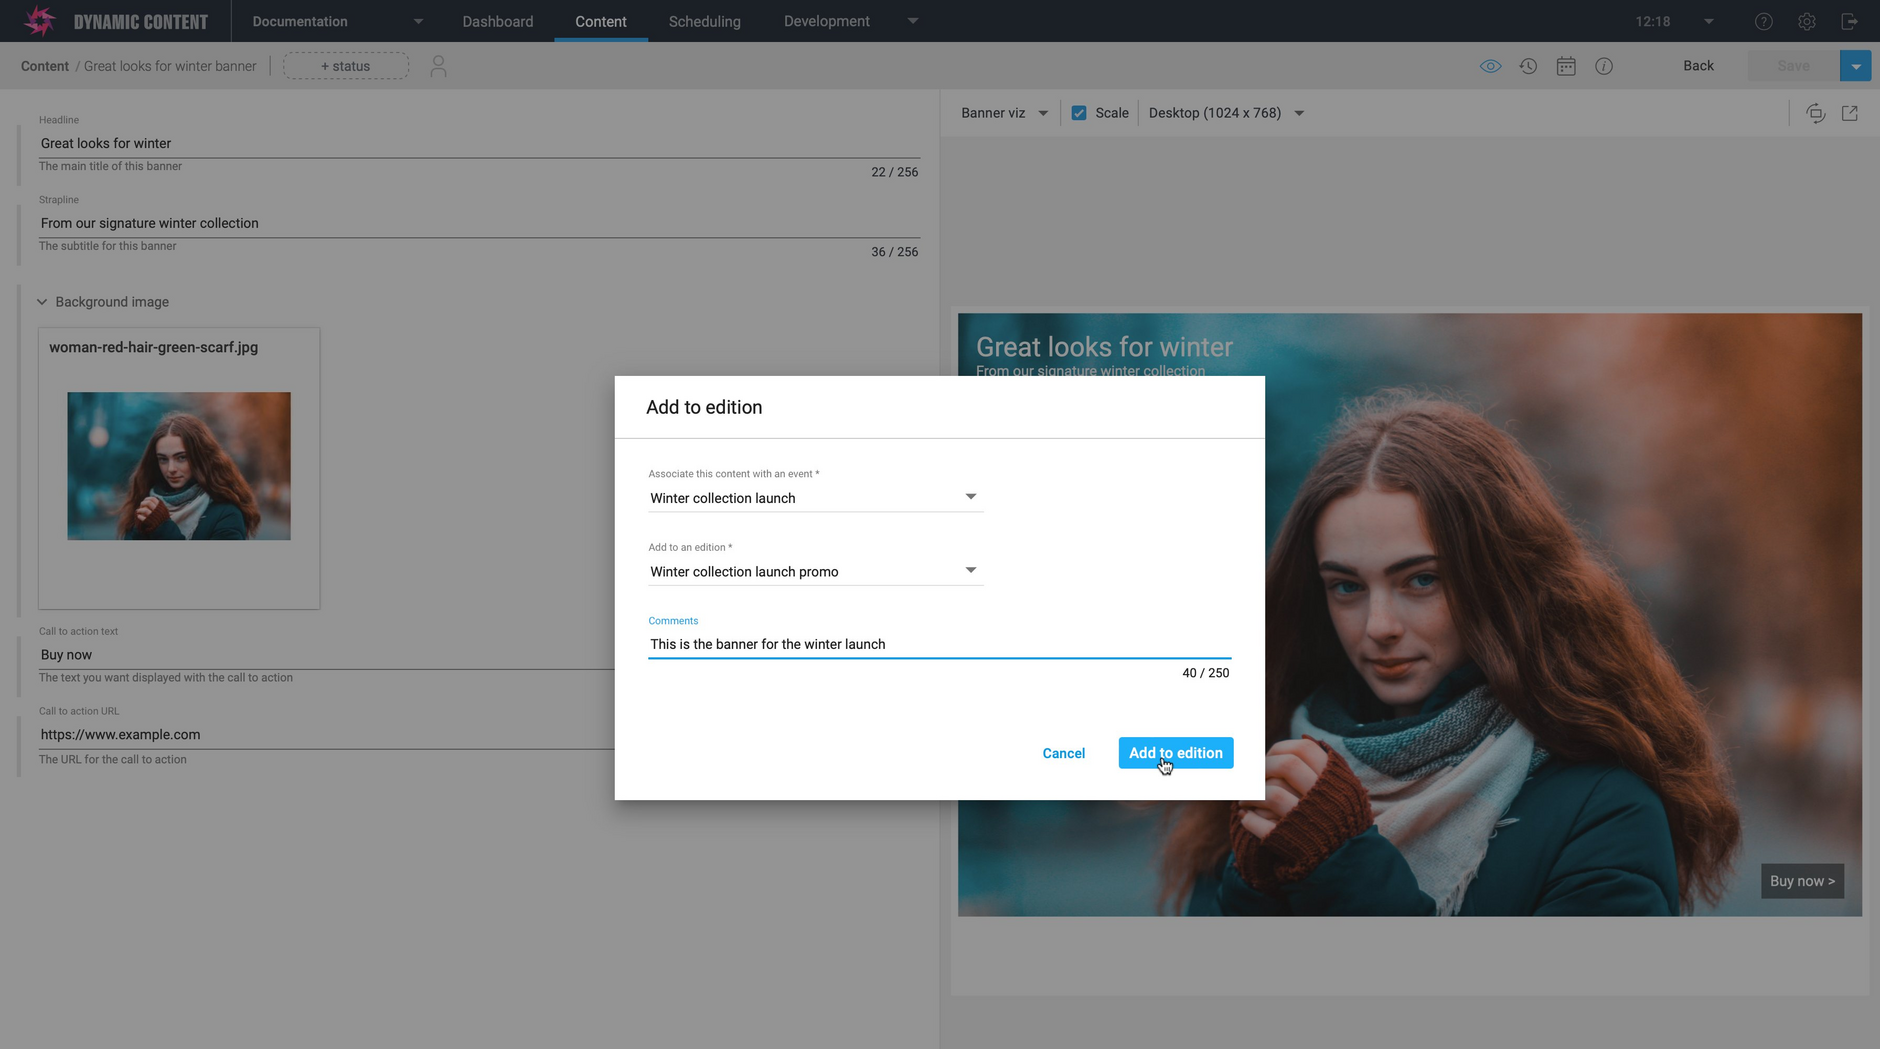
From the "Add to edition" dialog, choose the event, the edition within the event and you can add a comment as a guide for your content planners. In this example the content item is added to the "Winter collection launch promo" within the "Winter collection launch" event.
Click the "Add to edition" button to add the content.
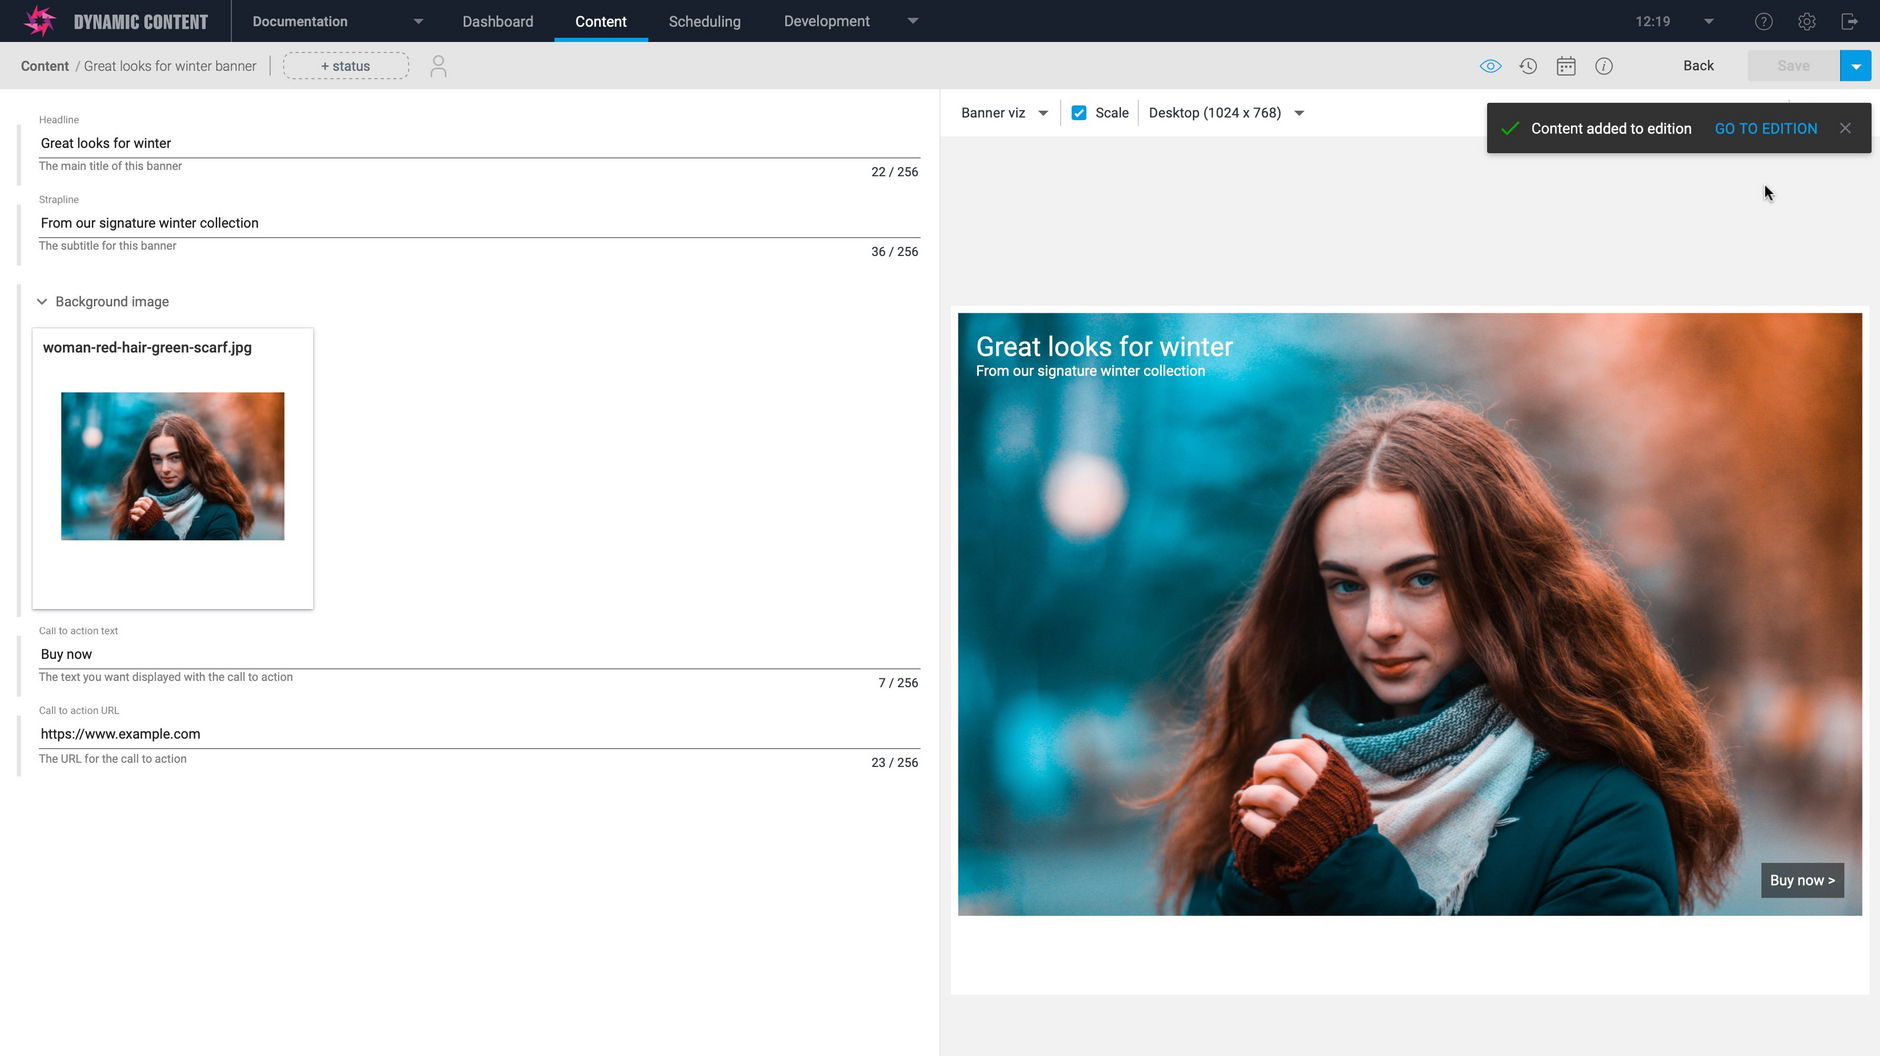
The content is now added to the "Winter collection launch promo" edition and a confirmation message is displayed. Clicking the "Go to edition" link will open the edition.
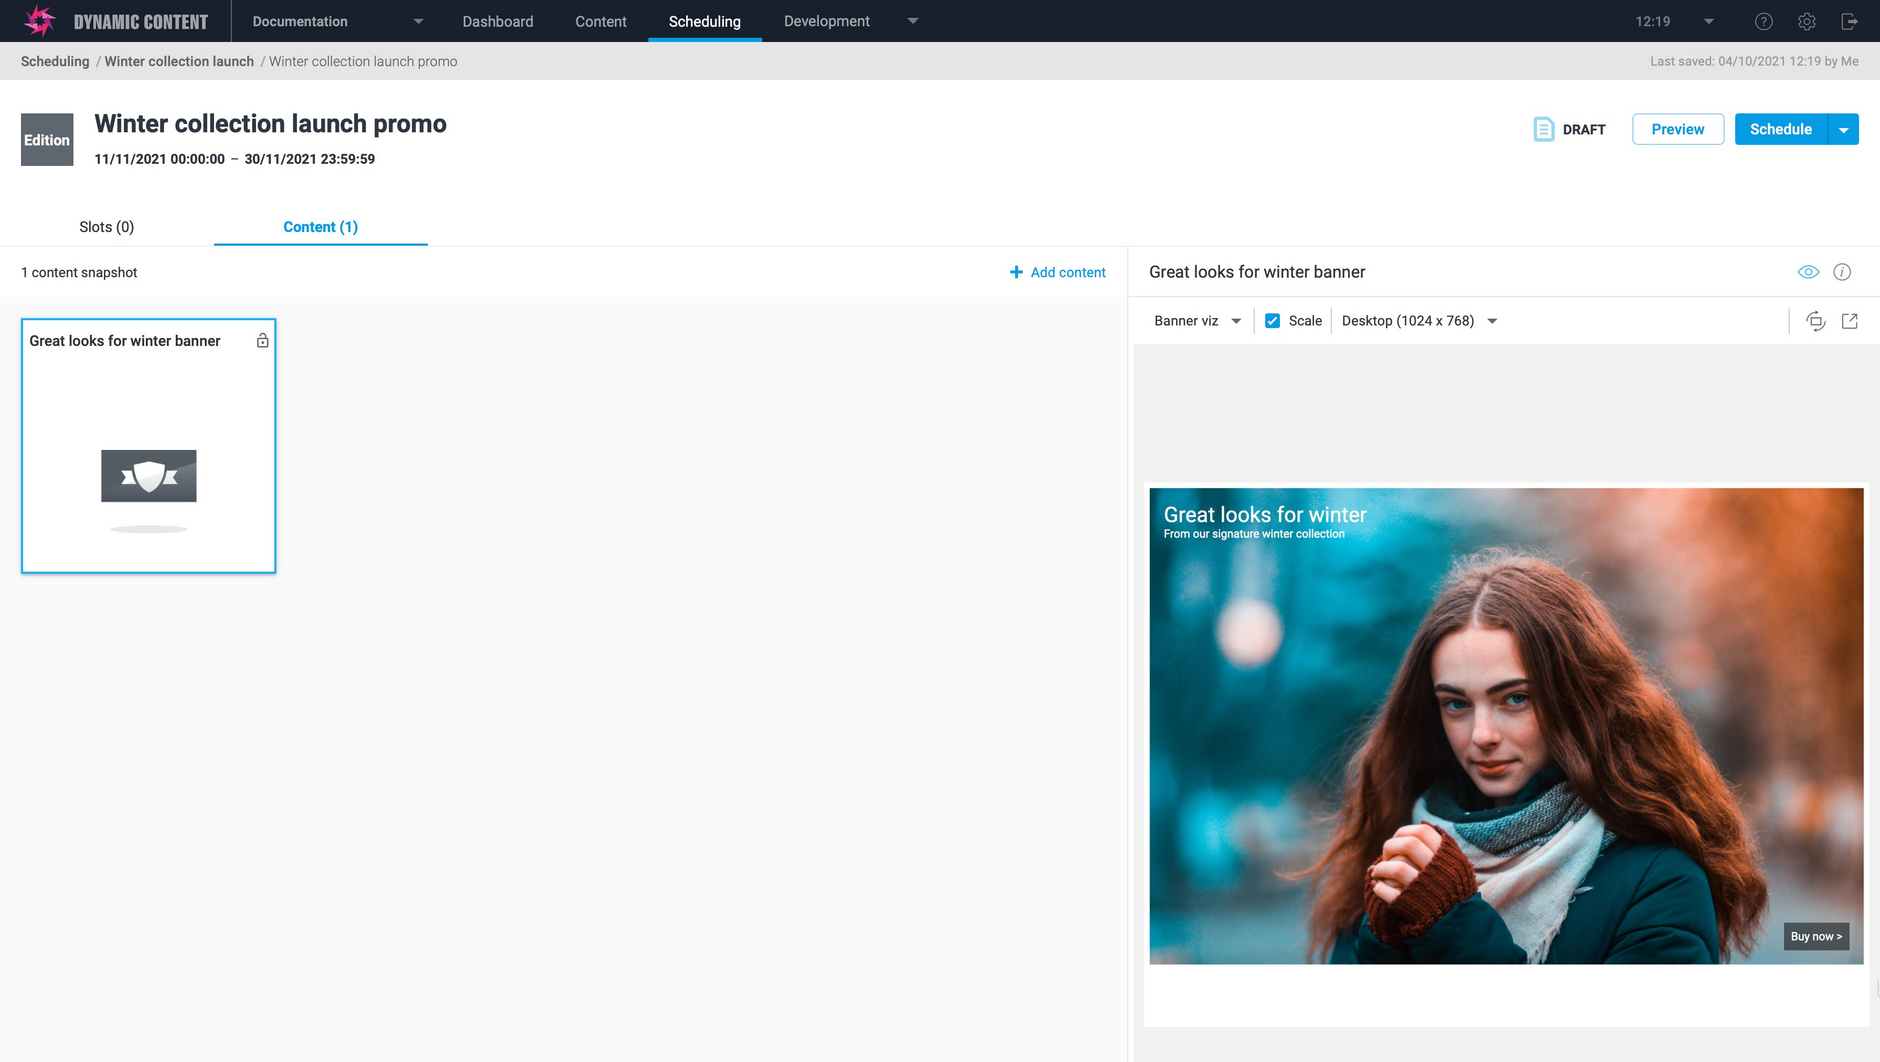
The edition is displayed and now contains the "Great looks for winter" banner.
You can use "Add to edition" to add content to as many editions as you'd like.
Finding which editions use your contentLink copied!
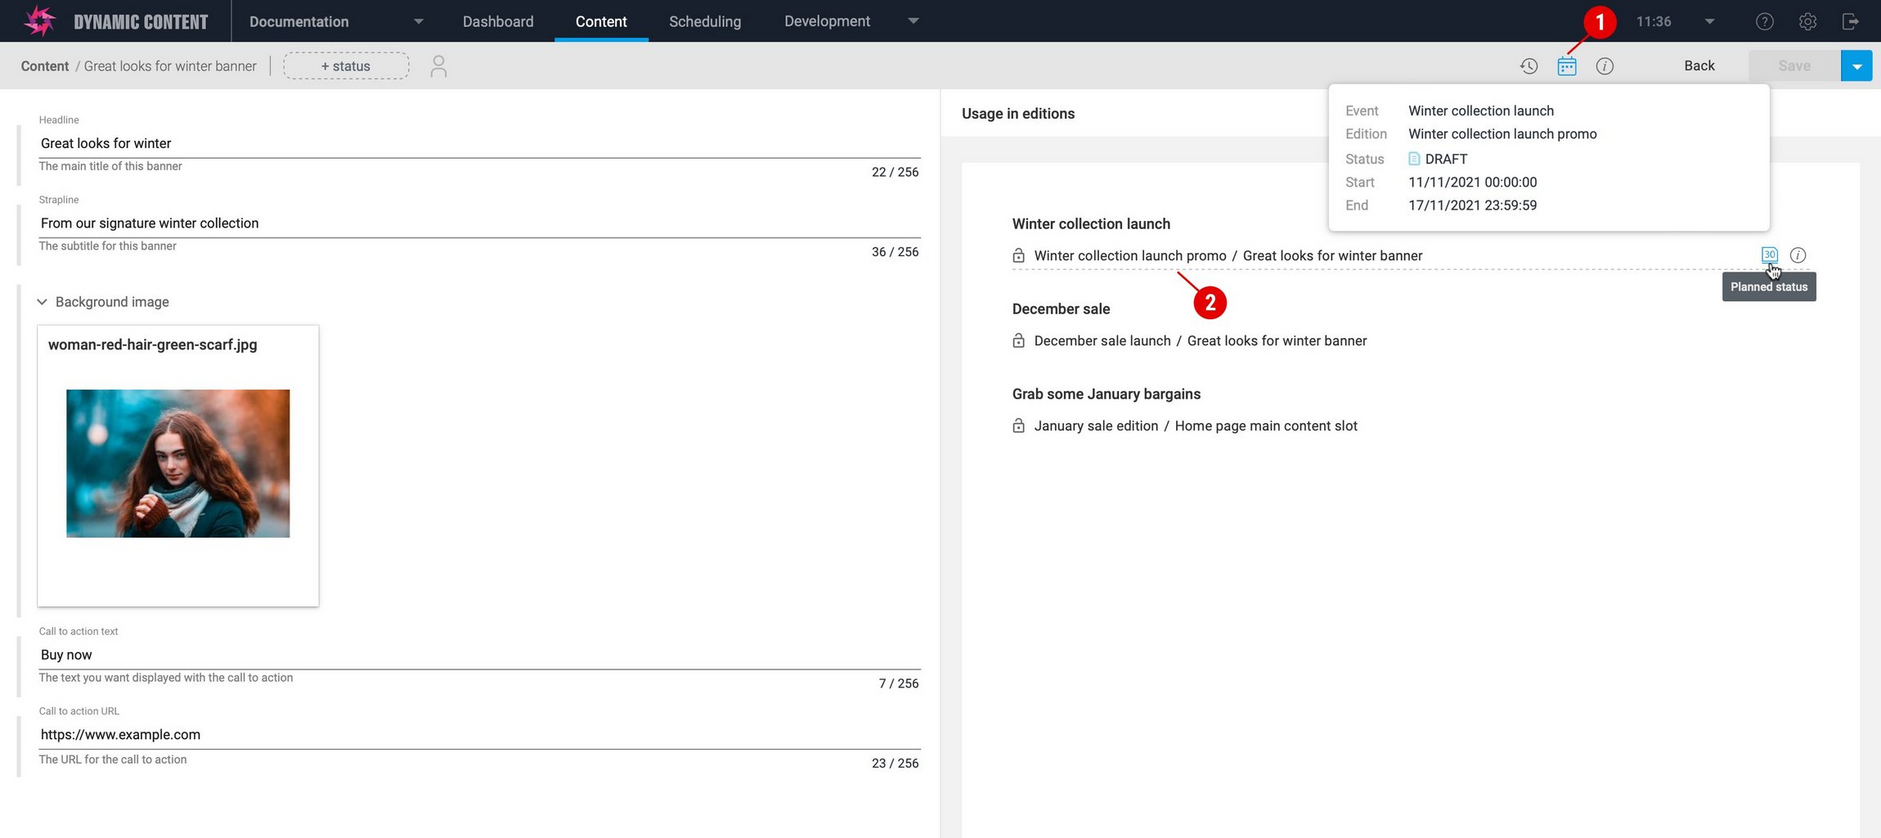
The usages panel has always shown content added to slots in editions, now it also shows content added to an edition. The usage list is grouped by event.
To open the usage panel click the usages icon (1) in the image below. For content added directly to an edition, the usages panel will show the edition name and the content. You can go directly to an edition by clicking its title (2).
As before, the slot and edition name is shown for content added to slots in an edition.
Save snapshot to edition is now tag snapshot to editionLink copied!
"Save snapshot to an edition" has been renamed to "Tag snapshot to edition" to better reflect its functionality and differentiate it from "Add to edition". It works the same way as before, it just has a new name.
This feature is useful if you want to make a specific version of a content item available to add to slots and editions. It makes it easy to work with multiple versions of the same content.
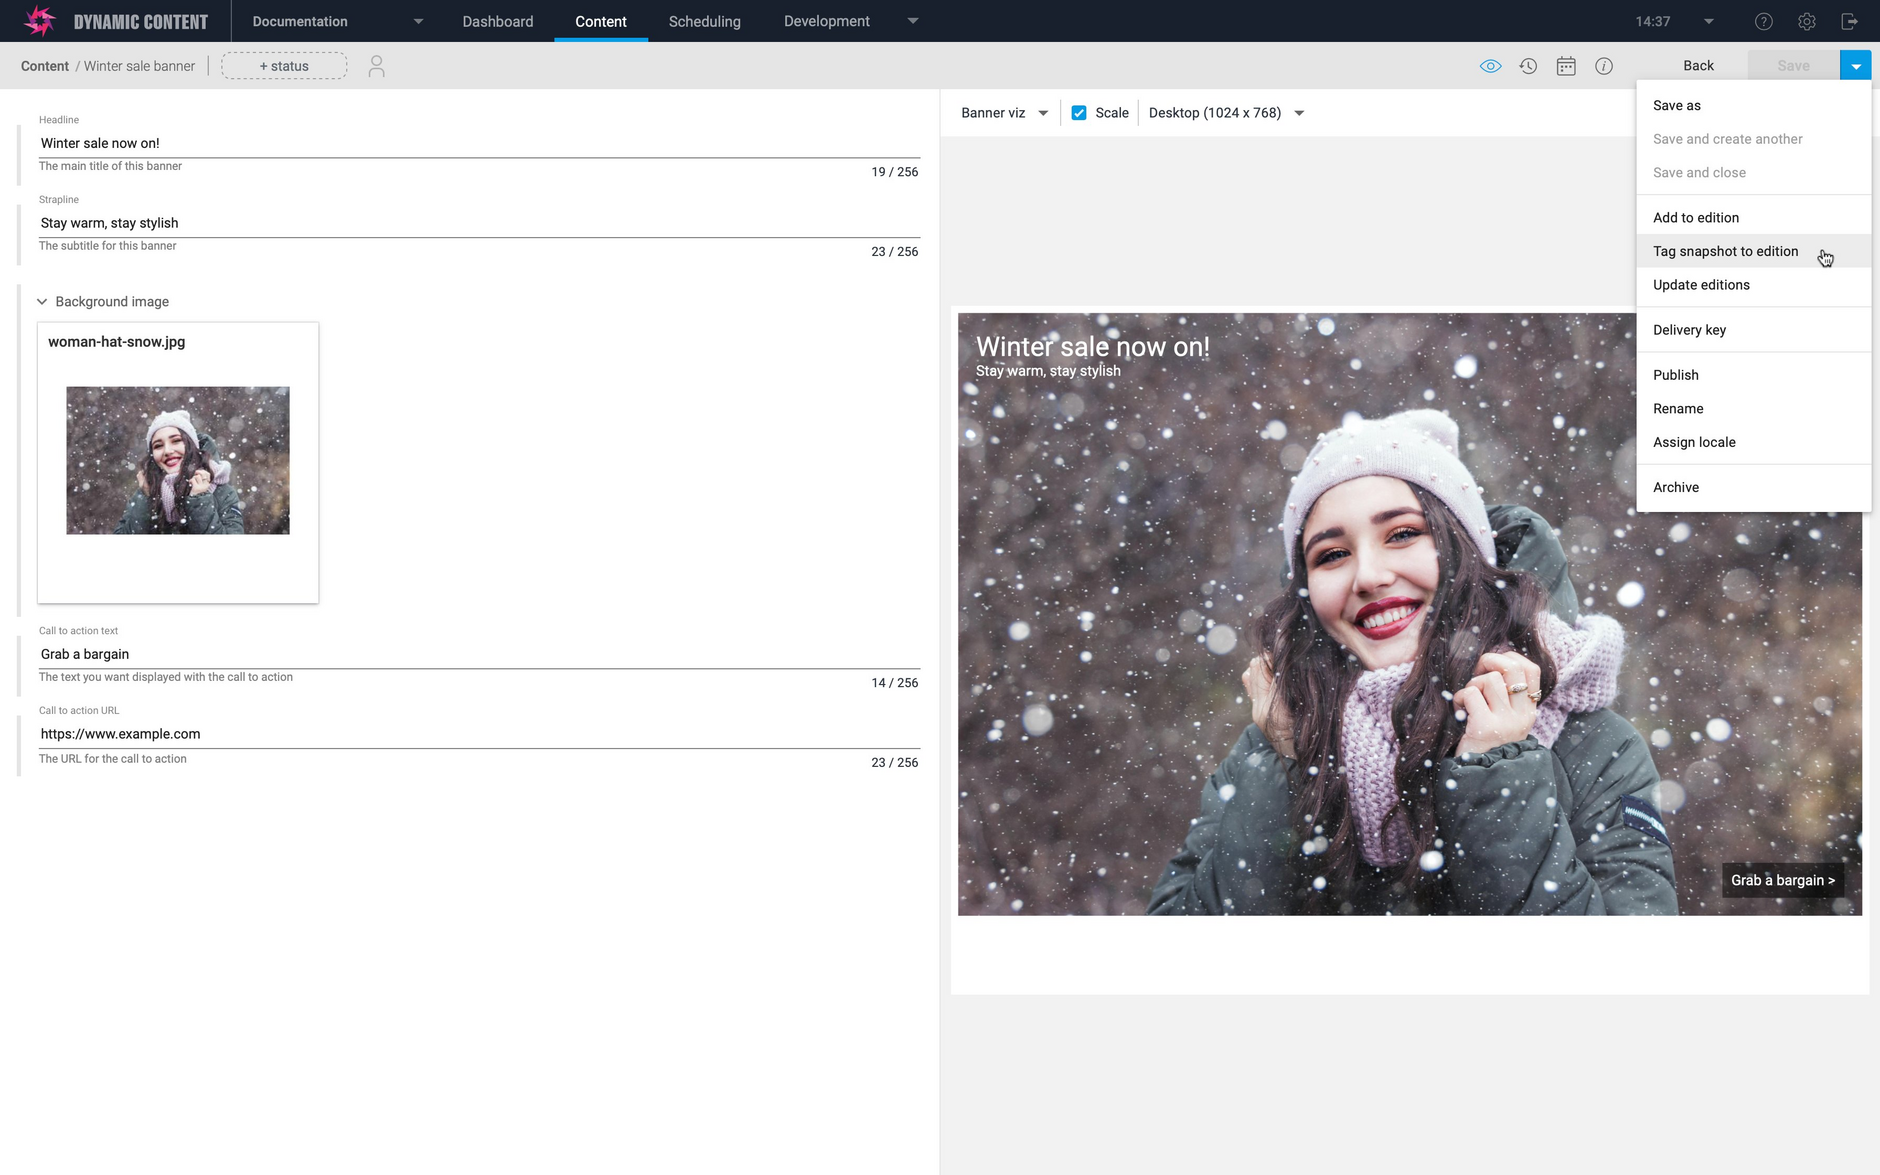
Choose "Tag snapshot to an edition" to start creating a snapshot.
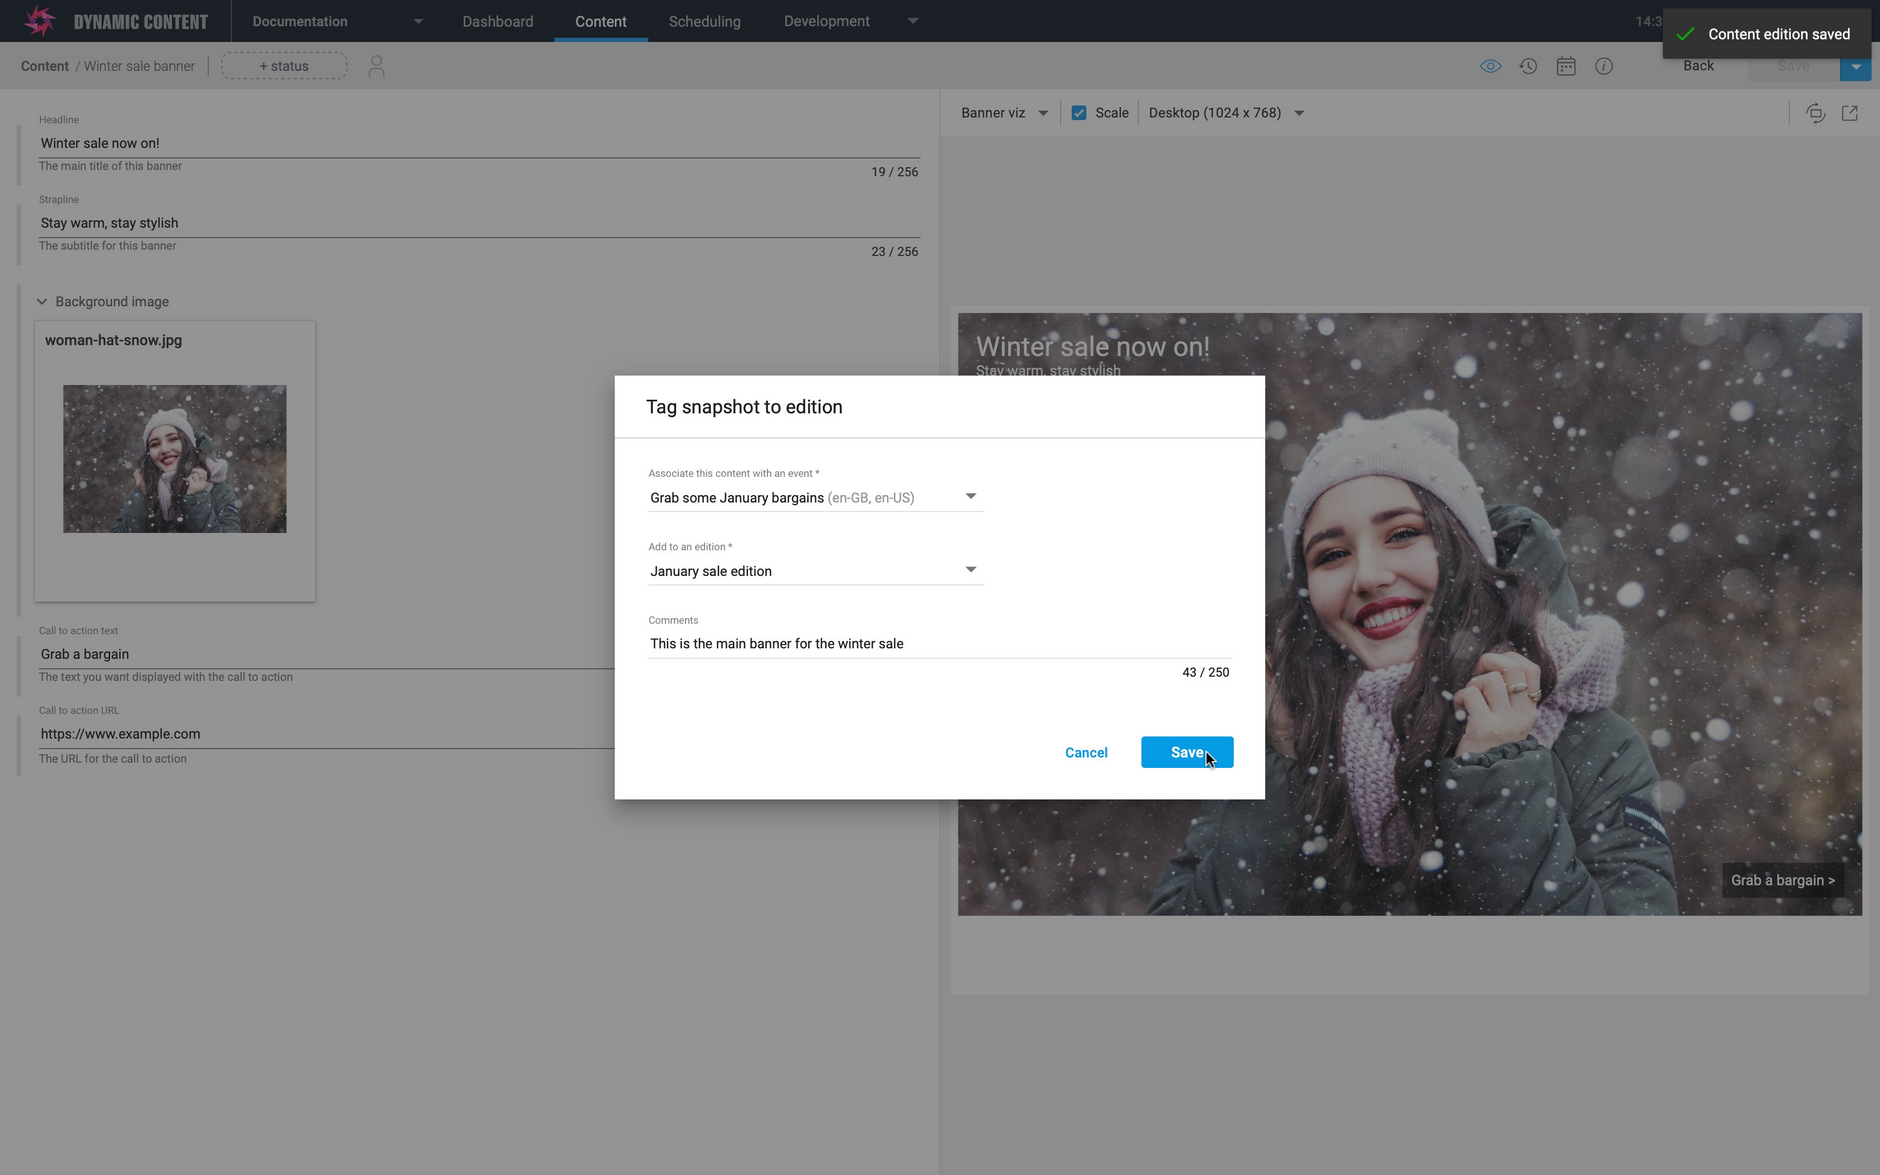
Select the event and edition to tag this content with. In the example below, the content is tagged to the "January sale edition".
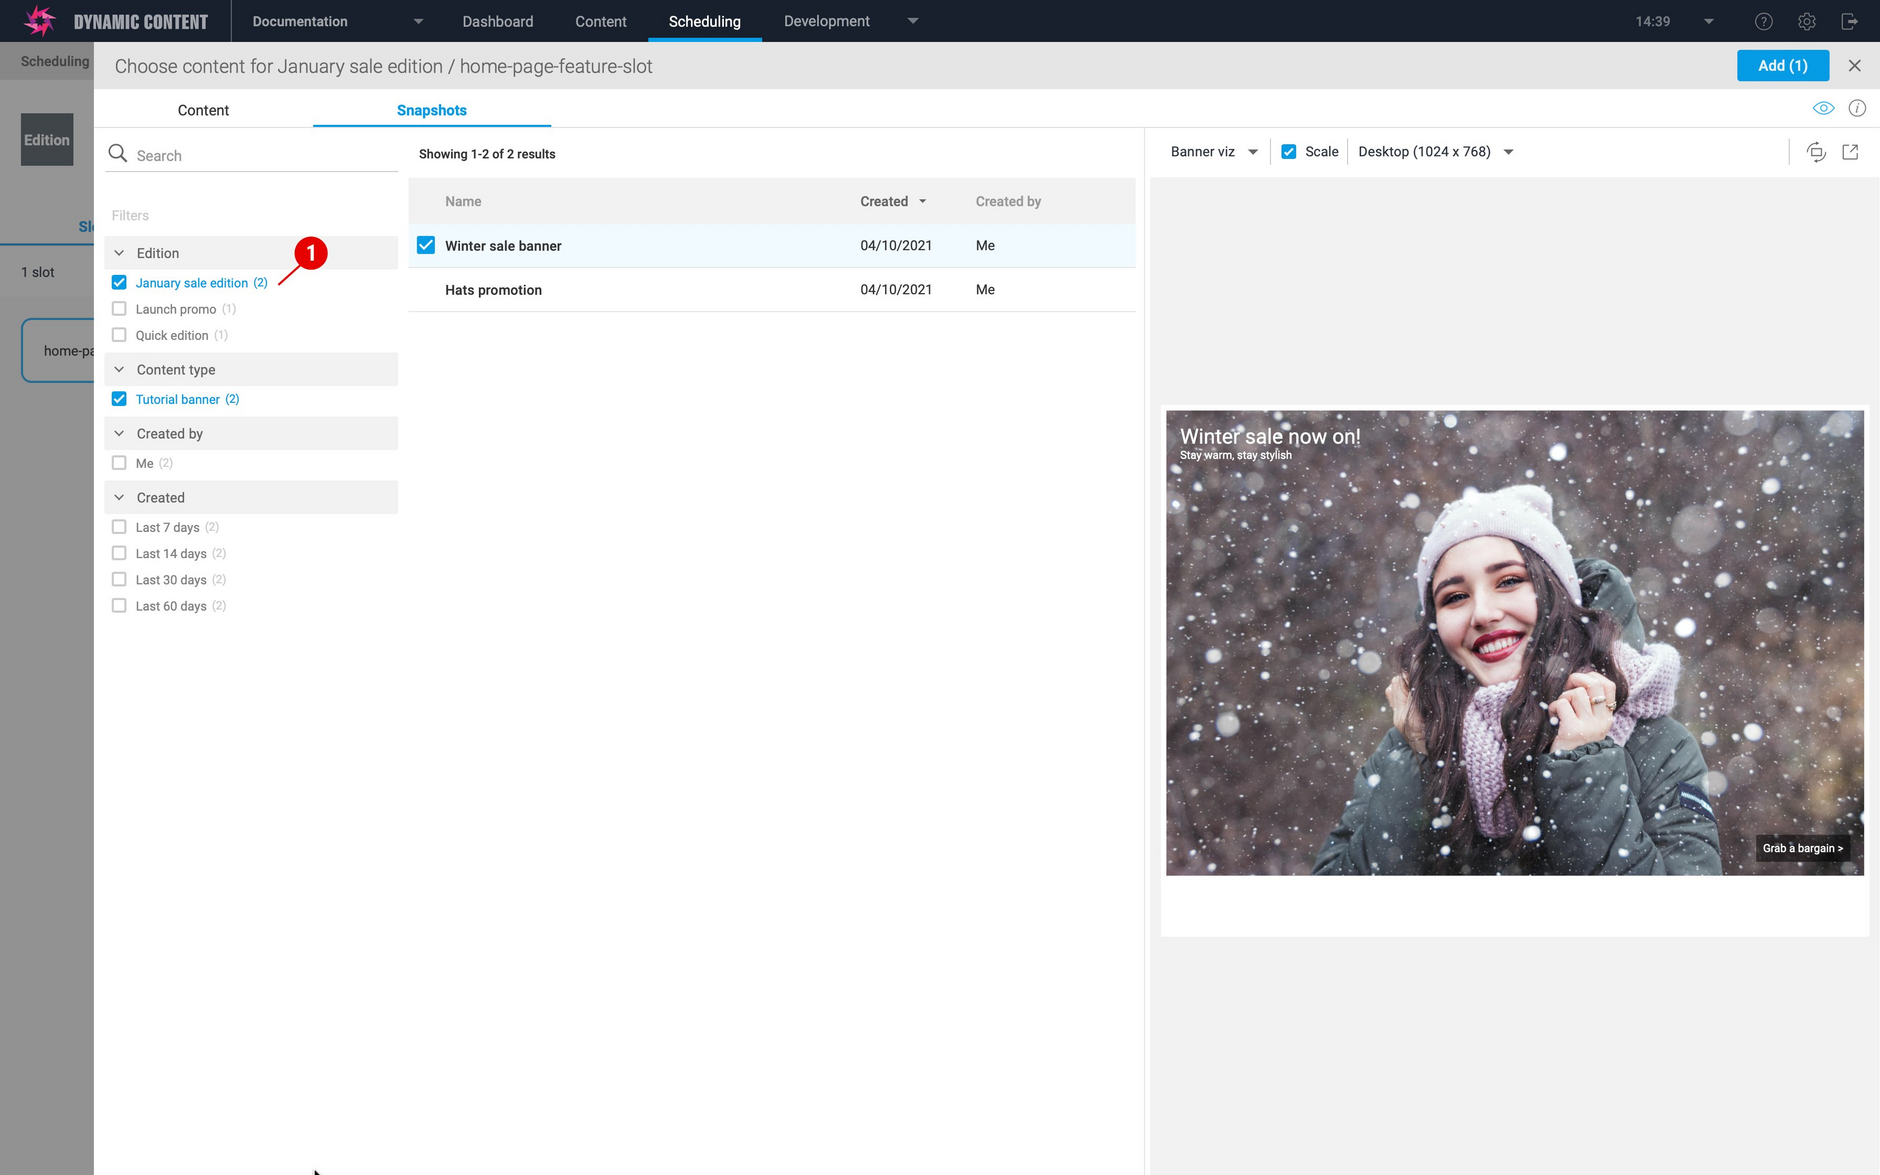
The snapshot of the "Winter sale banner" is now tagged to the "January sale edition" (1 in the image below), making it easy to find the right snapshot to add to a slot or directly to an edition. This snapshot represents the specific version of the "Winter sale banner" that we saved. If we made a change to the banner, then we could choose "Tag snapshot to edition" again to tag the newer version of the content.
Snapshots can be added to multiple editions, tagging content to an edition is just a convenience to make the snapshot easier to find.
Enhancements to editing content in a slotLink copied!
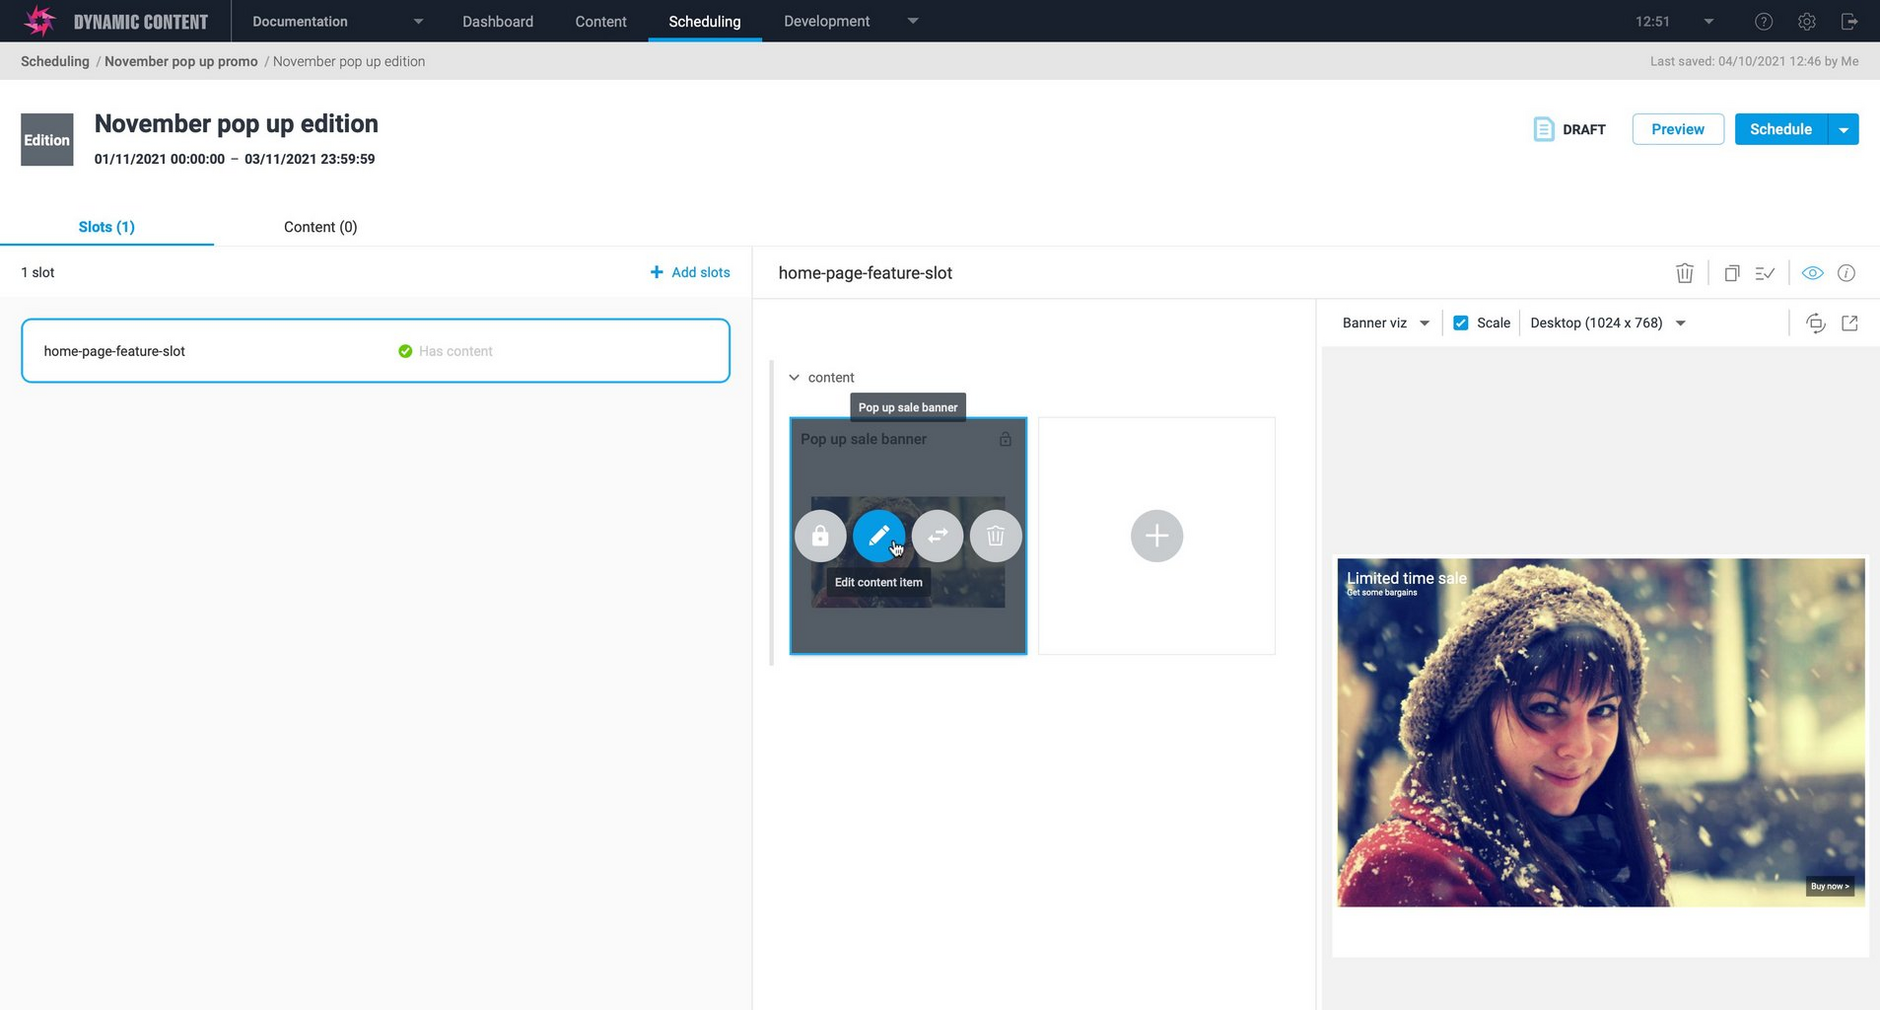
In a recent release we made the process for editing content in slots a lot easier. To show you what the update process now looks like, we'll use the example of a winter banner that's already been added to a slot in the "November pop up edition". We want the change the headline text to "Our pop up sale".
When you hover over content in a slot, you'll see a set icons as shown in the image below. To edit the content, choose the pencil icon.
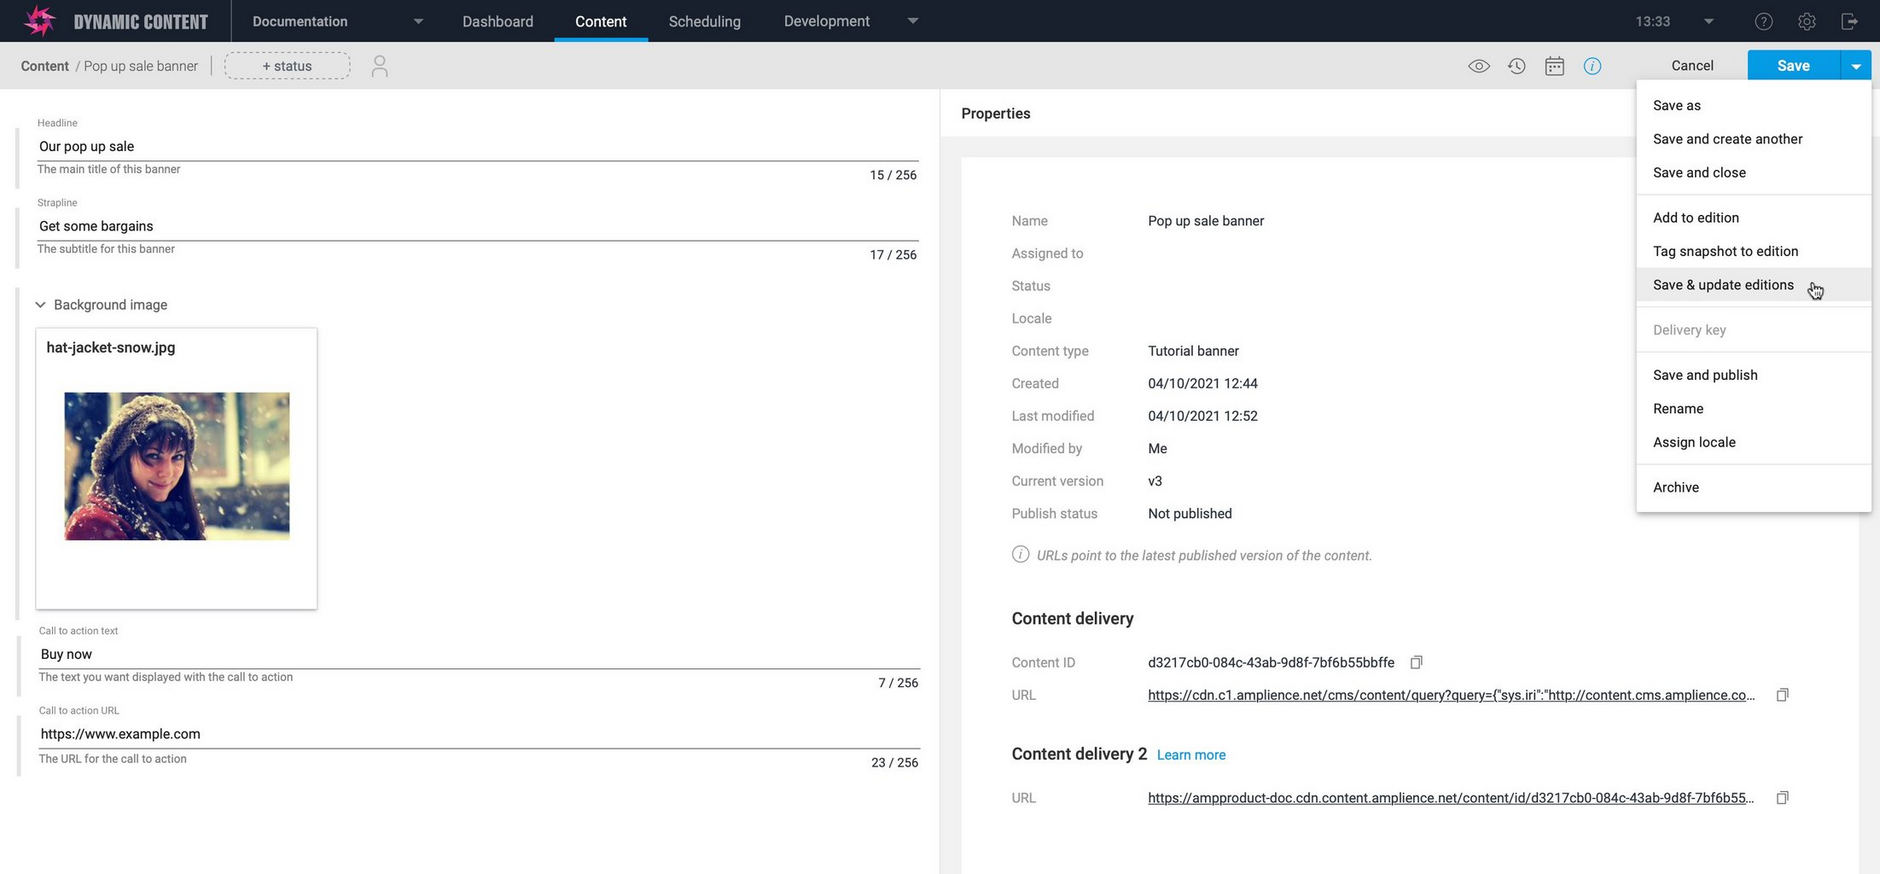
The content is opened in the content form. You can change the content and update it in all editions that contain it by choosing "Save and update editions" from the "Save" menu.
The "Update editions" window is displayed containing a list of all the editions that use this content. The banner is currently just used in the "November pop up edition", so we'll keep that selected. If the content is used in multiple editions, you can choose which editions to update.
Click the "Update" button to update the content in the chosen editions.
Choose the "Back to content button" and then the "Back" button in the content form to be taken straight back to the edition window.
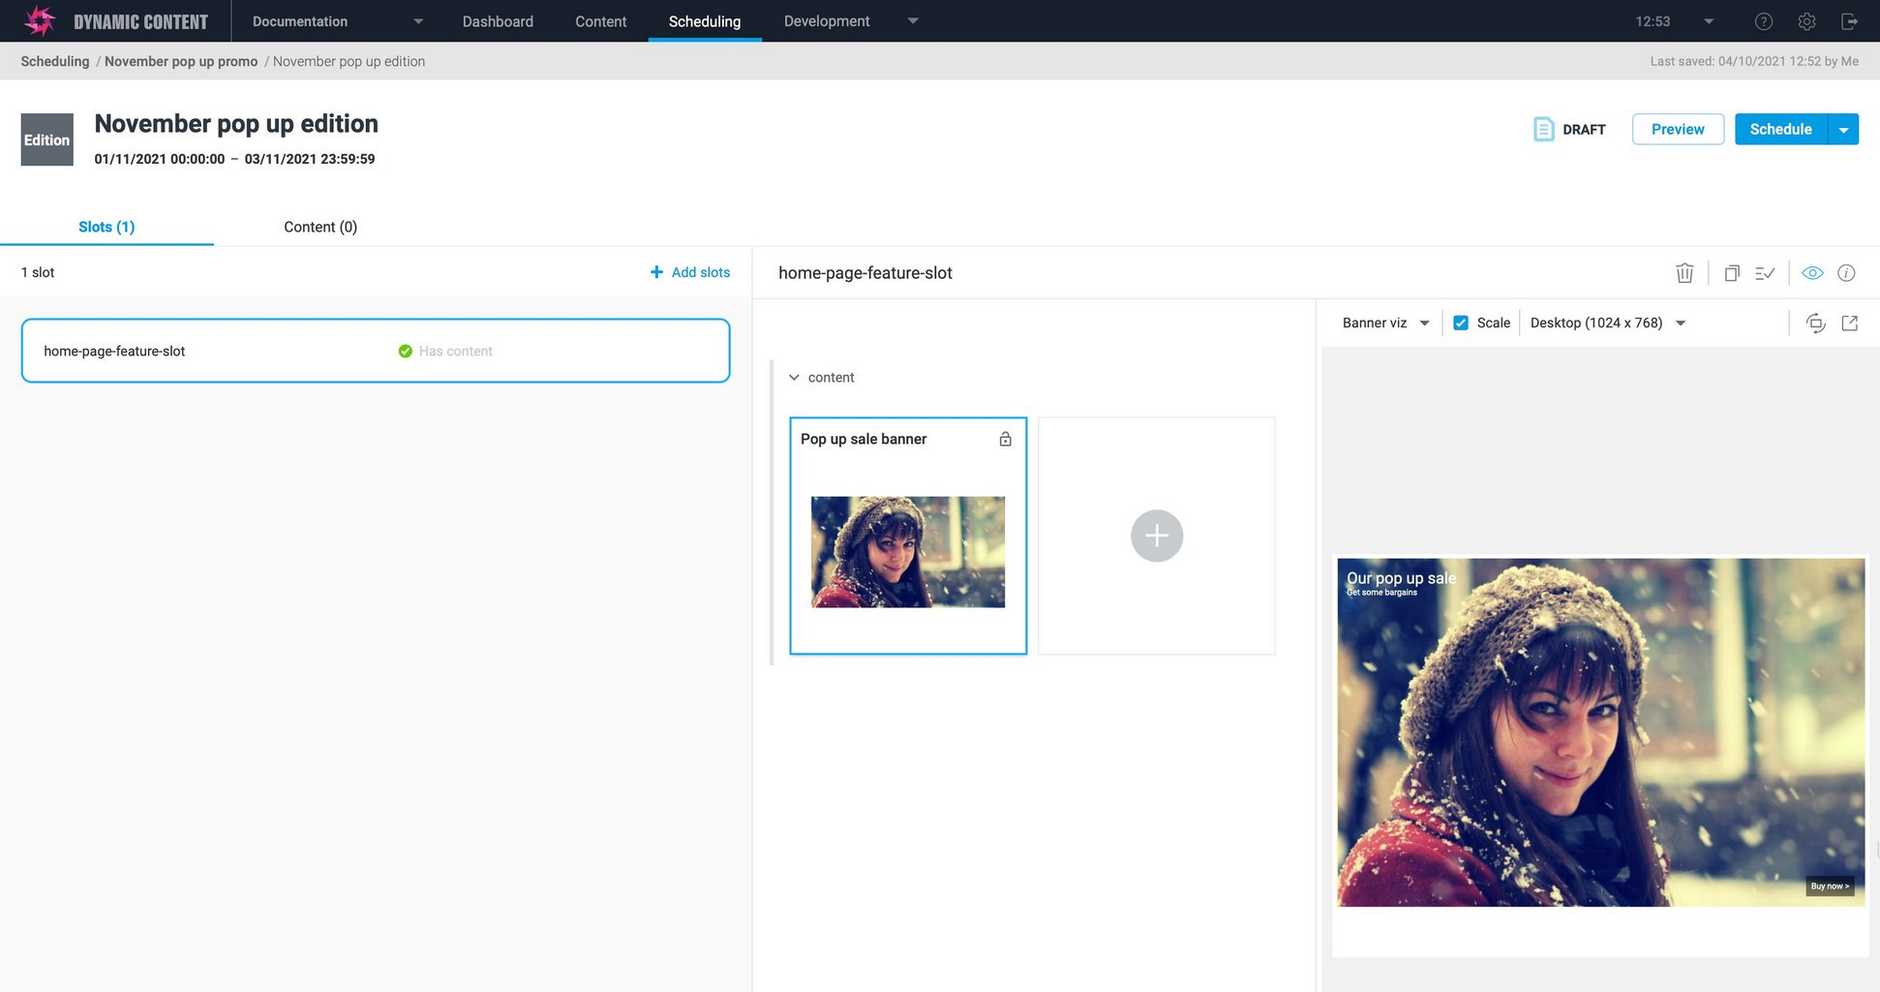
The banner with the updated text has now been added to the slot.
