Amplience search
Amplience search makes it easy to create and manage a search index for your Dynamic Content data. All you need to do is specify the content types to include in the index, and then specify the actions in Dynamic Content that are used to update the index, and you've got a search index ready for you to query using search APIs to use to build your front end search experience.
Amplience search is powered by Algolia. Indexes are created in an Algolia account managed by Amplience and can only be managed using the search indexes features. You will not have direct access to Algolia's dashboard or write access to the index using the Algolia APIs. You will have read access to Algolia's search APIs so you can query content and use their SDKs to build your search UI.
Viewing your search indexesLink copied!
If you want to integrate Dynamic Content with Algolia and don't already use Amplience Search, then you should use Algolia search webhooks instead.
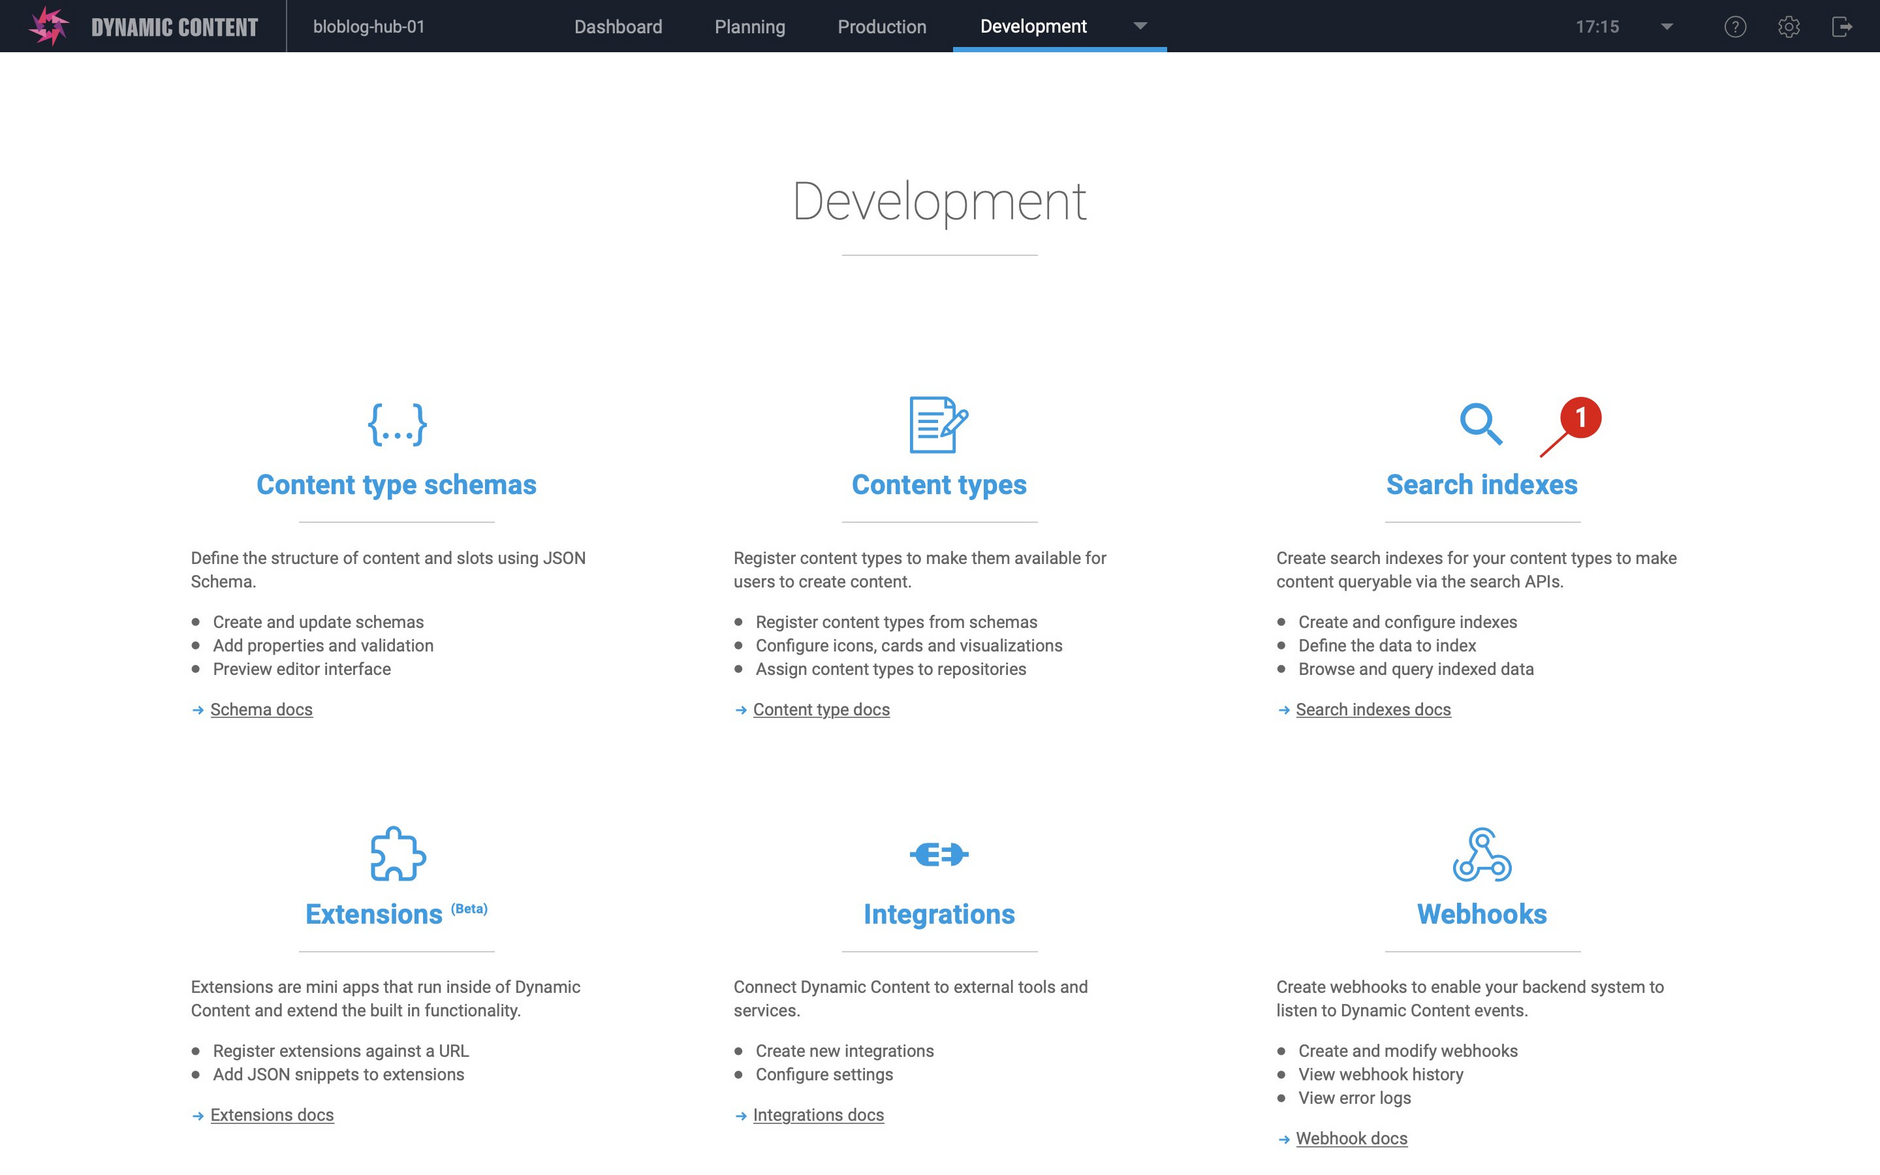
If you have been provisioned with Amplience search, then you can create, view or edit a search index by going to the development homepage, or choosing "Search indexes" from the Development menu.
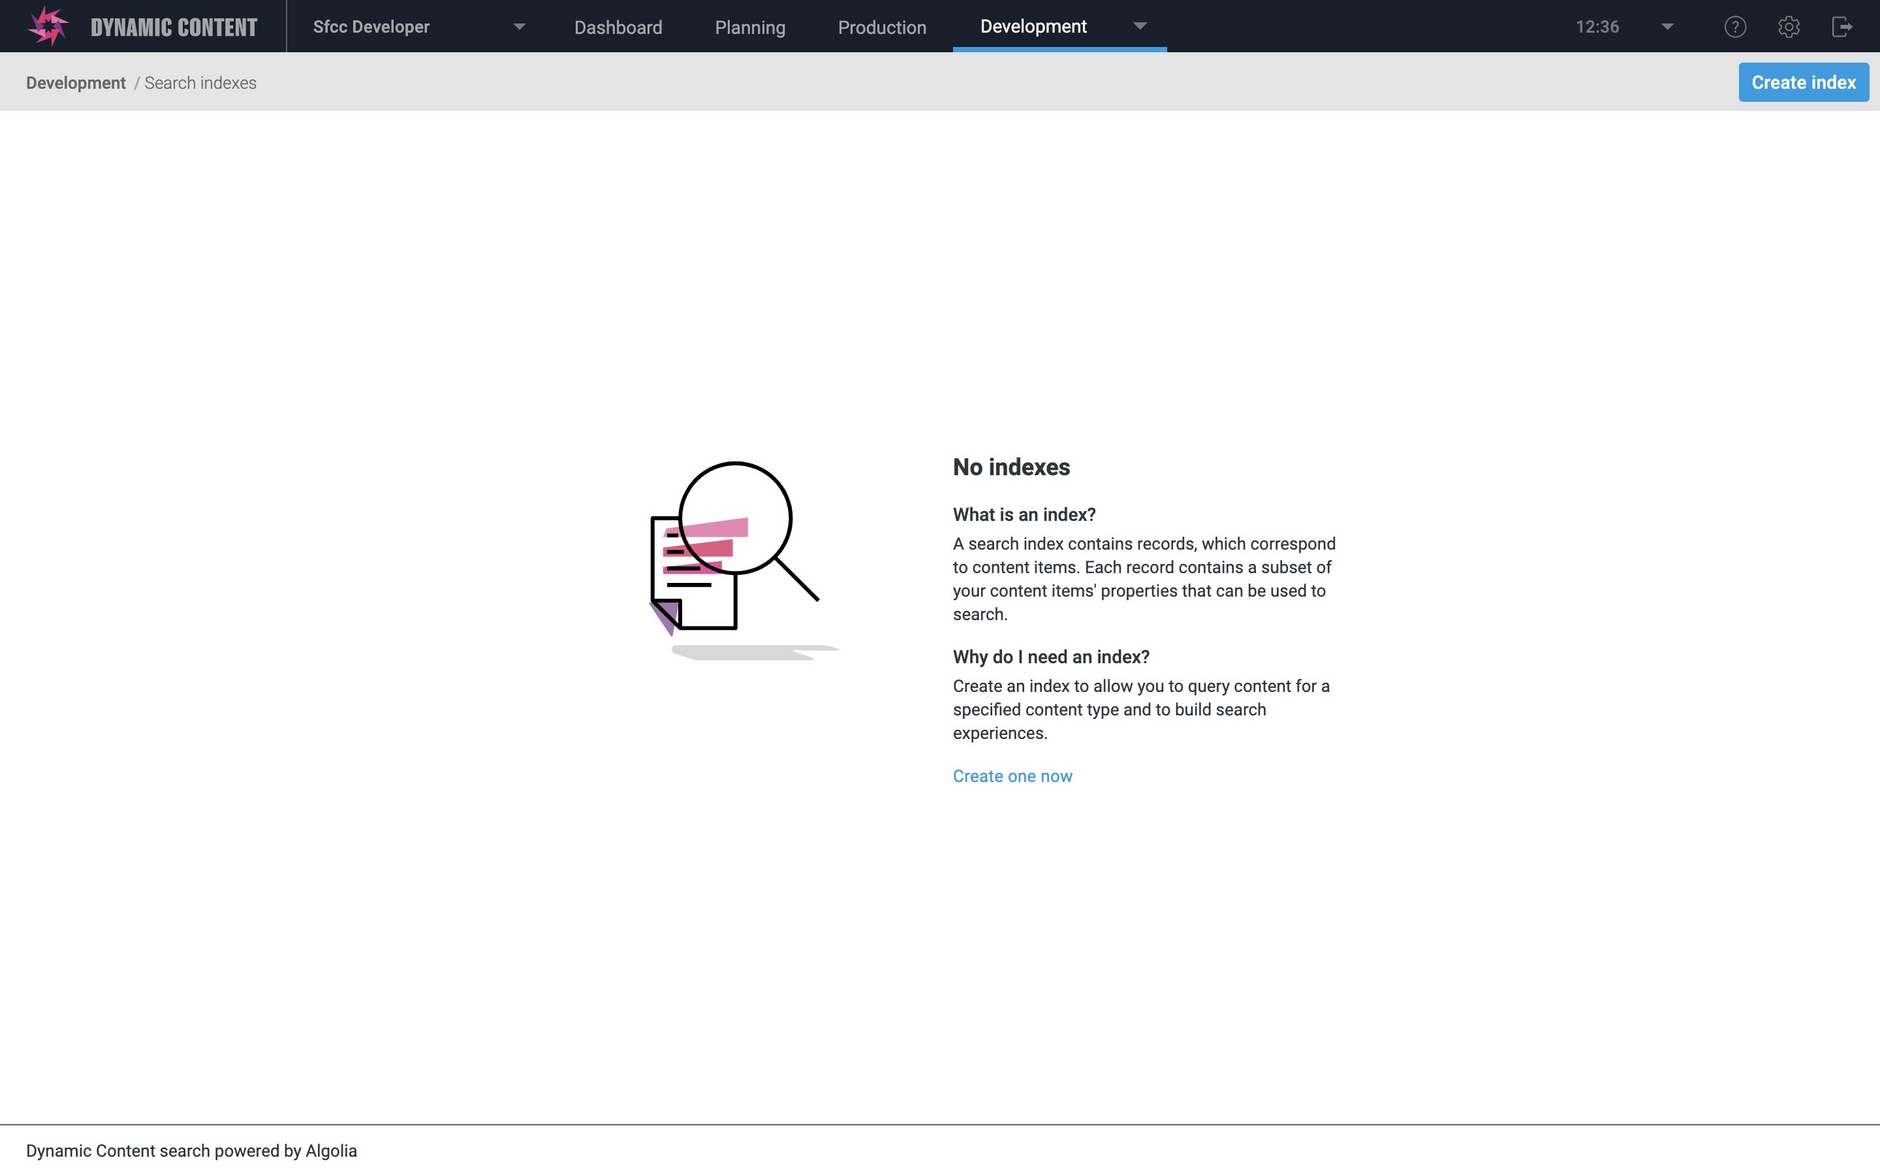
The search index screen will be initially empty. Click "Create index" to launch the index wizard.
If you want to view an existing index, just double click its entry in the index list or choose "View" from its contextual menu. You can also choose to delete an index.
Creating an index with the wizardLink copied!
The search index wizard is used to set up an index and configure the webhook that sends a request to the search API to update the index when triggered by a specified action in Dynamic Content.
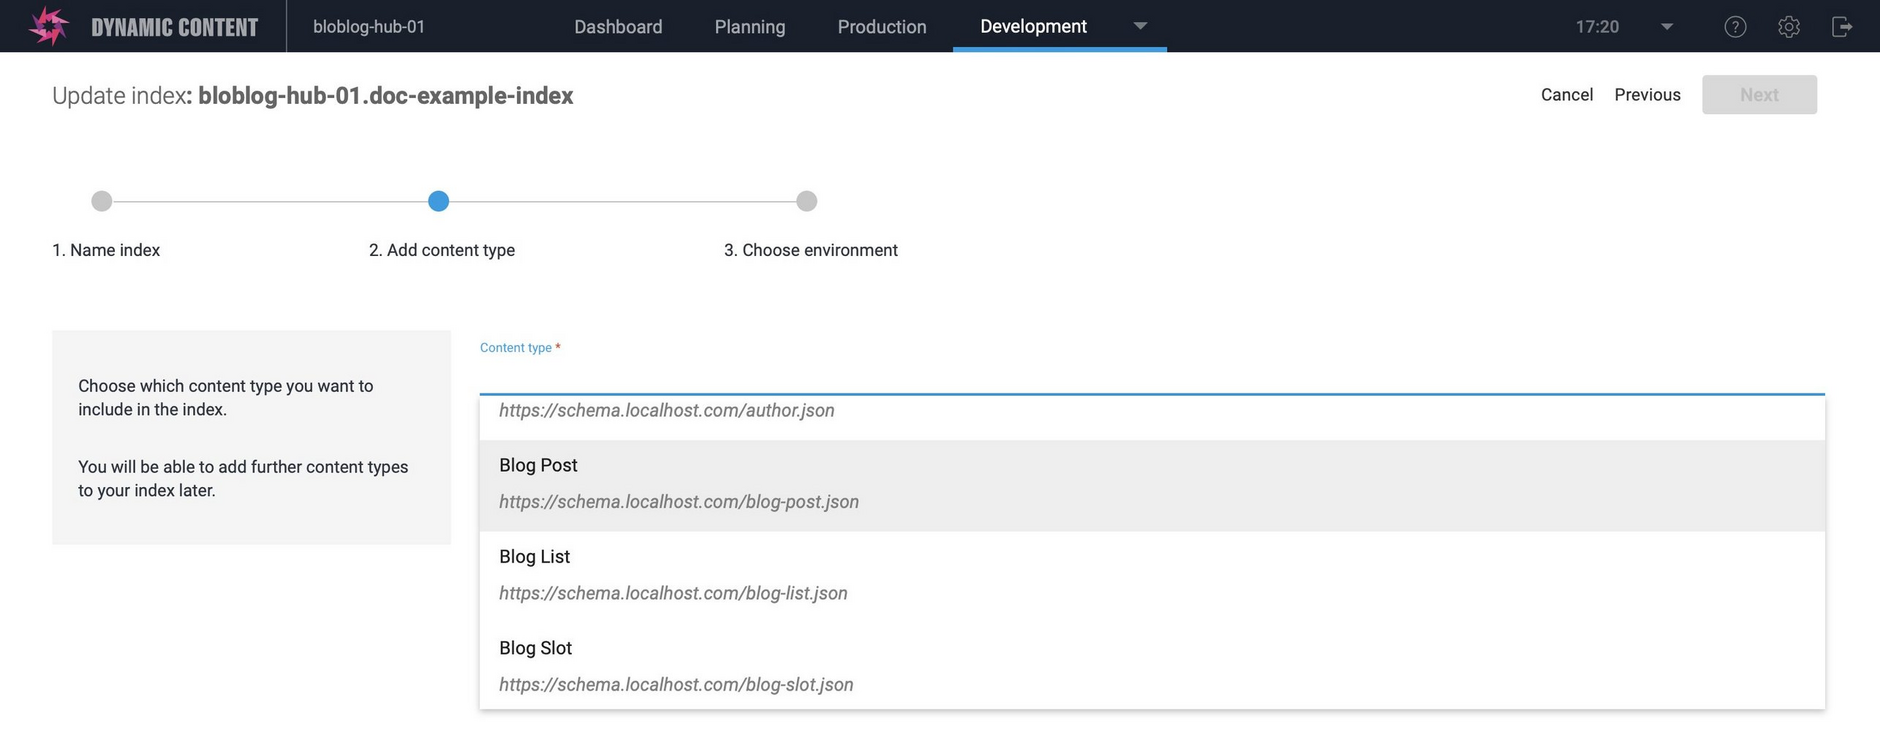
First give your index a name and choose the content type that you want to use to populate the index. You can only specify a single content type using the wizard, but you can add additional content types later. In this example we'll use the blog post content type.
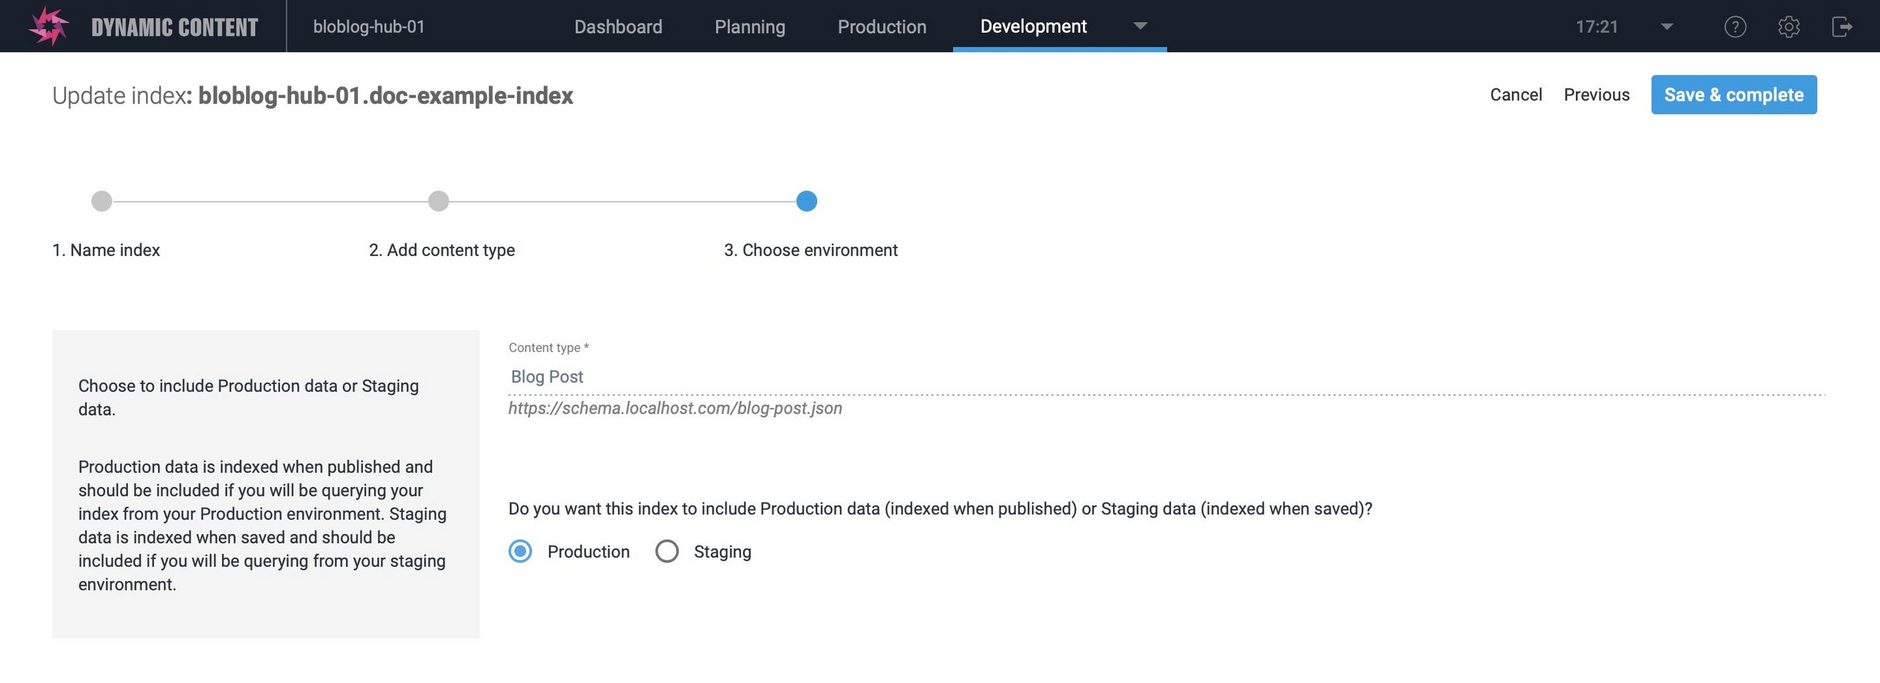
In the "Choose environment" step, choose whether you want to index production or staging content. This setting is used to determine the webhook that is used to trigger writing to the index. For production content the webhook trigger will be "content item- snapshot published" and your index will be updated when a content item of your specified content type is published in Dynamic Content.
For staging content, "content item- created" and "content item- updated" are used as the triggers and your index will be updated when a content item of the specified content type is created or updated. You'll usually create a staging index if you want to include your search in visualizations or previews.
To go back to a previous step, click the circle above the step title. So if you're in Step 3 and want to change the content type initially used for the search index, click the circle above Step 2 to go back.
When you've finished the configuration, click the "Save and complete" button to create the index. The index will be created in Algolia and a webhook will be set up in Dynamic Content.
For more information about what's set up for you when you create a search index, take a look at Search integration guide Part 1 which explains how to set up customizable webhooks to connect Dynamic Content with the Algolia API. The steps shown in the guide are already done for you when you create a search index using the wizard.
The Browse tabLink copied!
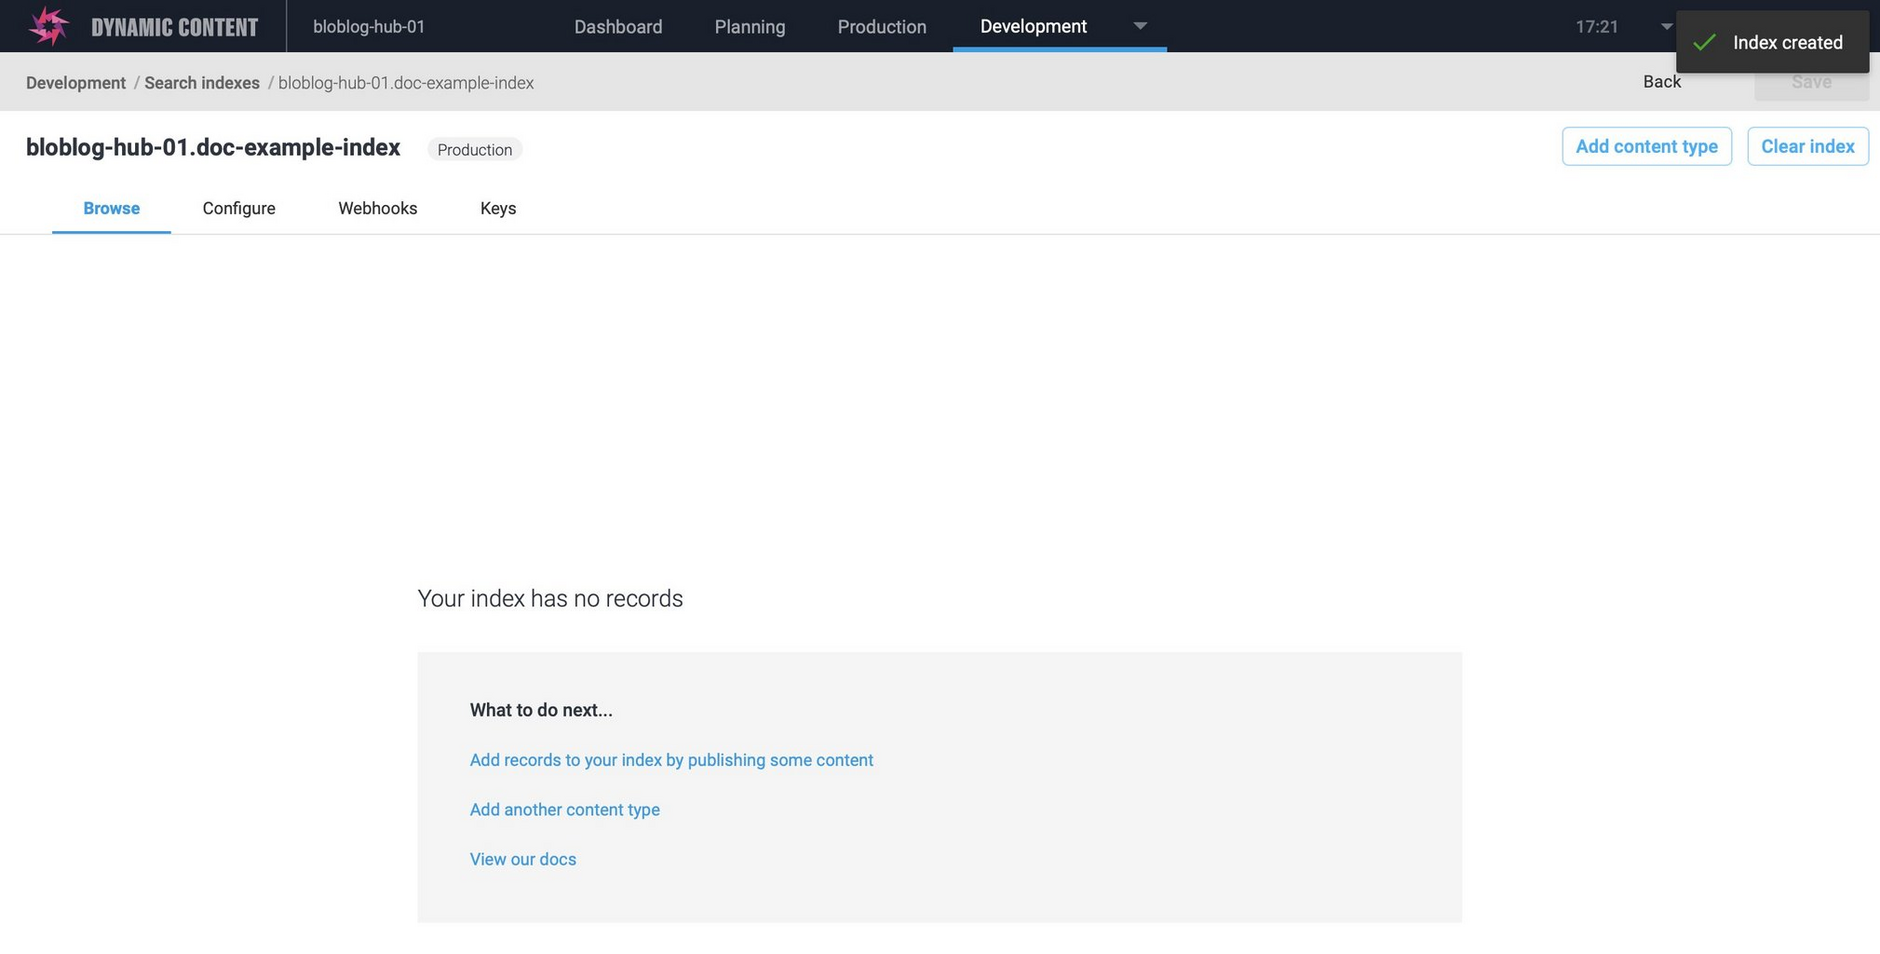
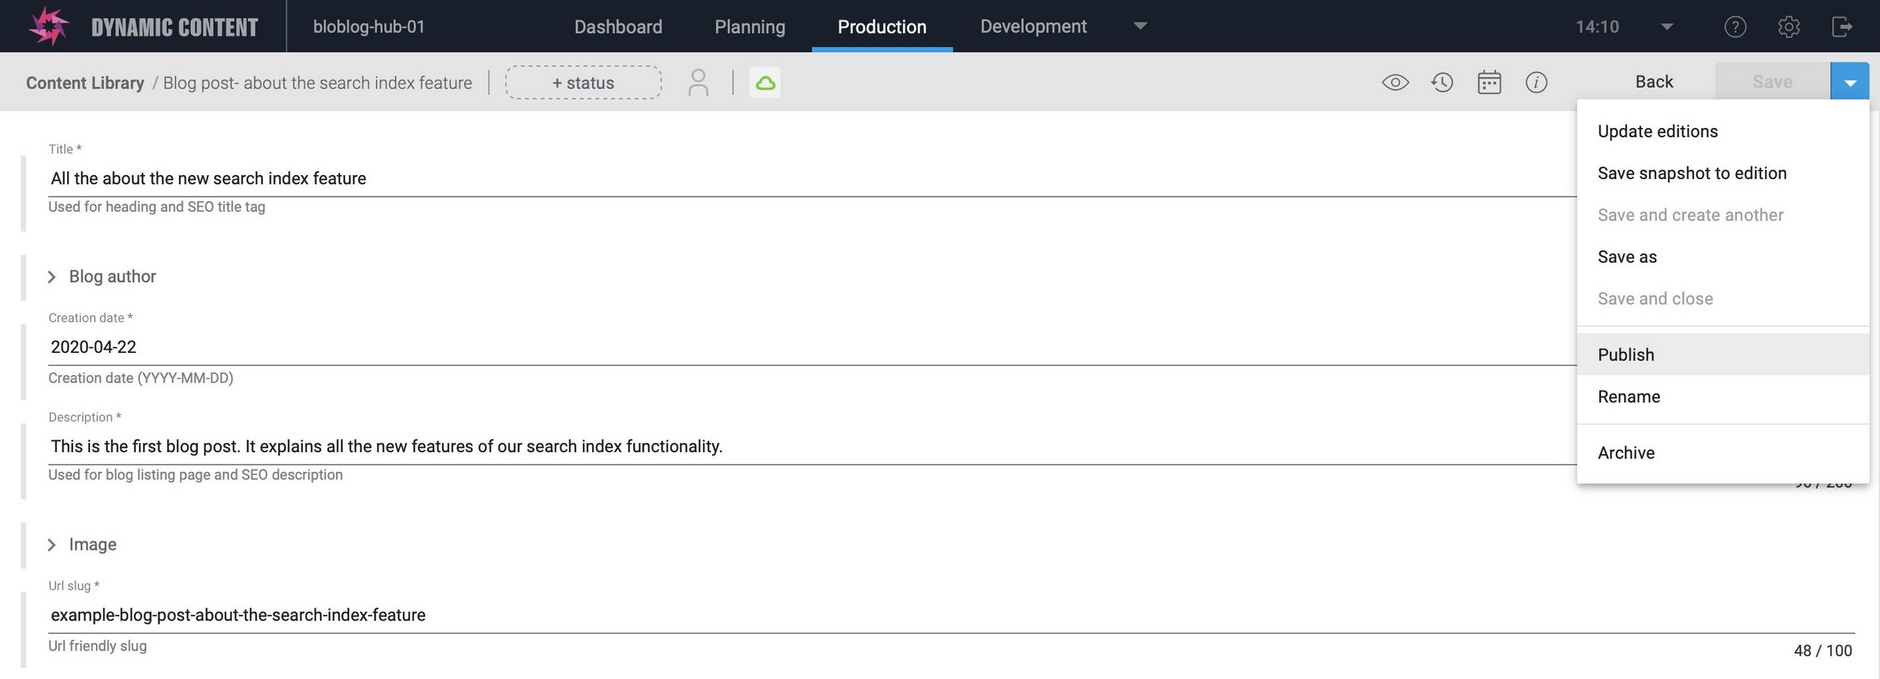
When the index is first created, it will be empty and so you need to populate it. In this example we're indexing production content, so to add an item to the index we need to go to the Content Library, by clicking "Add records", and publish a content item created from the content type that we configured the index to use.
In this example, when a content item created from the blog post content type is published, an entry will be added to the search index.
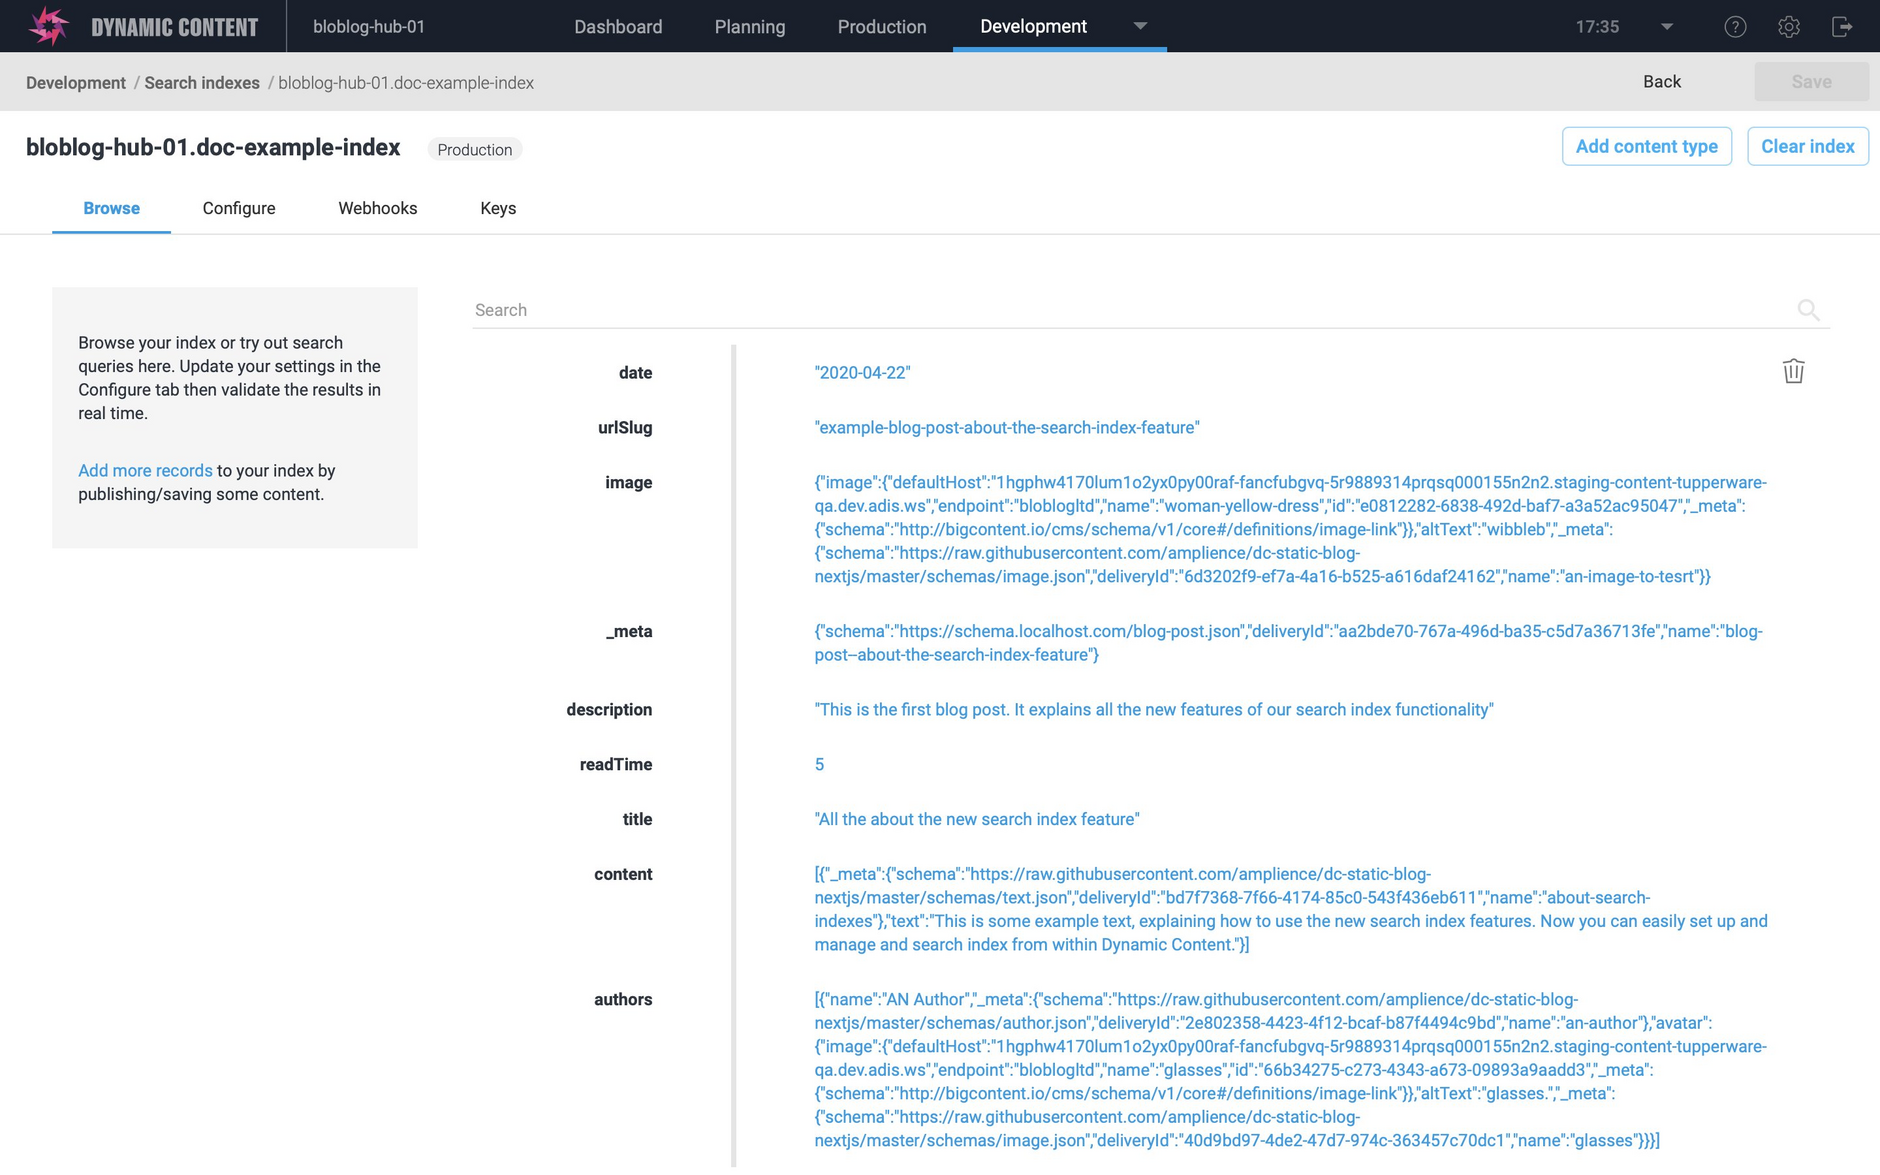
You can go back to the Browse tab to view the record that has been added to the search index. Notice that by default, all of the properties of the blog post content type are included.
You can use the browse tab to help you decide which properties should be searchable and to refine the index so that it only includes those properties that you need for your search.
Testing query parametersLink copied!
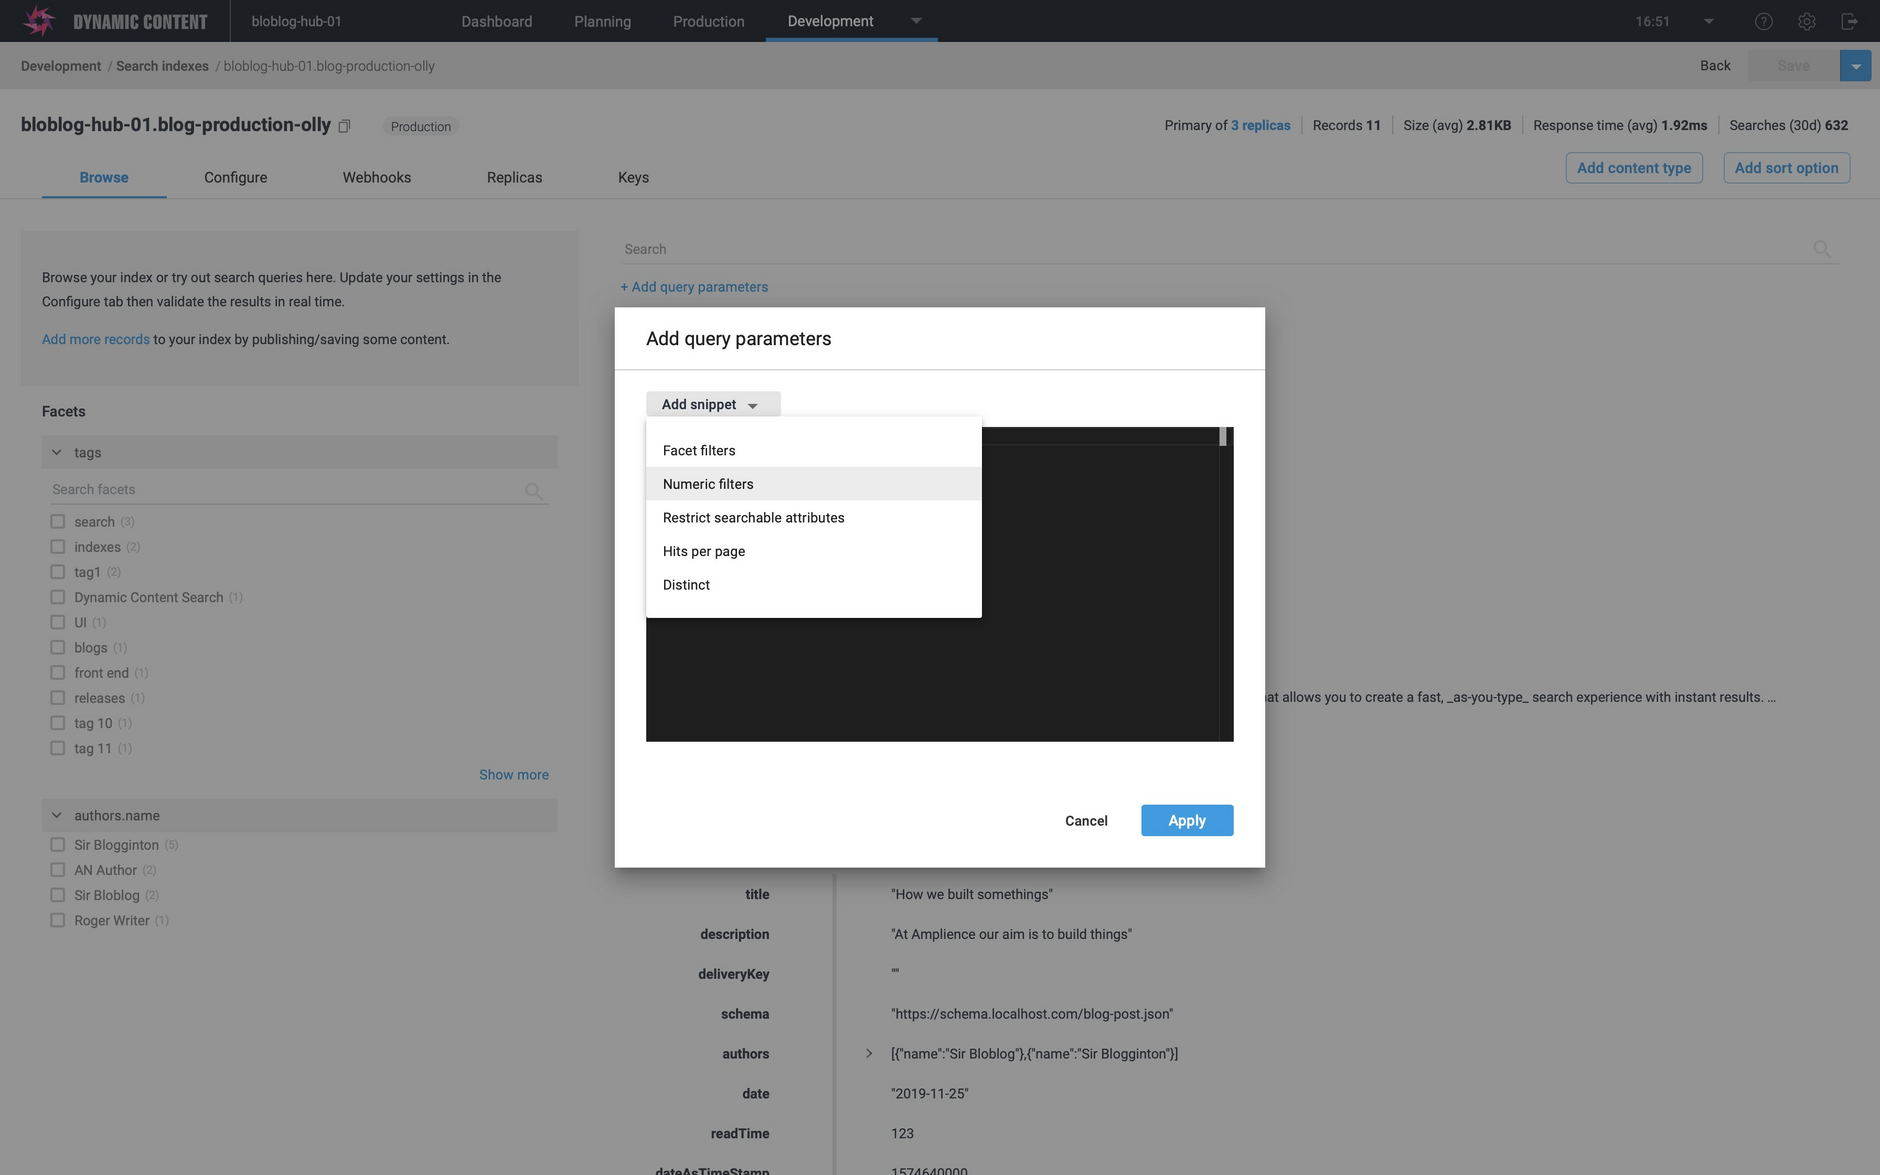
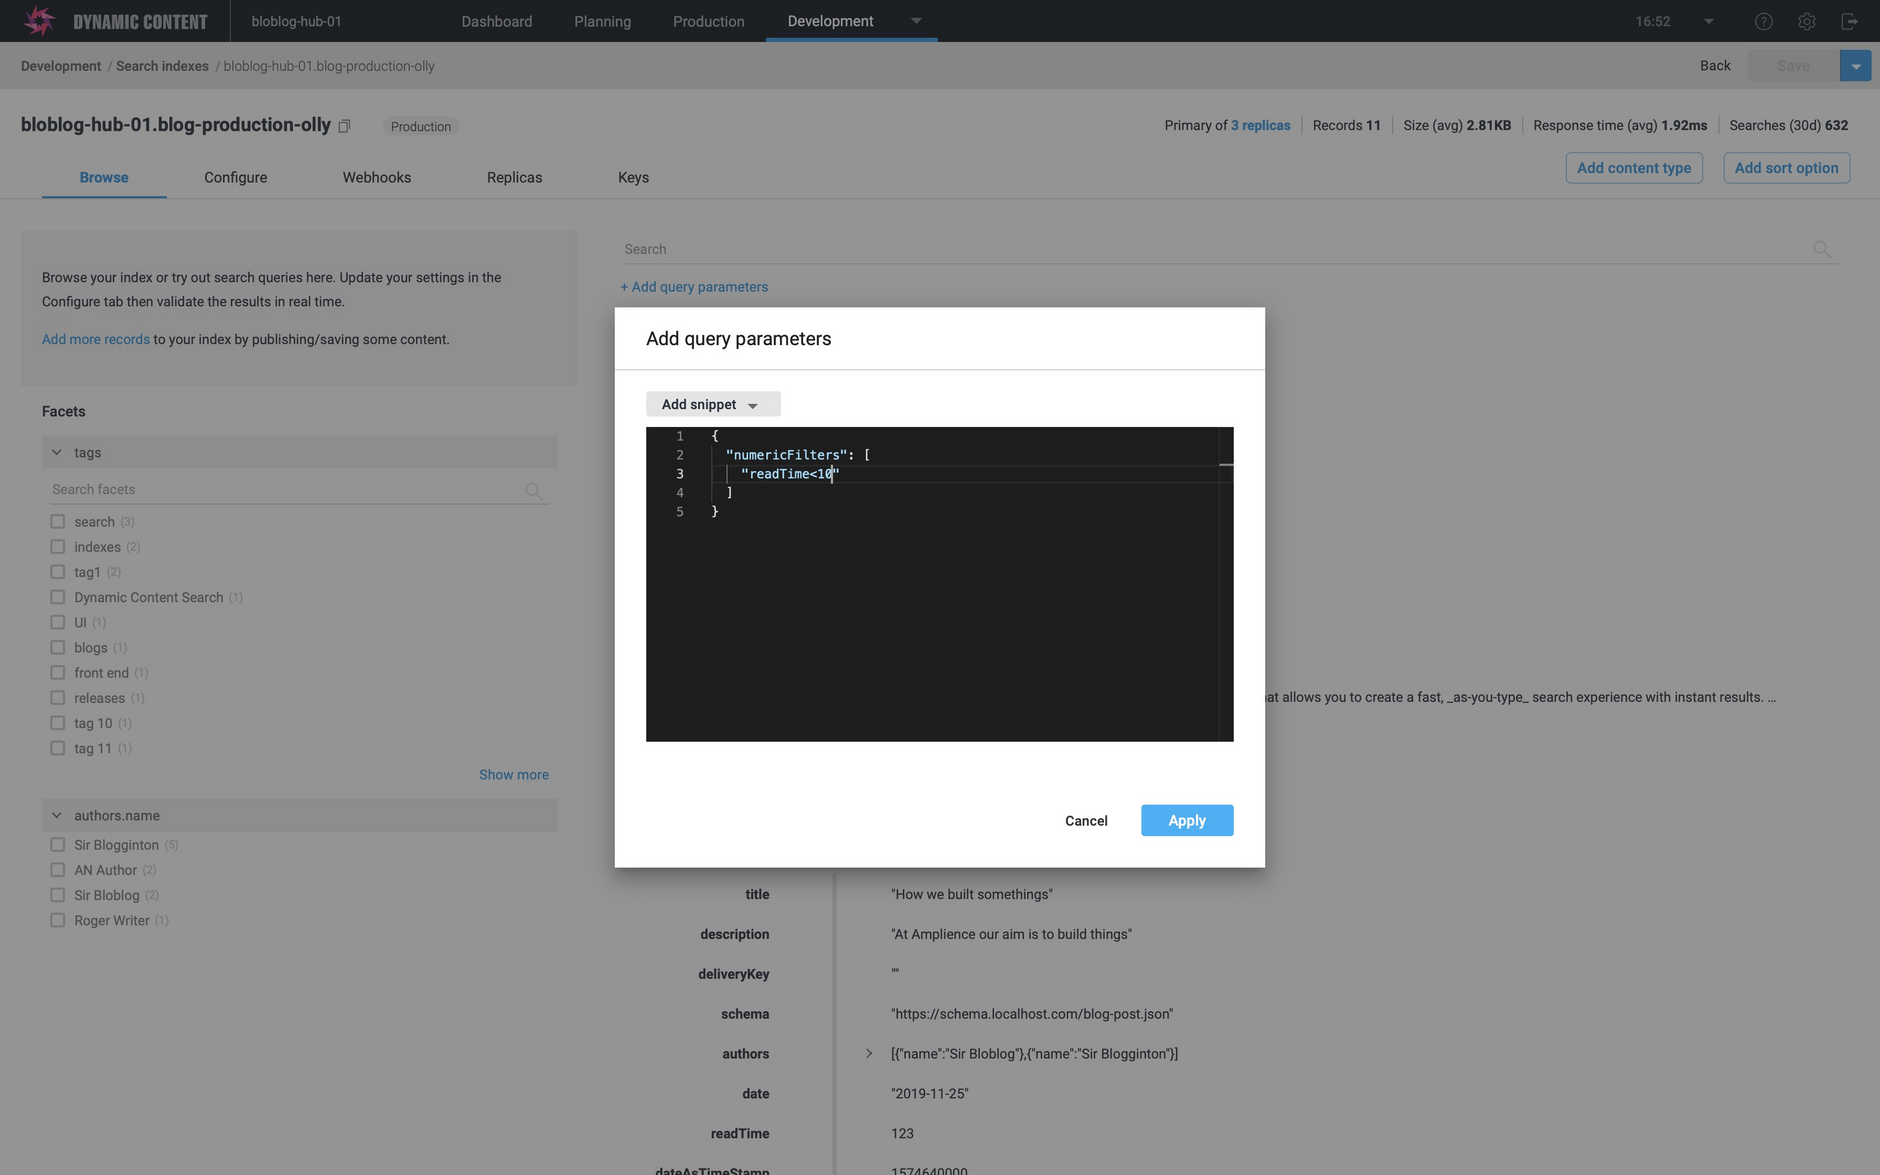
A lot of use cases of Dynamic Content Search will require content to be dynamically loaded based on a search query, for example displaying banners on a category landing page. In this case you'll need to use the correct search query to build the page filtered with the information you want to display. You can test out your query parameters in the browse view. Just click "Add query parameters" at the top of the screen and choose one of our snippets, or add your own query parameters in the box.
In the example below we've chosen "numeric filters".
The query parameters defined in the snippet are added to the text box and you can modify it with your field names and values. In this example we'll set the query to return only those blog posts with a readTime of less than 10 minutes.
Once you've finished editing the query parameters click the "Apply" button.
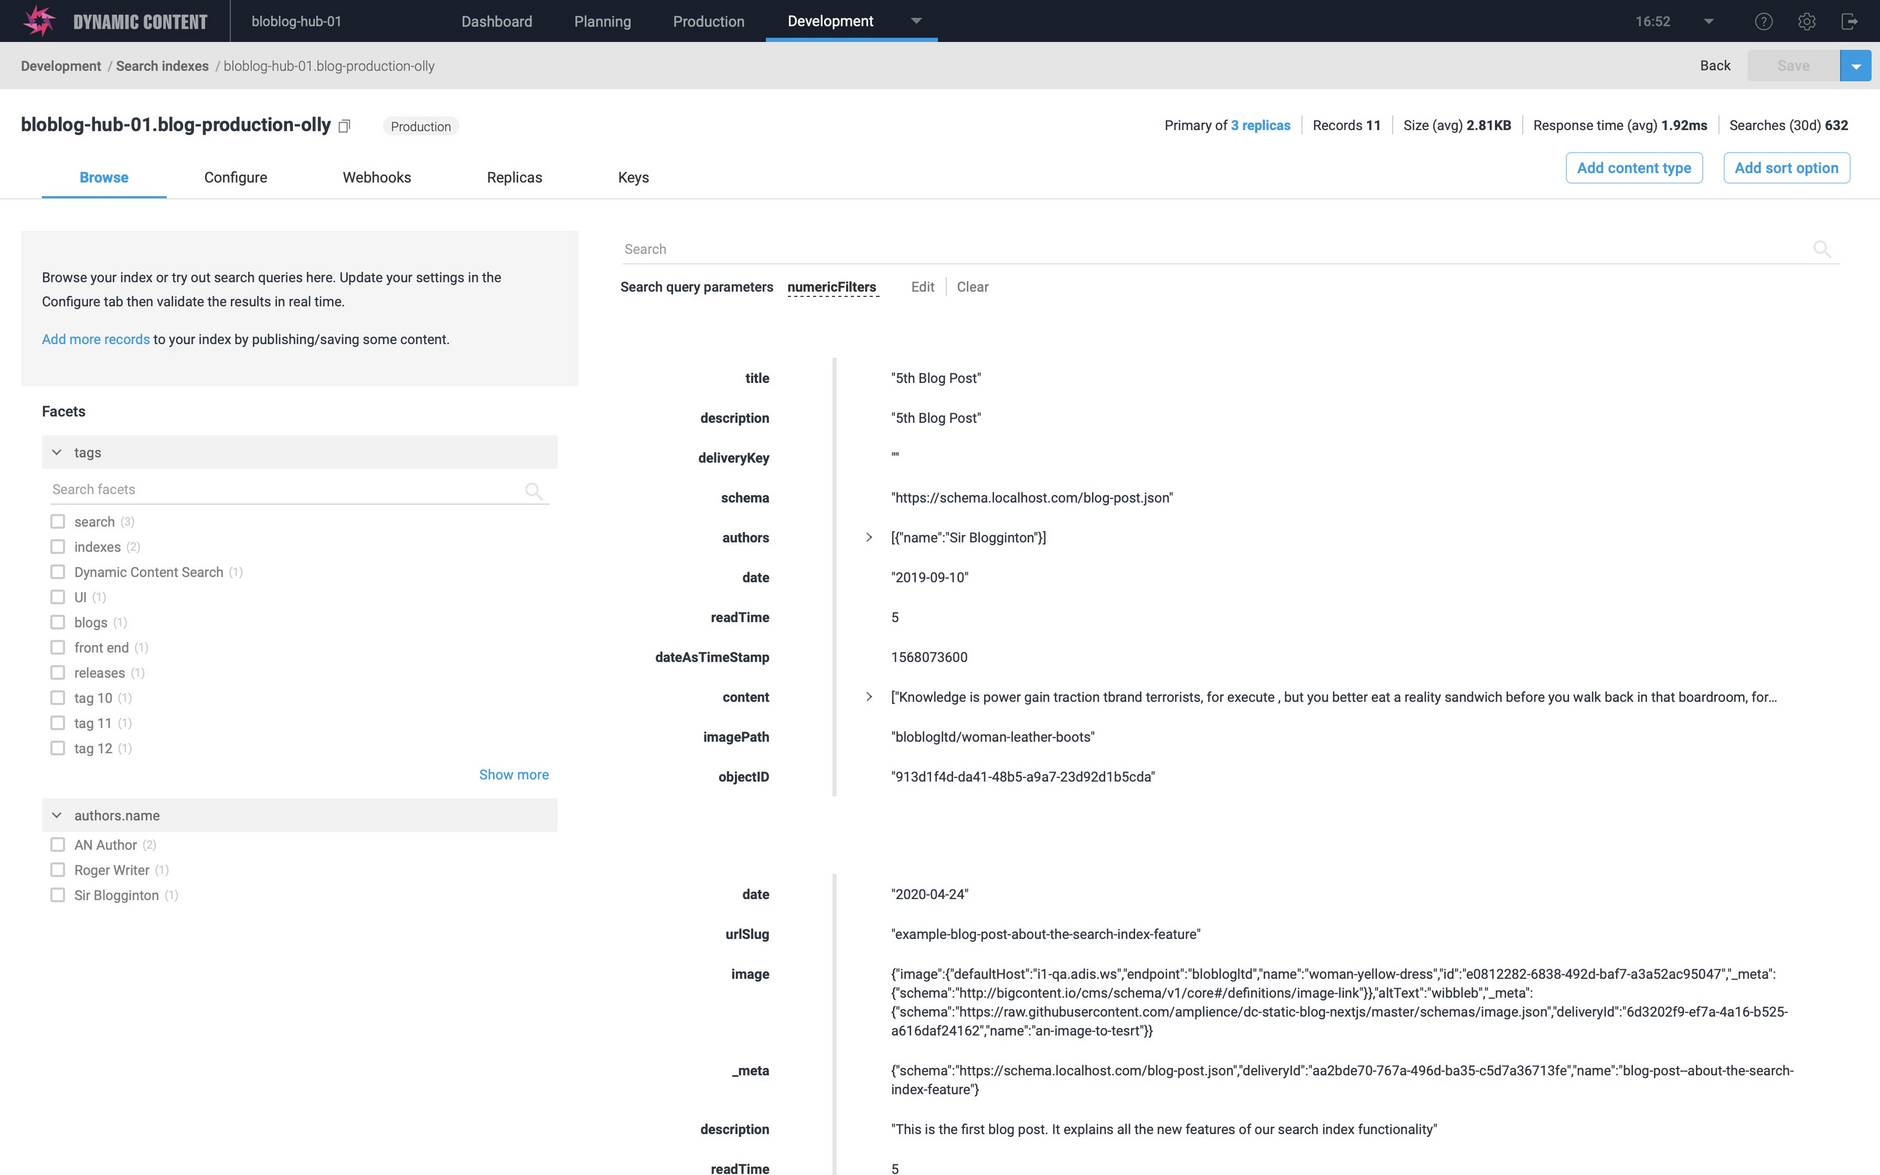
The query is applied to the records in your index and you can see if the results were what you were expecting.
You can edit the query or click "Clear" to clear the query so you can enter a new one.
You can find out more about query parameters in the Algolia documentation.
The Configure tabLink copied!
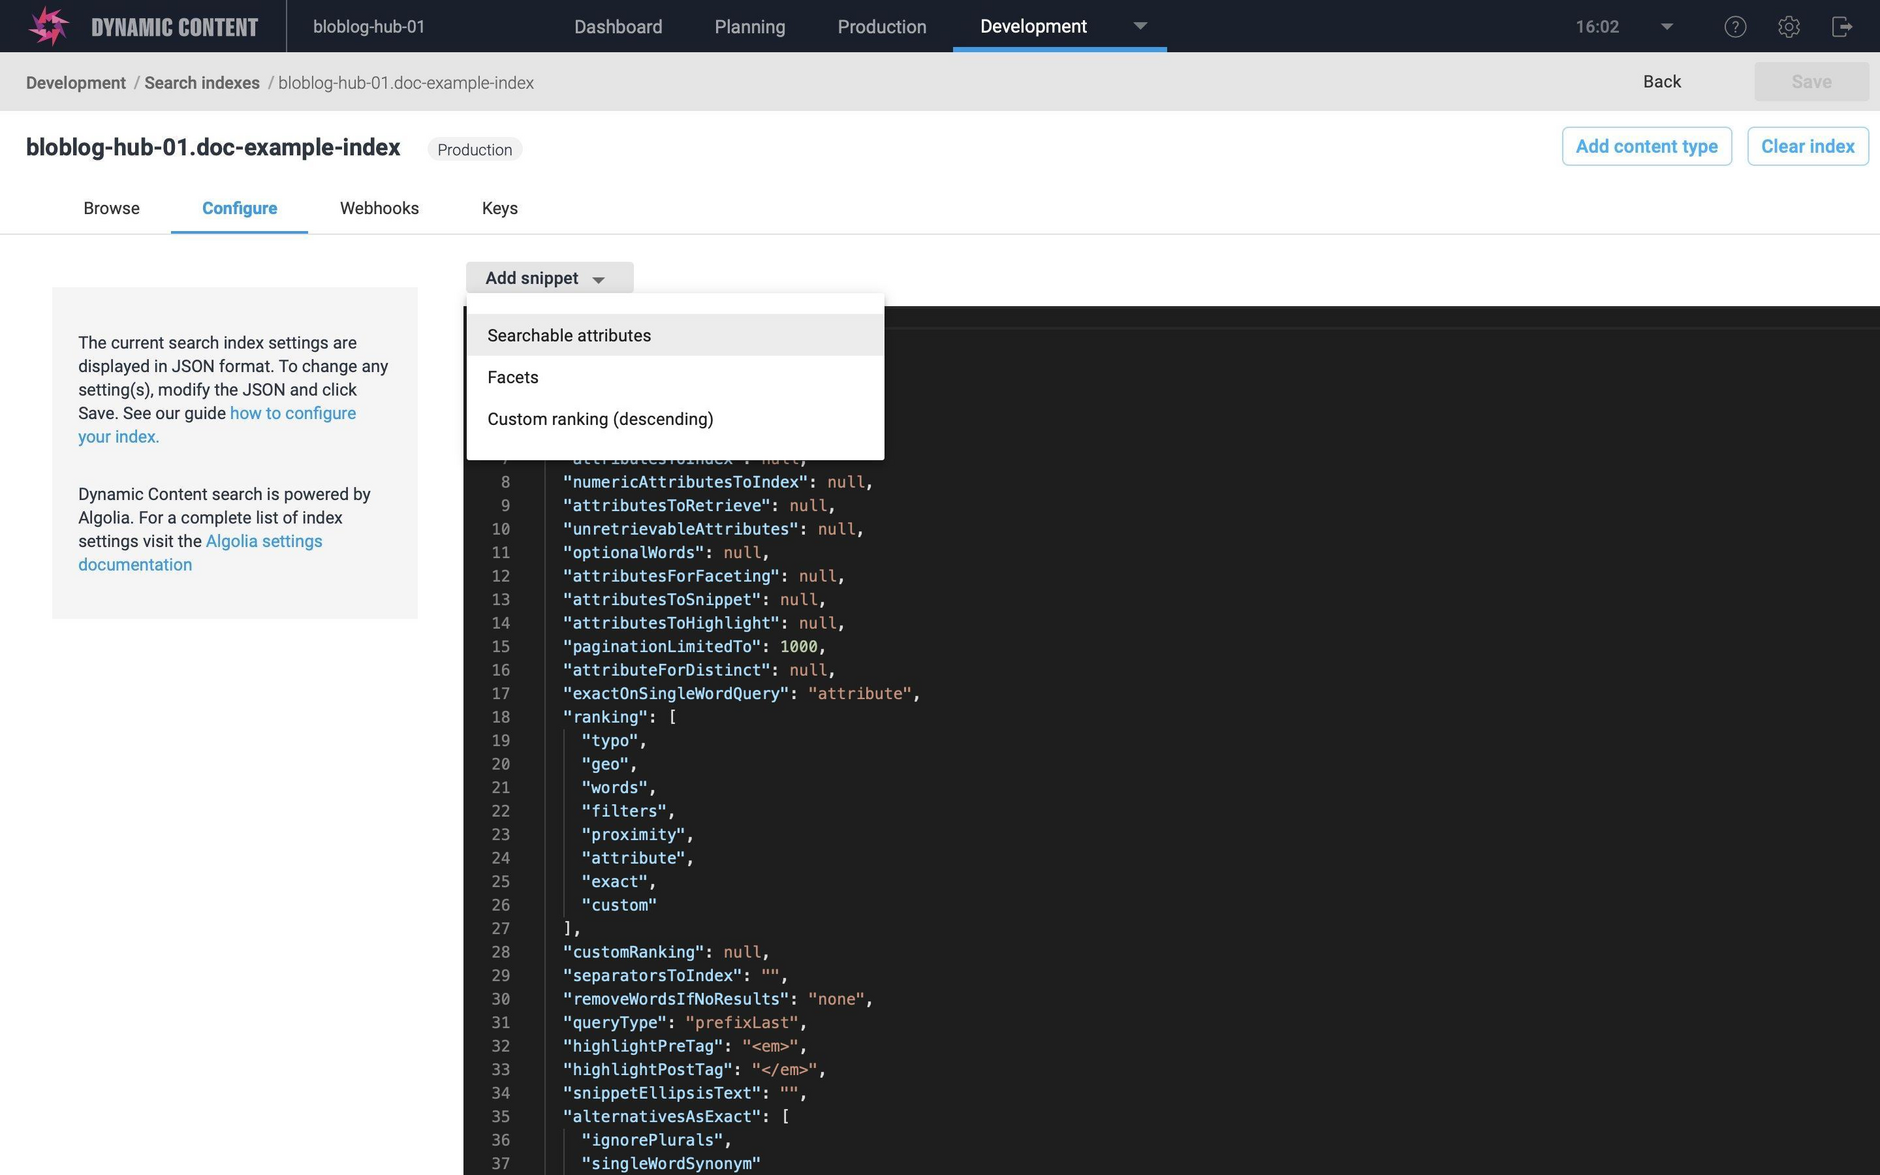
The current configuration for your search index is displayed when you click the "configure" tab. Initially this will contain the default index settings, but you can edit it to meet your requirements. For example, you will usually want to define searchable attributes, to limit your search to specific attributes and specify the order of relevance. Other settings you may want to configure include custom ranking and facets.
We've included snippets to make it easier to add the most common settings, but you can edit the configuration for settings not found in the snippets. To update the configuration, you can include just the updated setting(s) or edit the existing settings directly.
The search configuration page explains the most commonly updated settings in more detail, including examples.
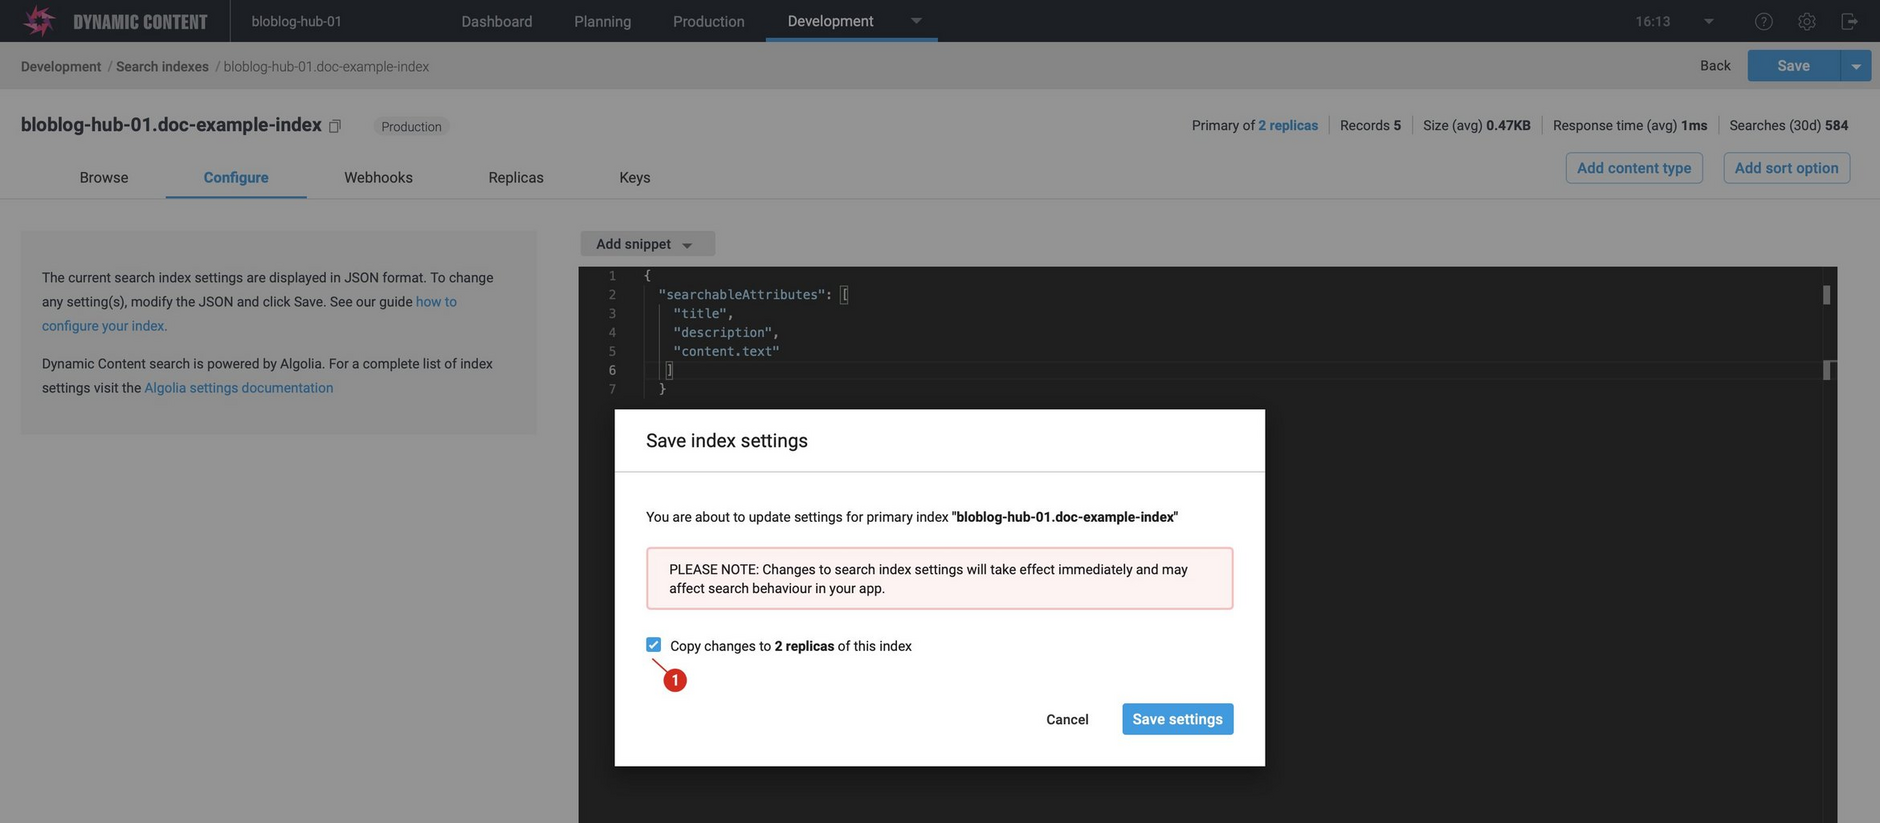
When you update the settings and click "Save" you will be asked to confirm the changes and whether you want the changes to be copied to any replica indexes.
Information about all of the settings can be found in the Algolia documentation.
Browse and configure is an iterative process, so you can go back and forth between the tabs updating your searchable attributes and facets until it is set up to meet your requirements.
The Webhook tabLink copied!
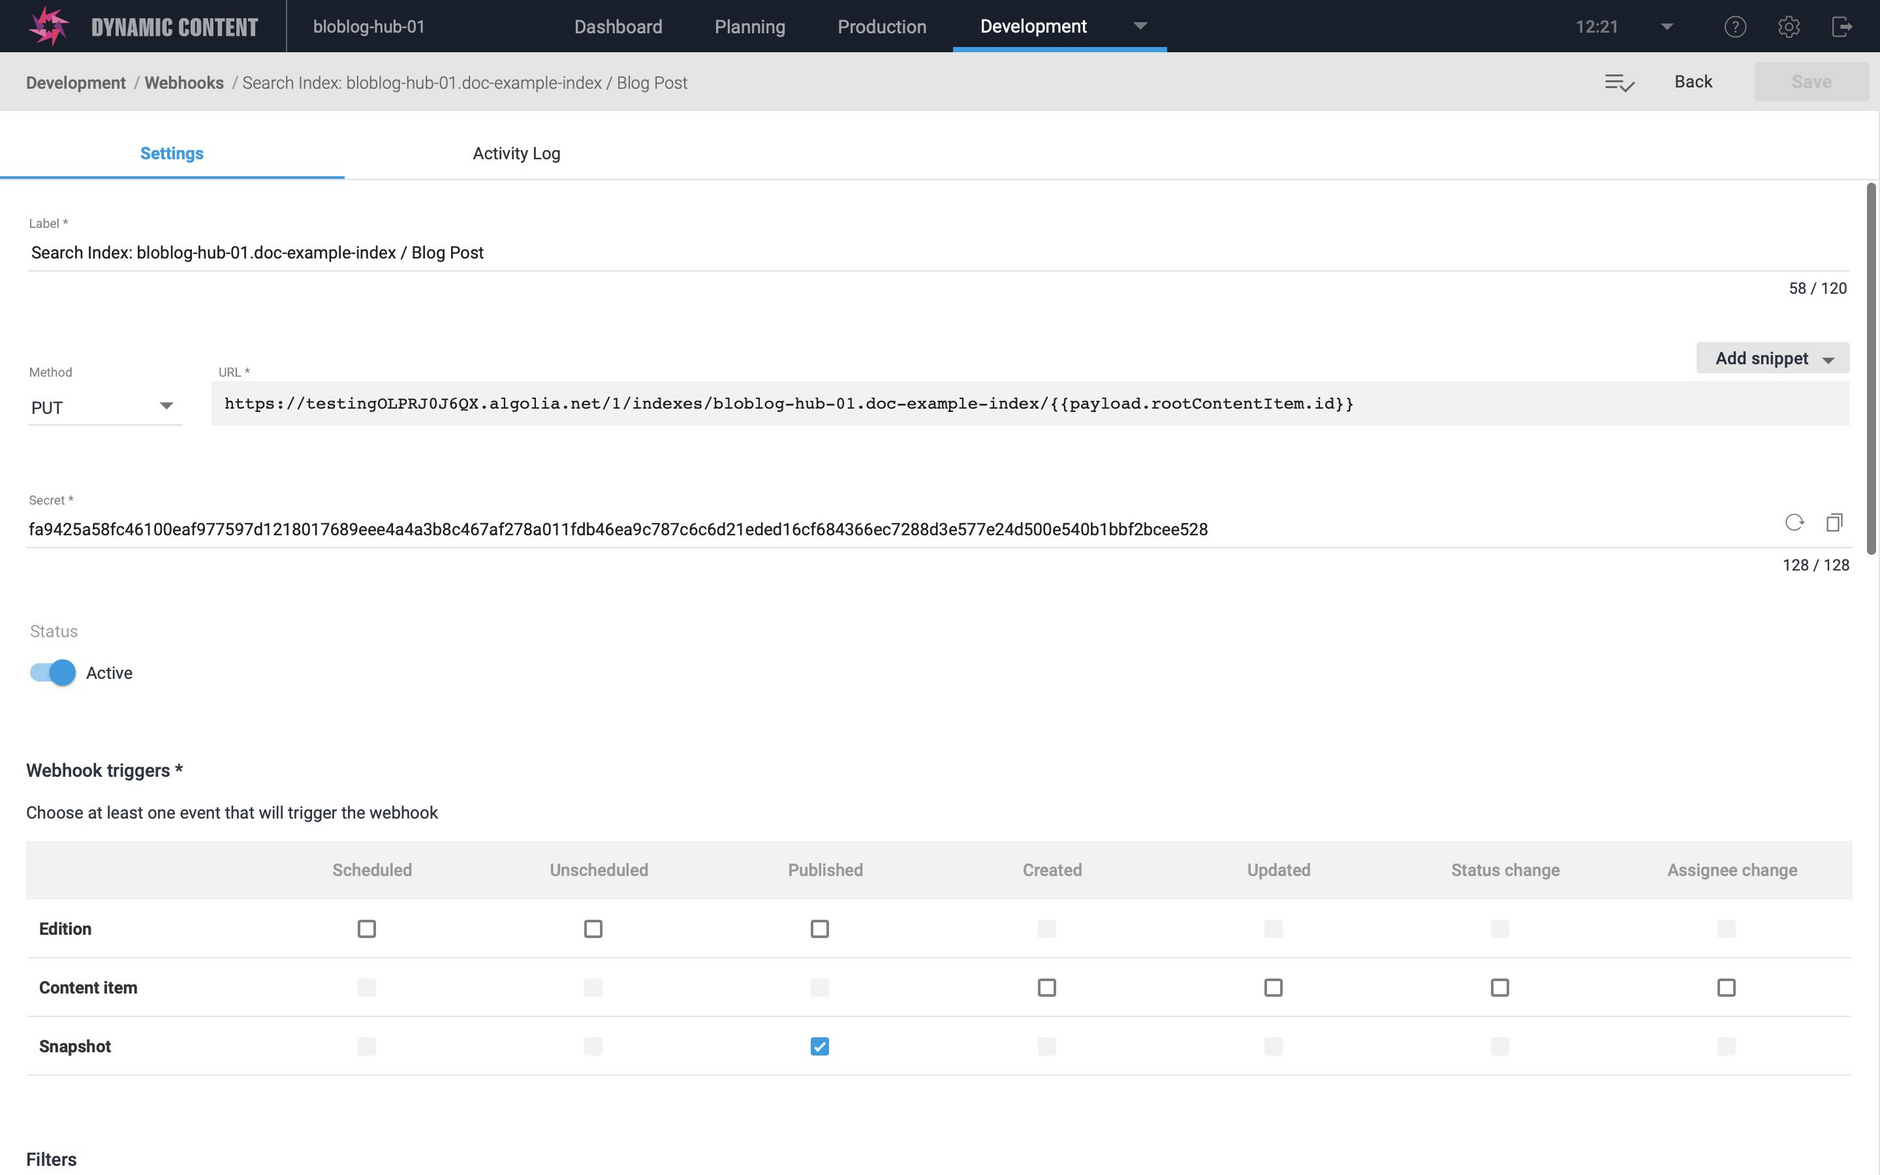
When you create an index, a corresponding webhook is set up using the configuration you specified in the search index wizard. When a content item of one of your specified content types is published, created or updated, depending on whether you are working with production or staged content, the webhook will be triggered and a request will be sent to the search API to update your index.
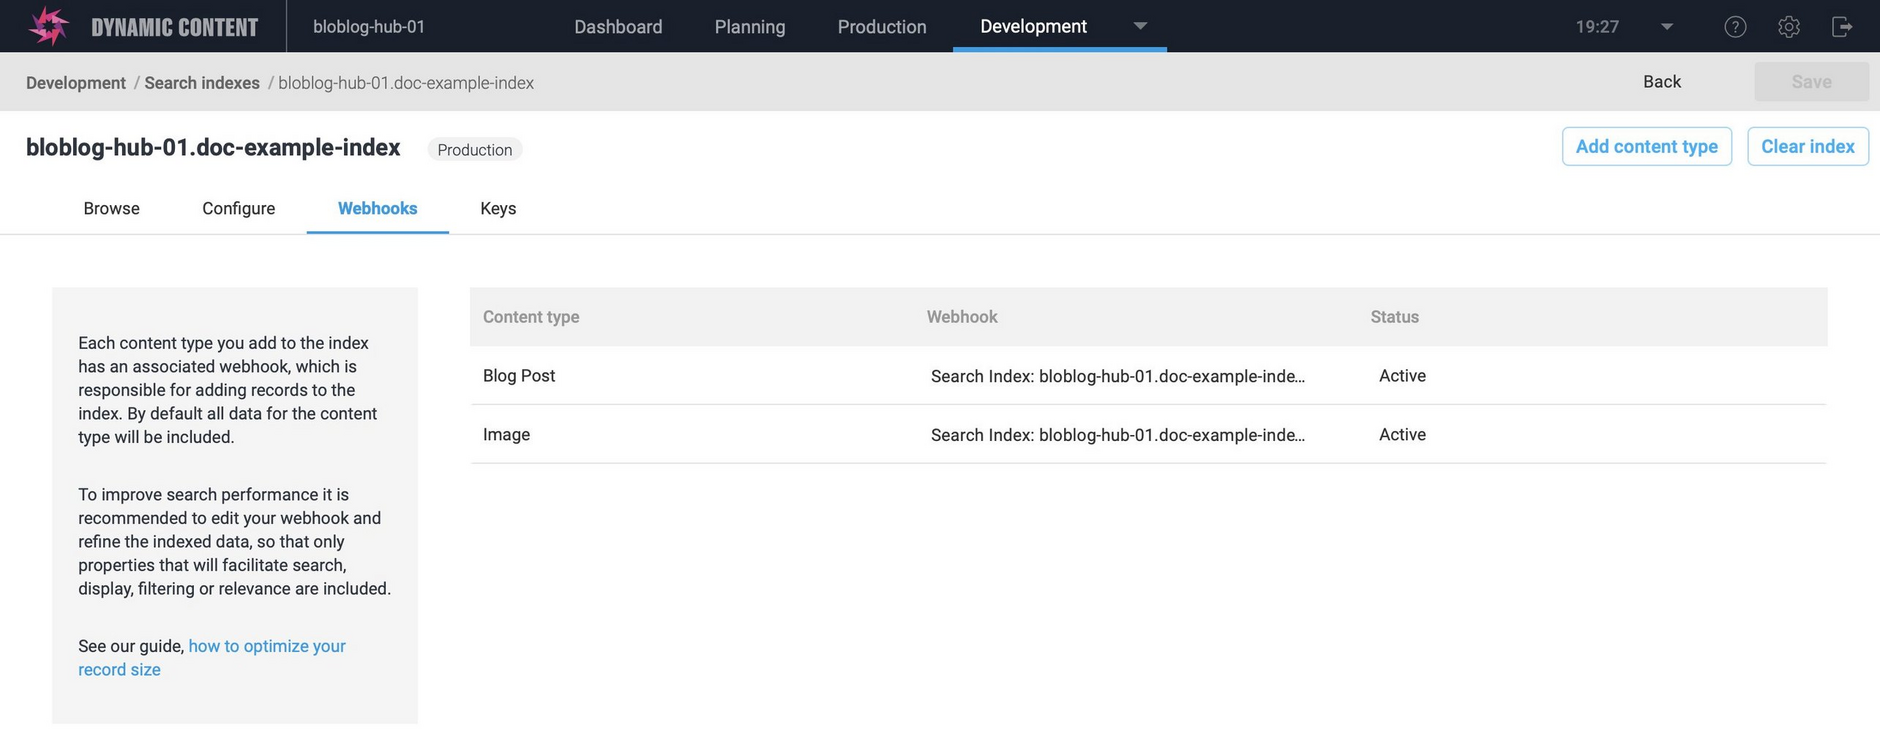
Note that a webhook is created for each content type that you have added to an index. For each content type, an archive webhook is also created. This is triggered when a content item created from the content type is archived. See the archive webhook later in this section for more details.
To view the webhook, click the webhook name or choose 'Open indexing webhook" from its menu.
The webhook is all set up for you, so the only changes you should need to make are to the custom payload- to allow you to refine the properties that are included in your index. For more details about updating the custom payload see optimizing your records.
The archive webhookLink copied!
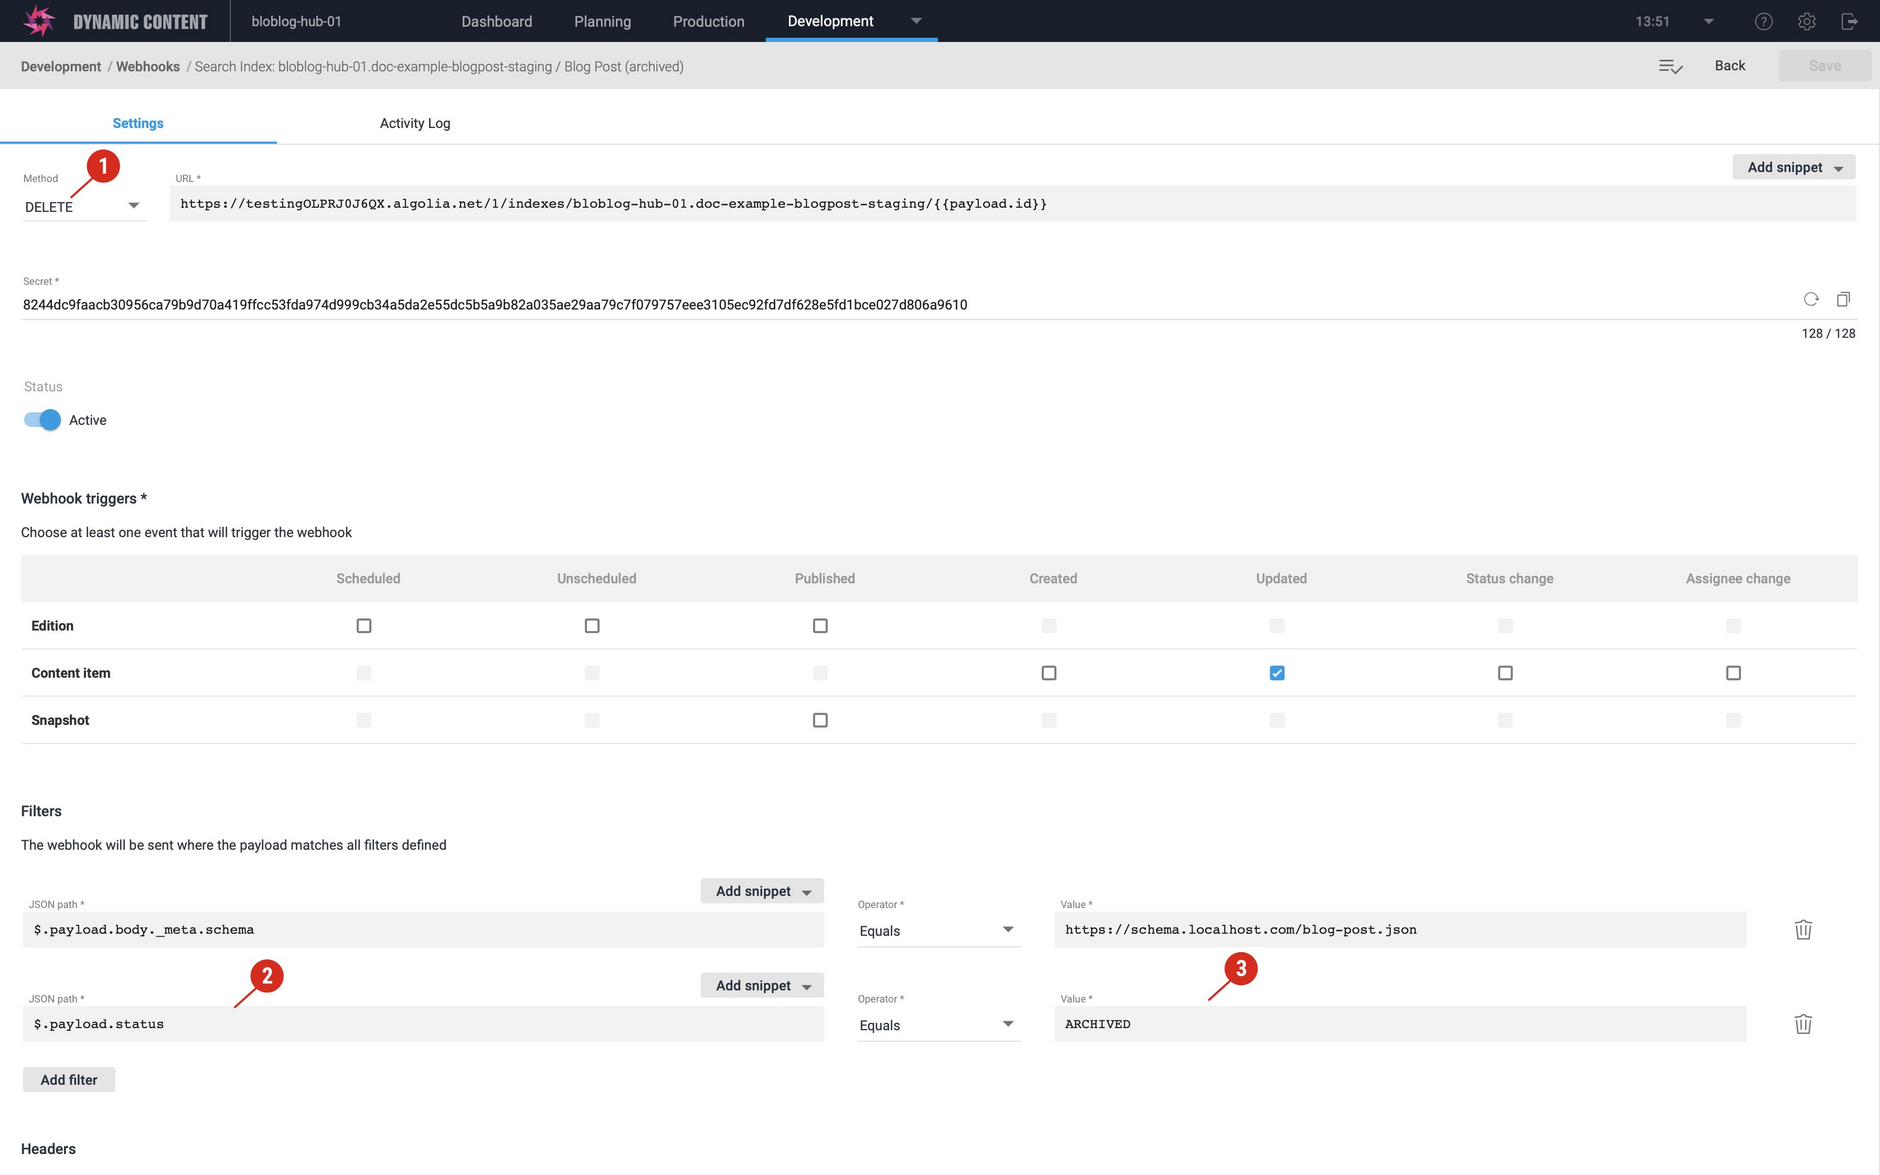
The archive webhook is used to send an API request to remove a record from the index when the corresponding content item is archived from the Content Library in Dynamic Content. You can view the archiving webhook by choosing "Open archiving webhook" from the menu in the webhook tab.
The method used in the webhook is DELETE (1 in the image below) and is only triggered when a content item of the specified content type is archived. The webhook filters are set up to ensure that the webhook only triggers when payload.status is equal to "ARCHIVED". You don't need to configure the webhook because it's already set up for you.
If you do not wish to remove records from the index when the corresponding content item is archived, you can open the archiving webhook and set its status to inactive. To make the webhook inactive, choose "Open archiving webhook" from the menu in the webhook tab and change the status to inactive (1 in the image below).
KeysLink copied!
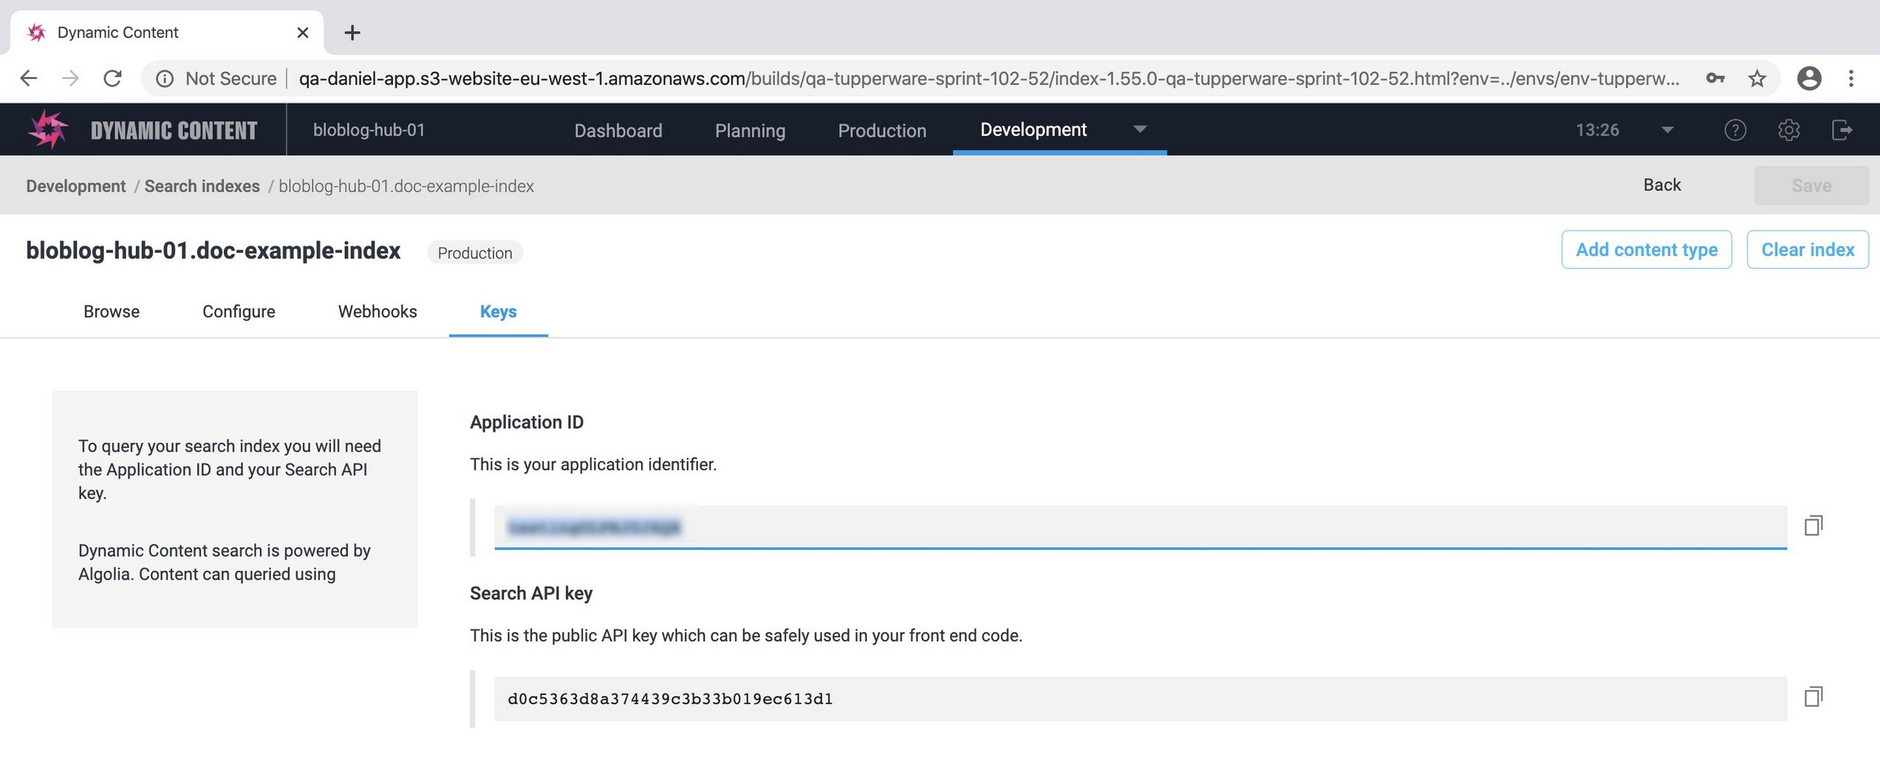
The keys that developers will need to build your search front end, the application ID and search API key, are shown in the keys tab. You'll use these with the search API to build your queries.
Adding a sort optionLink copied!
You can add one or more sort options to your index, enabling you to provide your users with different ways of sorting their search results.
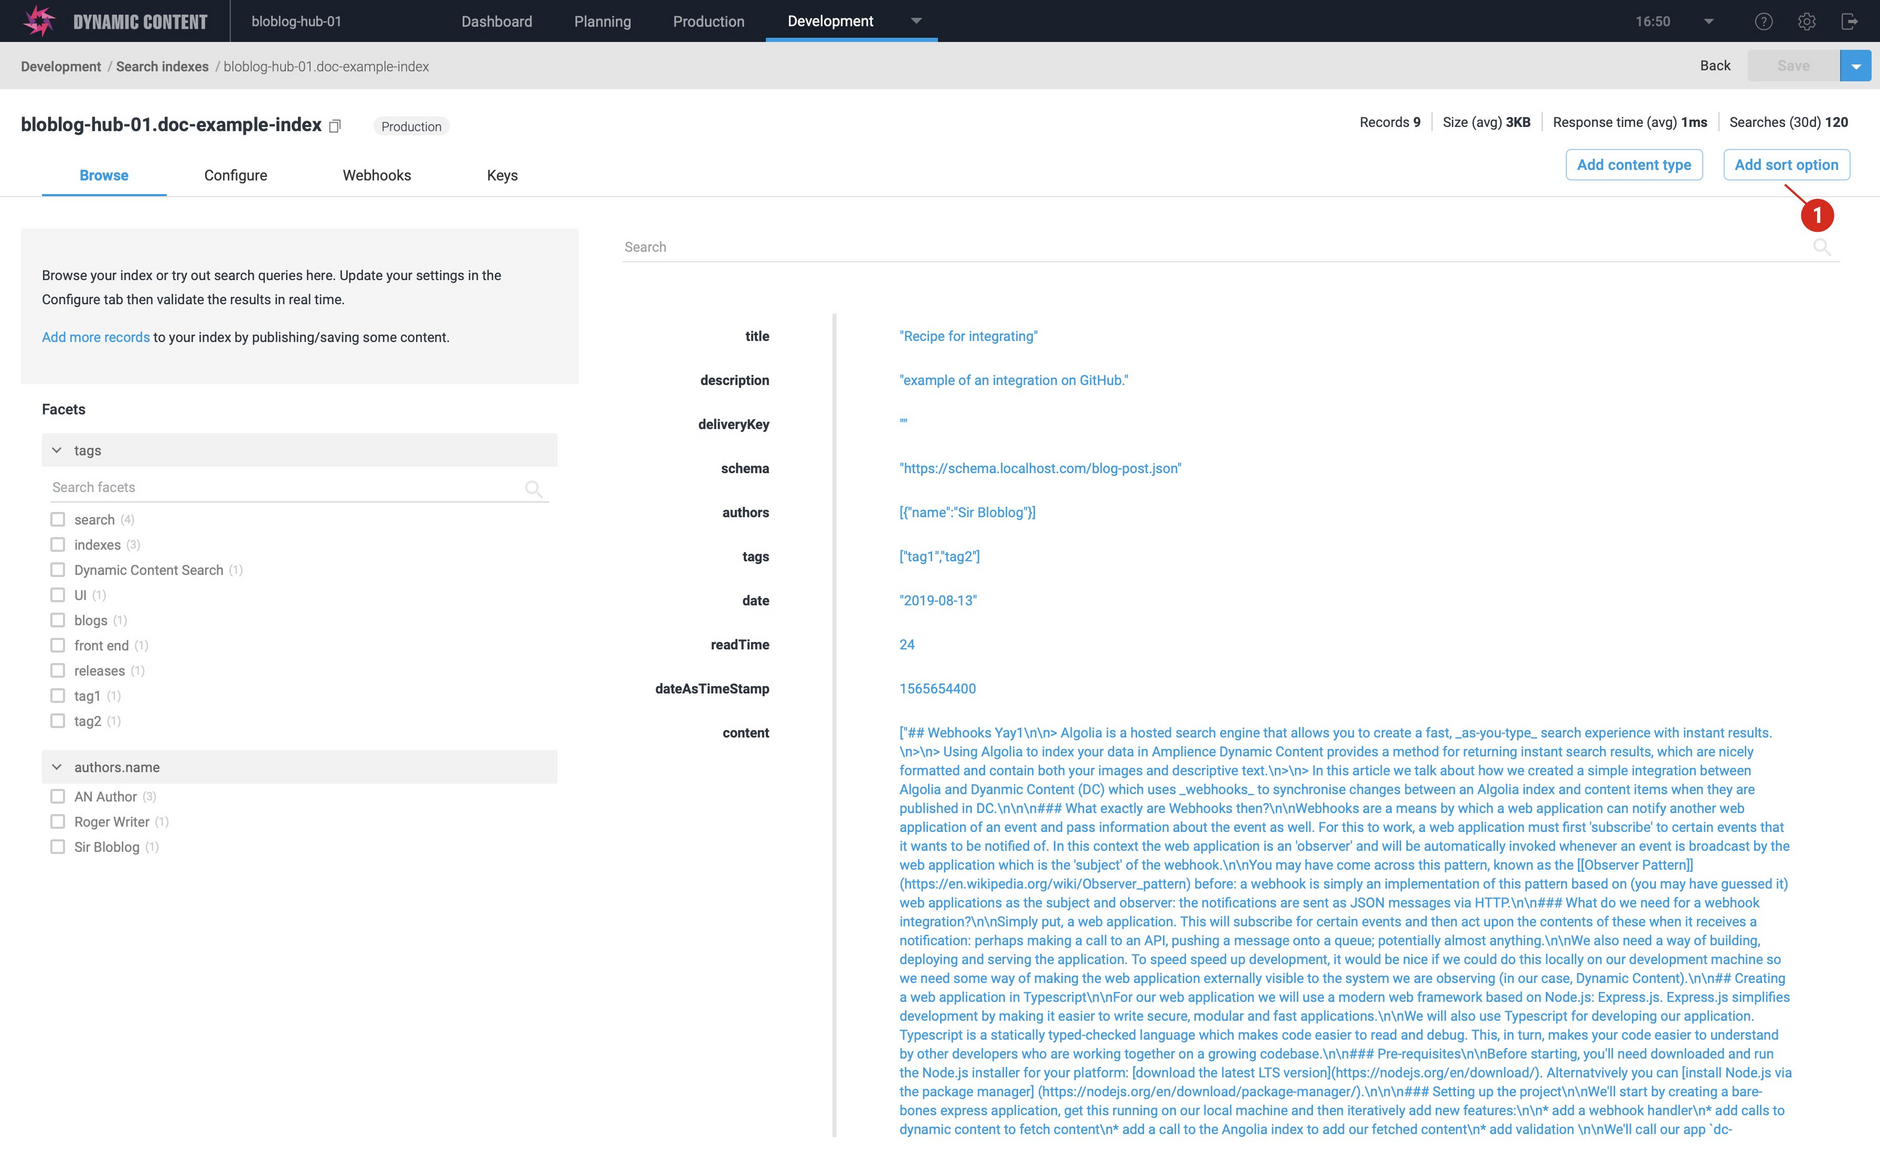
To add a sort option, open your index and choose the "Add sort option" button, as shown in the image below.
For more information about sort options see the sorting page.
The Replicas tabLink copied!
If you've added a sort option to your index, the replicas tab will be shown. Each time you create a sort option, a replica will be created. Replicas are copies of the main, or primary index which are kept in sync with the primary index. From the replicas tab you can view, delete or detach the replica from the primary index.
For more information about adding sort options see the sorting page.
Adding a content typeLink copied!
When you've created an index, you can add a content type to it by choosing the "Add content type" button, as shown in the image below.
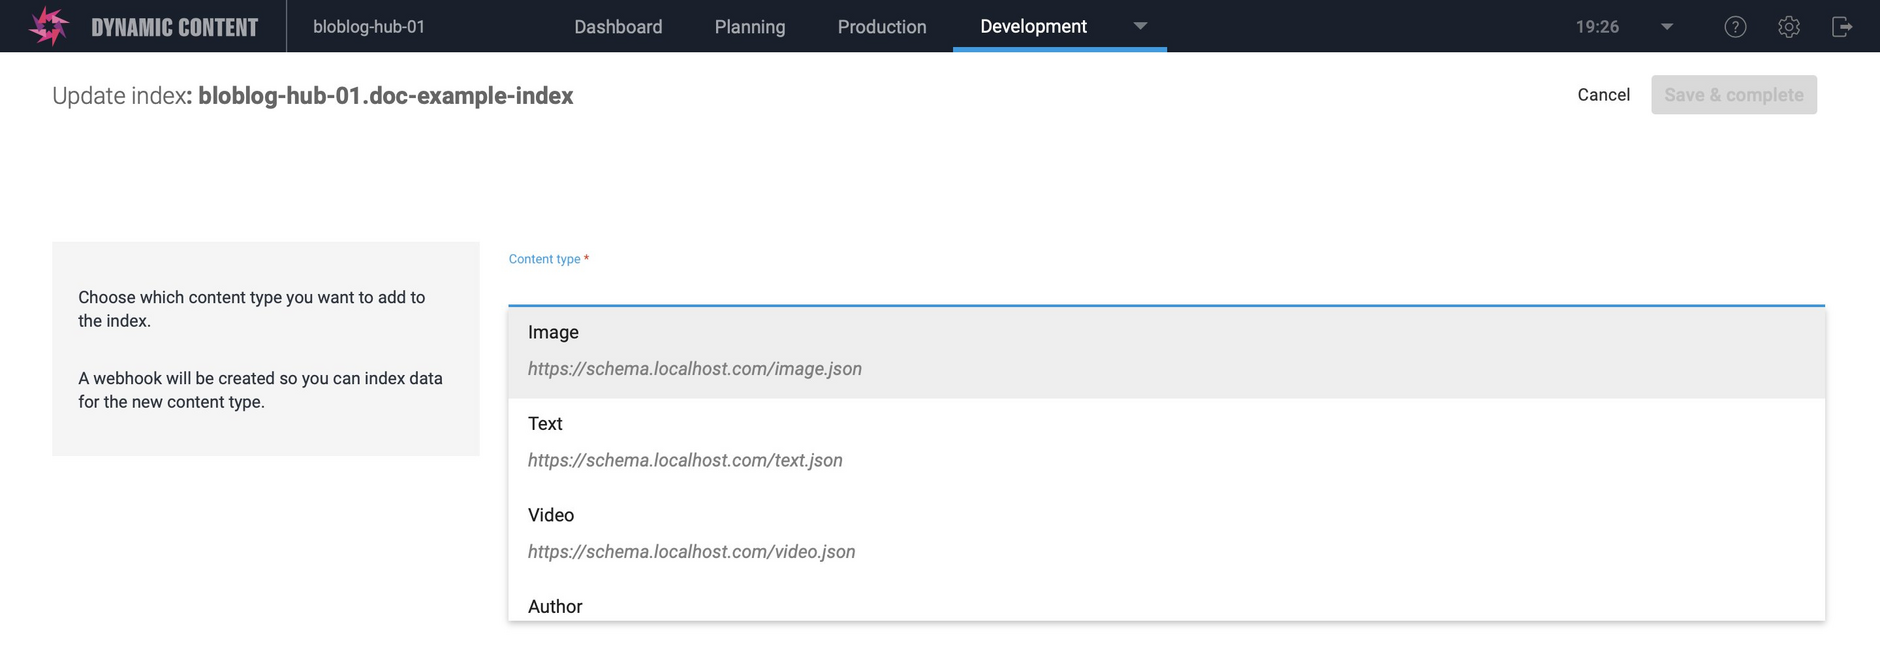
A list of the available content types will be shown, excluding any that have already been added to the index. In this example we'll add the Image content type.
Click "Save and continue" when you've chosen the content type to add.
The content type will be added to the index and the index will be updated using the trigger you previously specified, either when a content item of one of your specified types is published, or, if you're indexing staging content, when an item is created or updated.
A webhook is created for each content type you add to the index. This makes it easier for you to edit the webhook configuration for each content type.
Once a content type has been added to a search index, it cannot be removed.
Clearing an indexLink copied!
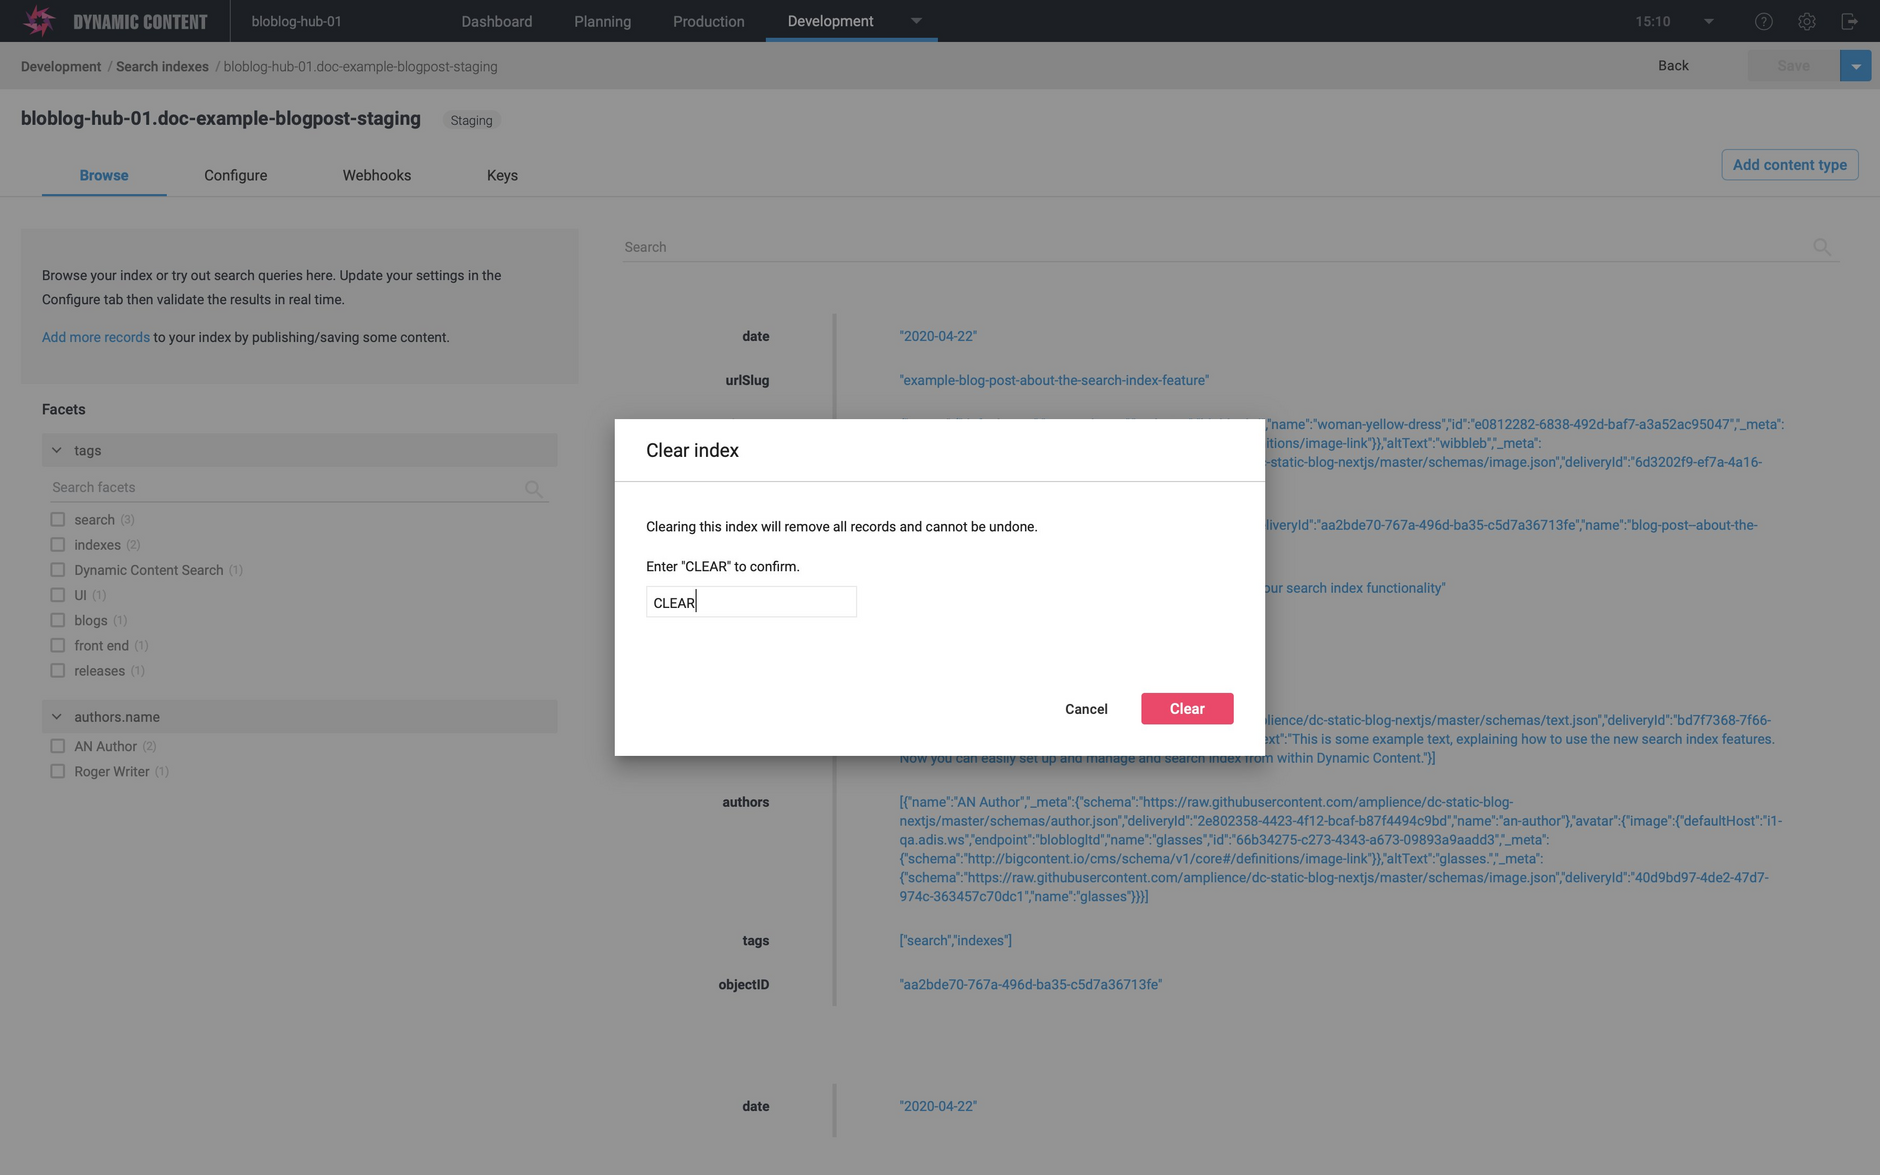
Clearing an index will remove all the records and cannot be undone, so we've included an extra verification step. To clear an index, choose "Clear index" from the "Save" menu at the top right of the screen. A dialog will be displayed asking you to enter the text "CLEAR"- note that this is case sensitive. When you click the "Clear" button all records will be removed from the index.
Search index statisticsLink copied!
Statistics about your search index can be found at the top right of the window, as highlighted in the image below.
The following values are shown:
- Number of records. Updated in real time.
- Average record size. Updated in real time. A warning is displayed when the average record size is greater than the maximum recommended record size of 5KB.
- Average response time for the last 30 days.
- Number of searches in the last 30 days. This is the number of search operations. Every time you make a search request to an index, this is counted as one search operation. In autocomplete and search-as-you-type implementations, a search happens at every keystroke.
We also display a warning when there are 10 or more replicas. This will impact the indexing time as each replica will need to index every record.
Retrieving contentLink copied!
We recommend including only those properties in your search index that you need for your search and retrieving the content item from Dynamic Content when you need it, such as when the user clicks on an entry in your search list.
The objectID in your search index is the content item id and you can use this to retrieve the content using the Content Delivery API. You may also want to include the delivery key in your index so you can use it to retrieve content.
Search analyticsLink copied!
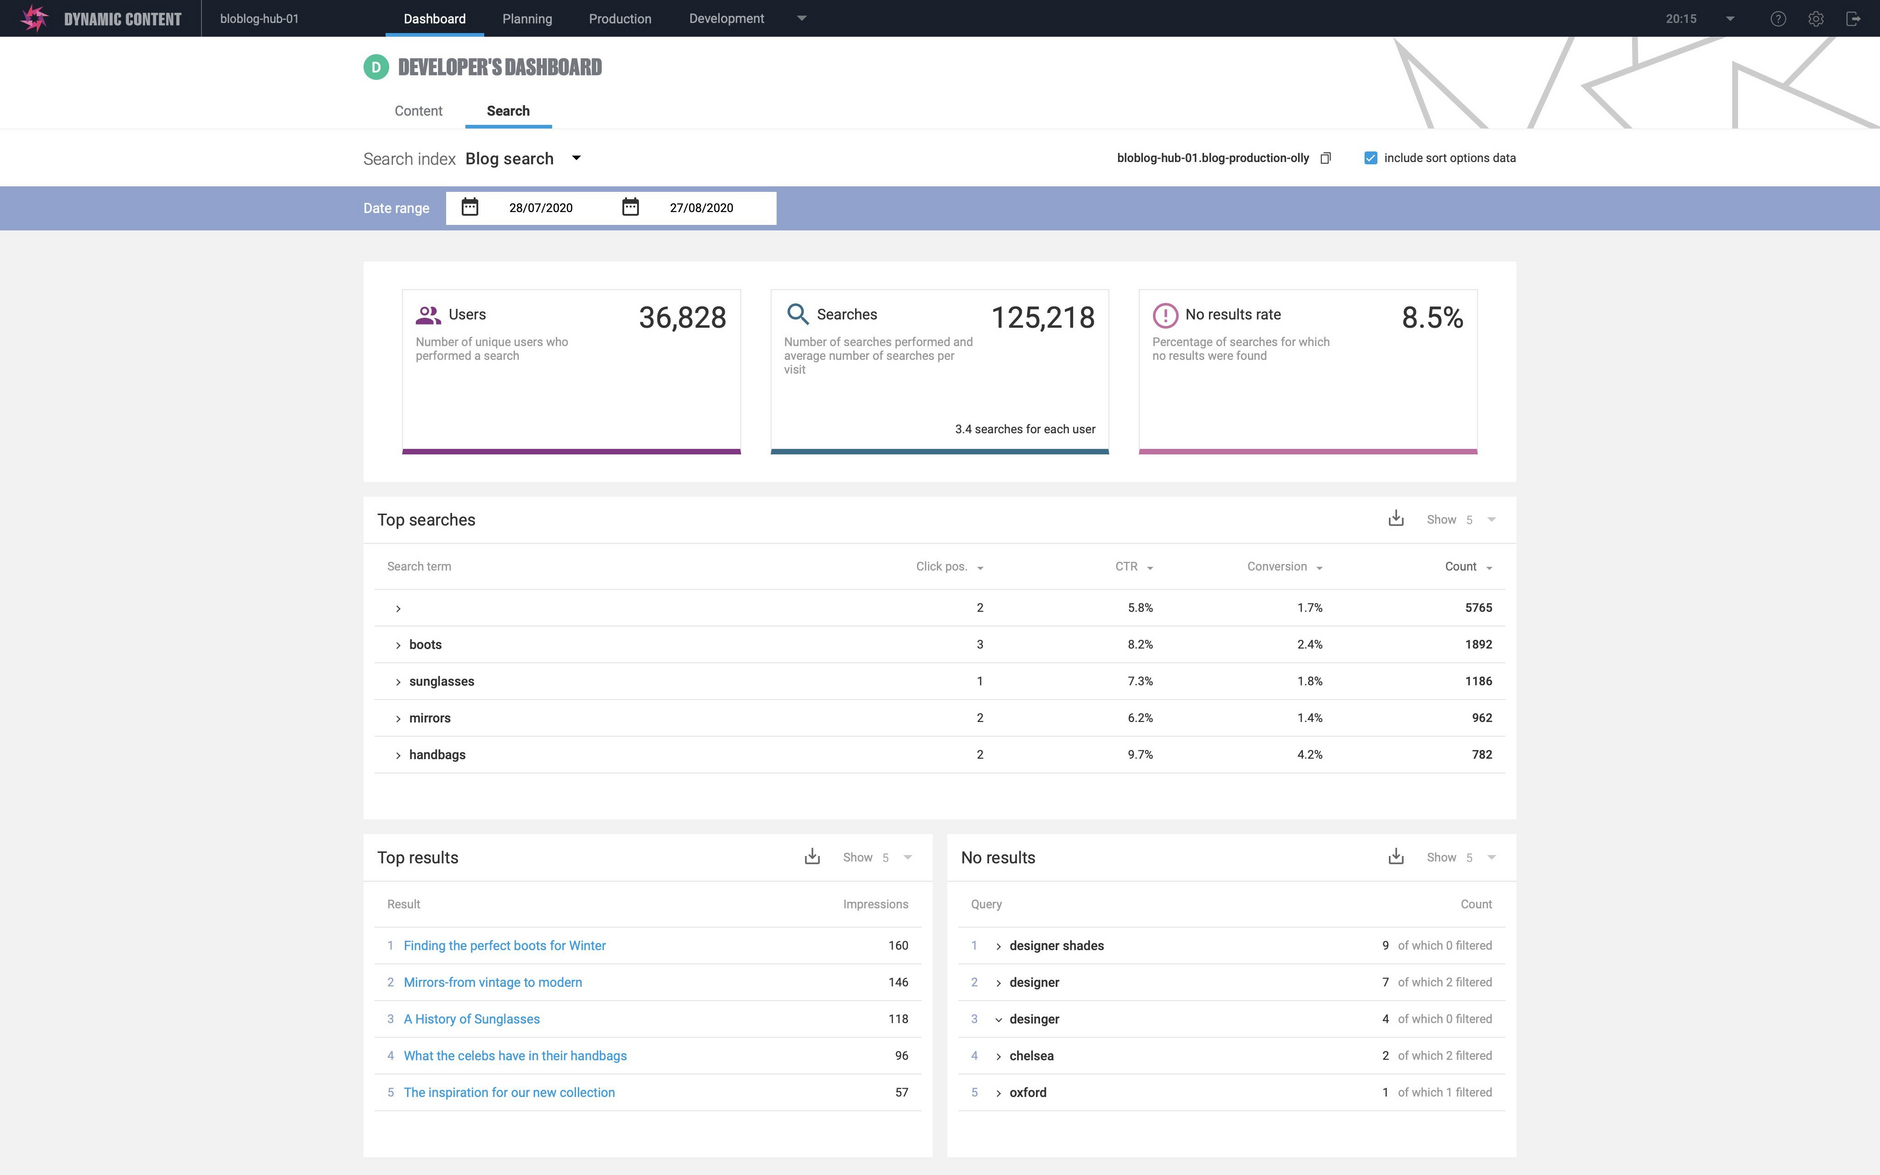
Search analytics data is captured automatically with every search and is stored for 90 days. Search analytics data for Production indexes is available to users of Dynamic Content Search in the search dashboard. You can access the dashboard by clicking the "Dashboard" section at the top of the screen and choosing the "Search" tab. Dashboard widgets display metrics including the most popular search terms, conversion rates and which terms users were searching for that returned no results.
While the basic analytics tracking works out-of-the-box, click tracking and conversion rates will require developers to add some tracking code. Some search implementations may additionally need to forward information to ensure that unique users are tracked. See below for more information.
If the number of unique users displayed is a low number, you might need to ensure that you're tracking unique users. This is particularly the case if you've implemented server based search. See how to specify which user is doing the search in the Algolia documentation for more information.
Most of the analytics information is provided without requiring any additional development work, but you will need to add some code to enable click tracking and conversion tracking. For more information see click through and conversions in the Algolia documentation.
Related pagesLink copied!
A guide to refining your search index
Search integration guide Part 1
Archive and unarchive search indexes
