Sorting
With Dynamic Content search, we've made it easy to implement sorting by allowing you to add one or more sort options to your index, to enable you to provide your users with different ways of sorting their search results. On this page we'll show you how to create sort options and provide an example of using sort options in your code.
The example on this page uses the blog example used on the main overview page and configuration pages. You can find the content schemas for the example on the search example part 1 page.
Sort options and replicasLink copied!
For performance reasons, each Algolia index is sorted at indexing time using the configured sort order, rather than being sorted at query time. For each additional sort option there needs to be an associated replica configured with the required sort order. For example, for an index of blog posts, where the primary index is configured to sort in descending order by date created, you could have a replica which sorts the results in ascending order.
A replica is a copy of the primary (or original) index, that has the same data and is automatically kept in sync, but which can have different settings.
Dynamic Content Search takes care of all the details of replicas for you, all you need to do is add a sort option to your index and a replica will be created.
Adding a sort optionLink copied!
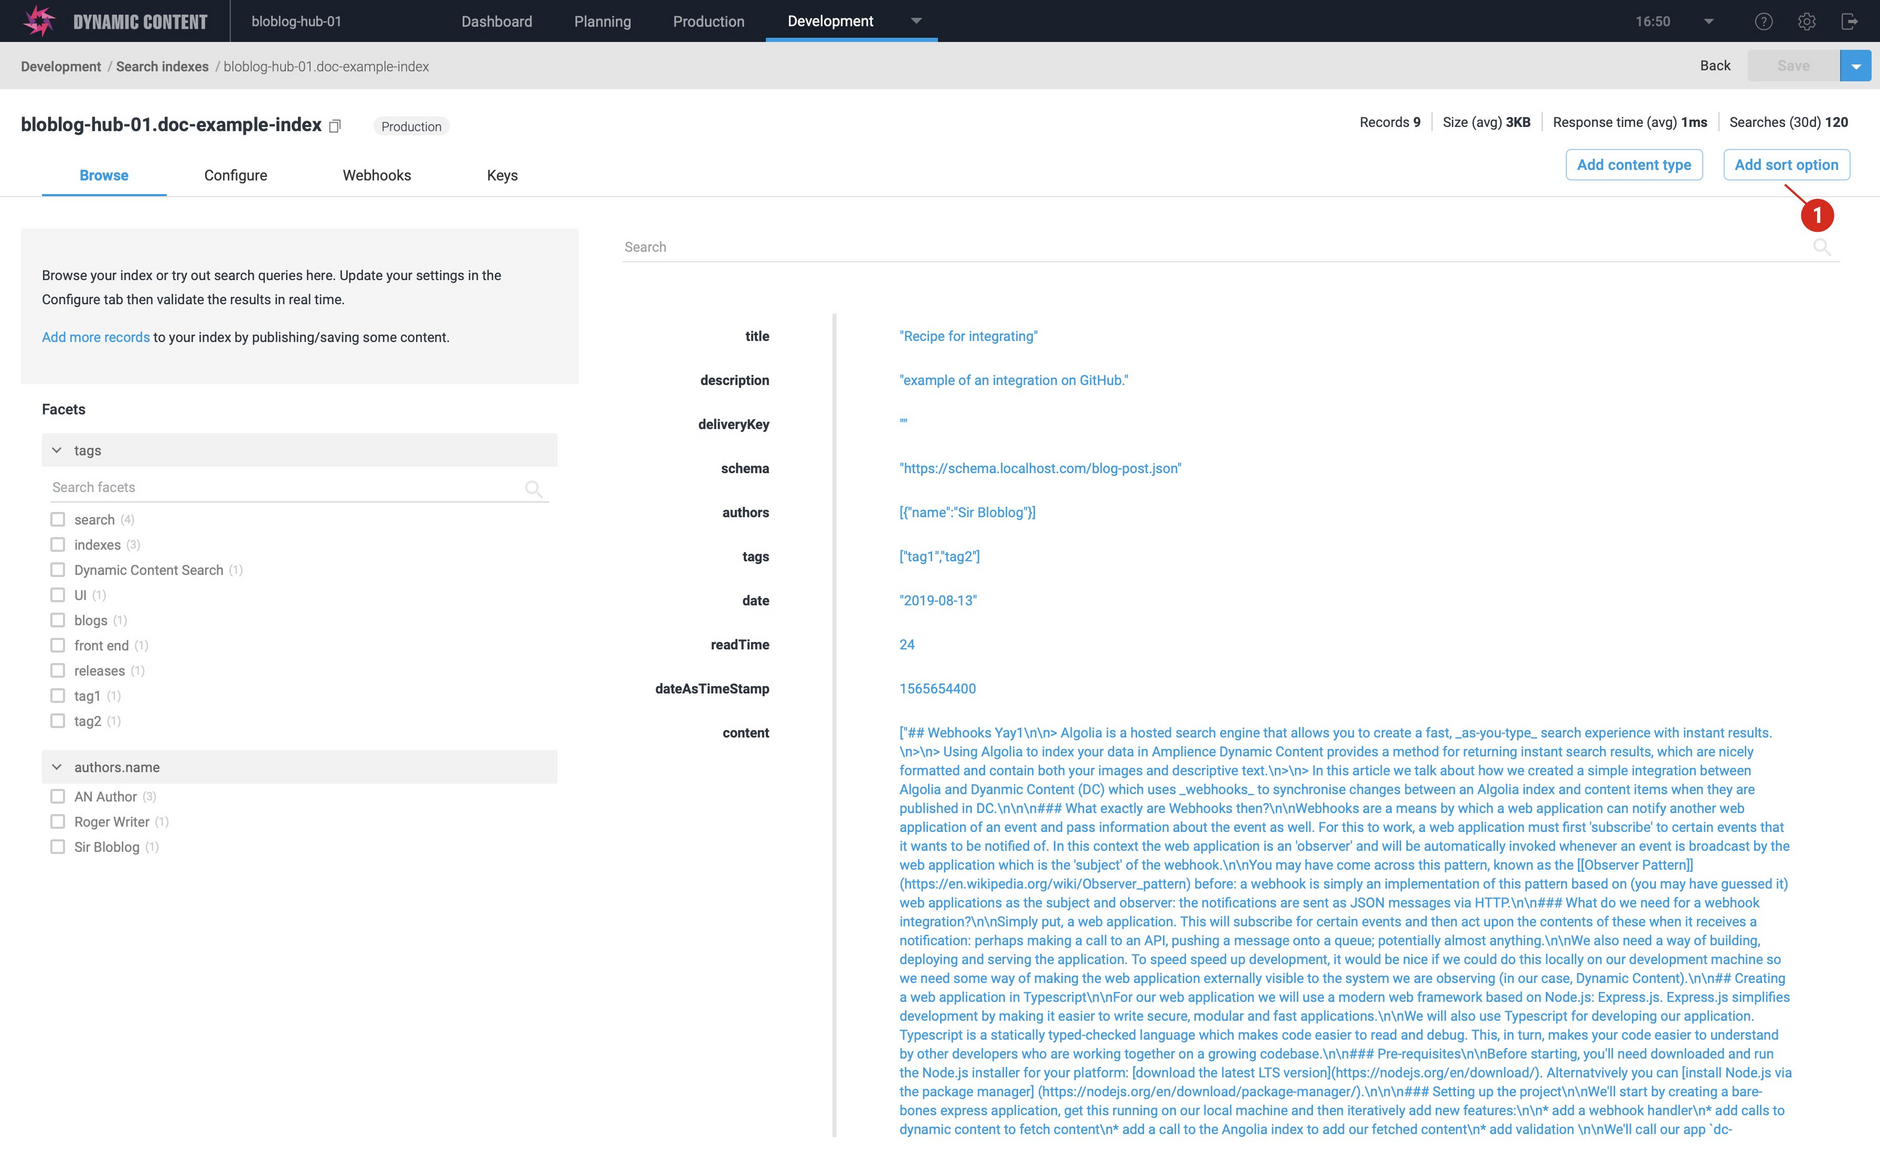
To add a sort option, open your index and choose the "Add sort option" button, as shown in the image below.
Click in the text box (1) to choose the property you want to use as the sort-by attribute. Only number and boolean properties can be used to sort. For this example we'll choose the dateAsTimeStamp property.
The next step is to choose the sort option: either ascending or descending. In our example configuration, the default sort order for the primary index is set to descending order by date. To provide another additional sort option, we'll choose ascending order.
Click the "Save and continue" button to create a replica sort index using the selected sort option.
A new replica index is created and will be named according to the primary index and the sort option. Click on its title to open the replica.
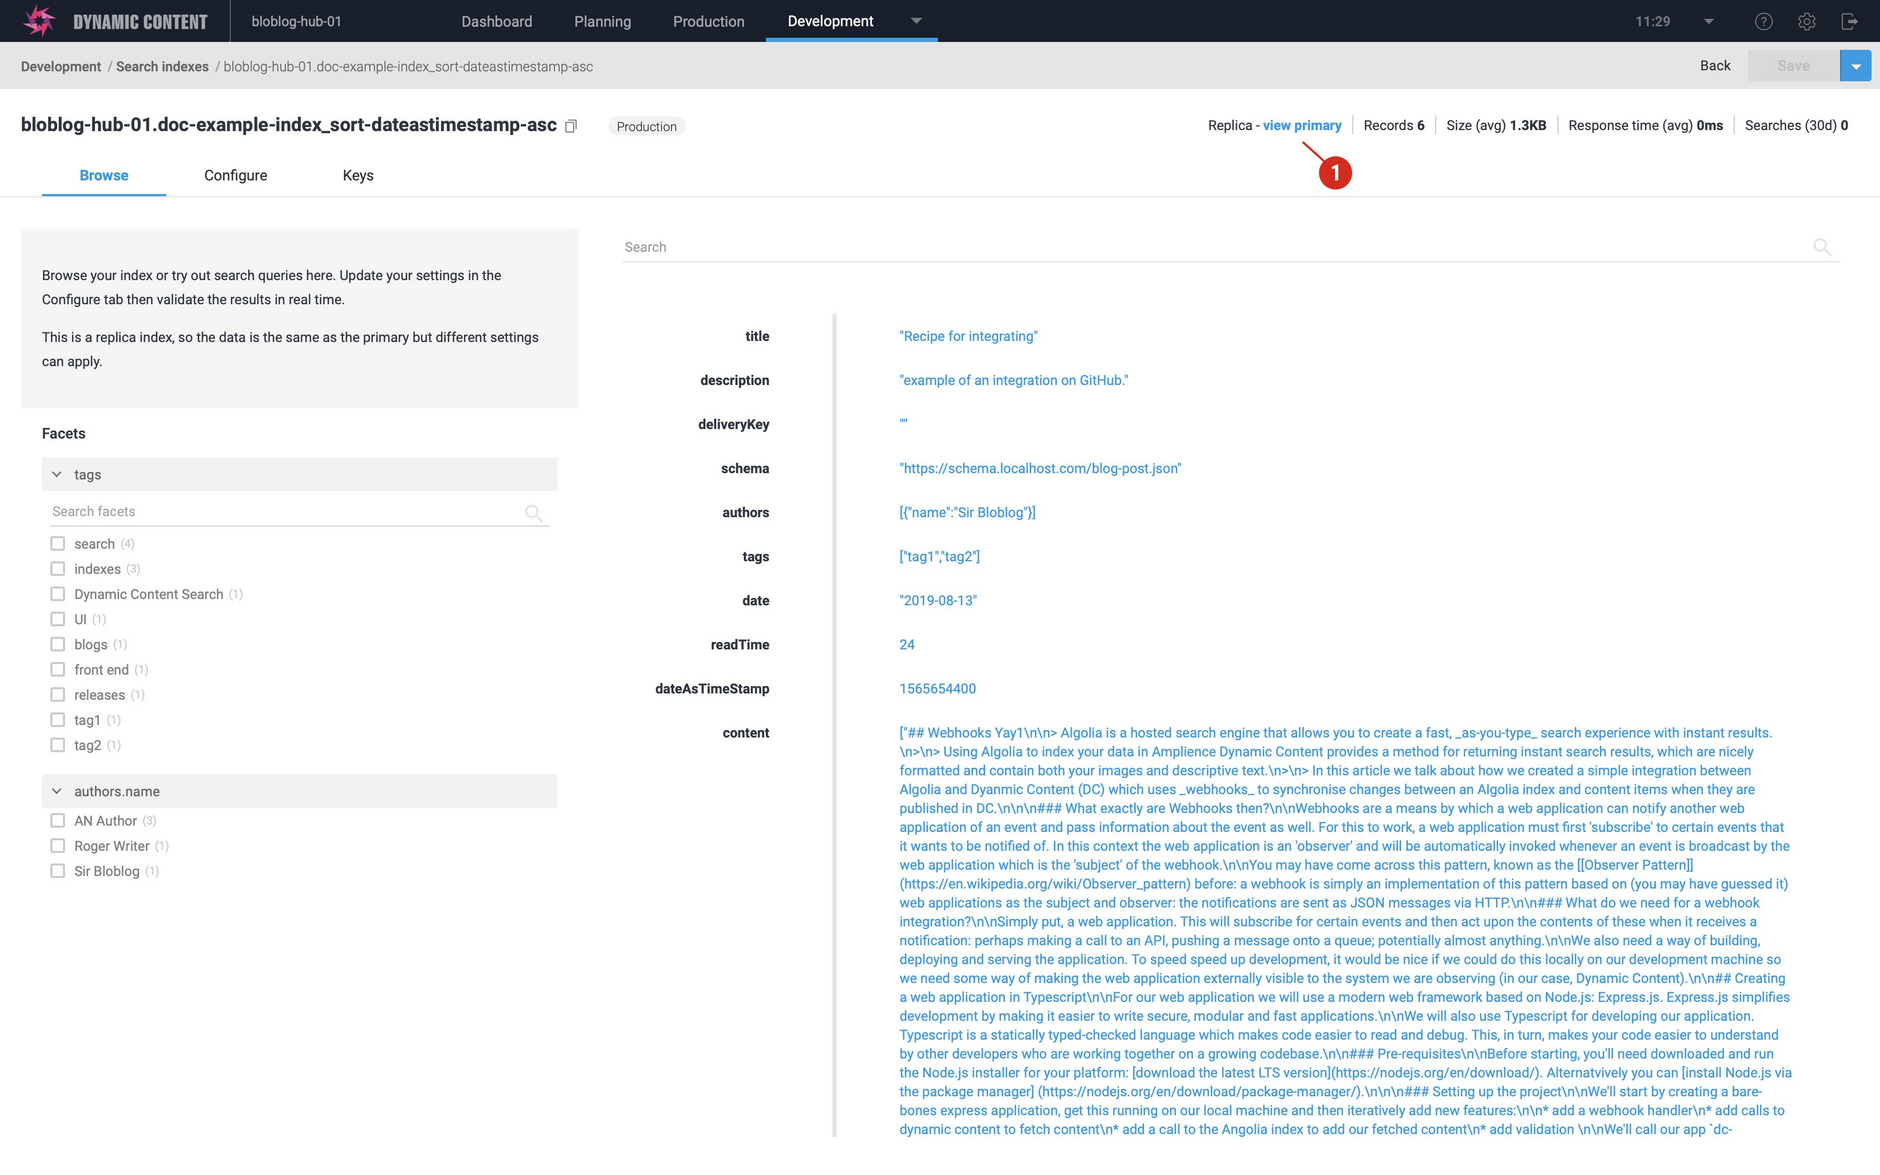
In the browse tab, the records are displayed in the sort order used for replica, rather than the primary index. This is a good way of testing out the sort order.
When you're viewing a replica index, you can go back to the primary index at any time by clicking the "View primary" button (1).
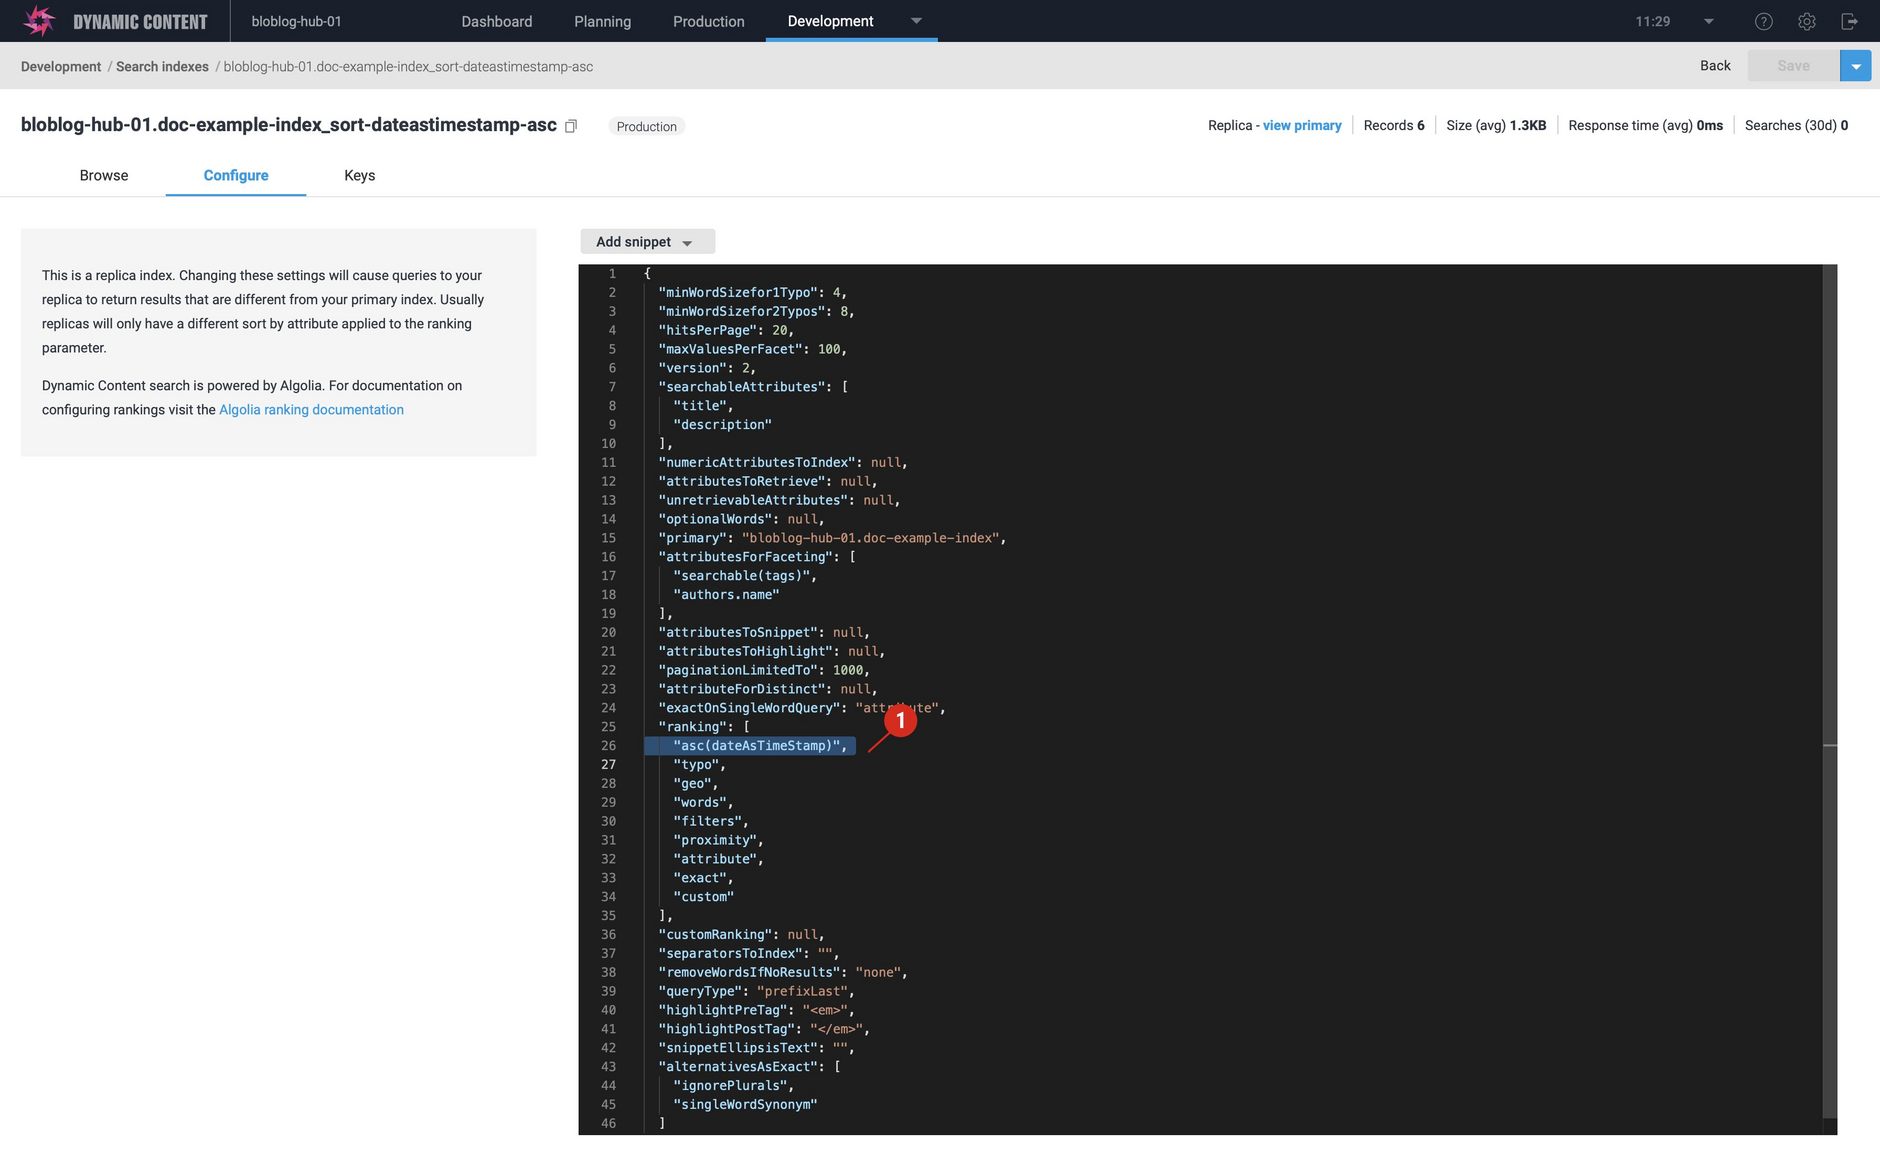
The replica contains the same records and settings as the primary index, with the exception of the ranking setting. The sort option will be added as the first item in the ranking, as shown in the image below.
Note that we don't recommend editing the ranking setting directly and for the primary index, you should specify the sort order using the custom ranking setting. See the configuration page for more details.
You can provide additional sort options if you choose, although if you have more than 10 replicas for an index, performance may be impacted.
Using the sorting options in your appLink copied!
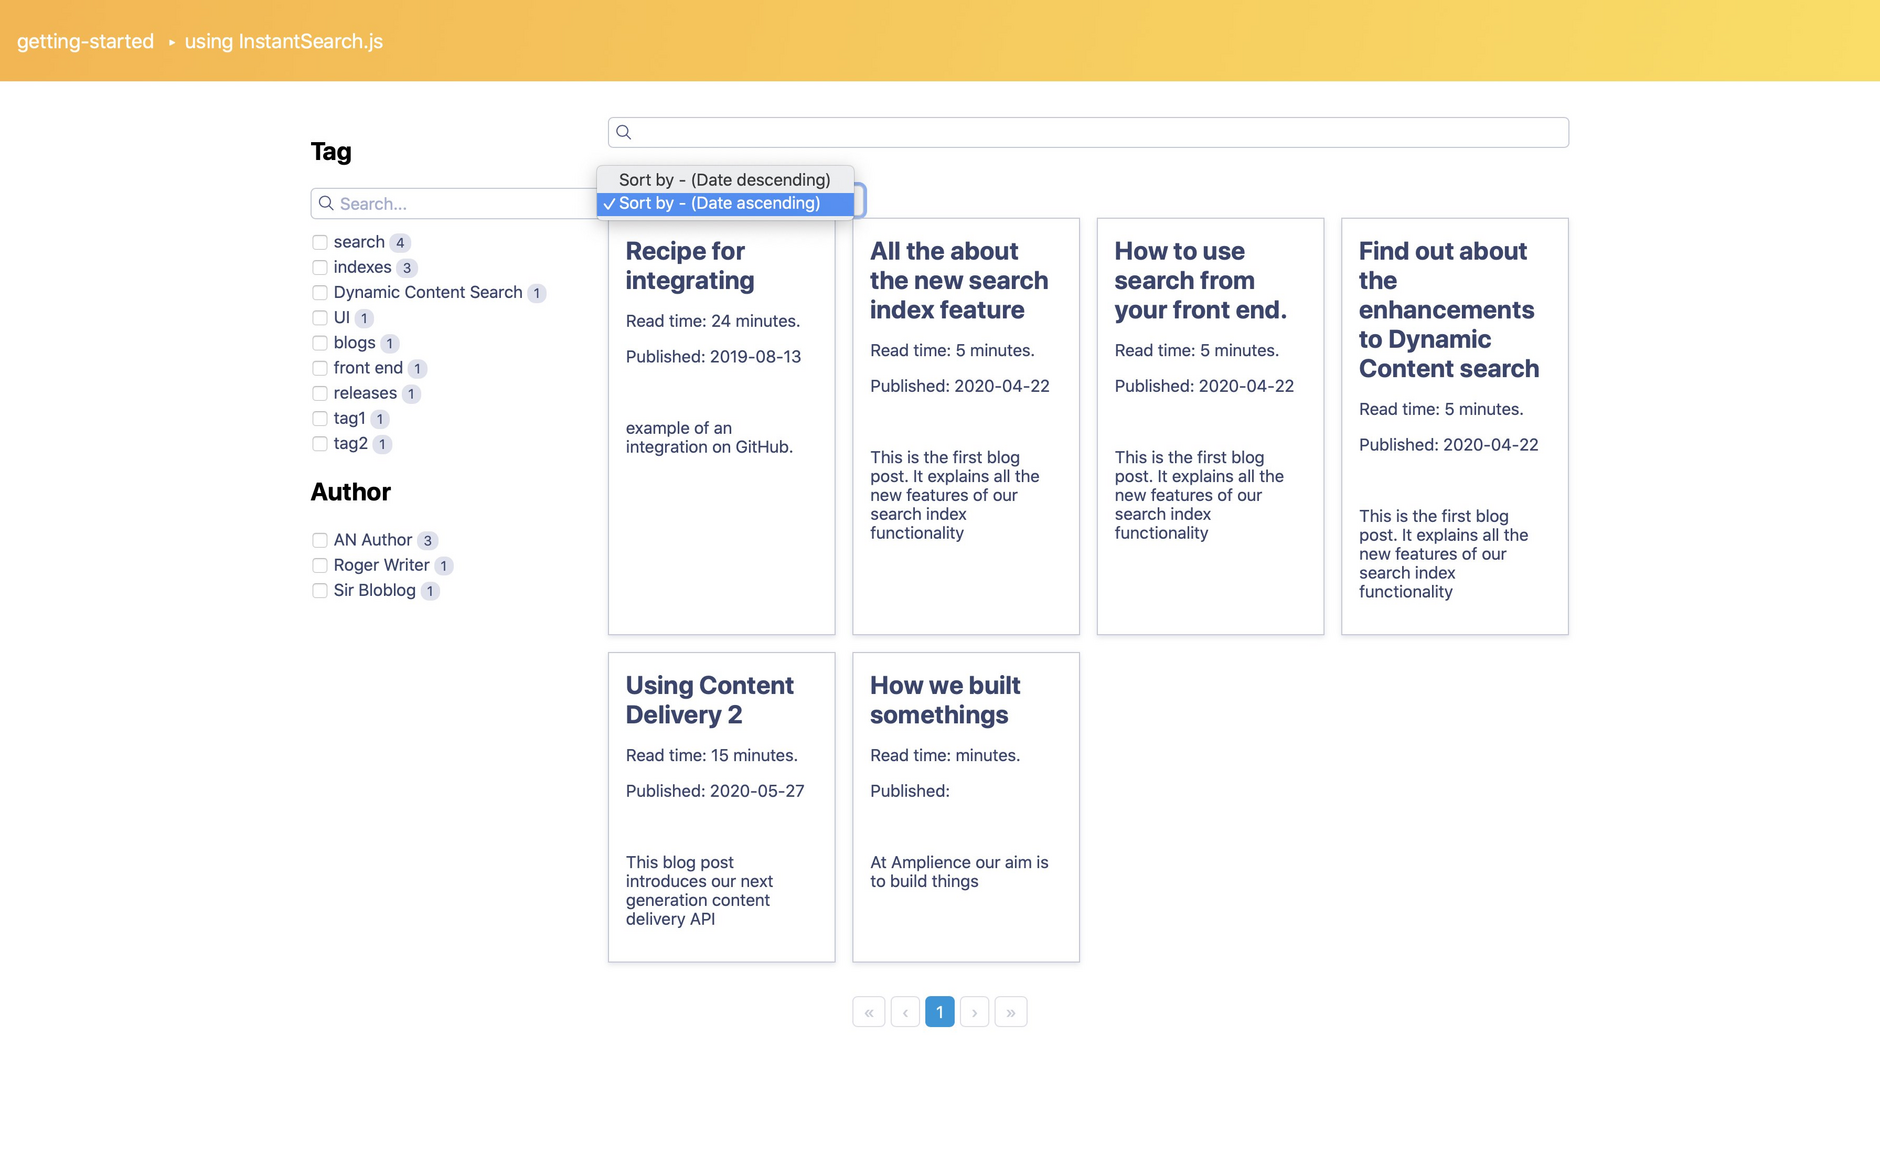
Once you've created the replica indexes, it's easy to include the sort options in your front end code to, as shown in the example image below.
The following example was created using Algolia's create-instantsearch-app tool and using the InstantSearch.js template. However, you can easily modify it for your chosen framework. You will need to modify the app.js file to include the Application ID and Search API Key that are included in the keys section for your index and include your primary index and replicas as shown below.
Include each of your available sort options in the sort-by array. In the example, we're including the default sort order used by the primary index- sort by date descending, and the replica index which we set up earlier to sort in ascending order.
The complete app.js file used in this example is shown below.
If you're using the InstantSearch.js example, you'll also need to modify index.html to include containers for the properties returned by your search.
The updated index.html from this example is shown below.
The Replicas tabLink copied!
From the replicas tab you can open, detach and delete a replica.
Detaching a replicaLink copied!
When you detach a replica you are removing its association with the primary index. The replica index will become a standalone index and will no longer be kept in sync with the primary index.
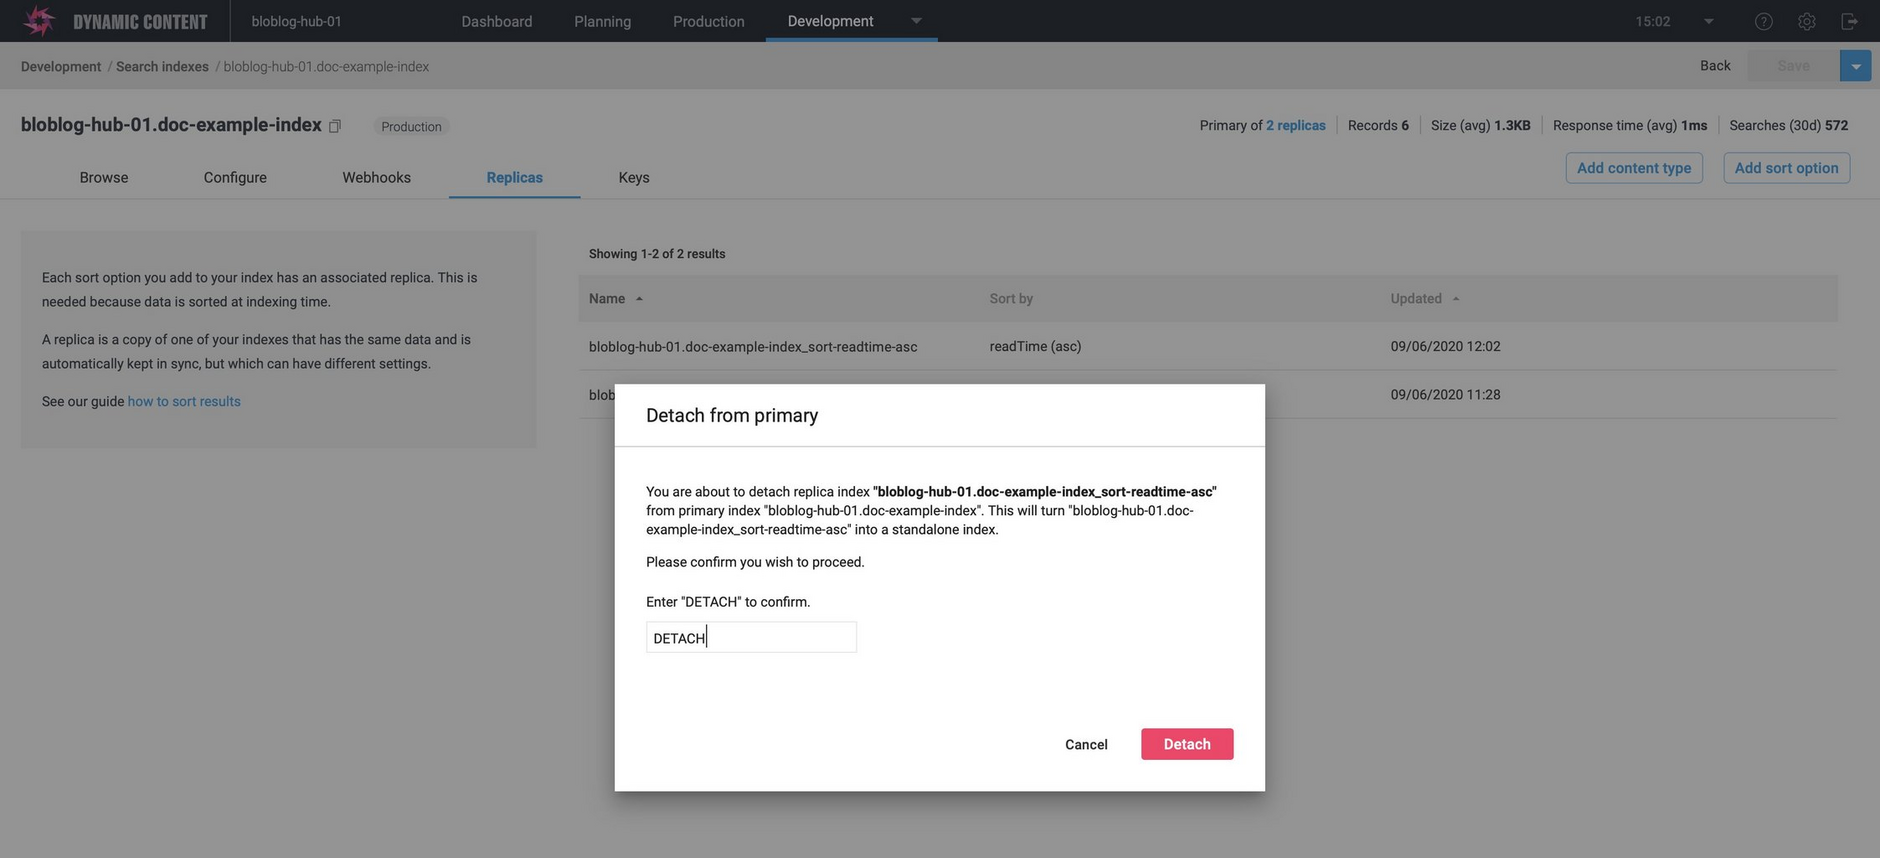
To detach a replica, choose "Detach from primary" from the replica's menu and enter "DETACH" in the confirmation dialog box. When you click the "Detach" button the replica will be detached from the primary index.
Note that a detached replica will have no content types associated with it and no webhooks. To use a detatched replica to index data you will need to do the following.
Add a content type by clicking the "Add content type" button. In most cases you should add the same content type(s) that are associated with the primary index you just detached from.
Any webhook customizations configured for the primary index you detached from will need to be re-applied. View the webhook section of the primary index to check the webhook settings.
Deleting a replicaLink copied!
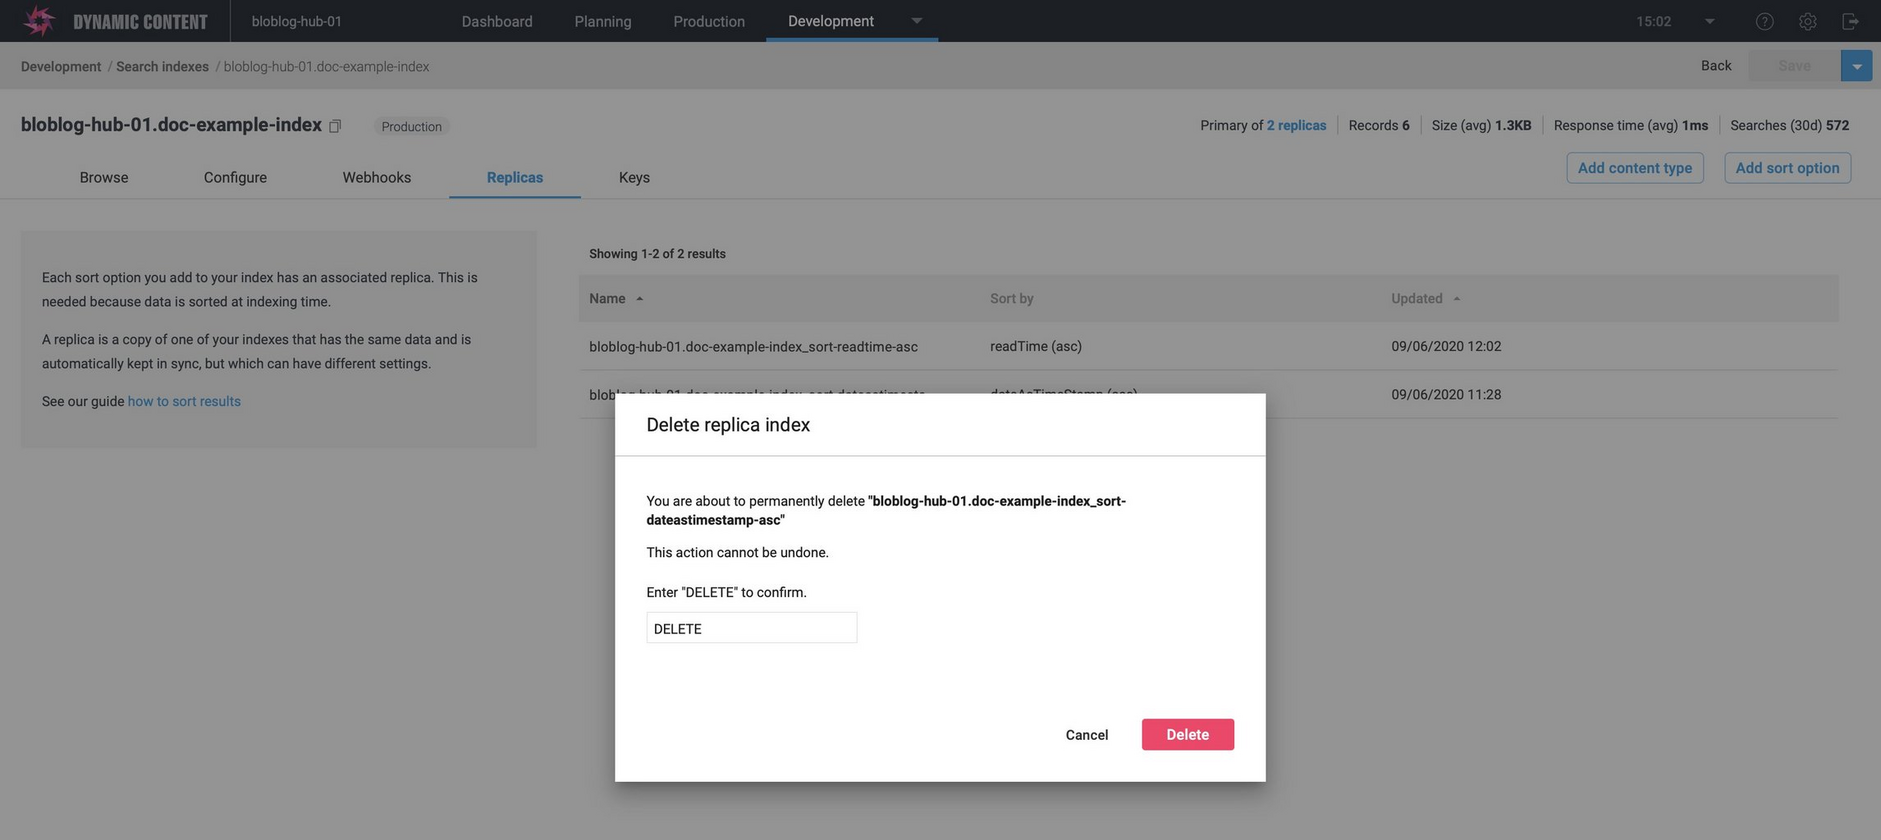
To delete a replica, choose "Delete" from the replica's menu and enter "DELETE" in the confirmation dialog. This operation cannot be undone, although you can re-create a new replica with the same settings.
Related pagesLink copied!
Search integration guide Part 1- includes the example content type schemas
A guide to refining your search index
