Step 2: Create


In Step 1 you created the content type for the banner. In this step you'll use that content type to create some content.
Create a bannerLink copied!
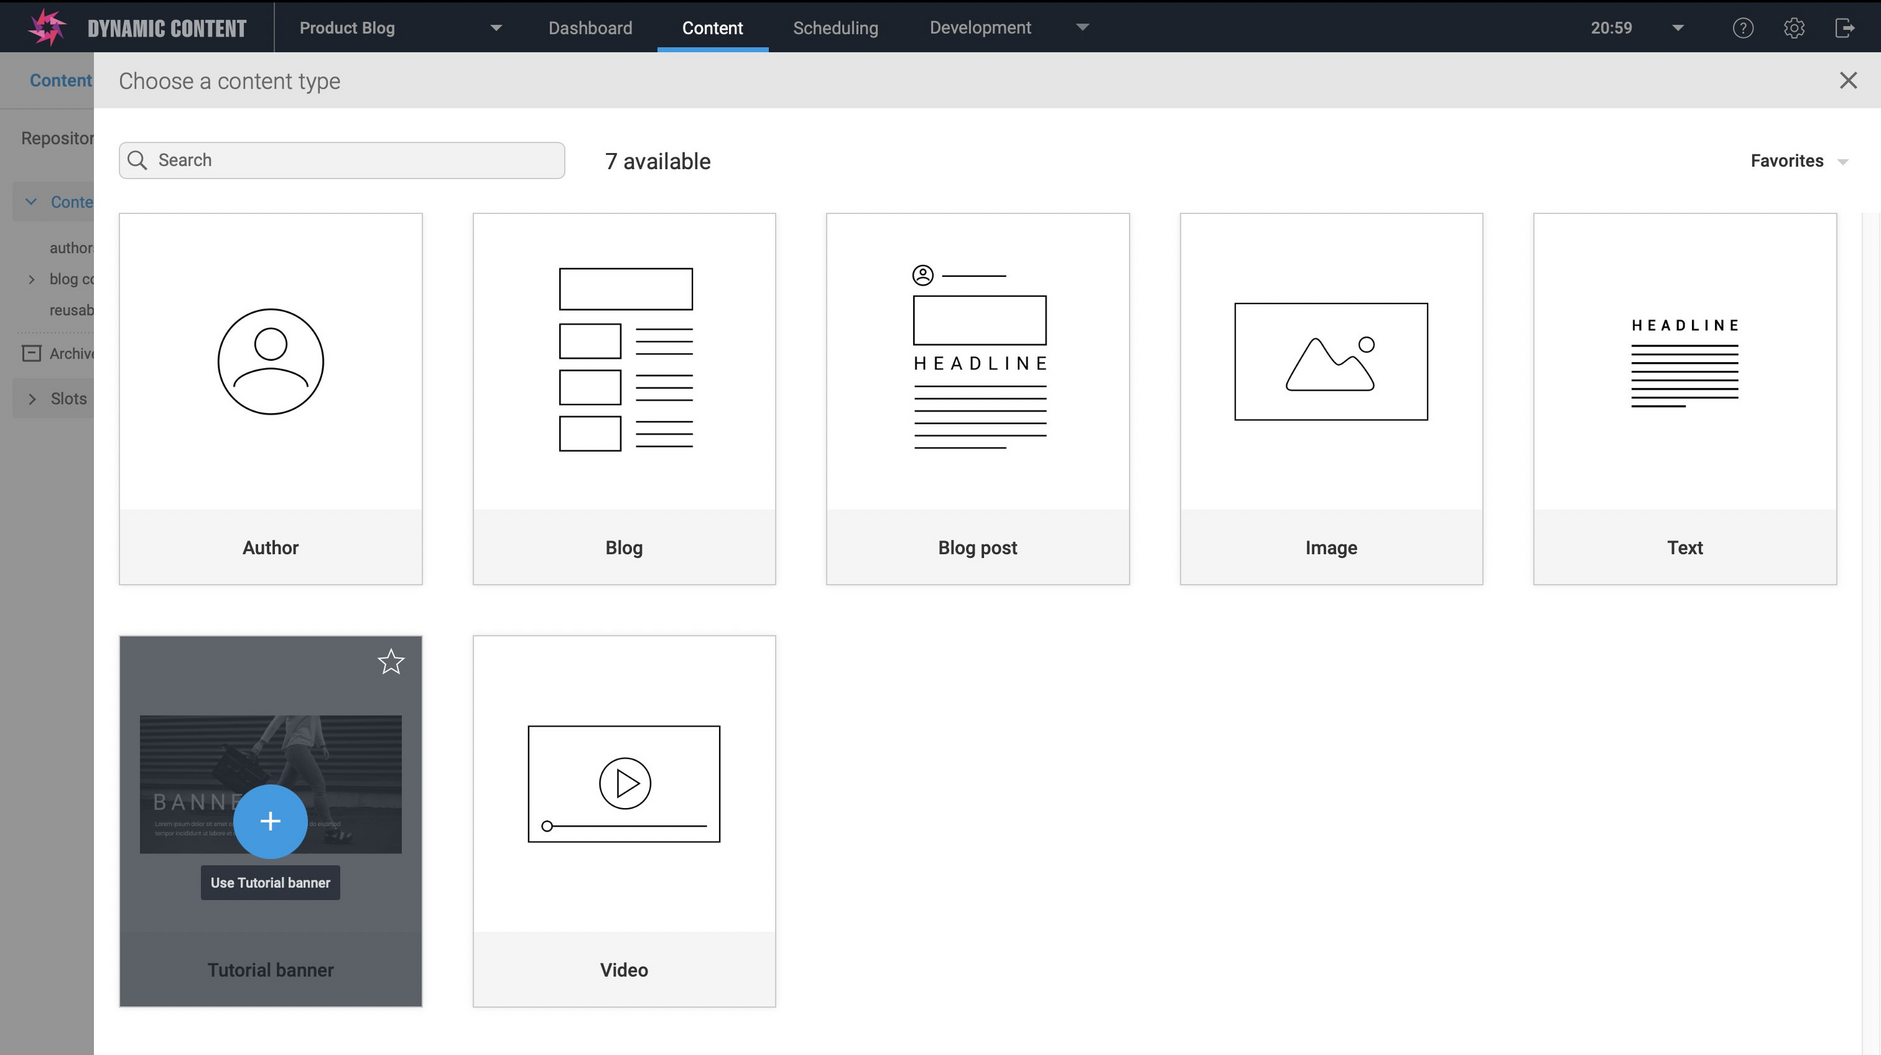
- From the "Content" tab in the Dynamic Content app choose "Create content". The "Choose a content type" window is displayed.
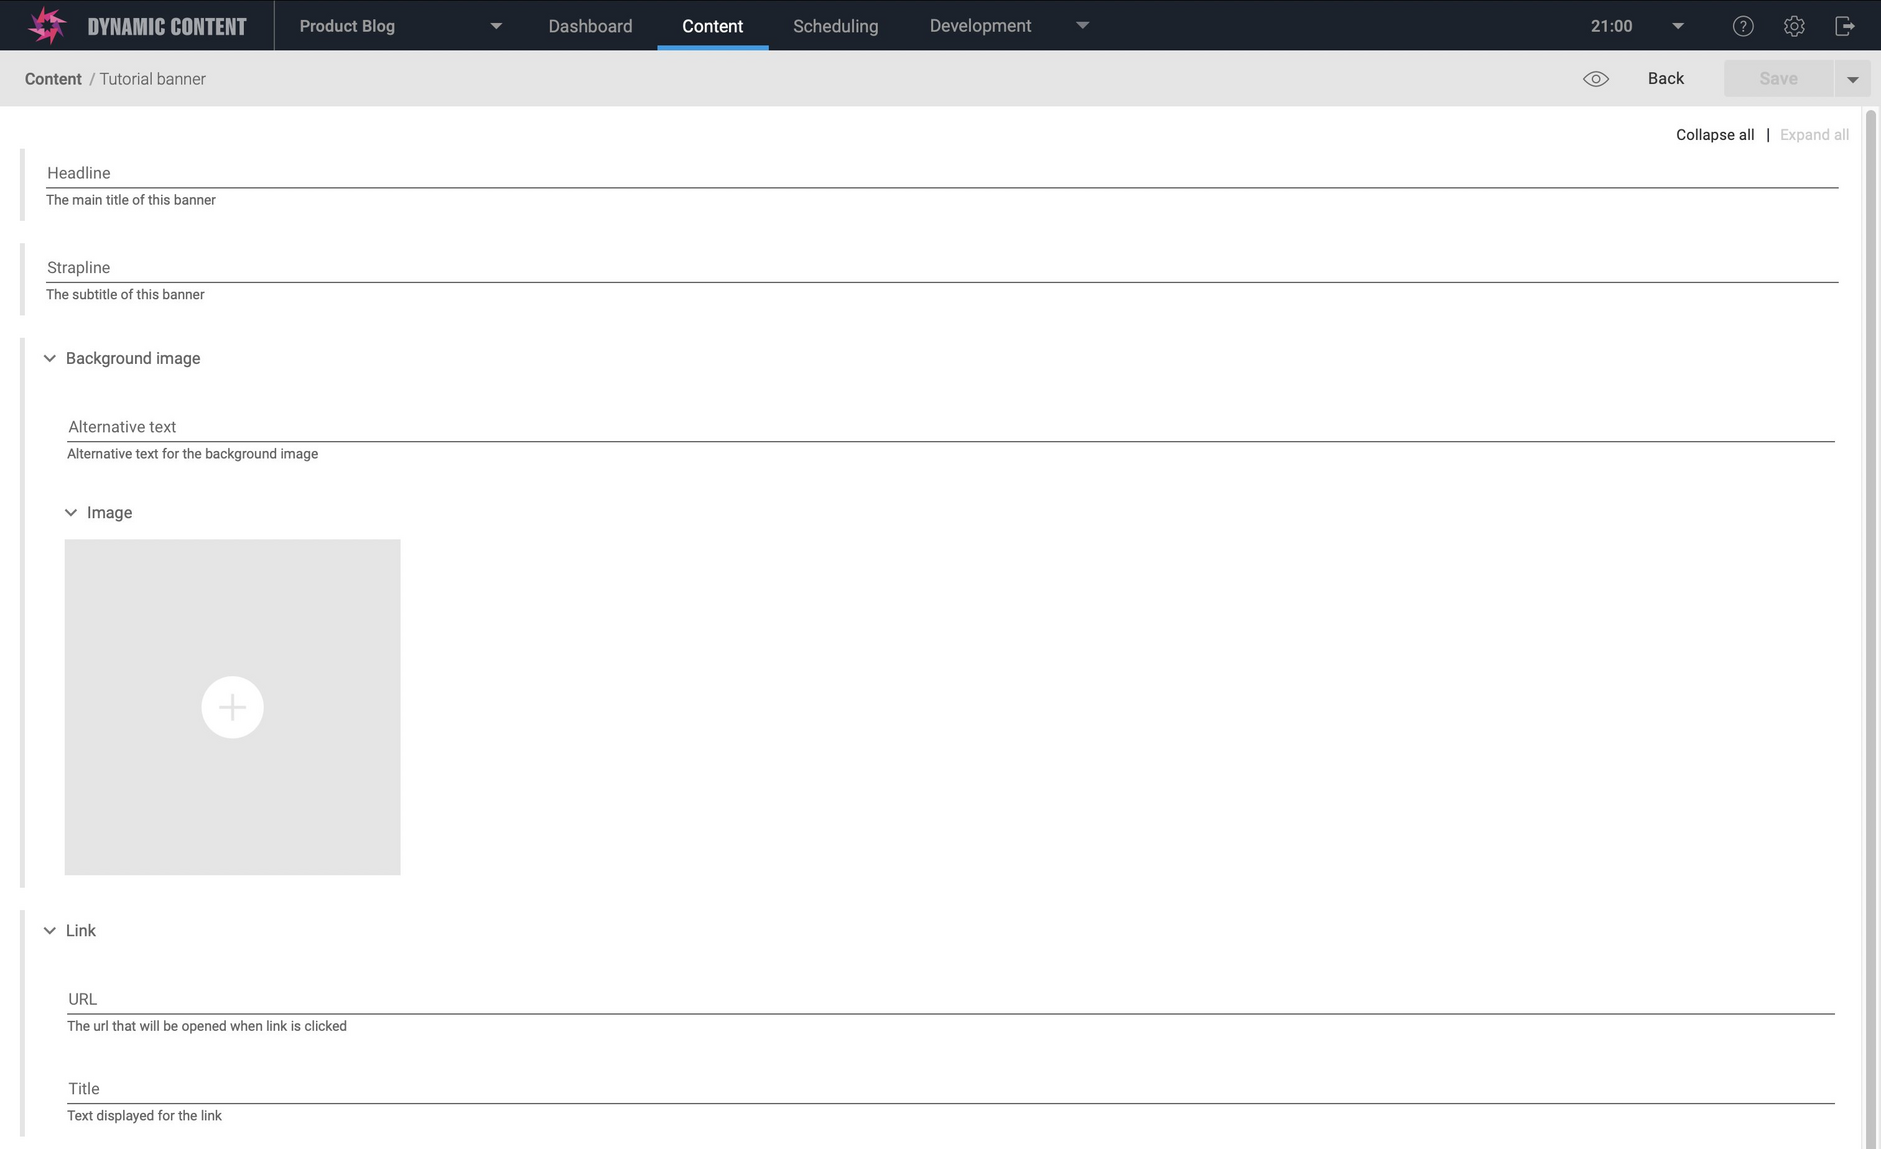
- Choose the banner you created in the previous step. Hover over the banner icon and press the "+" button. The content form opens ready for you to add some banner content.
- Enter the headline and strapline. You can use whatever text you'd like.
Add the background imageLink copied!
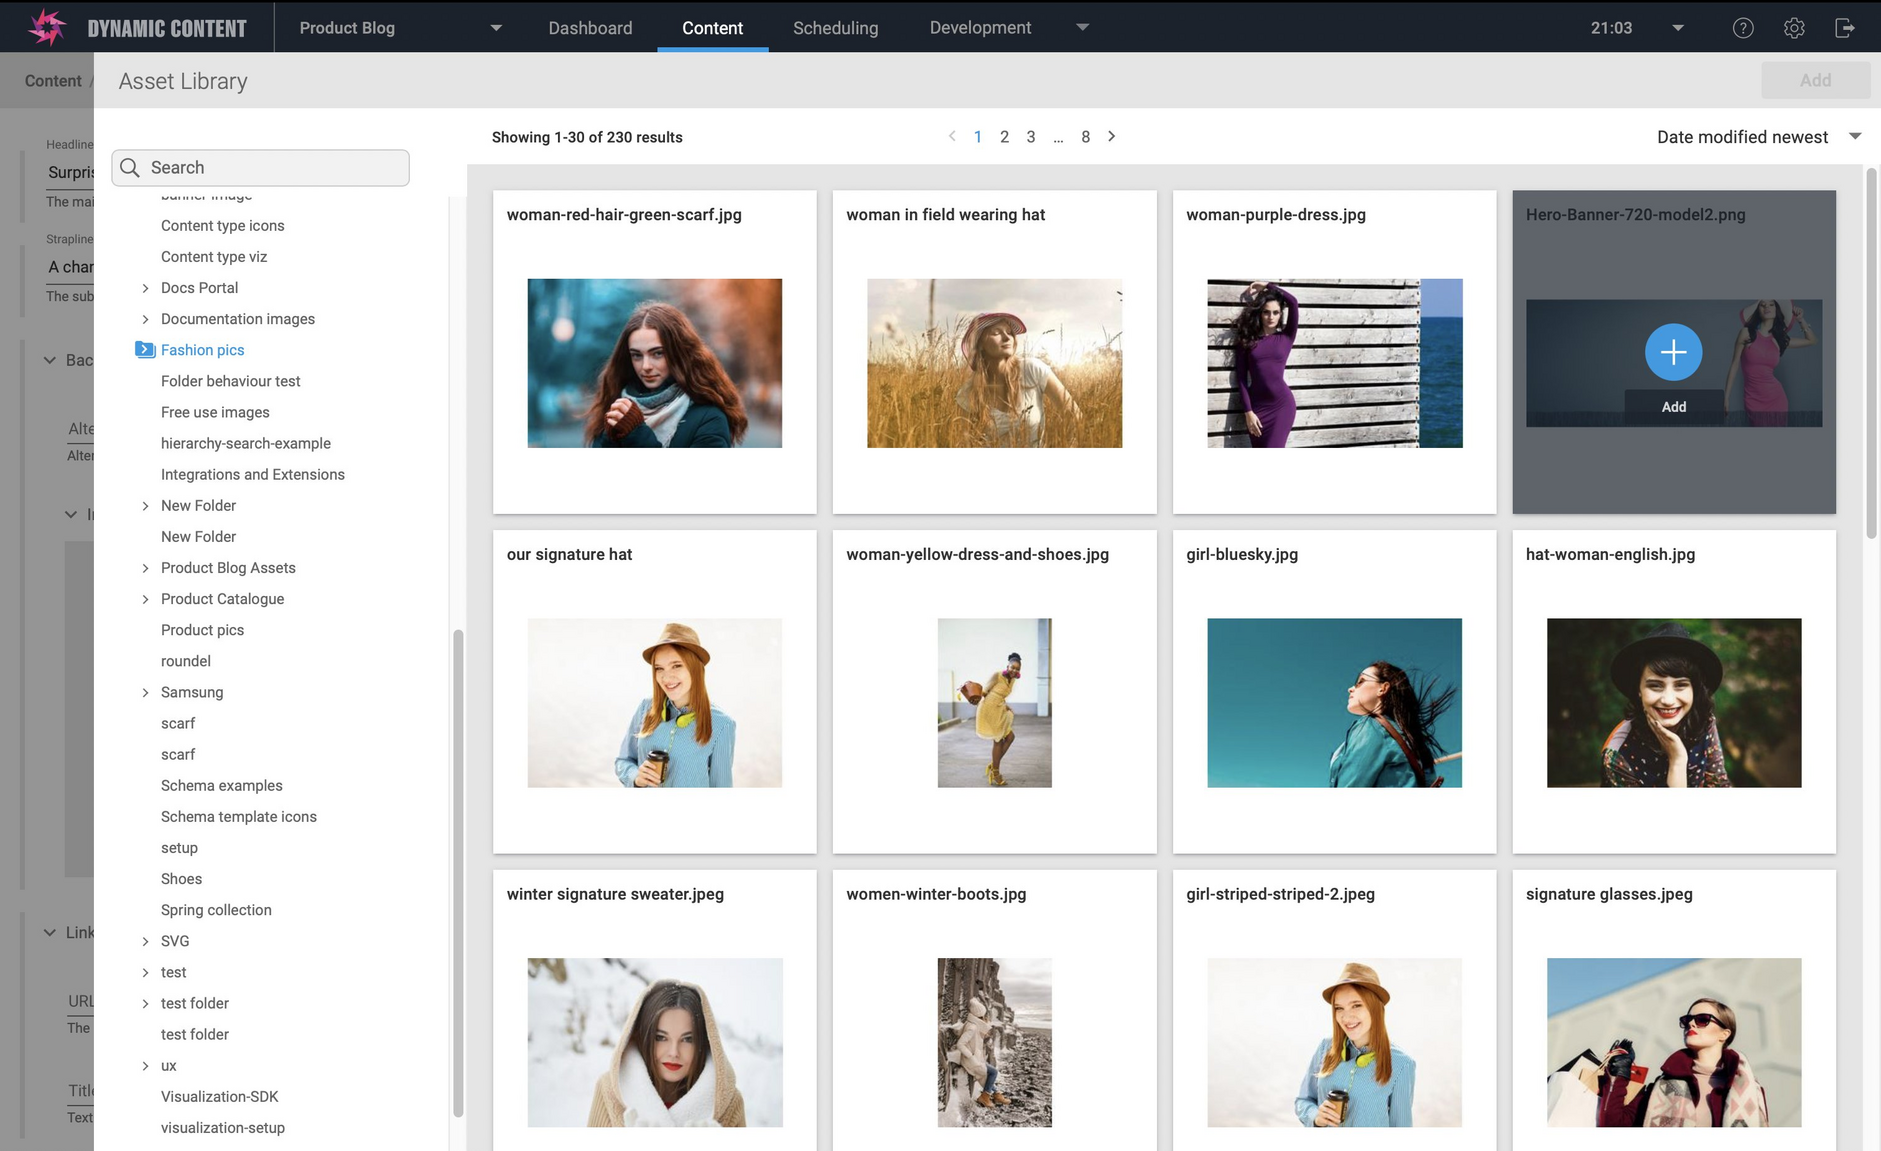
- Add the background image. Hover over the box labelled "image" and click the "+" icon. The asset library browser opens allowing you to choose an image from your Content Hub account. We've set the styling for the banner text to be white text, so choose an image with a dark background.
Display the visualizationLink copied!
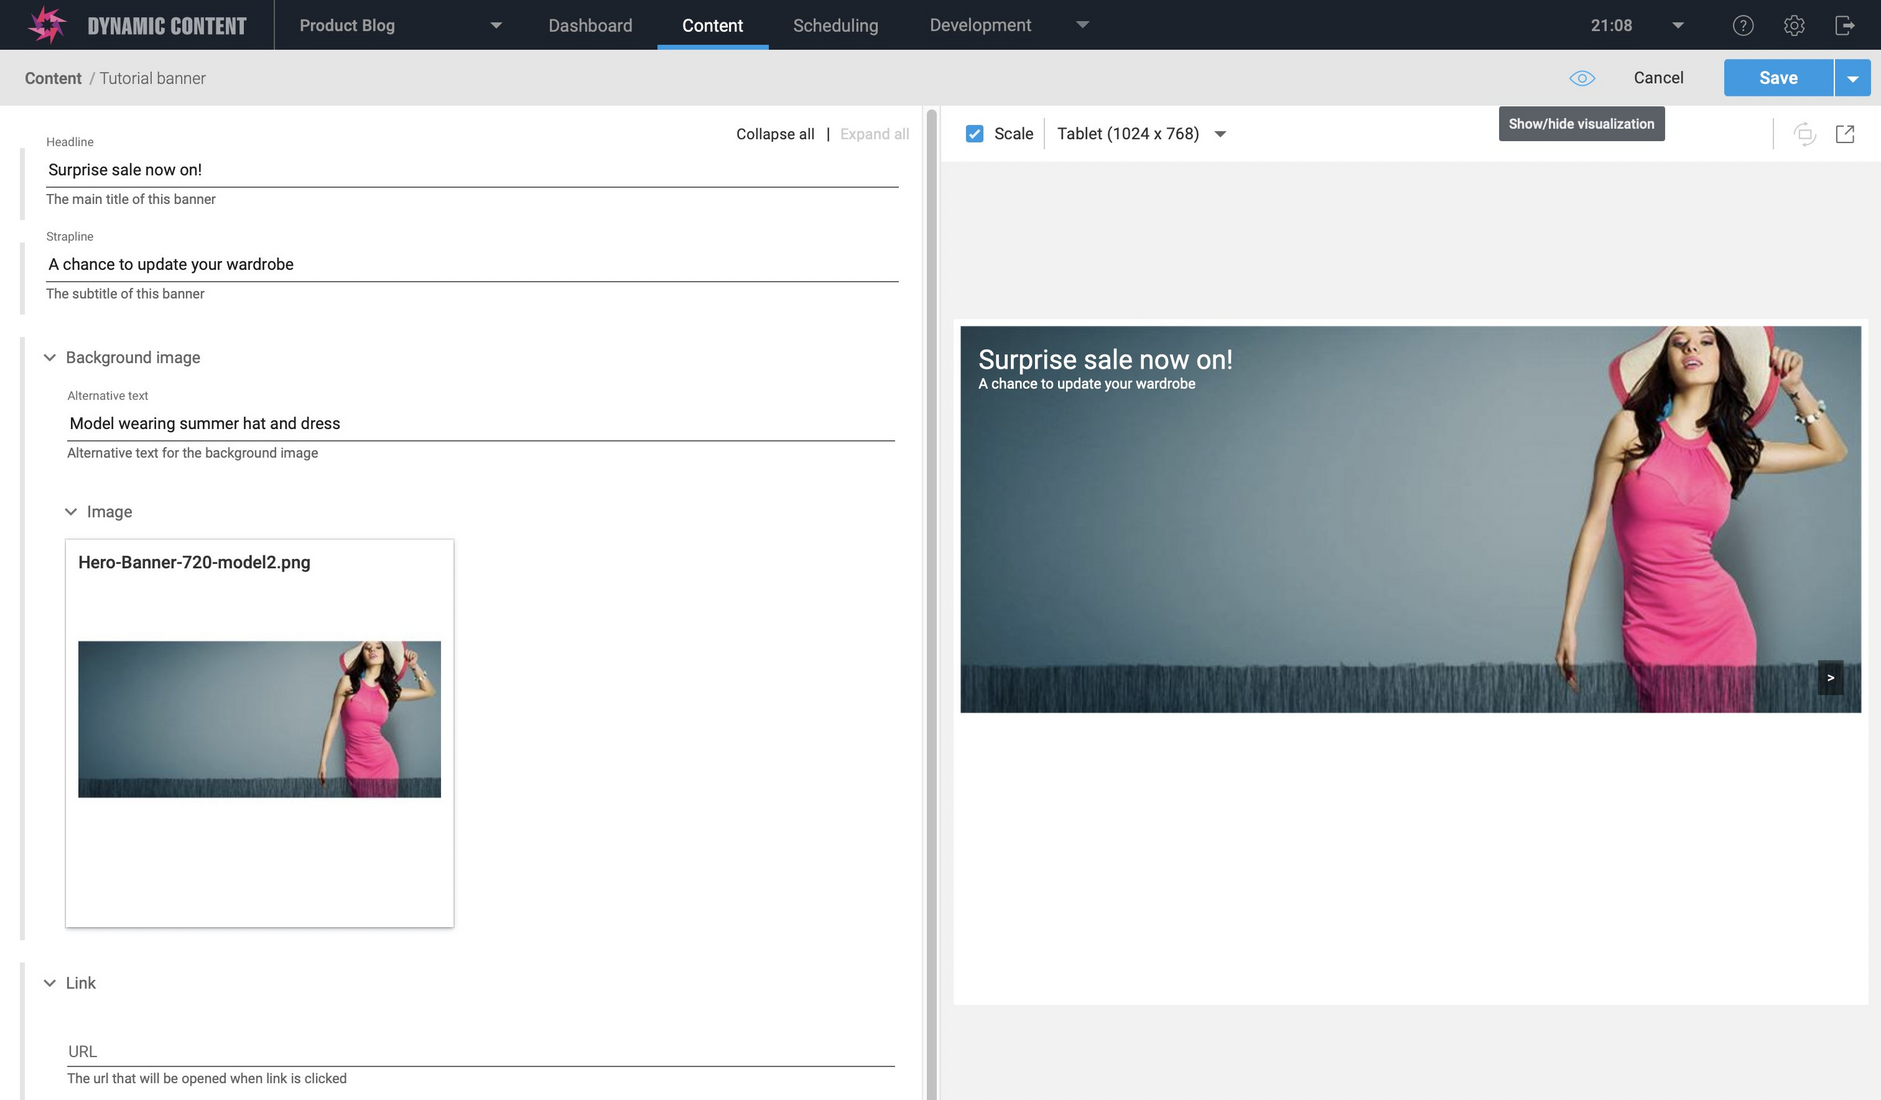
- If you added a visualization when you registered the banner content type an eye icon is shown at the top right of the content form. Click this icon to show the visualization.
Add the call to action URL and label. The realtime visualization will update to show your changes as you type.
Click the Save button at the top of the window.
Add a delivery keyLink copied!
To retrieve content from the CMS you can use the content item id, or a delivery key. Delivery keys are strings of up to 150 characters that can contain alphanumeric characters, "-" and "_", and "/" as long as it is not included at the start or end of the key.
For this tutorial you'll add a delivery key which is will be used to retrieve the banner content from the CMS in the consume step.
To add the delivery key:
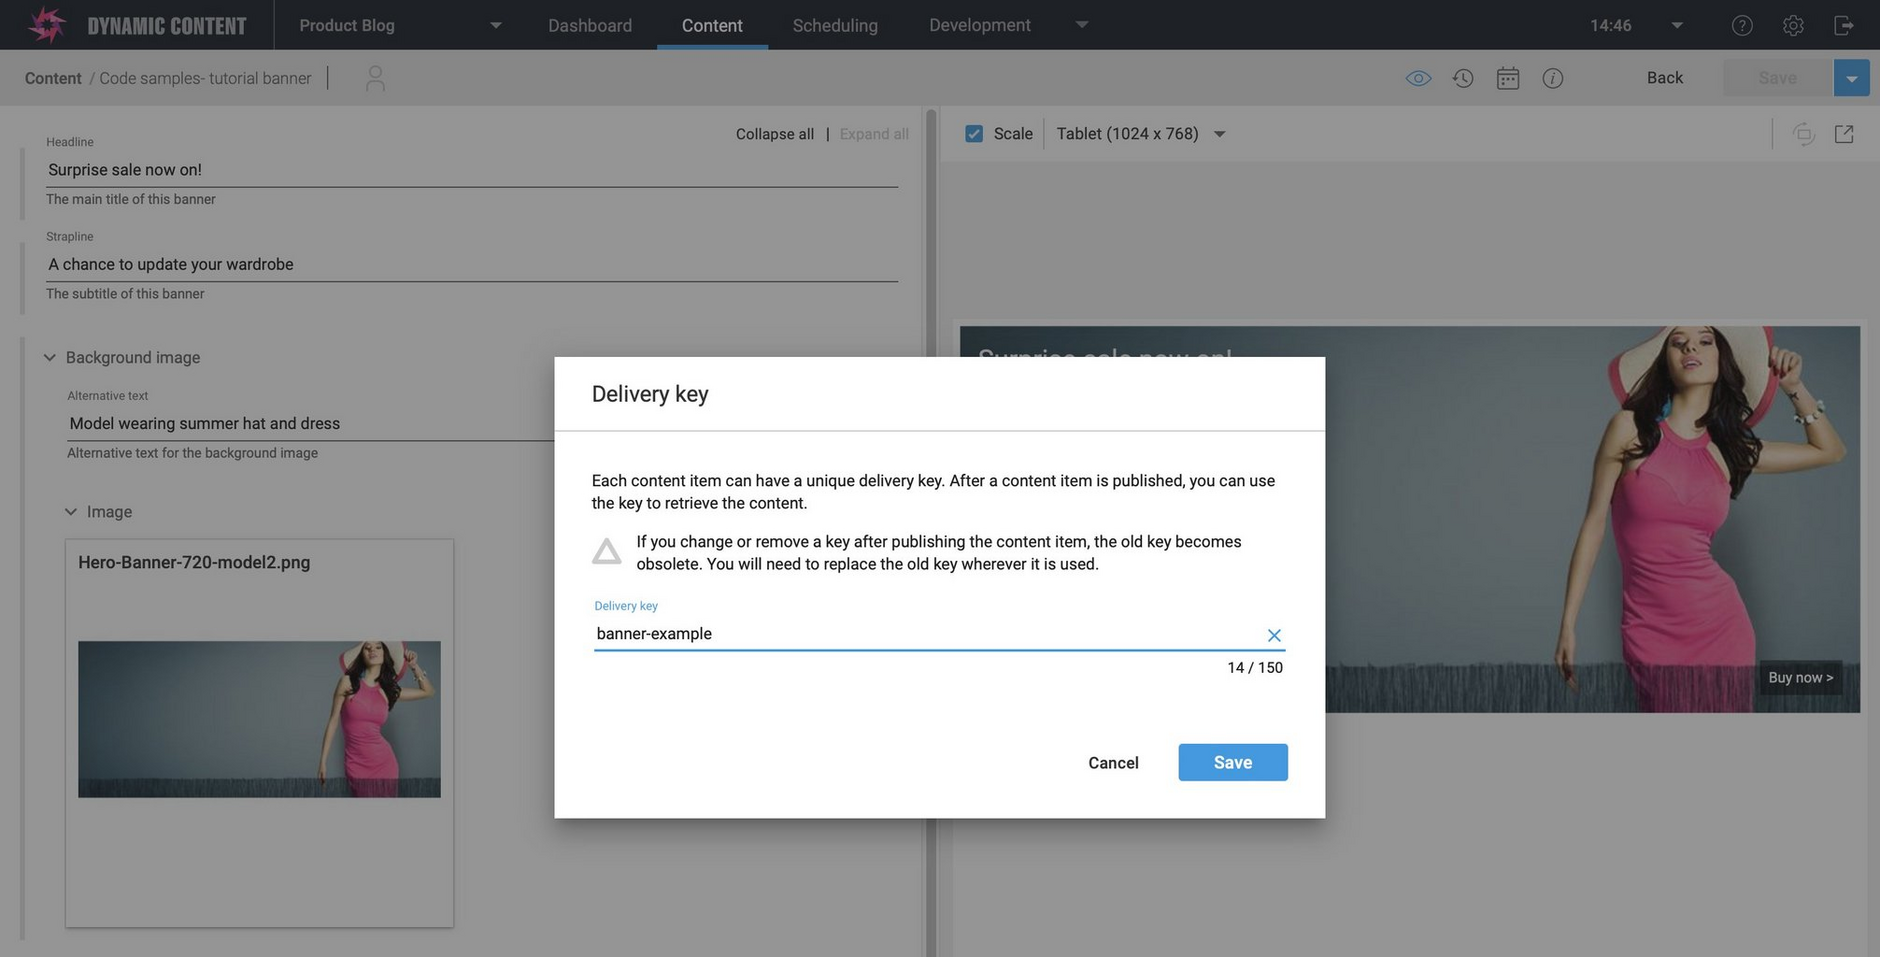
- Choose "Delivery key" from the "Save" menu in the content form.
- Enter the key to use for the banner. We've set up the banner code to use
banner-examplebut you can use a different key if you want, you'll just need to remember to update the code in the final step to include the key you entered.
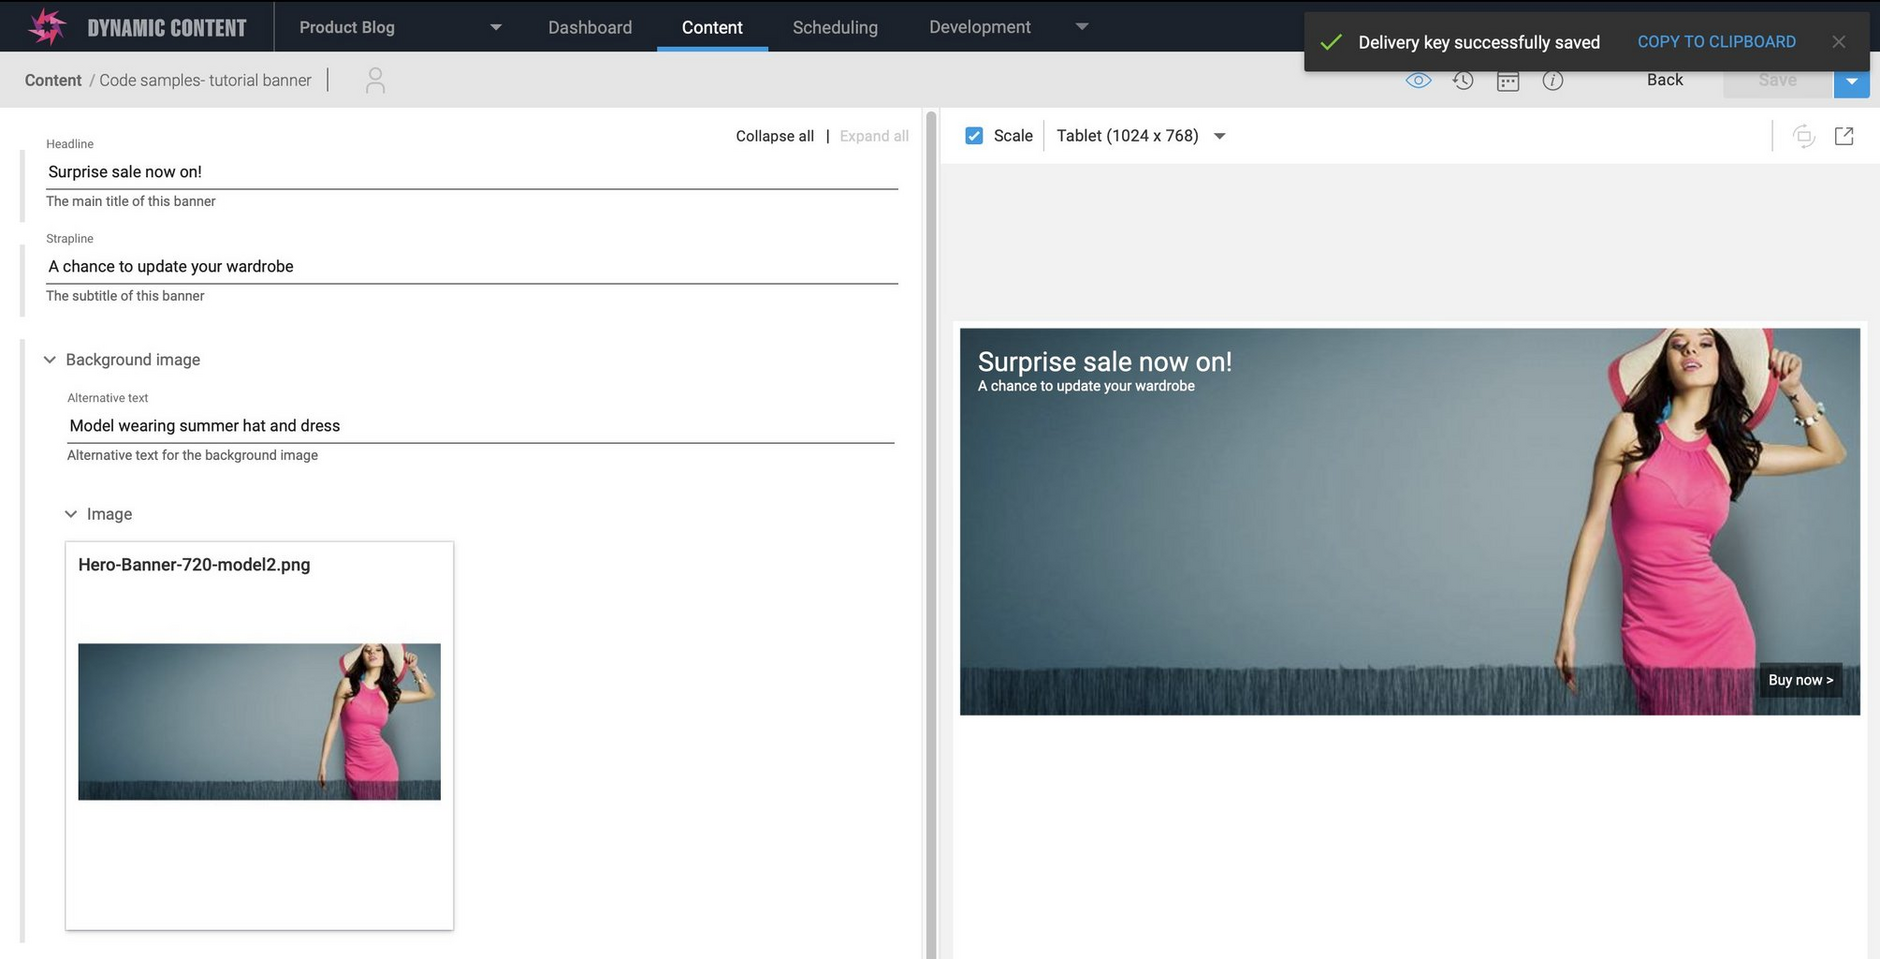
- Click "Save" to save the delivery key. A message is displayed when the delivery key is successfully saved.
You've now created your banner and added a delivery key to make it easier to retrieve from the CMS. In the publish content step you'll publish the content ready for it to be retrieved from the CMS.
