Monogramming quick start
On this page we present a simple "quick start" run-through showing how to parameterize an SVG to support monogramming and use the Product Customization app to preview and publish the asset.
Step 1: Parameterize the SVGLink copied!
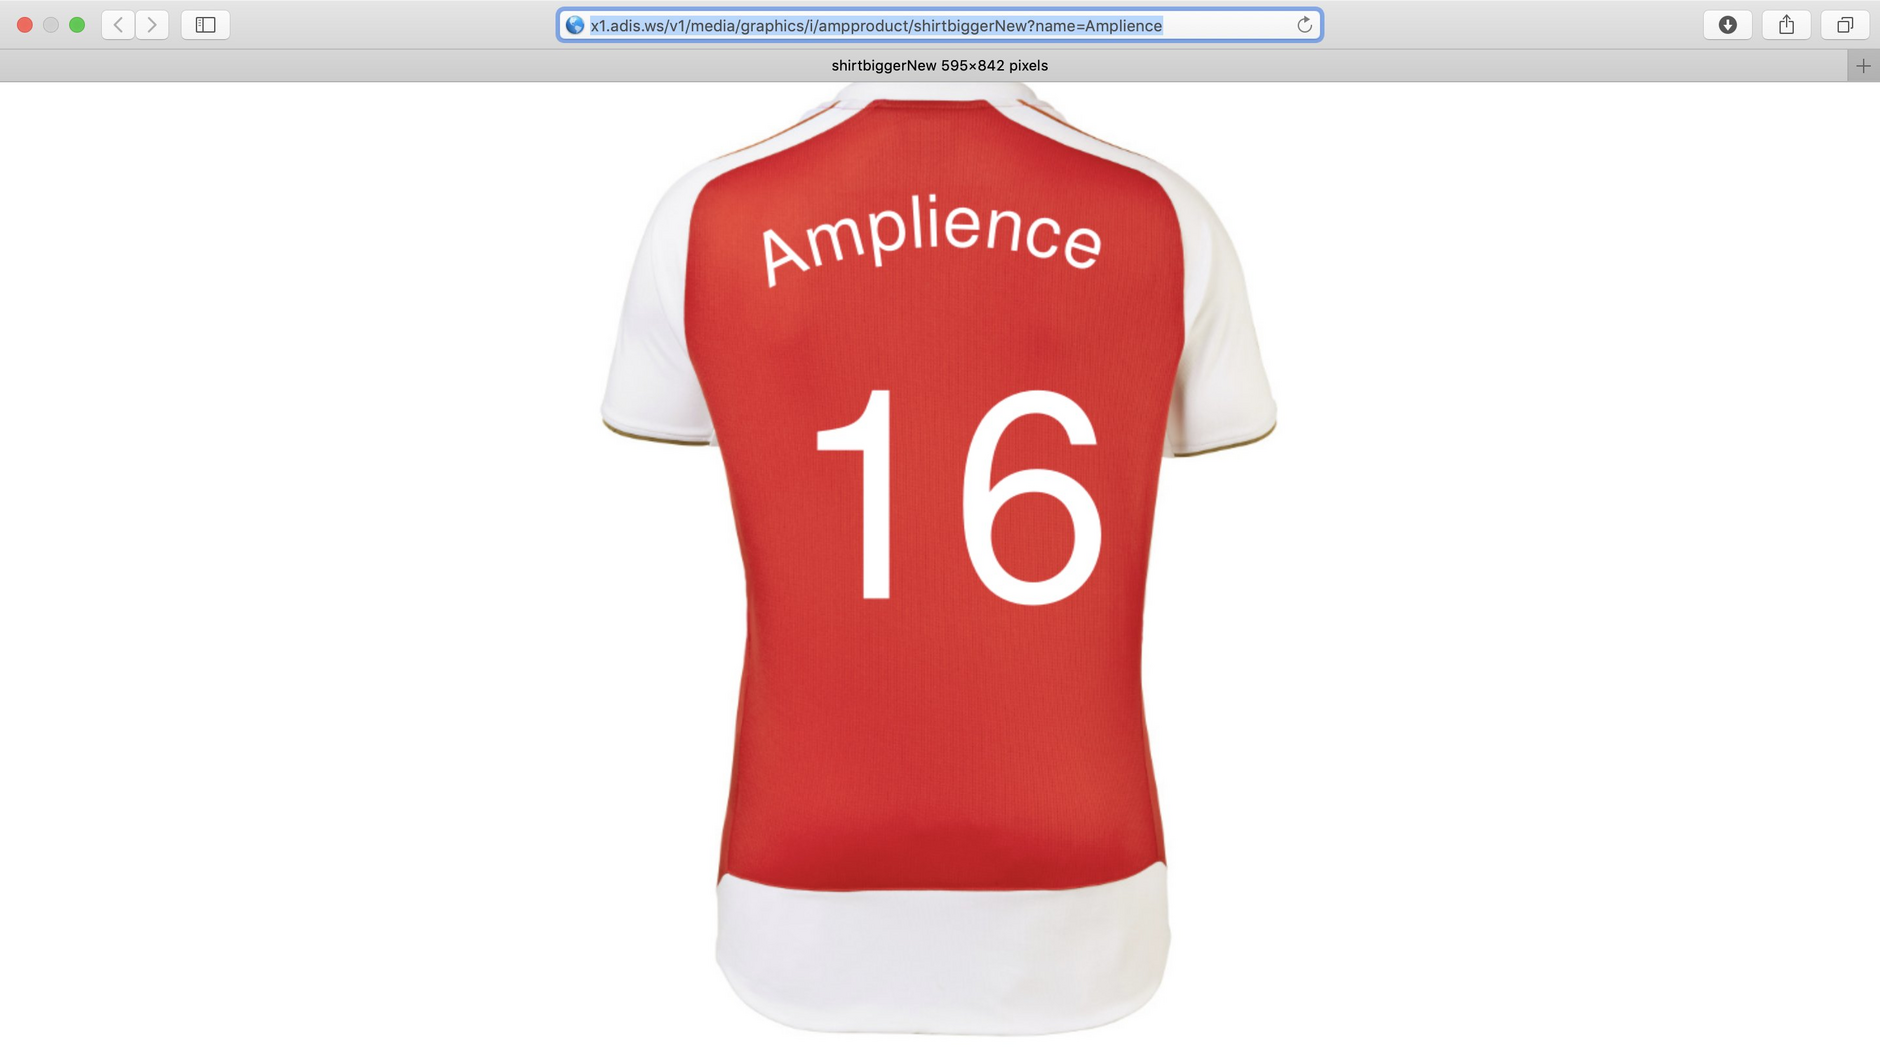
As the basis of this example, a designer has created an SVG image of a football shirt that includes monogrammed text that can be changed.
Right click and save as to download the SVG XML code for this example.
When modifying the SVG XML code for this image, we will be referencing our ampsvg namespace. So before making any further modifications to the file, we must include the namespace definition in the list of namespaces at the head of the file like this:
In order to parameterize the SVG to change the text, the following code
snippet is inserted into the <metadata> section of the SVG XML.
The substitutions tag defines the parameter $name that can be provided to the Dynamic Media service. The substitutions tag also sets the mapping of those parameter values into the tspan tags that were already defined in the SVG file:
Note that these tspan tags have been simplified for presentation here, by removing the font information.
The tokens tag of our newly-inserted metadata instructs the application to allow the substitution parameter values to be changed via the user interface.
Once parameterized, we upload the SVG to Content Hub.
Step 2: Locate the SVG in the libraryLink copied!
In this step we locate the SVG image and navigate to the Preview Screen. Double clicking the SVG will take you to the contact sheet and from there you are able to create a new preview.
Step 3: Preview the SVGLink copied!
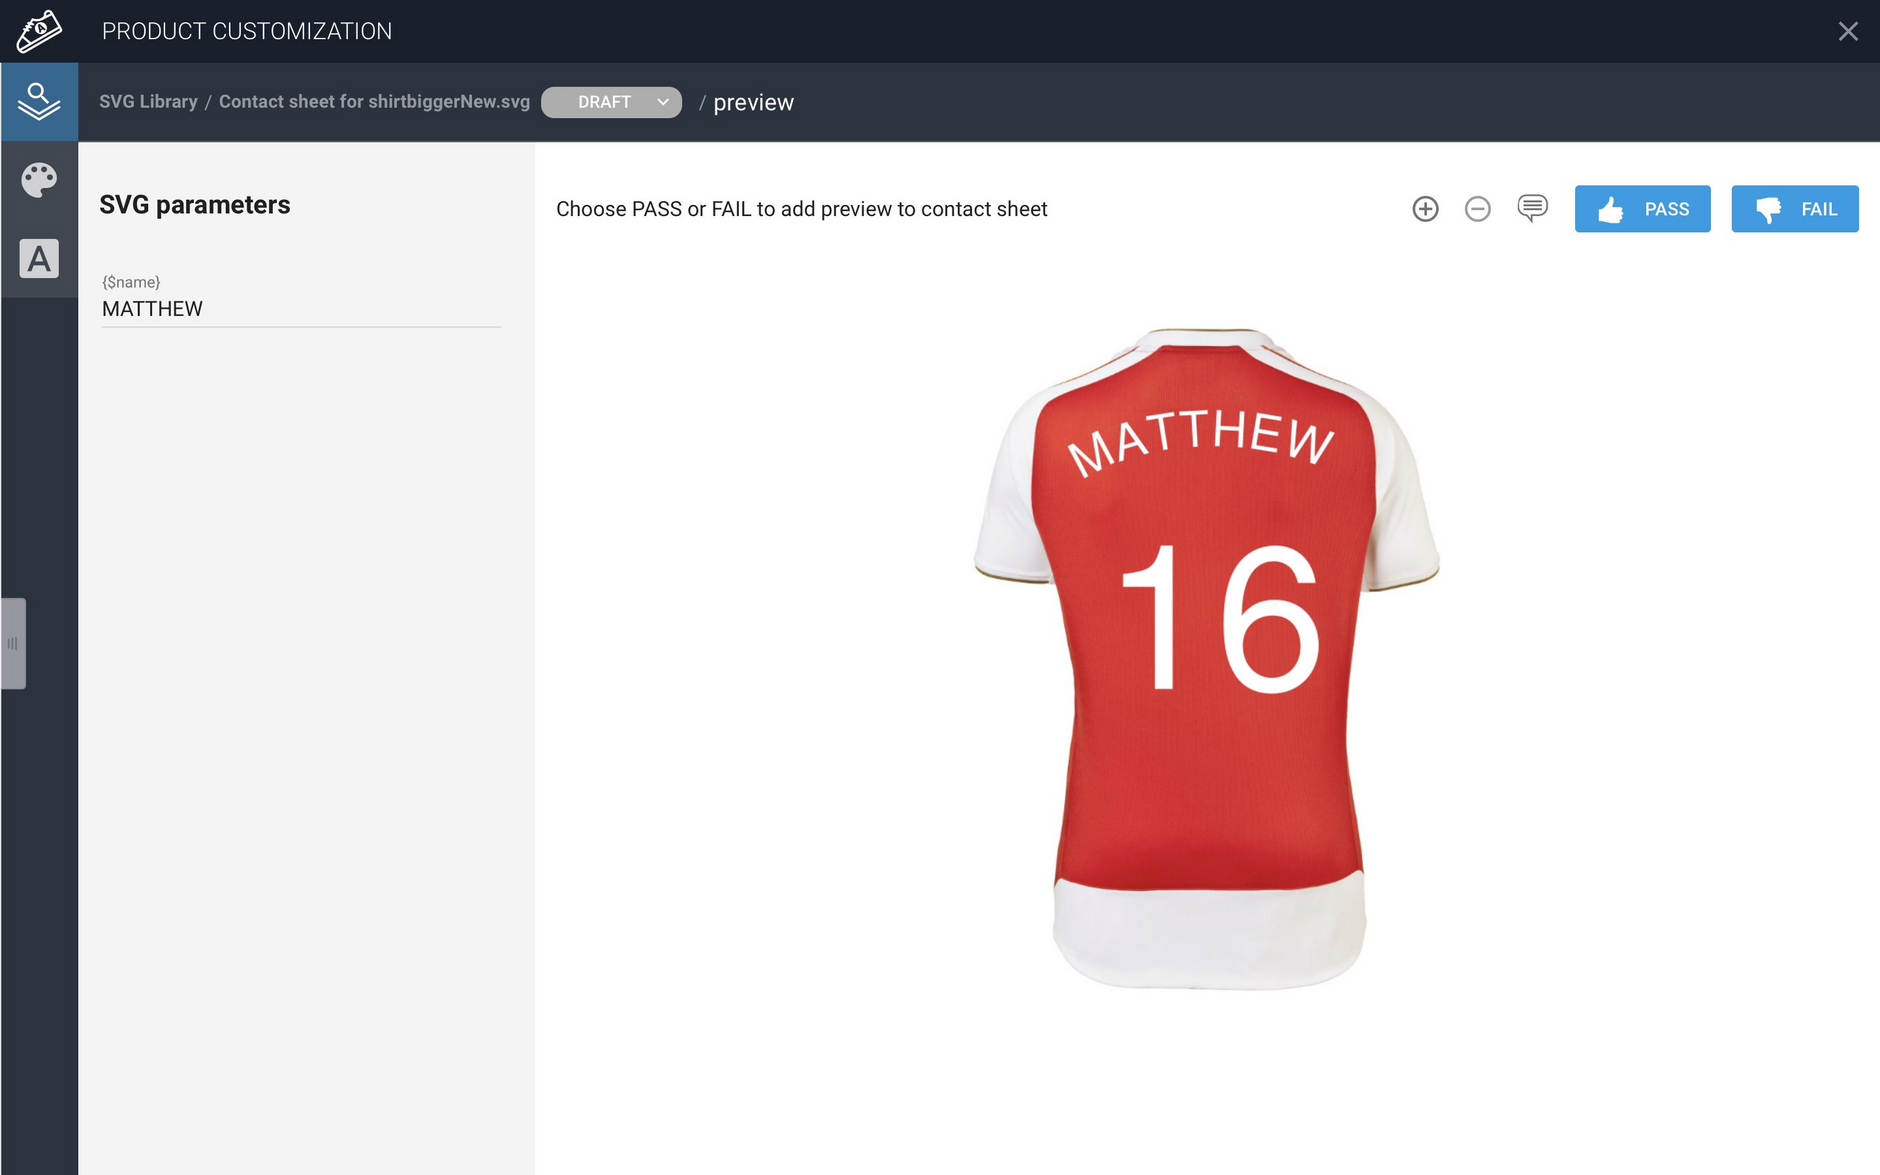
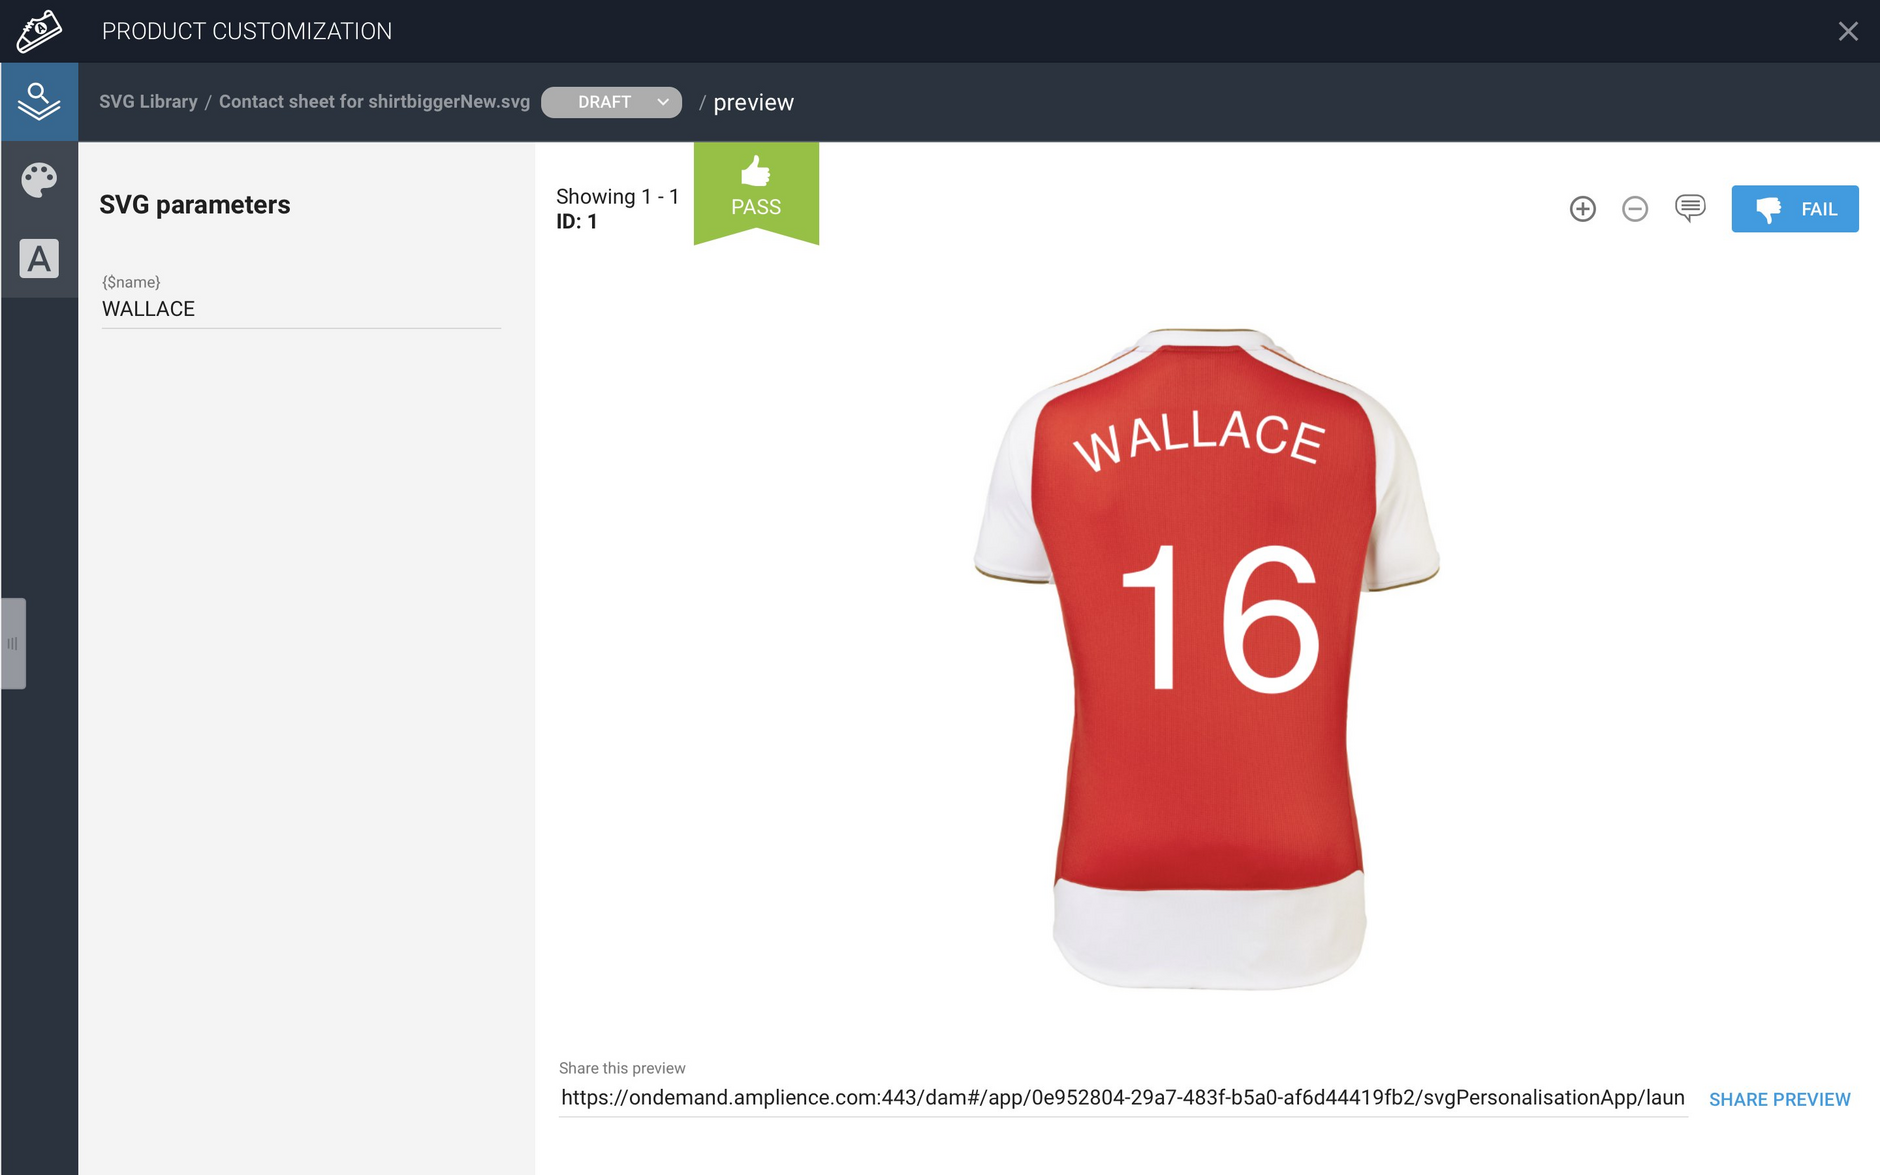
Now it's time to preview and test the monogrammed variants of the SVG:
-
Changing the substitution parameter value for the shirt
name. -
Previews will be generated automatically and can be added to the contact sheet by selecting pass or fail.
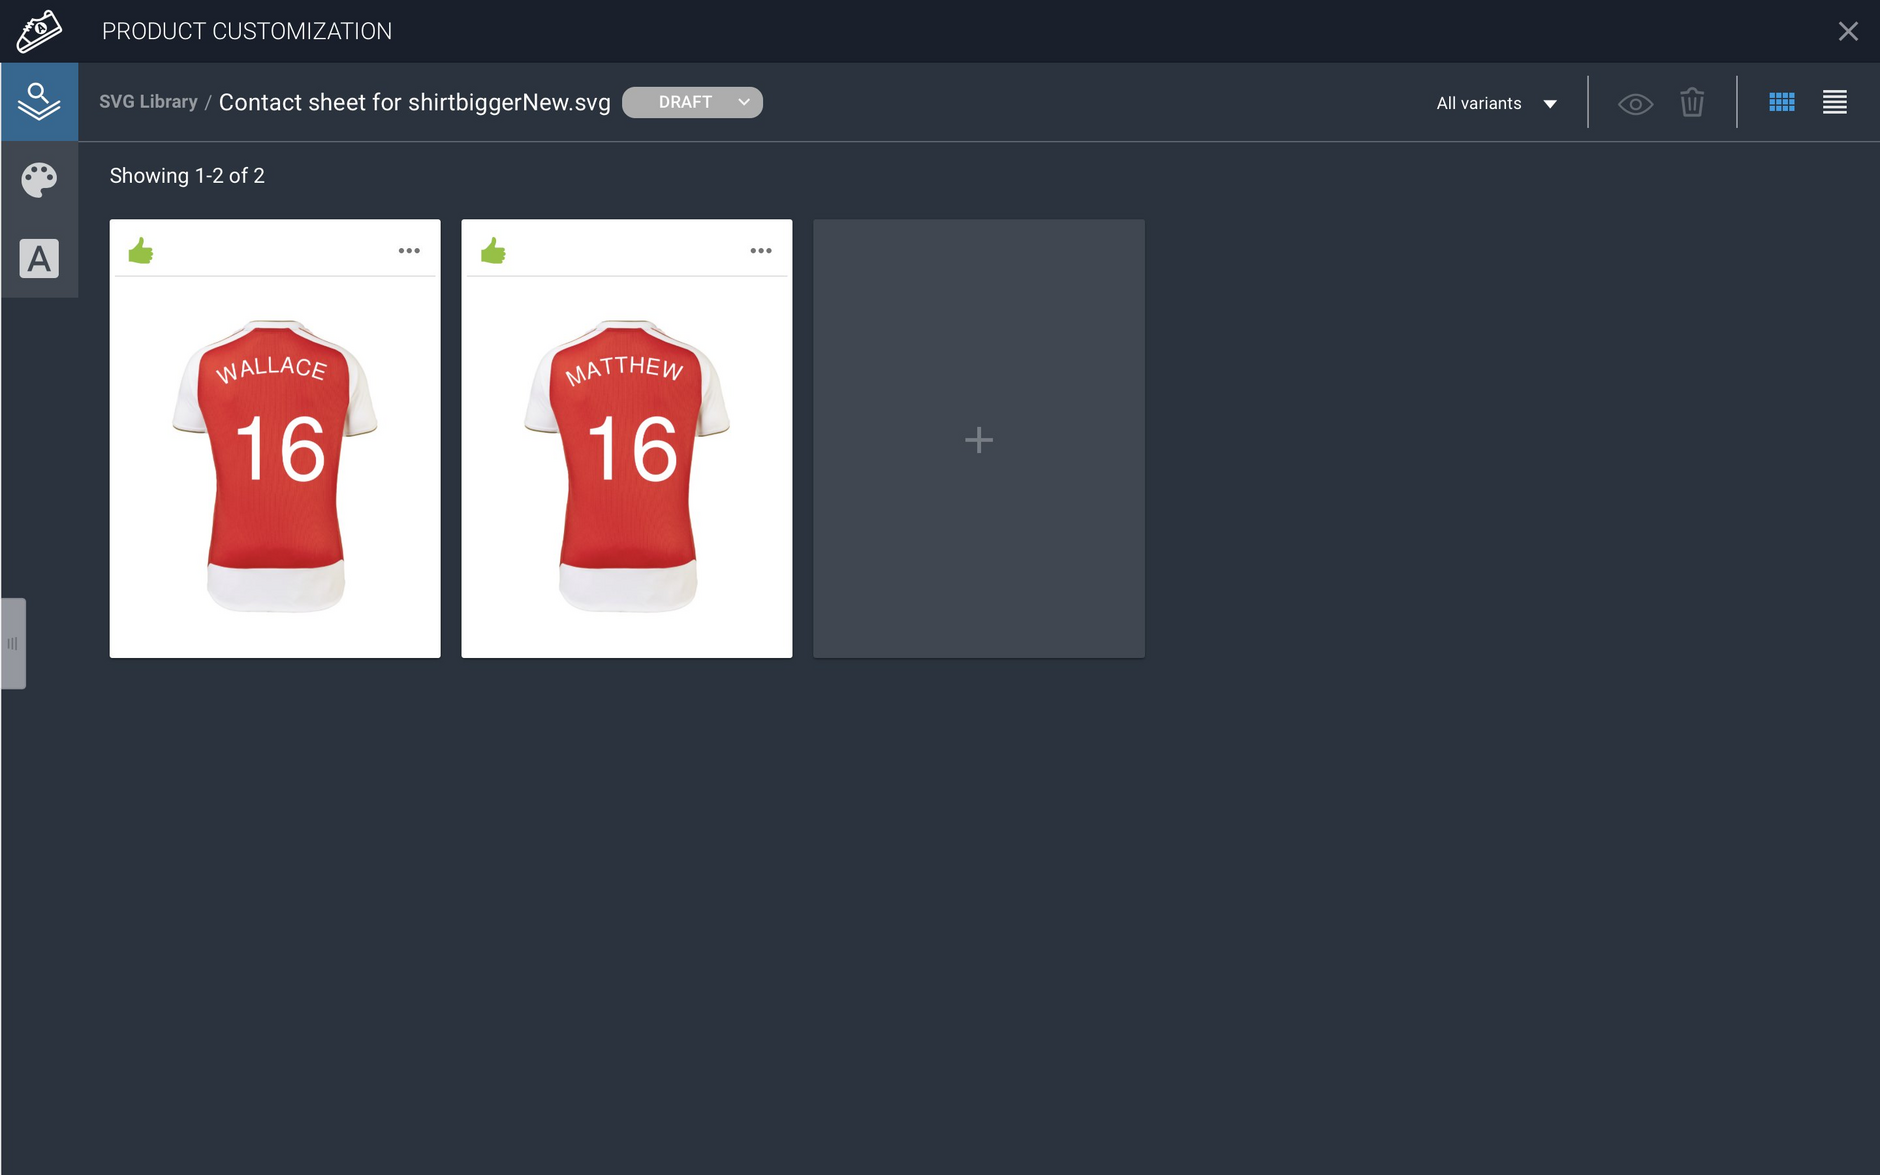
Step 4: View the Contact SheetLink copied!
Having run the test process (Step 3) several times, we can then view the variants of the SVG image via the Contact Sheet:
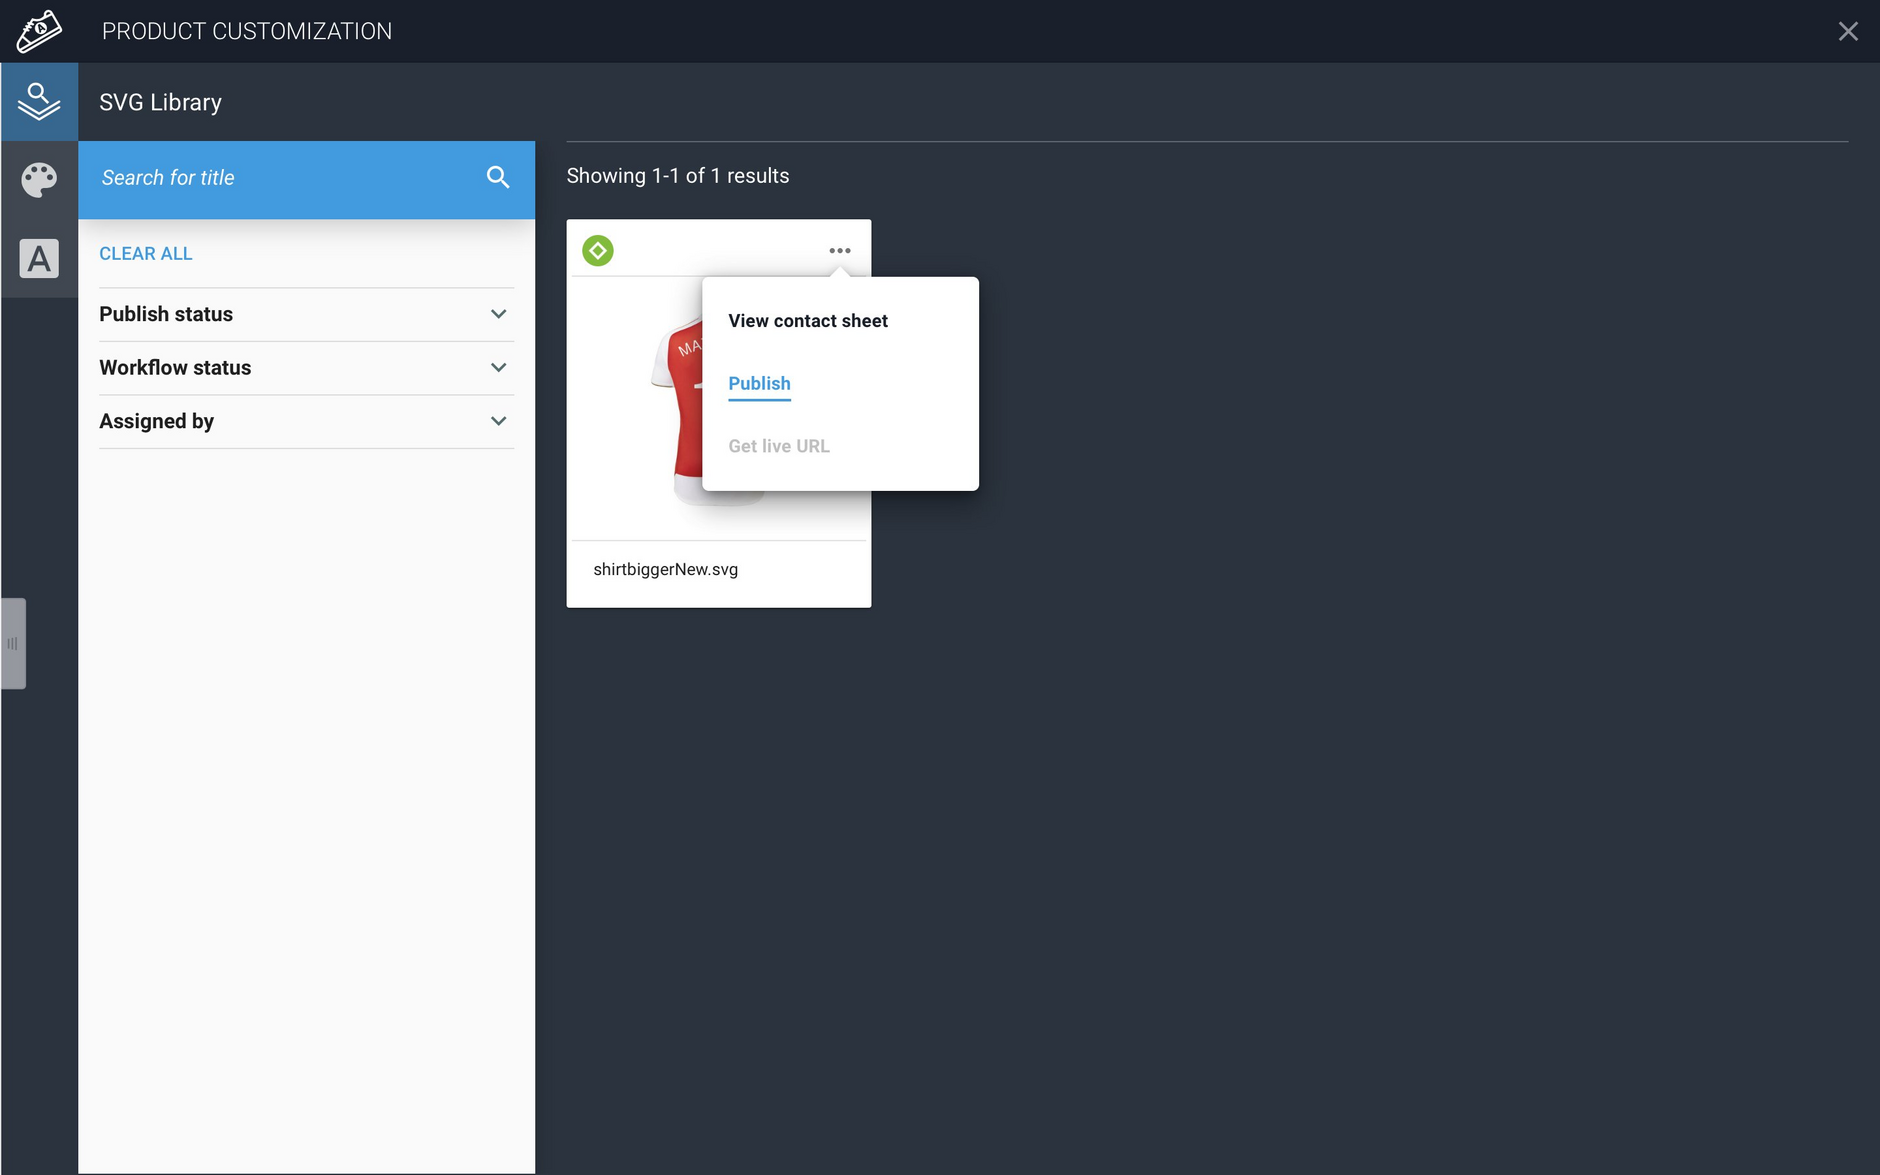
Step 5: Publish the imageLink copied!
The final step of the quick-start process is to publish the image, which can be done from the SVG Library by selecting Publish on the contextual menu:
Step 6: Manipulating the image dynamicallyLink copied!
Once the SVG is published, you can change the name dynamically by appending ?name= to the URL. For example:
For SVG images you should use media delivery URLs in the format shown above. For more information, see URLs for SVG images.
The Dynamic Media service will rasterize the SVG with the parameters you've provided into an image that is displayed in the browser. You can also use Dynamic Media parameters to manipulate the image.
