Content item status, Repository Settings
Release date: 13th February 2019
In this release we've added a feature to allow you to add your own statuses to content items. Statuses are flexible enough to support a workflow such as translation and fit in with your content production process. Statuses provide a visual indication of an item's state and you can filter using status in the Content Library, focusing on those items that require review, translation or new images, for example. You can define up to 100 statuses per hub, each with its own label and color.
We've also introduced some new repository settings to let users choose which repositories are displayed and in what order. This is particularly useful if you are working with localized content and want to display only those repositories that contain content for the locales you're working with.
On this page we'll provide an overview of the new features and provide links to pages with more information.
Content statusesLink copied!
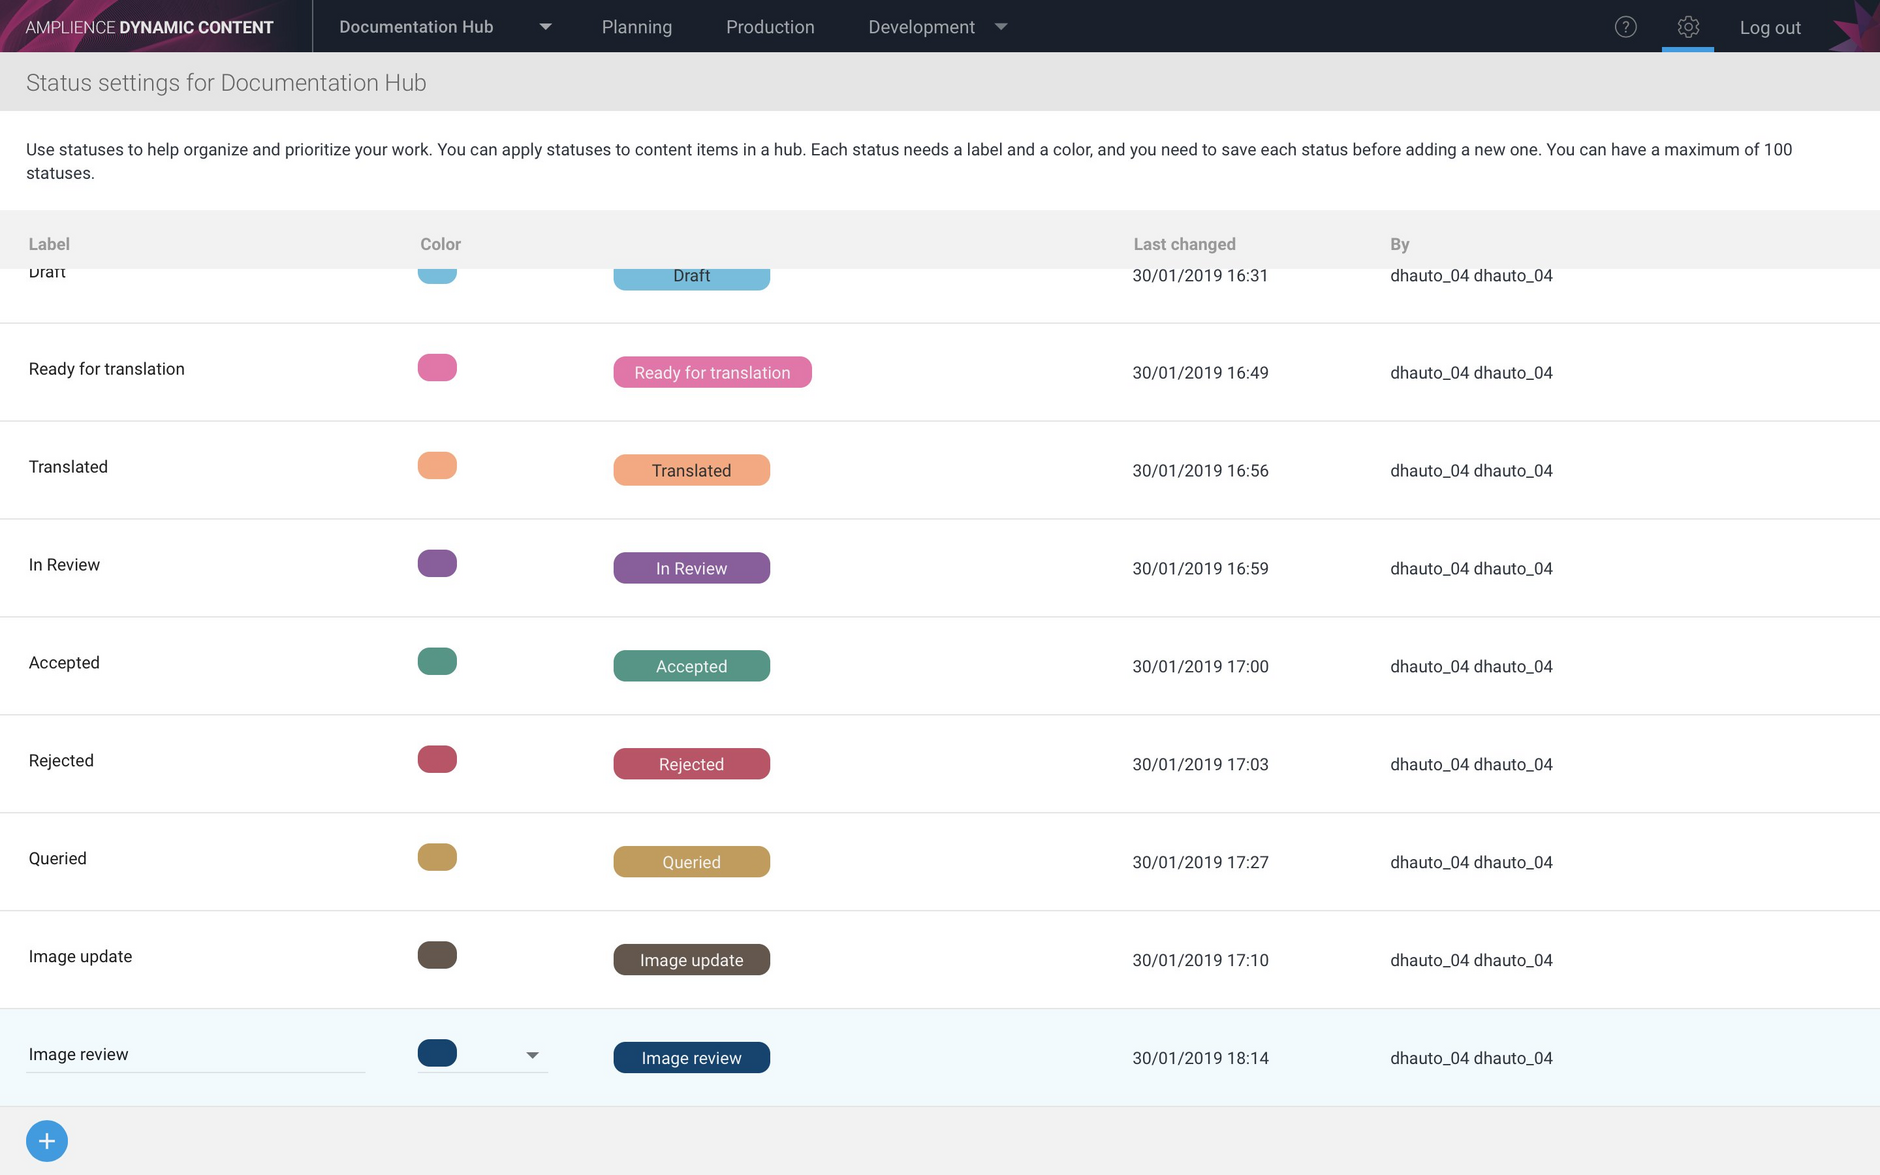
To add, view and edit a content status, choose "Status" from the settings menu. The Status settings window is displayed listing any statuses that you've set up on this hub. From this window you can add a new status or edit an existing one, updating its label and color.
If the status feature is not available on your hub, contact your Customer Success Manager to have it enabled.
In the example below we've defined a set of statuses to support a translation workflow and assigned a different color to each one. You can define as many statuses as you like, up to a limit of 100.
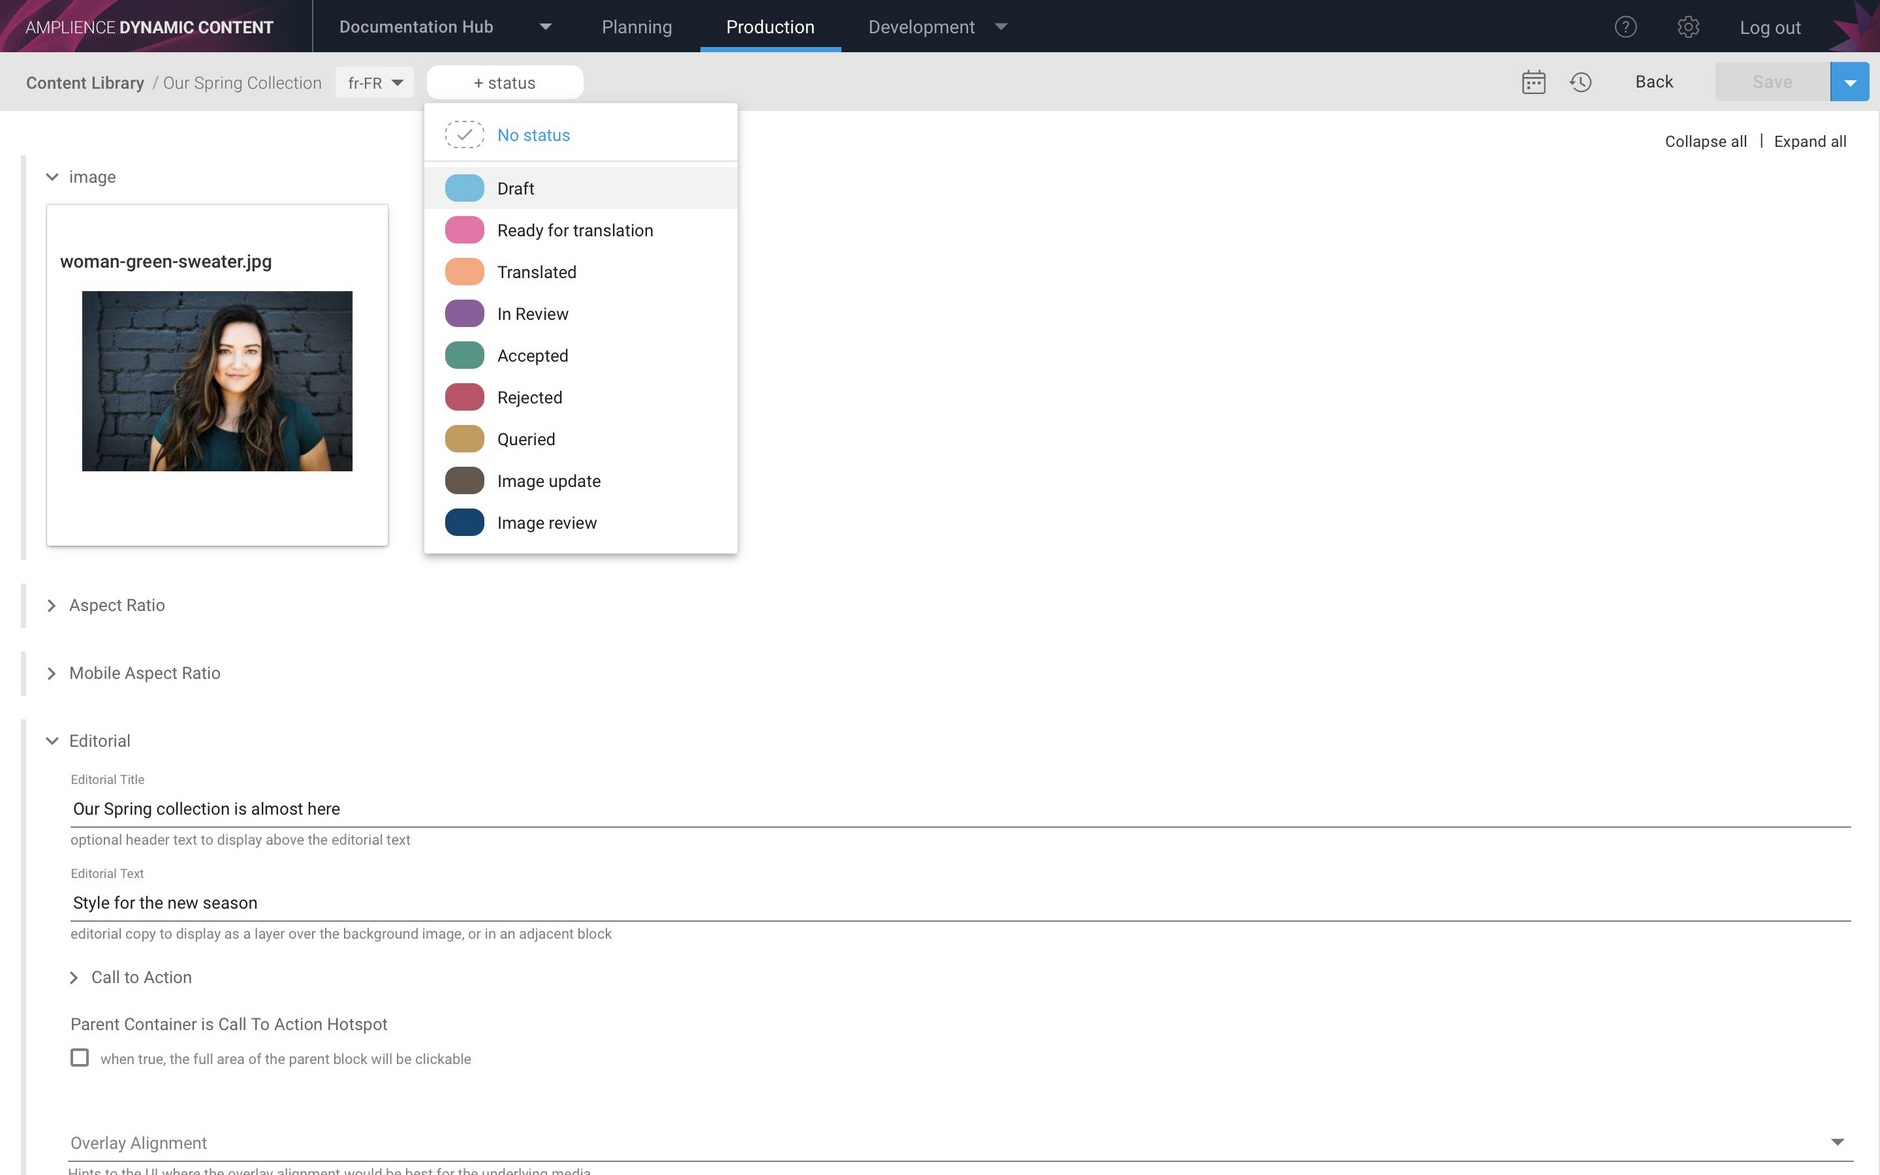
Once you've set up statuses on a hub, a status menu is shown when you view or edit a content item, as shown in the image below. When you select a status from the menu it will be assigned to the content item.
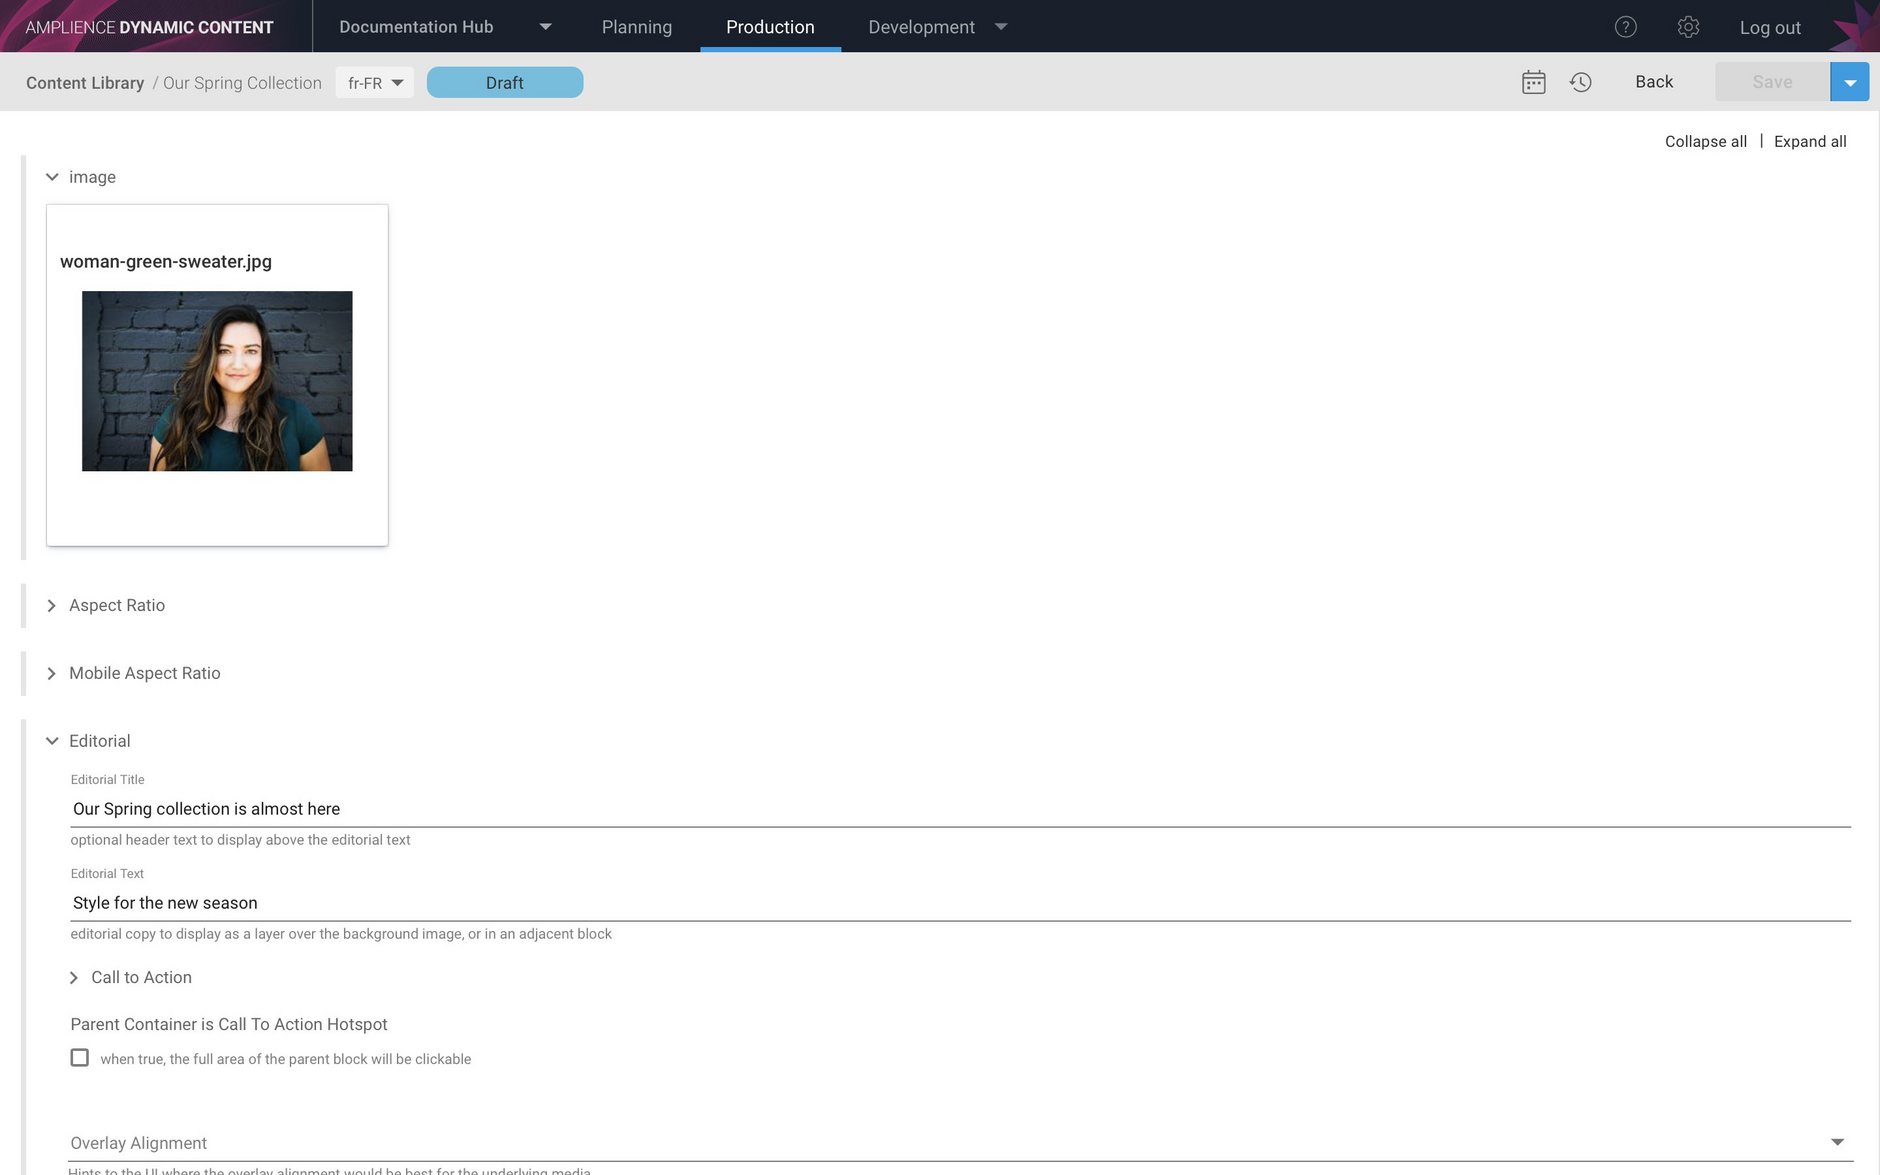
An item's status will be shown at the top of the content form. Setting a status does not enforce any functionality and is only included as a visual guide to help your workflow. In this case we're setting the status to Draft.
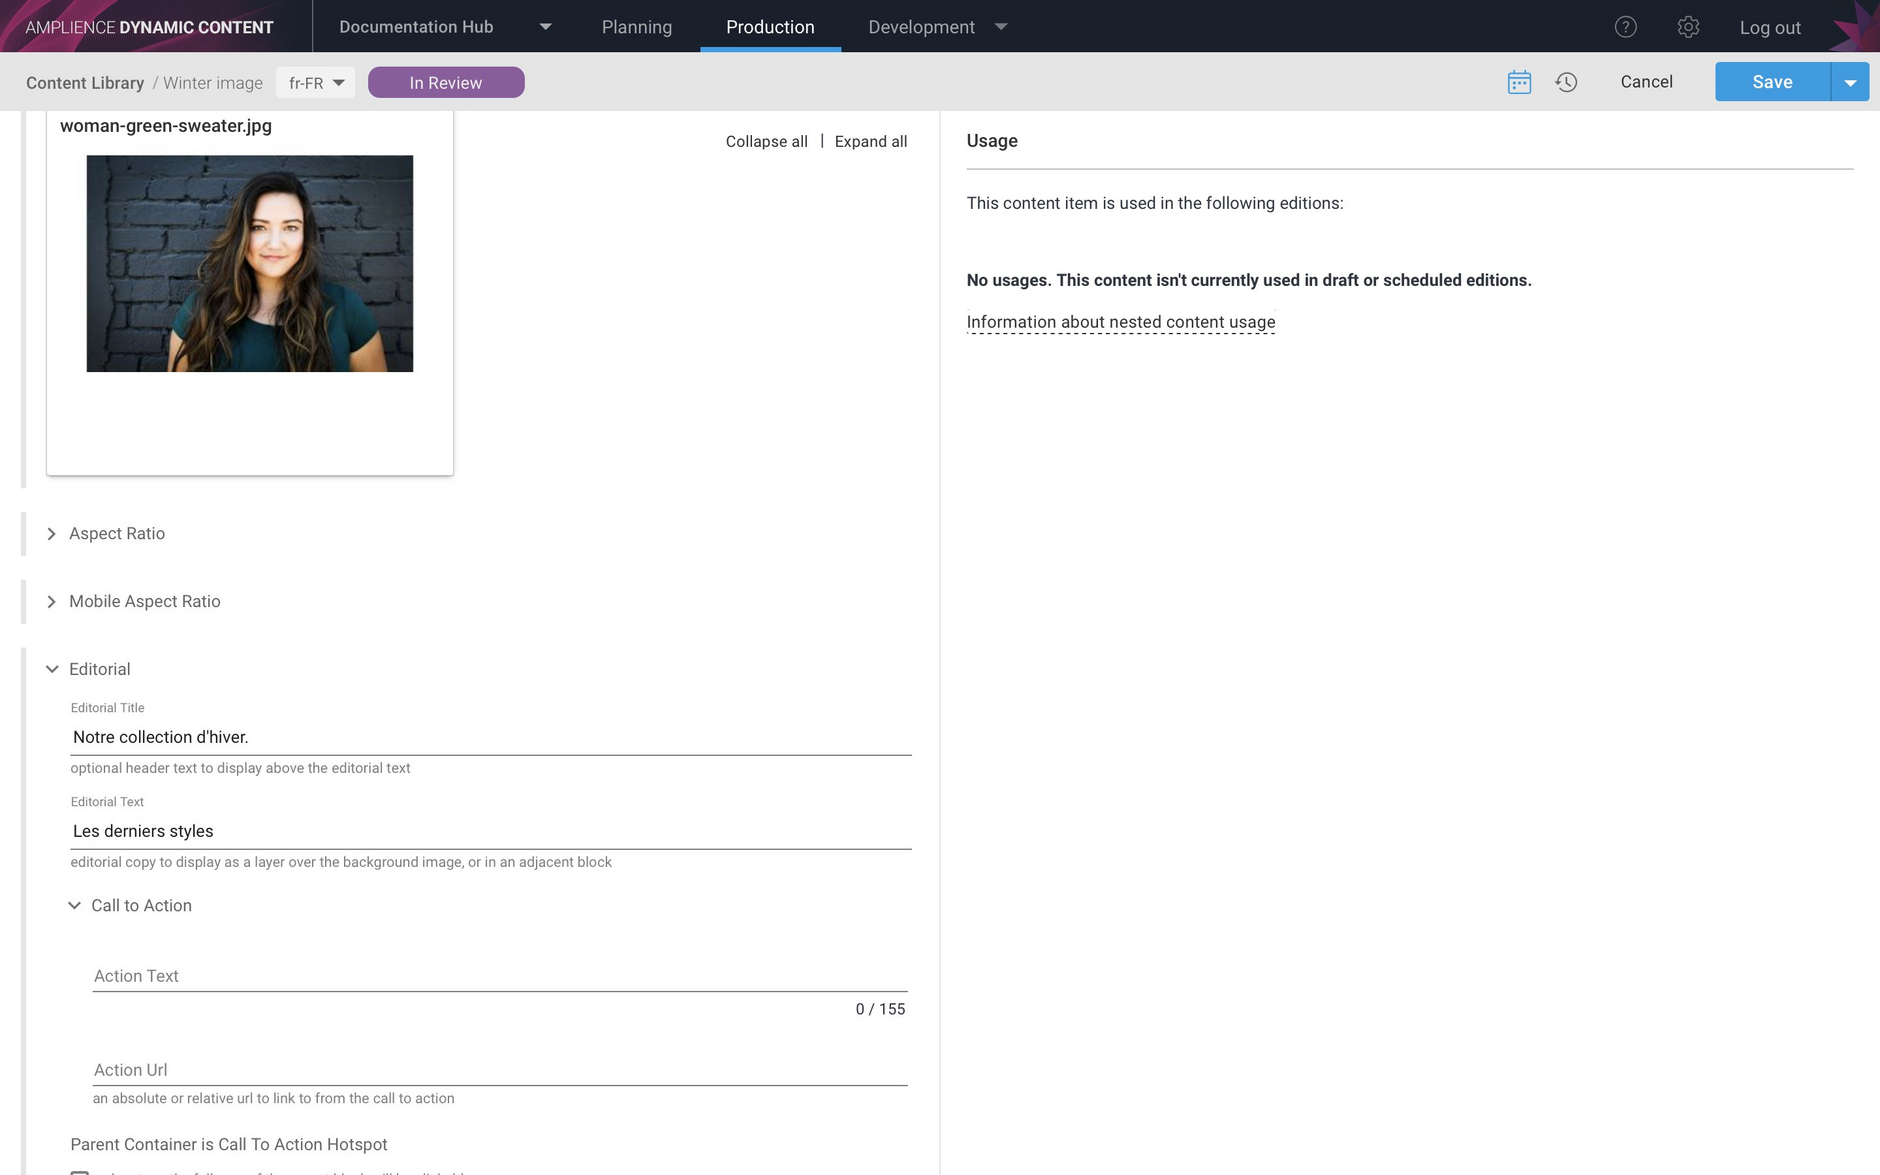
In this example workflow, when the item is translated we set the status to In Review and the reviewing user can use this as a filter to focus on items that need their attention.
Filtering content items by statusLink copied!
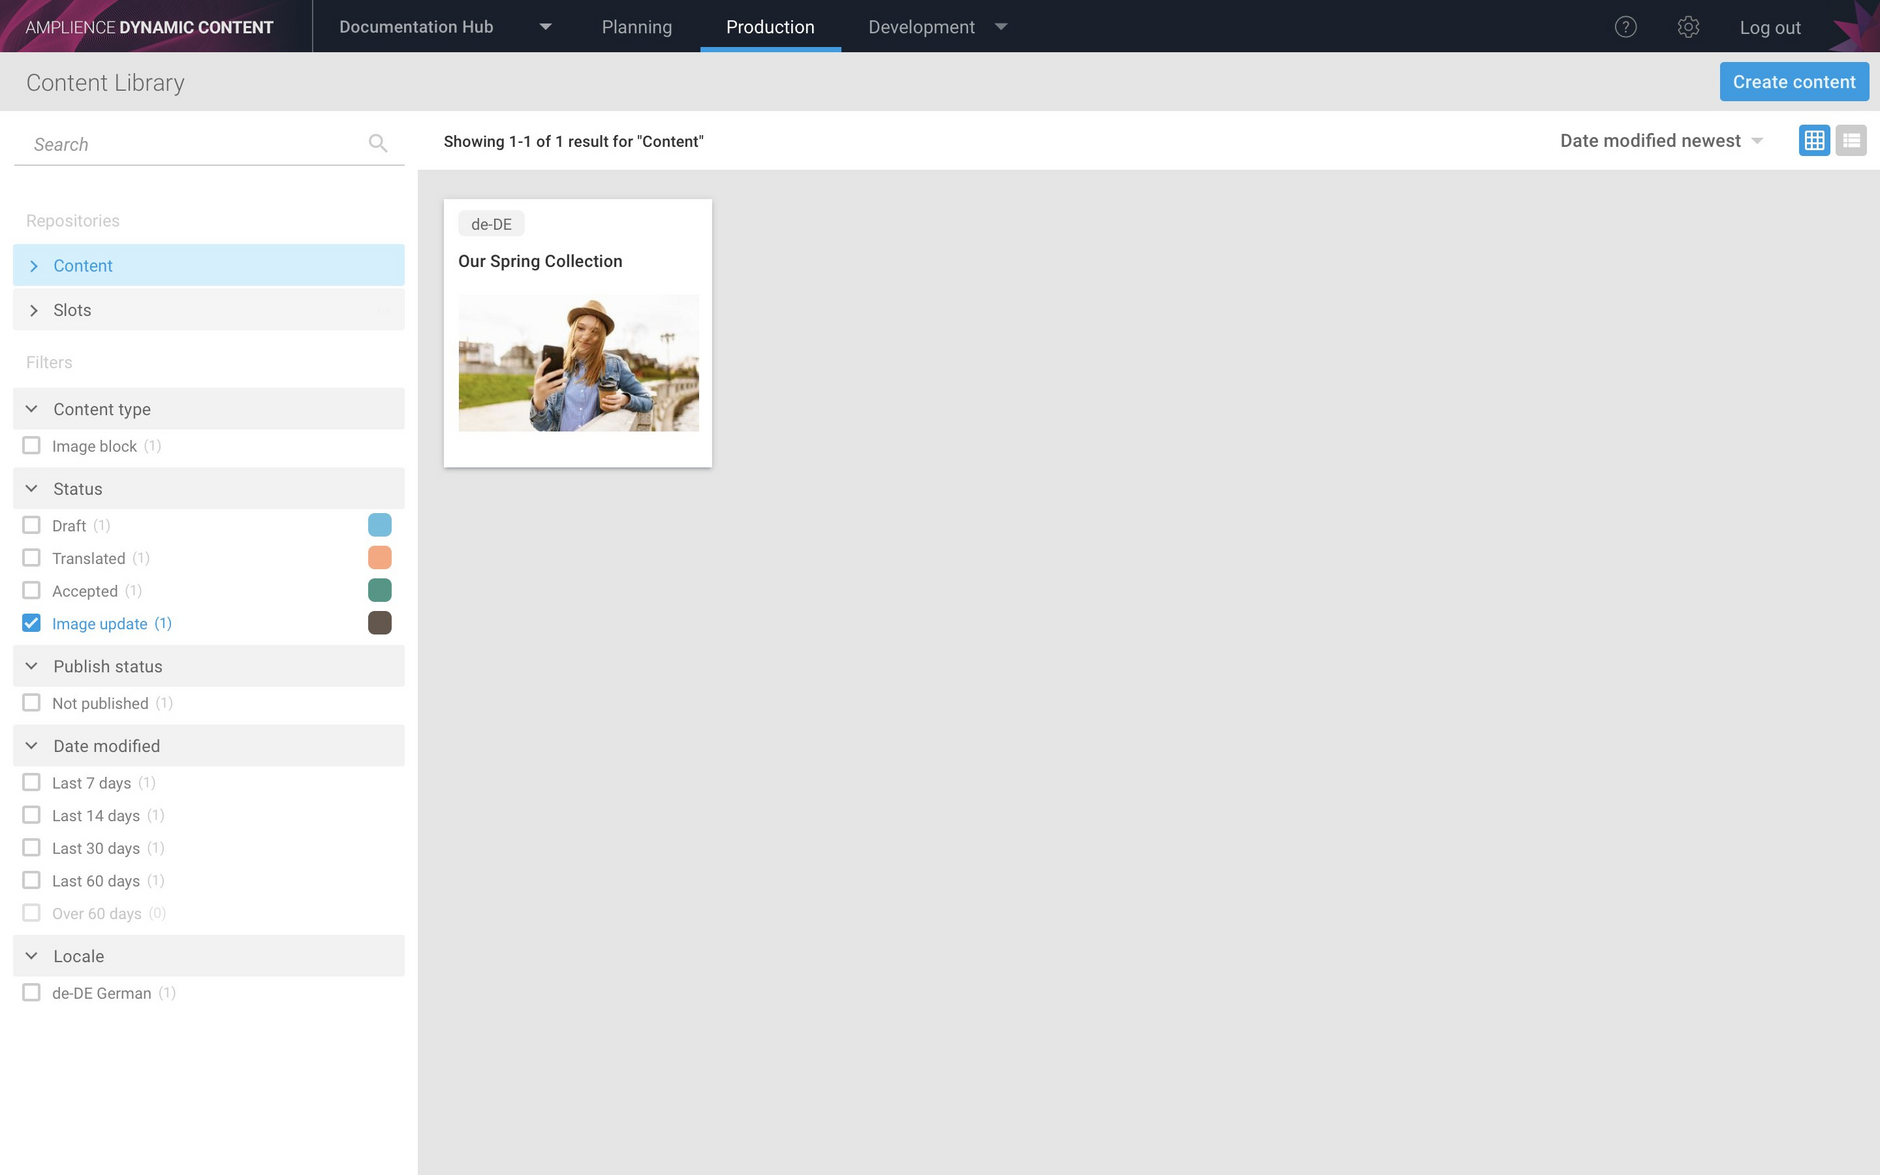
The "Status" section in the left hand side of the Content Library shows the content statuses that are in use on this repository. You can select one or more content status to use to filter the Content Library view.
In the example below, just the "Image update" status is selected, so only content items that have this status assigned will be shown, but you can choose multiple statuses.
You can also use the content item status in conjunction other facets, such as publish status and date modified.
Repository settingsLink copied!
The new repository settings feature allows you to hide and show repositories and change the order in which they are displayed in the Content Library. The settings are applied per user, per hub, so any changes that one user makes to their repository settings will not effect other users on the same hub. The settings are persistent, so if you hide a repository and then log out, the repository will still be hidden when you log back in.
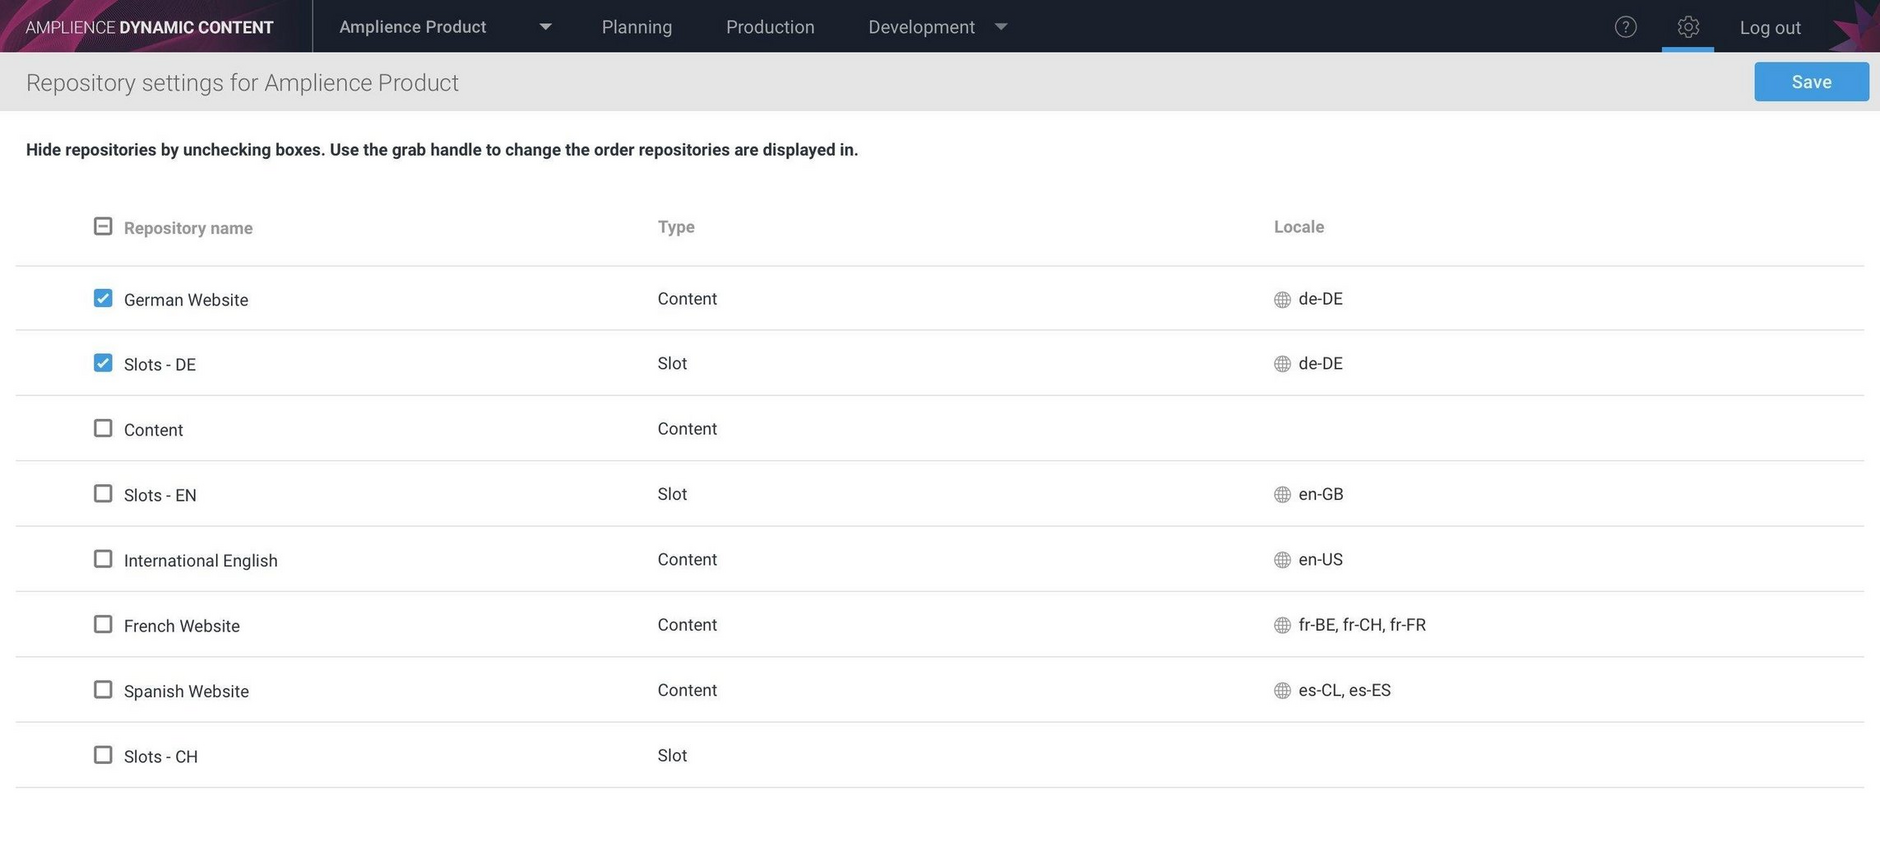
To access repository settings choose "Repository" from the status menu. The Repository settings window will be displayed, listing all the repositories that you have access to, together with the locales assigned to each one.
From the repository settings window you can choose to hide and show each repository by turning its check box on or off. Note that you must have at least one content and slot repository selected.
Hiding repositories allows you to focus on just those repositories you're working with. So, if you were working on German content, you might want to focus on just the content and slots for this locale and hide all the other repositories on the hub.
In example shown below, only the German Website and slots repository with a locale of de-DE assigned to it are selected.
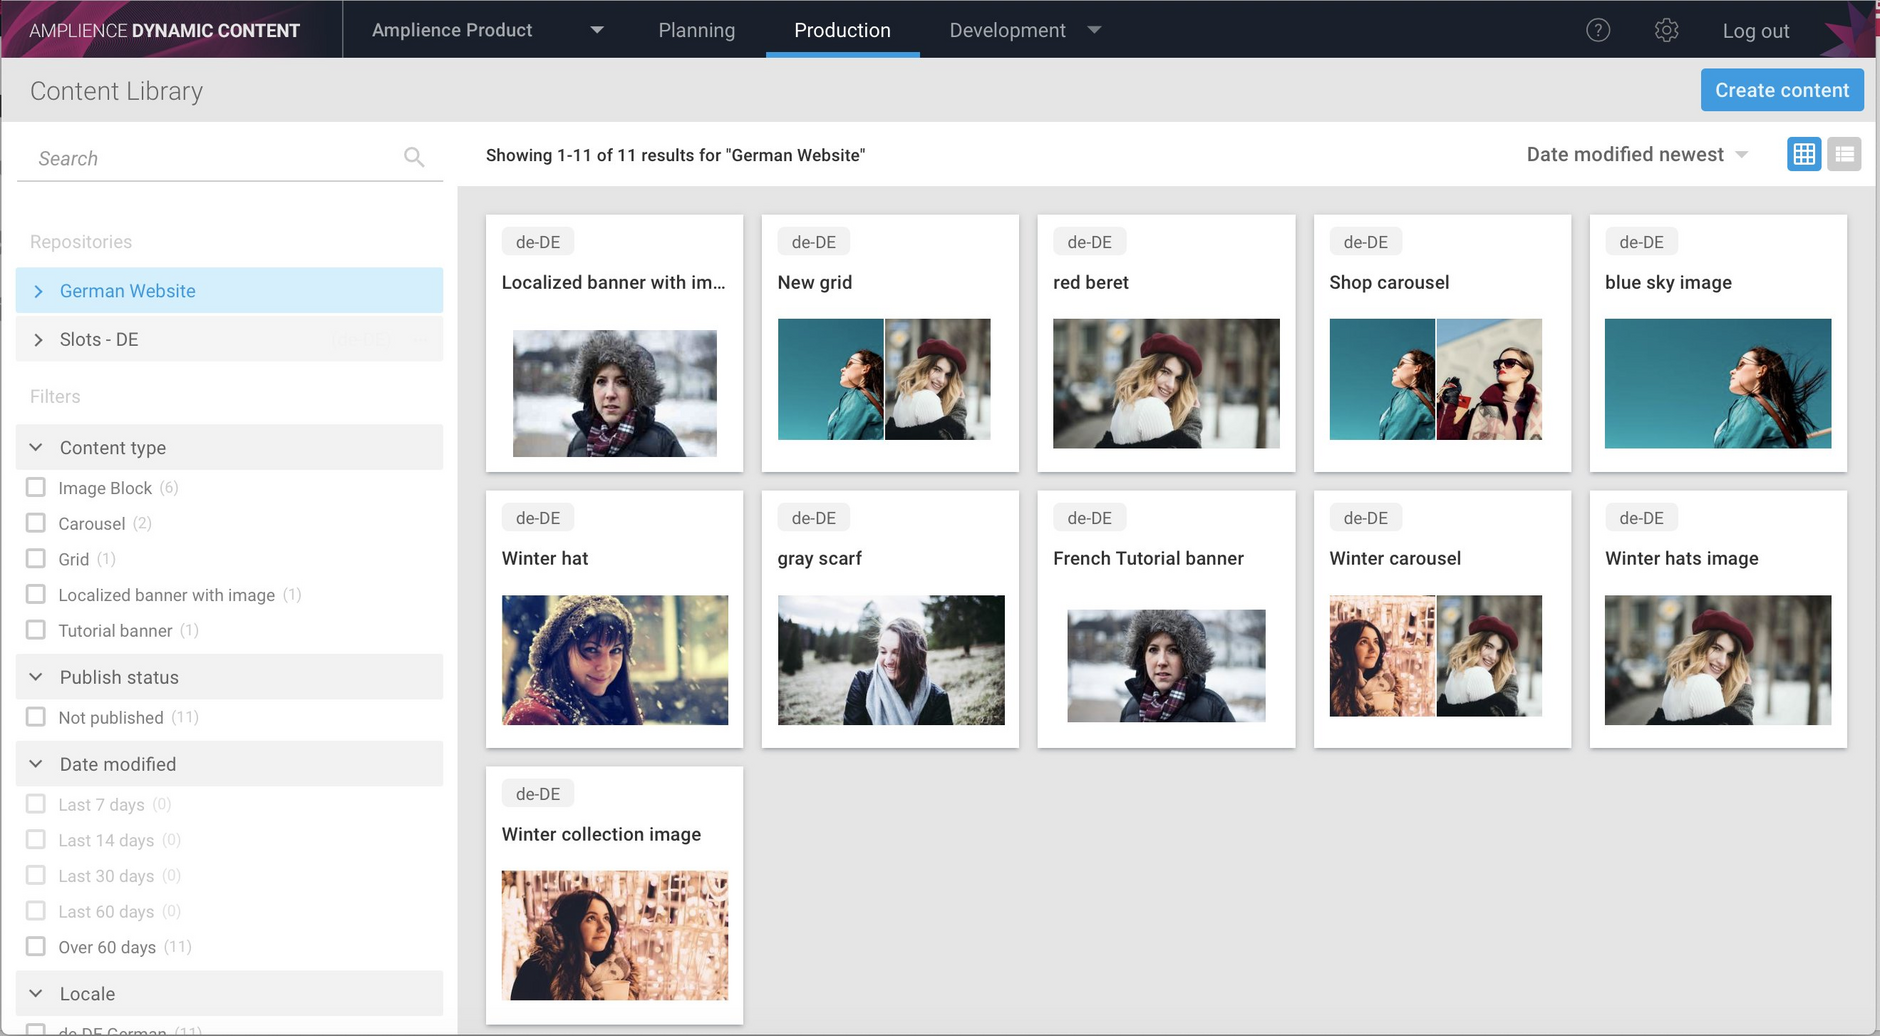
When the settings are saved and you return to the Content Library, only the "German Website" repository and "Slots- DE" slots repository are displayed.
The repository settings also apply to the planning view, so in this example only slots in the "Slots- DE" repository will be available to add to editions.
Note that content and slots that were previously added to editions from repositories that are subsequently hidden will still be available.
To show repositories that you have previously chosen to hide, just go into repository settings.
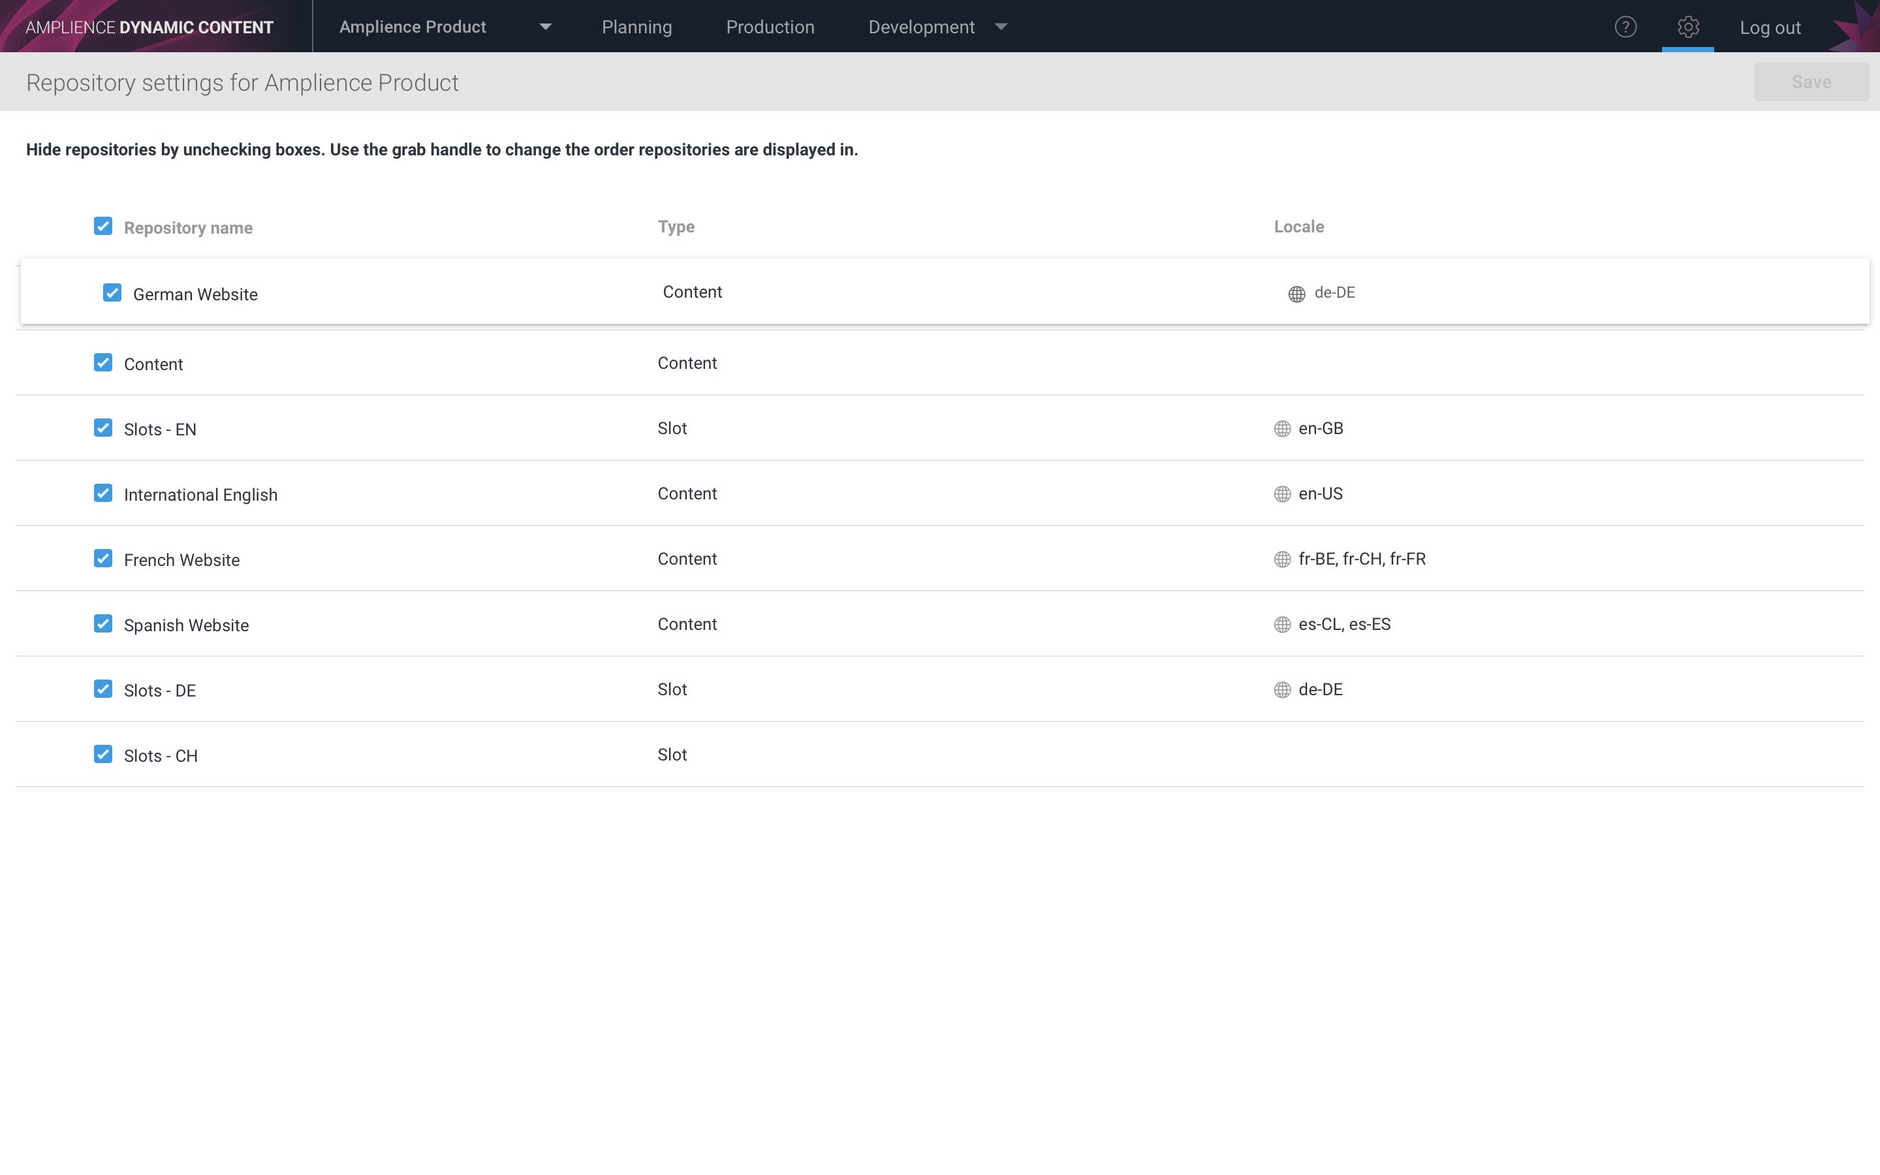
You can also choose to change the order in which repositories are displayed in the Content Library by using the drag handle to move it to a new location in the list. So you could choose to move the "German website" repository to the the top of the list so it's the first repository displayed in the Content Library.
Filter locales in slot formLink copied!
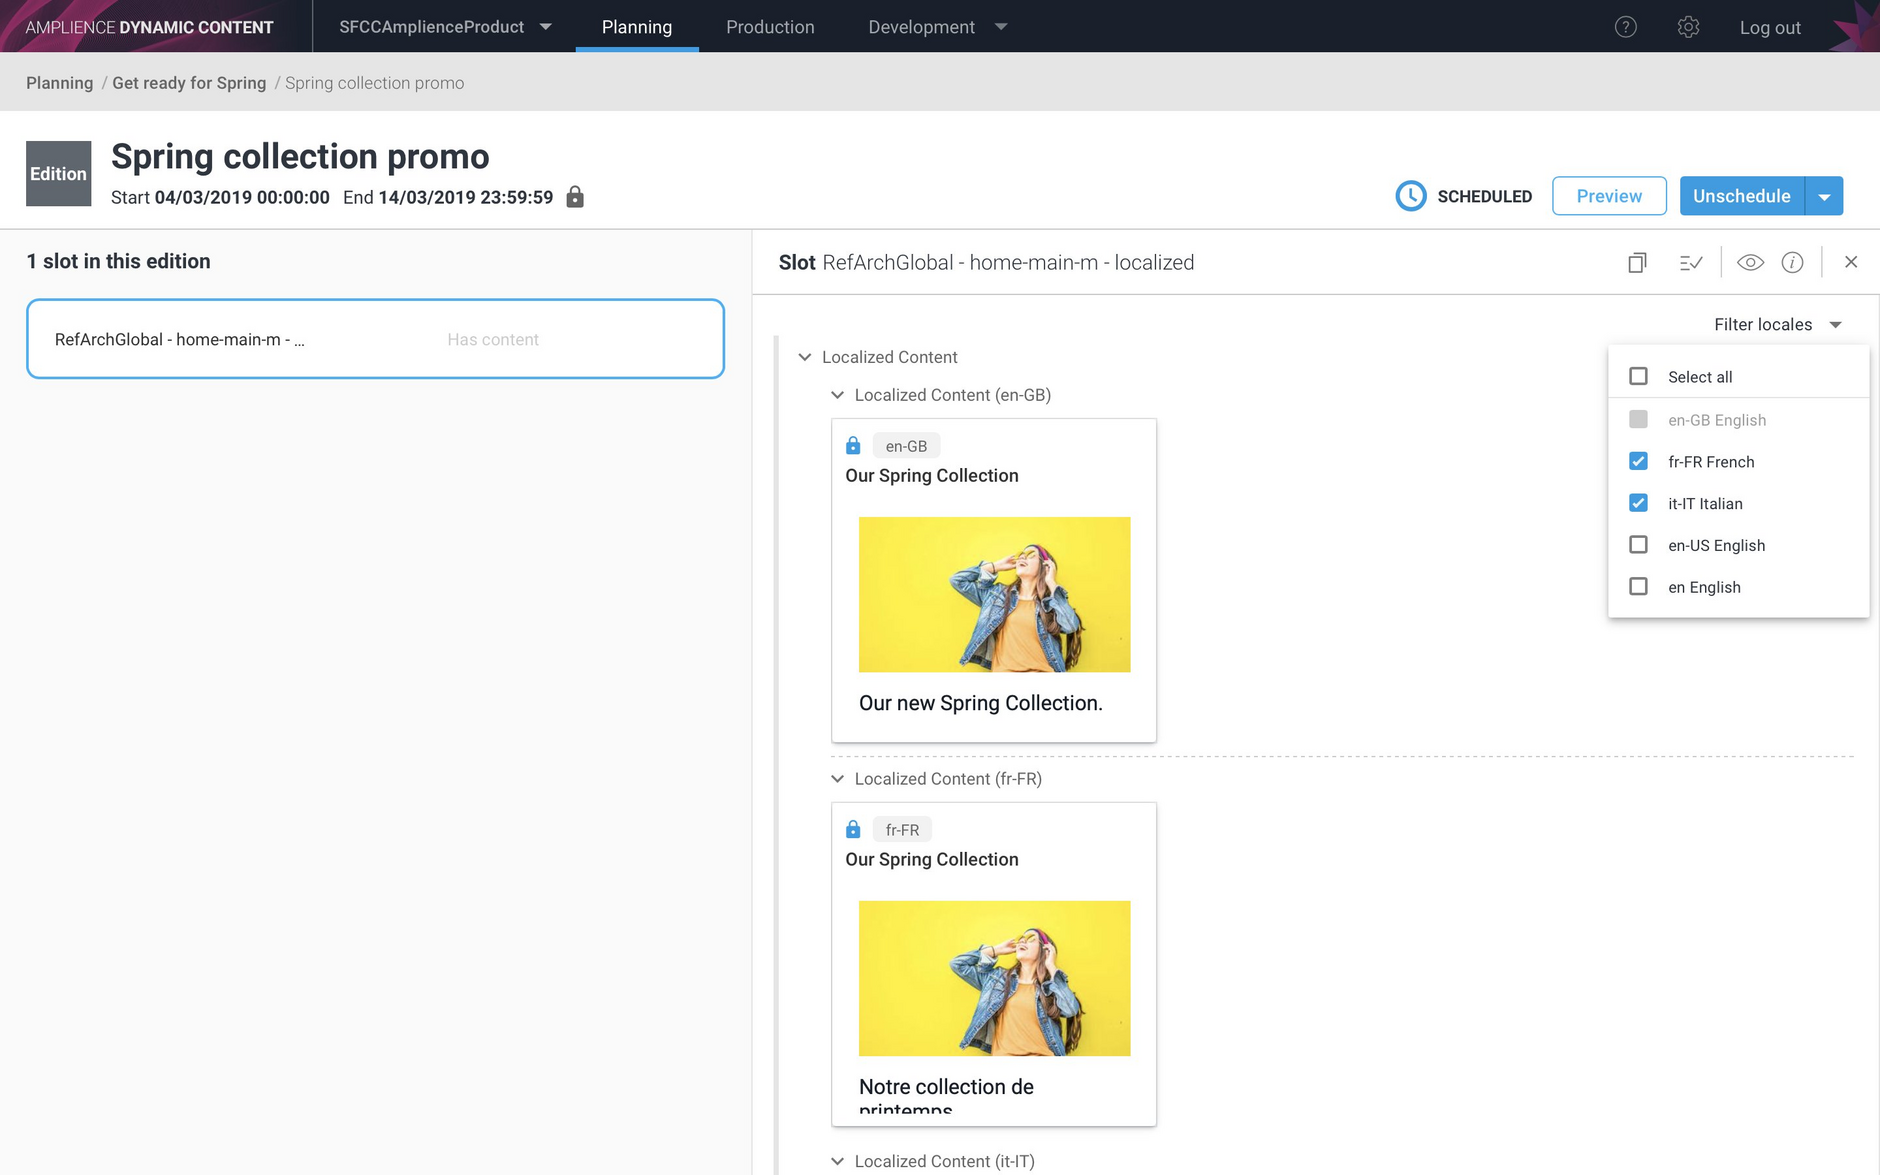
You can filter content by locale in the slot editing form in the planning view. This makes it easier for planners working with localized content to focus on content for particular locales.
An example of a localized slot is shown below. From the "Locales" menu at the top right of the window, you can choose the locales for which content should be displayed.
Preview app date format to support SFCCLink copied!
Content preview apps allow users to see what a website, app or other channel will look like at a specified time in the future. If you're using the Dynamic Content Salesforce Commerce Cloud (SFCC) integration, you can configure a content preview to launch the SFCC Storefront directly from the planning view.
This allows planners to view the content exactly as it is scheduled to appear on the date they choose without having to log on to SFCC Business Manager.
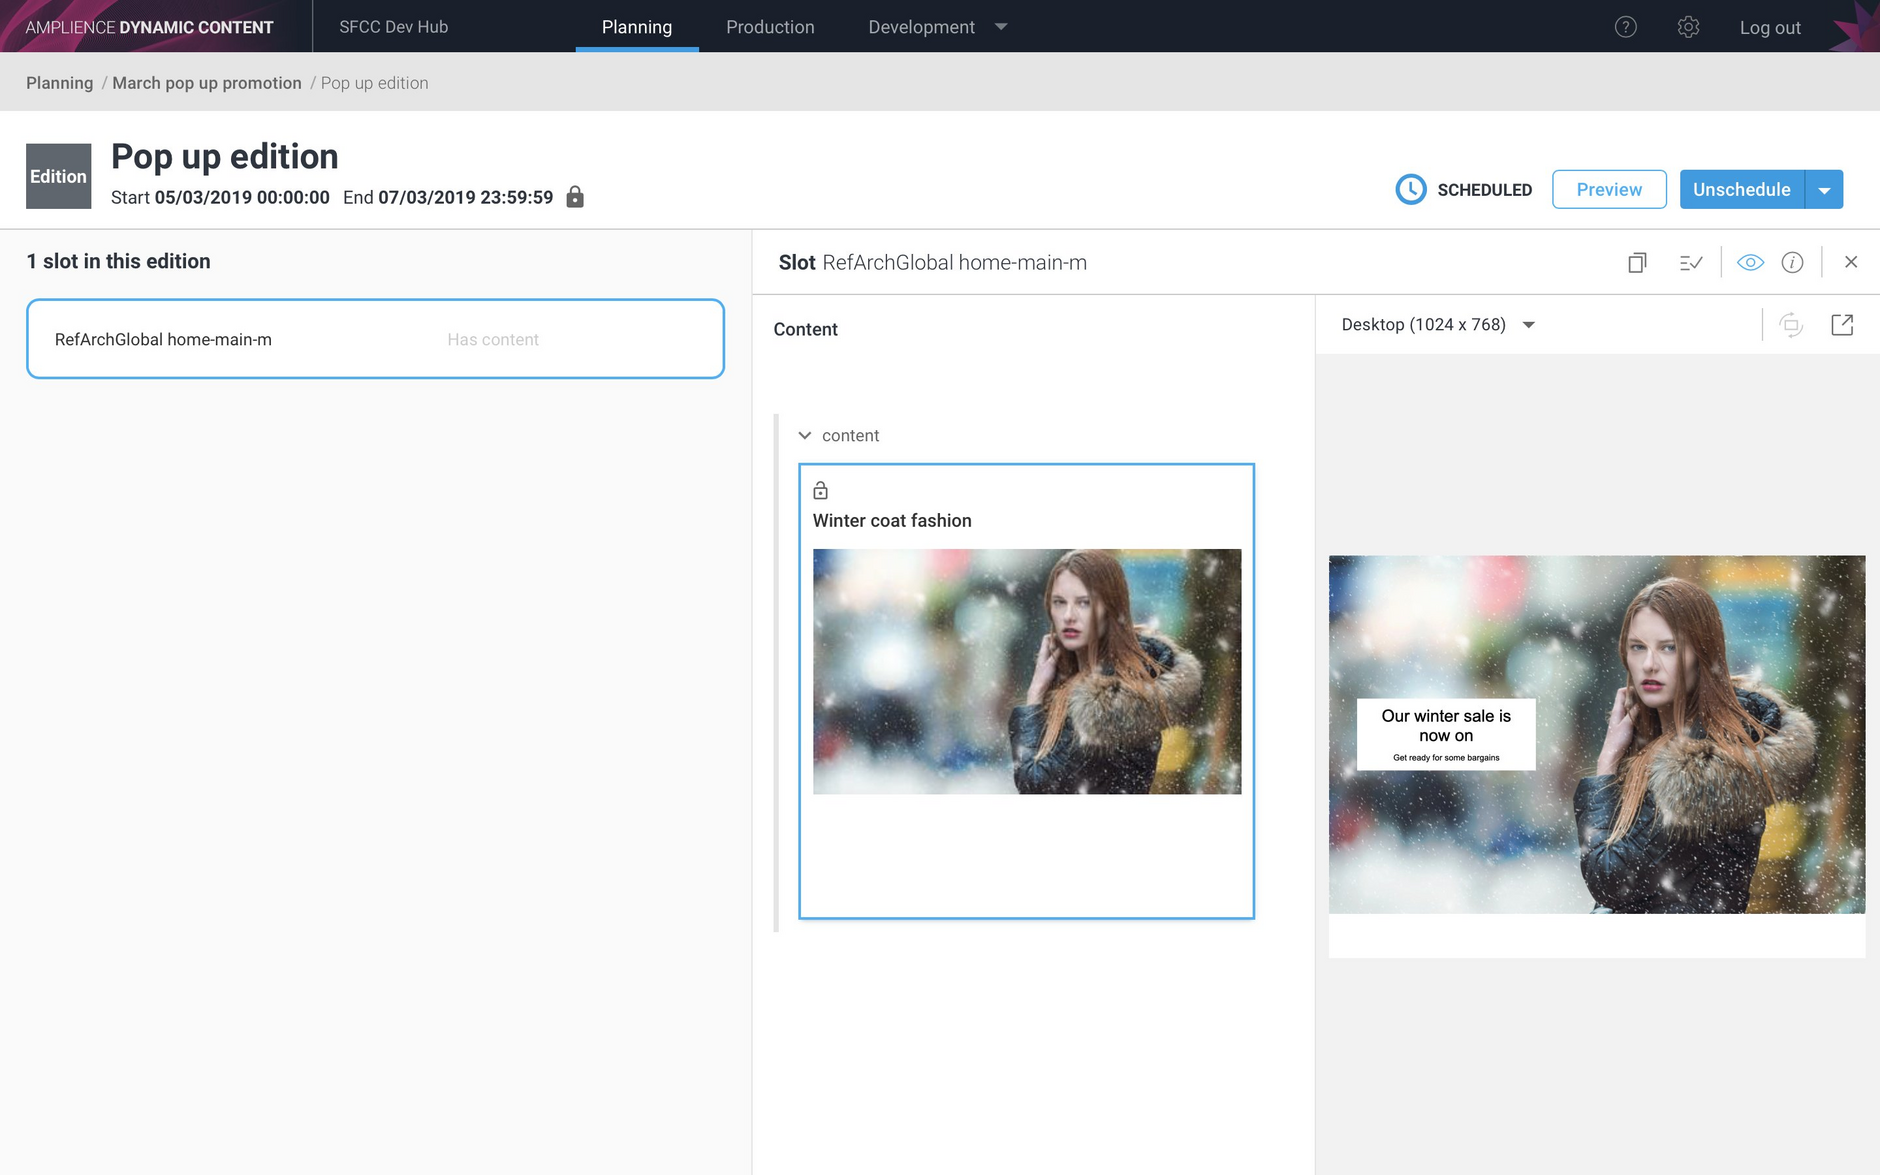
In the example below the "Pop up edition" is scheduled to go live on 5th March. When the edition is scheduled the integration will create an SFCC campaign, create new slot configurations from the slots in this edition and populate them with HTML content.
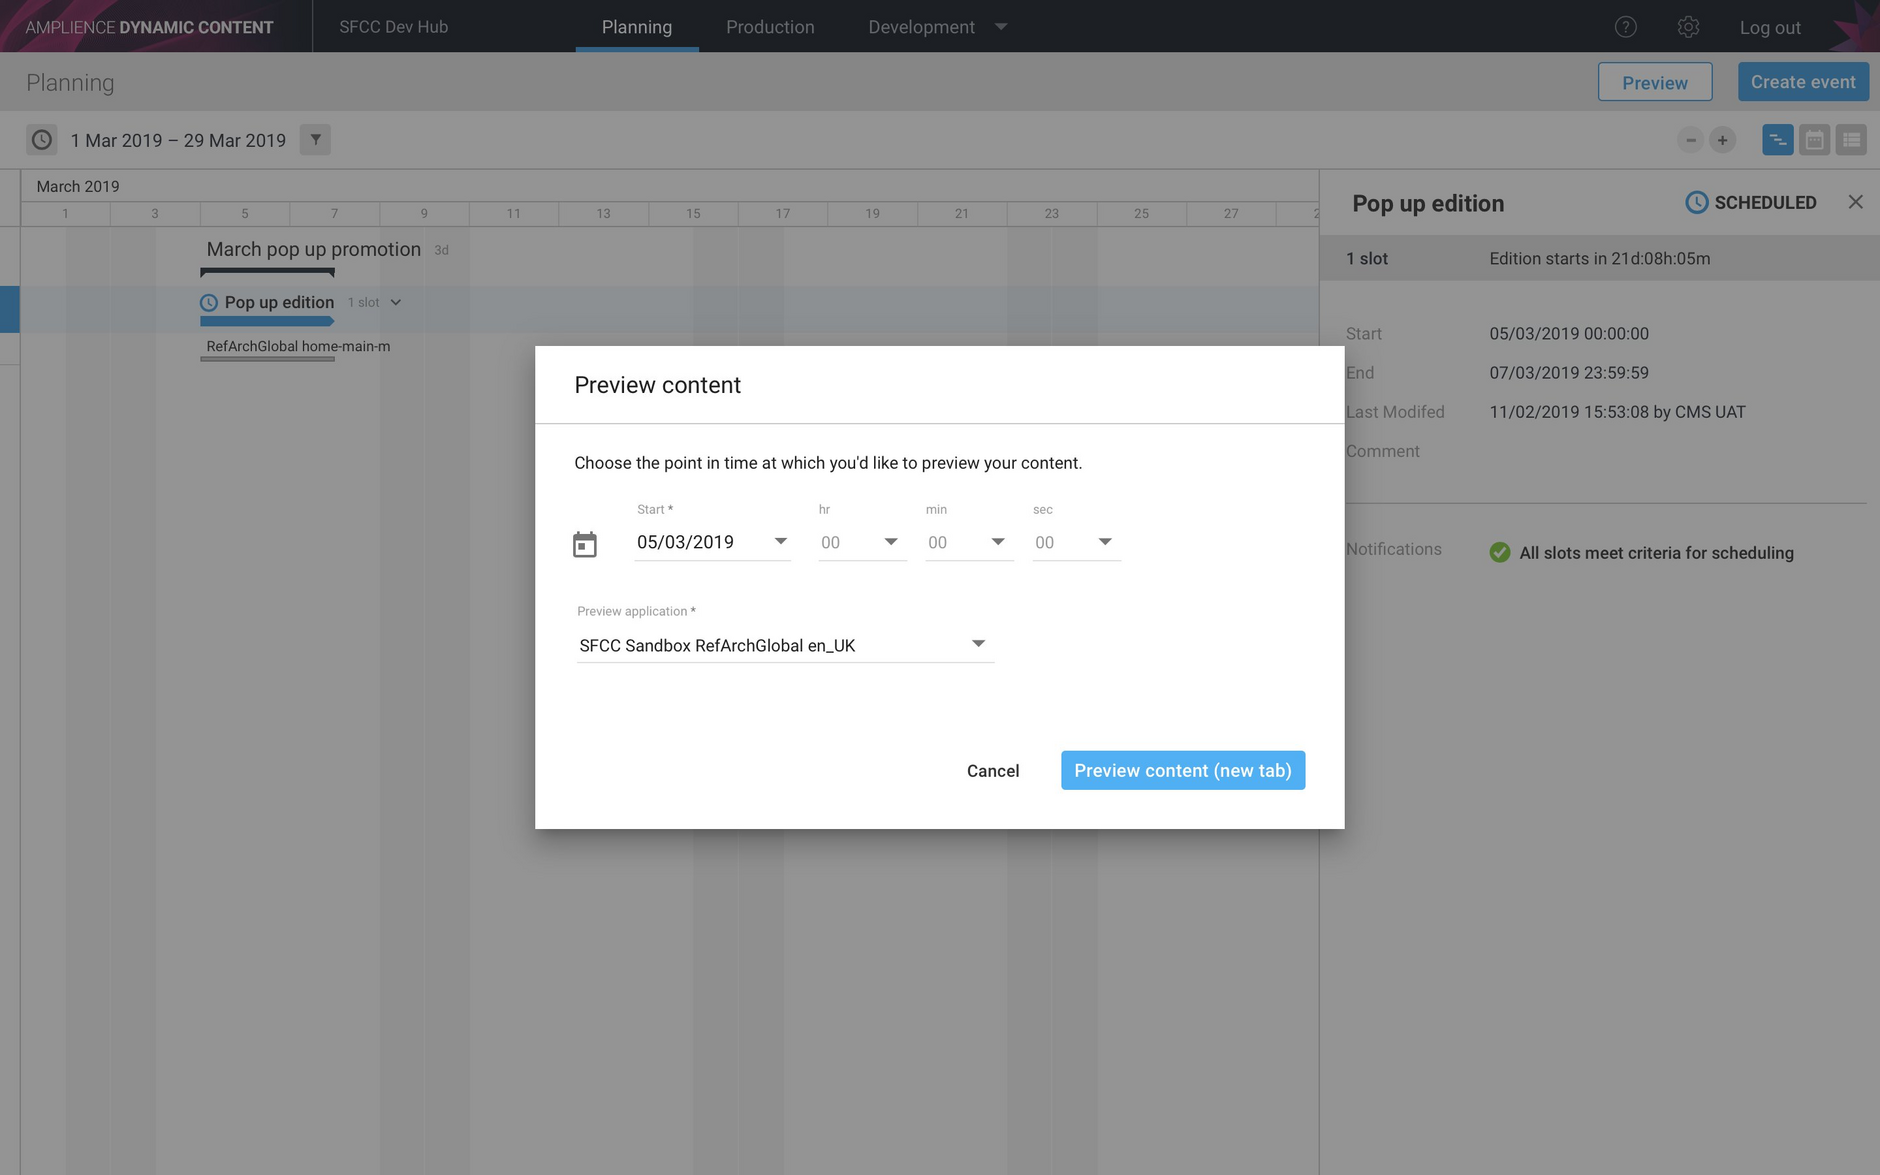
You can preview the content exactly as it will appear when this edition is scheduled to go live. We'll choose the edition start date of 5th March and select the preview app that is configured to launch the SFCC Storefront.
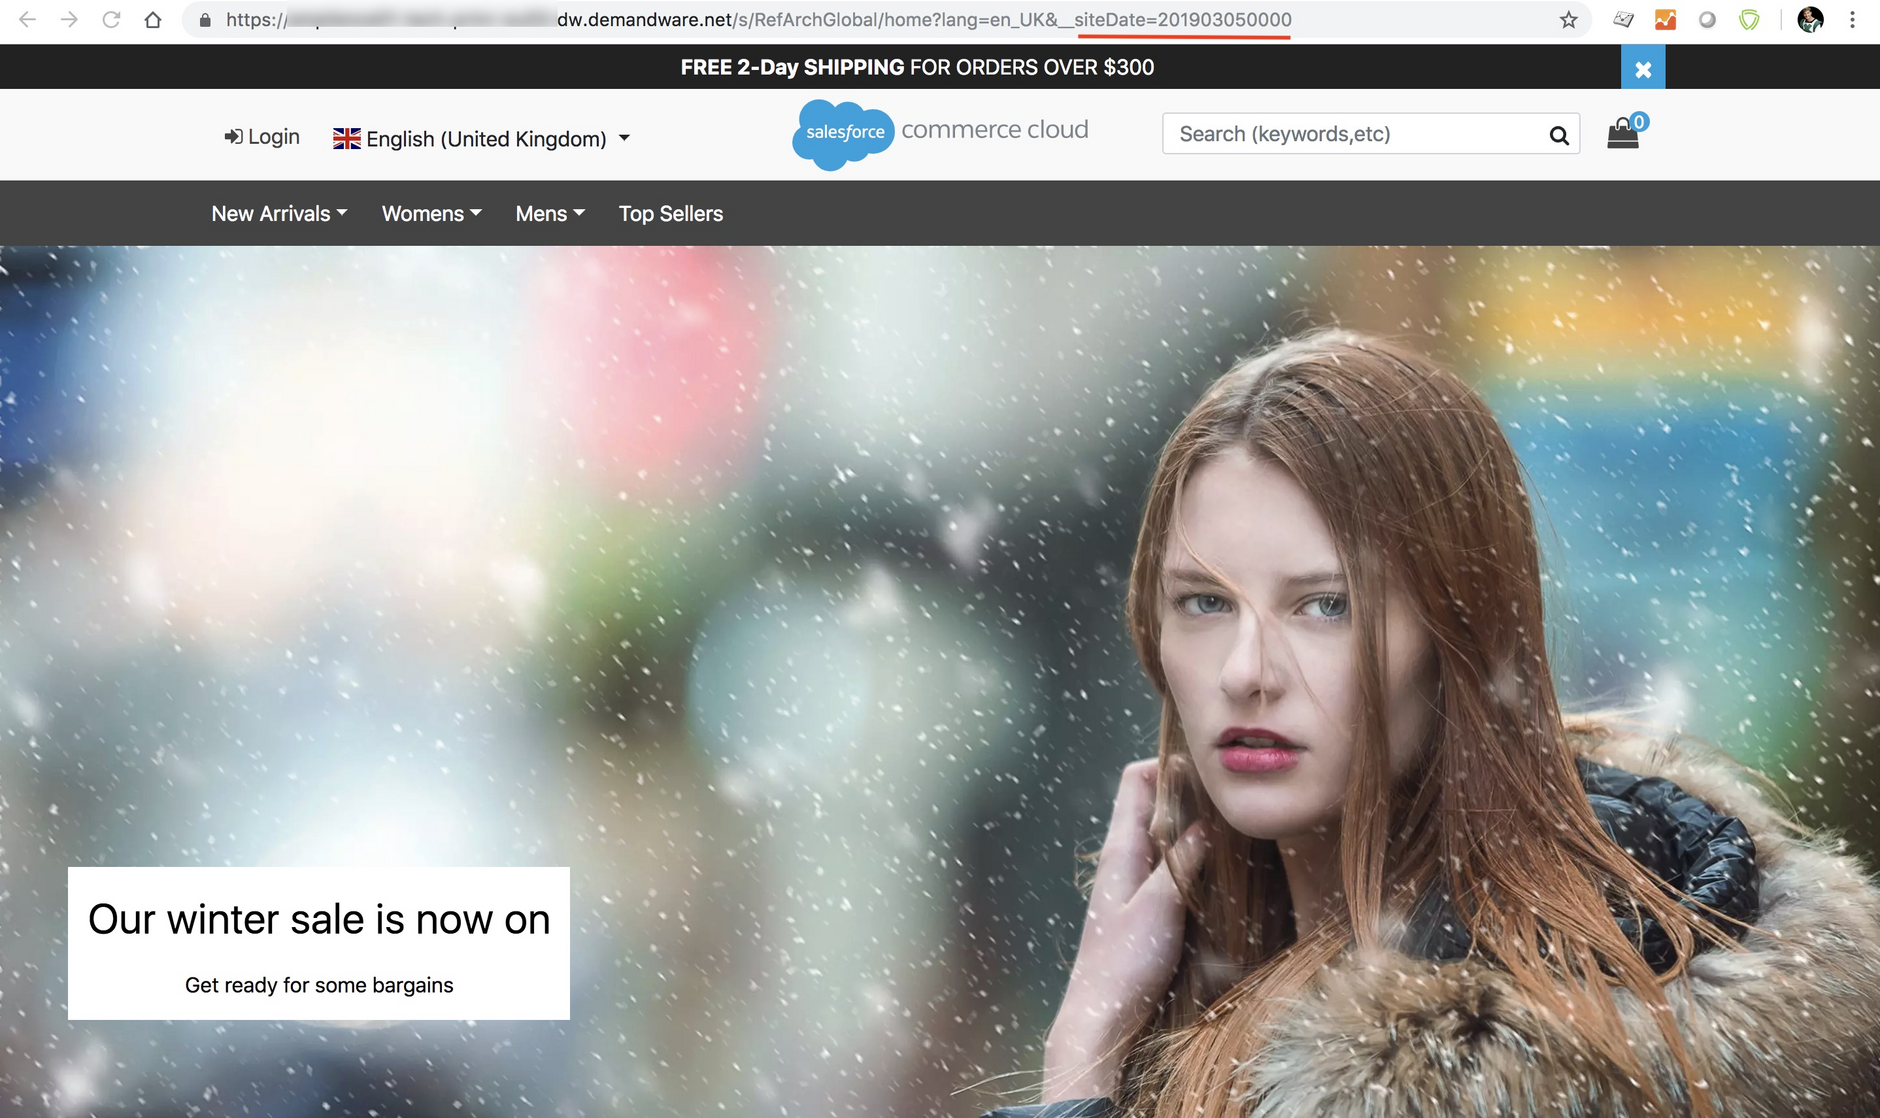
The SFCC Storefront is open and displays the home page as it will appear on the edition start date.
For more details about configuring a content preview for use with the SFCC integration see the SFCC Setup page.
To read more about the new date options available to developers creating their own content preview apps see Developing a content preview app
